

Are you tired of cluttered countertops and messy cabinets? Imagine having a sleek, functional kitchen rack that perfectly suits your space.
Even better, imagine building it yourself! Learning how to make kitchen rack at home not only saves money but also allows you to customize it to your unique style and needs. In this guide, you’ll discover simple steps to craft your own kitchen rack, transforming your cooking space into an organized haven.
Get ready to unleash your inner DIY expert and impress everyone with your creative skills. Stick around to learn how to make this practical and stylish addition to your kitchen!
Materials Needed
Building a kitchen rack at home is a simple project. You need the right materials to start.
This guide covers the basic materials you will use to make your rack strong and useful.
Wood Types
Choosing the right wood is important for durability and look. Some woods are easier to work with.
- Pine wood is cheap and easy to cut.
- Oak is strong and lasts long.
- Birch has a smooth finish and looks nice.
- Teak resists water and is good for kitchens.
Tools Required
You will need some basic tools to cut and assemble the wood pieces. These tools help make the rack fit well.
- Measuring tape to get exact sizes
- Hand saw or power saw for cutting wood
- Hammer or drill for joining parts
- Screwdriver for screws
- Sandpaper to smooth edges
Additional Supplies
Besides wood and tools, you need some extra supplies. These make the rack stable and look good.
- Wood screws to hold pieces together
- Wood glue for extra strength
- Wood stain or paint for finishing
- Brushes or rags for applying finish
- Protective gloves and goggles for safety
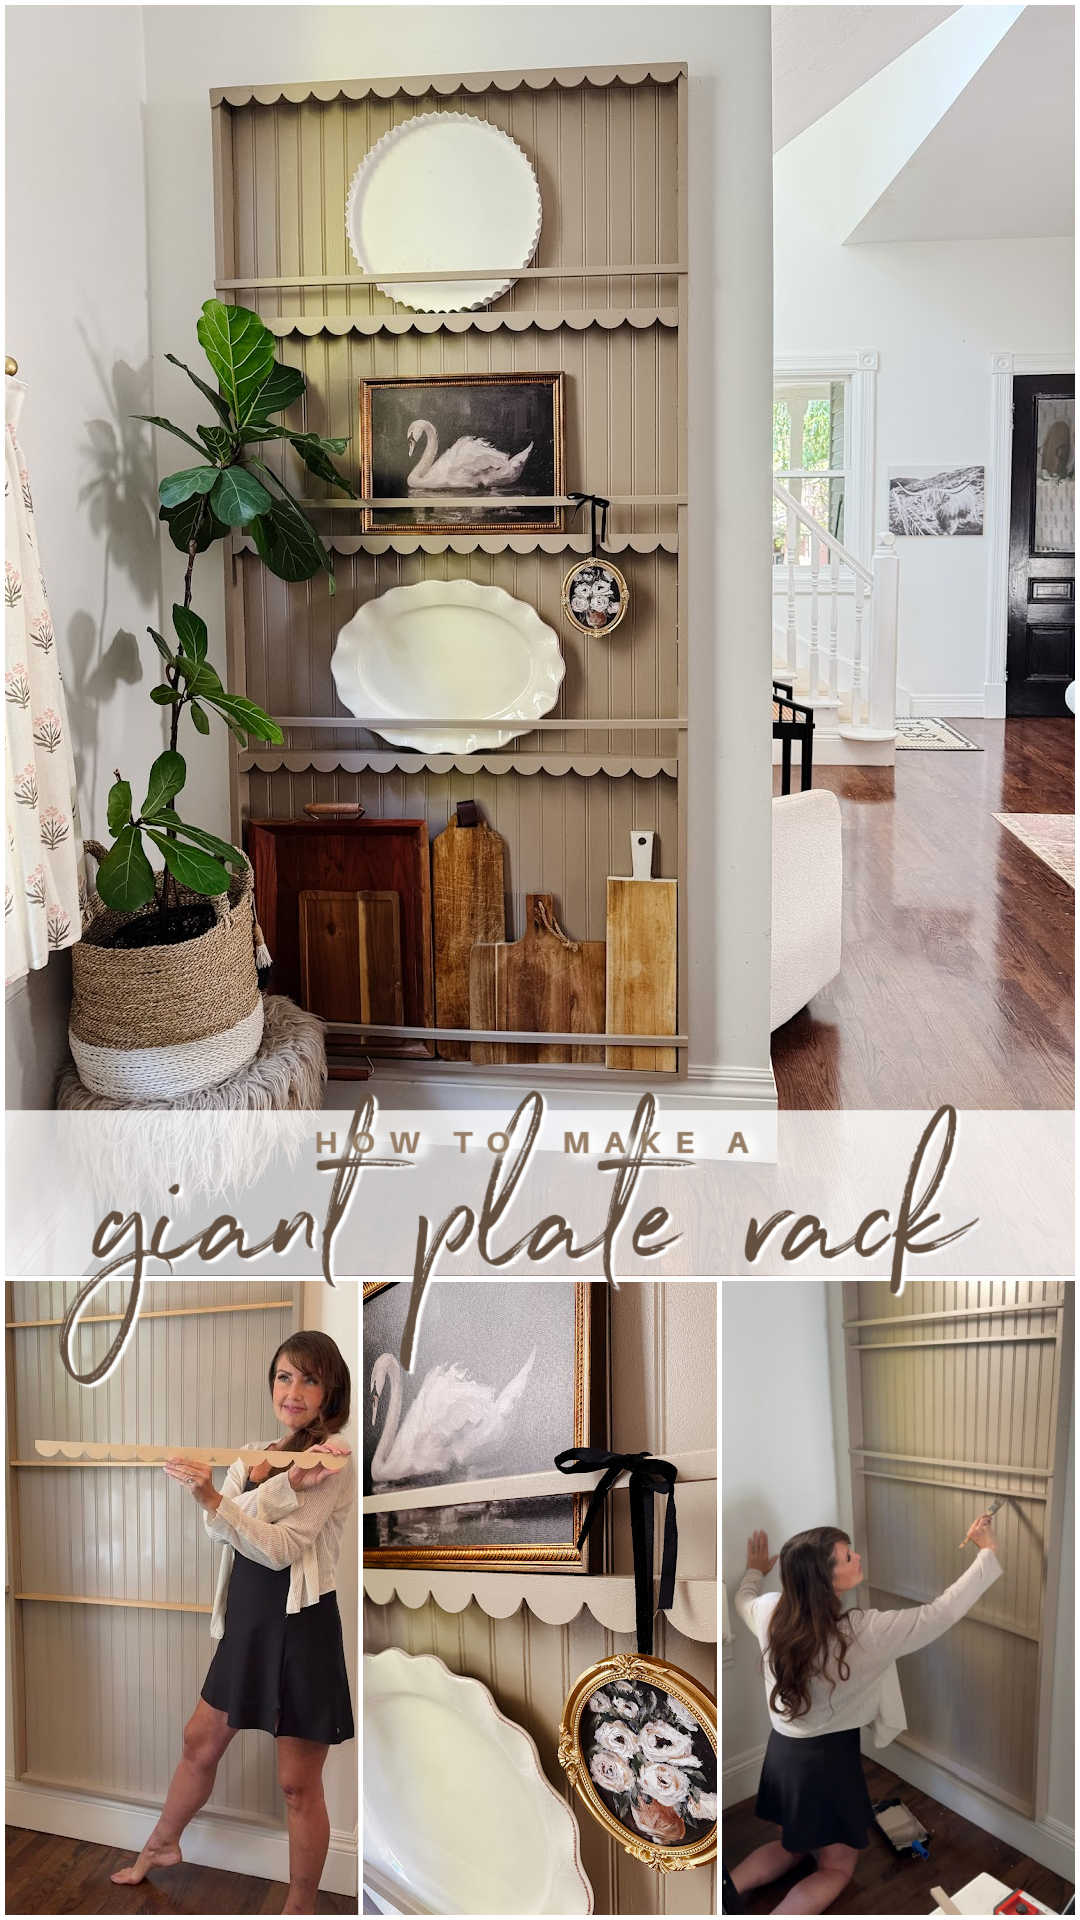
Credit: tatertotsandjello.com
Design Ideas
Making a kitchen rack at home saves space and adds style. You can choose many designs that fit your kitchen size and needs.
Below are some easy ideas to help you create your own kitchen rack. Each design uses simple materials and tools.
Simple Shelves
Simple shelves are easy to build and fit any kitchen. Use wooden planks and strong brackets to hold your items. Paint or stain the wood to match your kitchen style.
- Choose wood that is sturdy and smooth
- Measure the space where you want to install the shelves
- Use metal brackets to support the shelves securely
- Install shelves at different heights for plates and jars
- Add hooks under the shelves for mugs or utensils
Corner Racks
Corner racks use space that often goes unused. They fit nicely into corners and keep your kitchen organized. You can build corner racks with wood or metal.
| Material | Advantages | Best Use |
| Wood | Easy to cut and paint | Lightweight items like spices |
| Metal | Strong and durable | Heavy pots and pans |
| Plastic | Water-resistant | Near sink or wet areas |
Hanging Storage
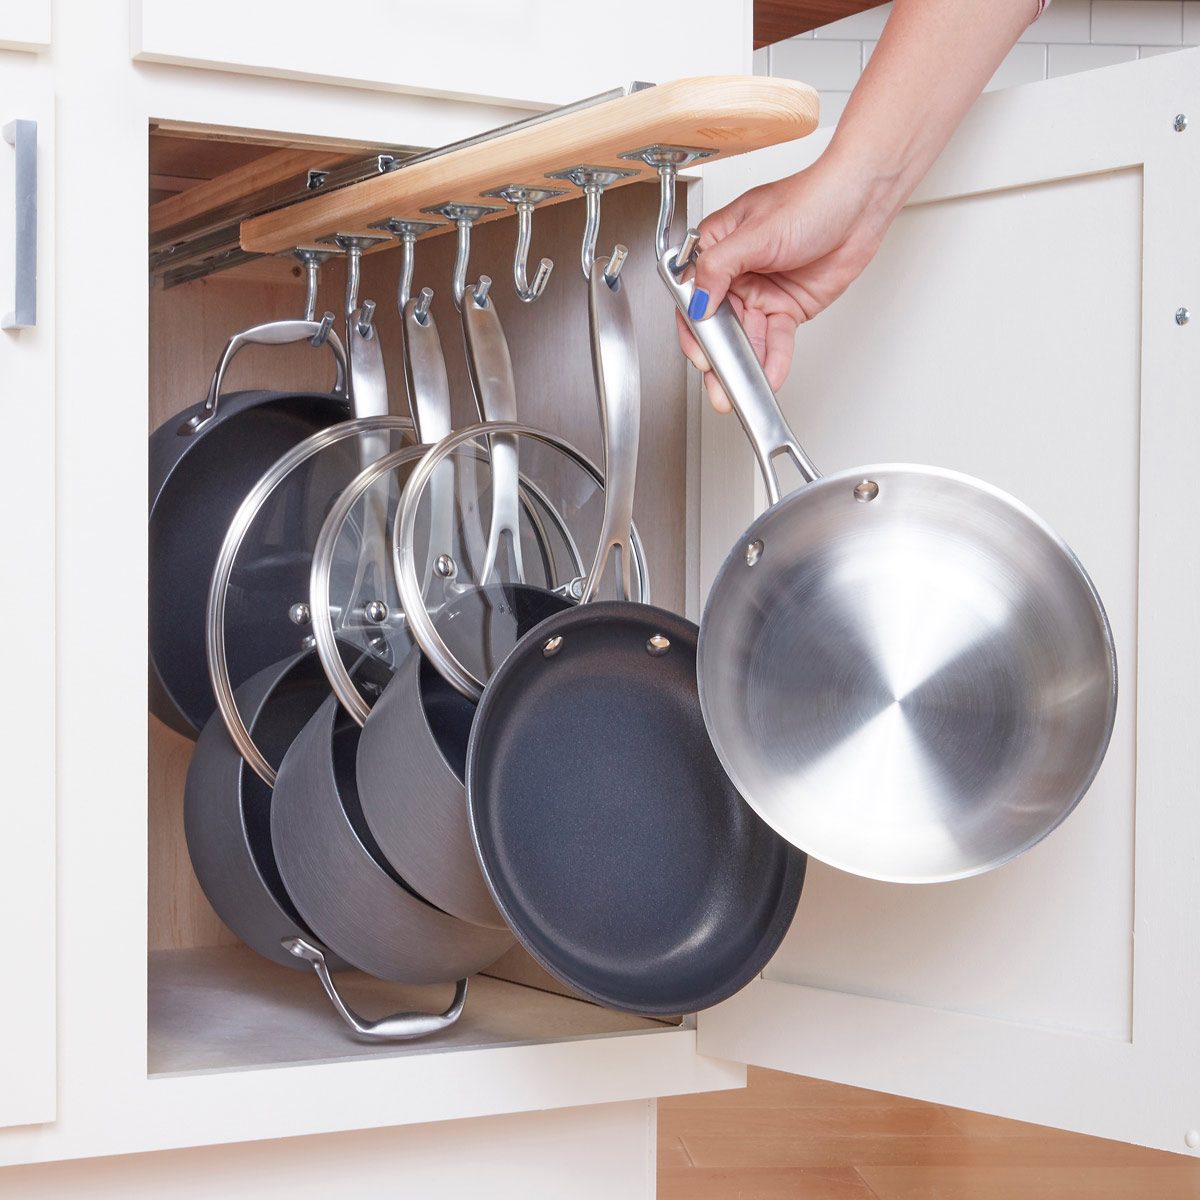
Hanging storage saves counter space and keeps tools handy. You can hang racks from the ceiling or walls. Use hooks, rods, or mesh baskets for different items.
- Install a rod above the kitchen island to hang pots
- Use S-hooks for hanging utensils and ladles
- Attach mesh baskets to walls for storing fruits
- Hang a pegboard to organize cutting boards and tools
Step-by-step Assembly
Making a kitchen rack at home saves space and keeps your kitchen organized. Follow simple steps to build a sturdy rack. This guide will help you assemble the rack easily.
Gather your tools and materials before starting. Measure carefully and work safely to get the best results.
Measuring And Cutting
Start by measuring the space where you want to place the rack. Note the height, width, and depth clearly. Use a tape measure and mark the wood pieces based on your measurements.
- Measure the height of the rack frame.
- Measure the width to fit your kitchen space.
- Mark the wood pieces for vertical and horizontal parts.
- Cut the wood using a saw along the marked lines.
- Sand the edges to smooth any rough parts.
Assembling The Frame
Put together the cut wood pieces to form the rack frame. Use screws and a drill to join the parts firmly. Check that the frame is square and stable before moving on.
| Part | Quantity | Size (inches) | Notes |
| Vertical supports | 4 | 60 x 2 x 1 | Stand the frame upright |
| Horizontal supports | 6 | 30 x 2 x 1 | Attach between vertical supports |
| Back braces | 2 | 30 x 1 x 1 | For added stability |
Attaching Shelves
Fix the shelves to the frame once it is stable. Use nails or screws to hold shelves in place. Make sure they are level and strong enough to hold kitchen items.
- Place the first shelf at the bottom of the frame.
- Secure it with screws on both sides.
- Repeat for the remaining shelves at equal distances.
- Check each shelf for levelness using a spirit level.
- Sand the shelves to remove rough spots.
Credit: www.familyhandyman.com
Finishing Touches
Adding finishing touches makes your kitchen rack look neat and lasts longer. These steps protect the wood and add useful features.
Follow simple methods to sand, paint, and add hooks to complete your kitchen rack project.
Sanding And Smoothing
Start by sanding all surfaces of the rack. Use medium-grit sandpaper to remove rough spots.
Then switch to fine-grit sandpaper to smooth the wood. This helps paint or stain stick better.
- Wear a dust mask to protect your lungs
- Sand in the direction of the wood grain
- Wipe off dust with a clean cloth after sanding
Painting And Staining
Choose paint or stain to match your kitchen style. Paint covers the wood fully, while stain shows the grain.
| Finish Type | Pros | Cons |
|---|---|---|
| Paint | Many colors, covers imperfections | Hides wood grain, may chip over time |
| Stain | Shows natural grain, easy to touch up | Limited color options, less coverage |
Apply paint or stain in thin, even coats. Let each coat dry before adding another.
Adding Hooks And Accessories
Hooks add storage space for utensils and towels. Choose hooks that fit the rack’s style and weight needs.
Tips for placing hooks:
- Measure spacing to fit items you want to hang
- Use screws for strong support
- Install hooks at a comfortable height
Installation Tips
Making a kitchen rack at home is simple with the right installation tips. Proper setup keeps the rack safe and useful.
Follow these tips to install your kitchen rack correctly and make the most of your space.
Wall Mounting
Wall mounting saves floor space and keeps your kitchen organized. Use strong screws and anchors to hold the rack firmly.
Find studs in the wall to mount the rack securely. Avoid weak drywall areas to prevent accidents.
- Use a stud finder to locate studs
- Drill pilot holes for screws
- Choose wall anchors for extra support
- Level the rack before tightening screws
Floor Placement
Place the kitchen rack on a flat, stable floor to avoid wobbling. Check the floor surface before setup.
Use rubber pads under the rack legs to protect the floor and increase grip. Keep the rack away from water sources.
- Find a level spot in your kitchen
- Use anti-slip pads or rubber feet
- Keep rack away from sinks or leaks
- Do not overload the rack with heavy items
Maximizing Space
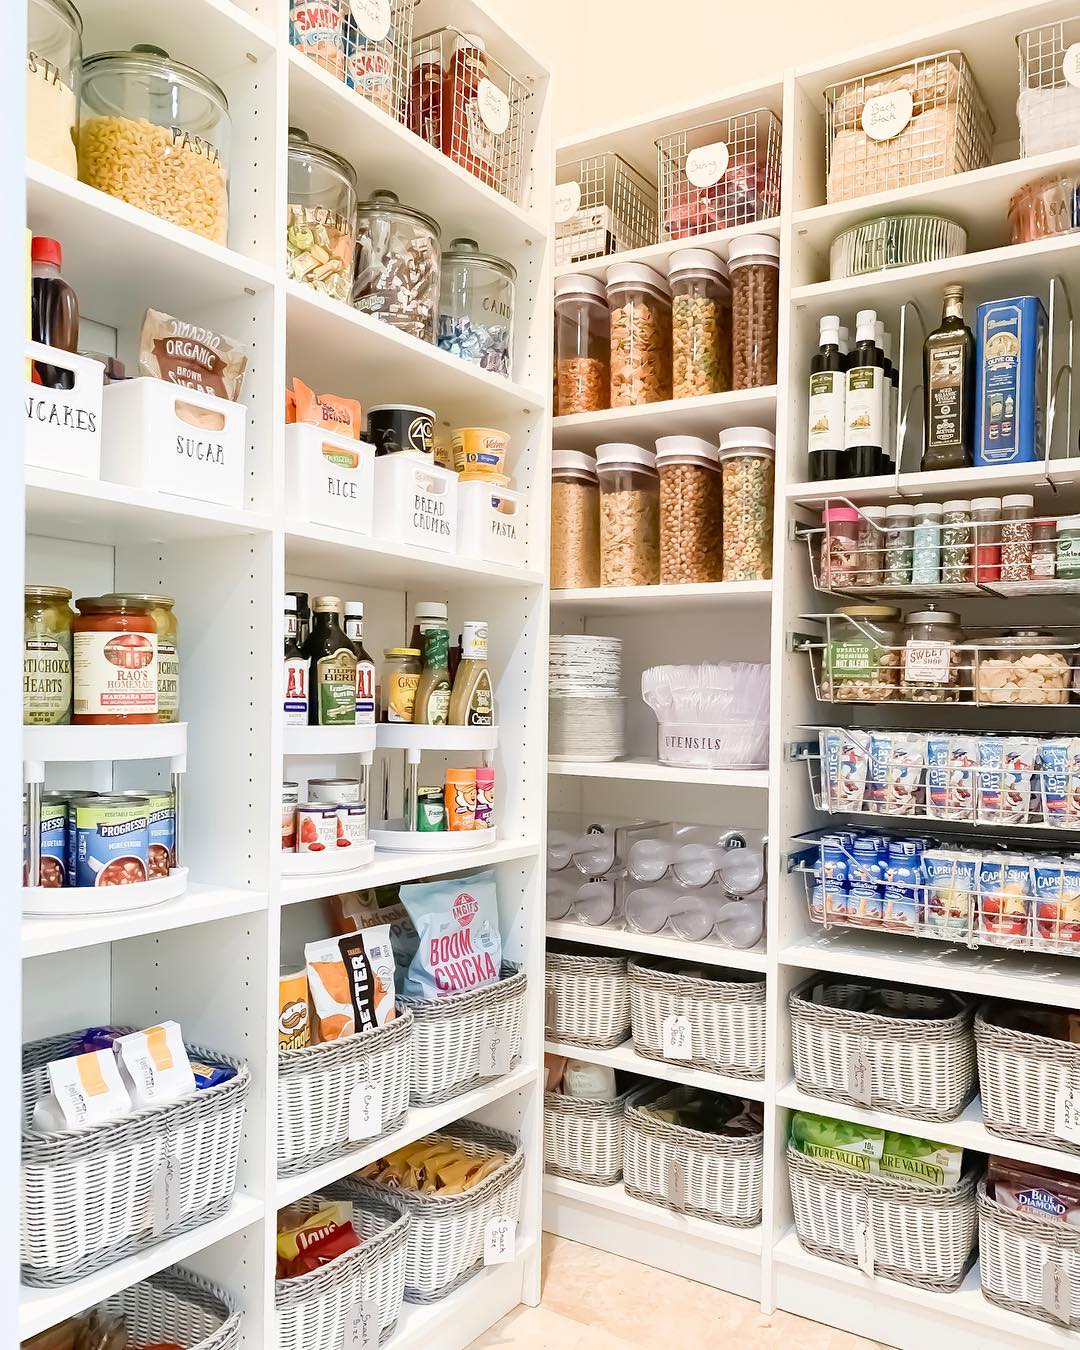
Organize your kitchen rack to use space well. Place frequently used items where you can reach them easily.
Use hooks, baskets, or containers on the rack to keep small items tidy and save room.
- Store heavy items on lower shelves
- Use baskets for spices and utensils
- Hang mugs or towels on hooks
- Label containers for quick access
Maintenance And Care
Keeping your kitchen rack in good shape helps it last longer. Simple care routines prevent damage and wear.
Regular checks and cleaning keep the rack safe and looking fresh. Use easy methods to maintain it at home.
Cleaning Tips
Clean your kitchen rack often to avoid dust and stains. Use mild soap and a soft cloth for best results.
- Wipe surfaces with a damp cloth weekly
- Avoid harsh chemicals that damage the finish
- Dry the rack after cleaning to stop rust or mold
- Use small brushes to clean corners and joints
Repairing Damages
Fix small damages quickly to stop them from growing. Check for loose screws, cracks, or chipped paint regularly.
- Tighten any loose screws or bolts
- Use wood filler for small cracks or holes
- Sand and repaint chipped areas to protect the surface
- Replace broken parts if needed to keep rack stable
Extending Shelf Life
Follow simple habits to make your kitchen rack last longer. Proper care reduces wear and keeps it sturdy.
| Tip | Description |
| Weight Limit | Do not overload shelves to avoid bending or breaking |
| Location | Keep rack away from direct sunlight and moisture |
| Regular Checks | Inspect rack monthly for early signs of damage |
| Protective Coating | Apply varnish or sealant yearly to wooden racks |
Credit: www.extraspace.com
Frequently Asked Questions
What Materials Are Needed To Make A Kitchen Rack At Home?
You need wood or metal, screws, nails, a drill, measuring tape, and paint. Choose materials based on your kitchen style and rack size.
How Long Does It Take To Build A Kitchen Rack?
Building a kitchen rack typically takes 2 to 4 hours, depending on complexity. Preparation and drying time for paint may add extra hours.
Can I Customize The Kitchen Rack Size And Design?
Yes, you can customize the size and design to fit your space. Use adjustable shelving and choose colors to match your kitchen decor.
Is It Cost-effective To Make A Kitchen Rack At Home?
Making a kitchen rack at home is cost-effective. It saves money compared to buying pre-made racks and allows personalized design.
Conclusion
Making a kitchen rack at home saves money and space. You can choose the size and style that fits your needs. Using simple tools and materials makes the process easy. Building your own rack brings satisfaction and a personal touch to your kitchen.
Try it step by step and enjoy a tidy cooking area. Small efforts lead to big changes. Start your project today and see the difference.


