

Transforming your kitchen can be as simple as adding the perfect finishing touch—new drawer pulls. Imagine opening a drawer and feeling the smooth, stylish handle that complements your kitchen’s design.
Whether you’re updating old hardware or installing handles for the first time, this is a small project that makes a big impact. But, are you wondering how to install kitchen drawer pulls seamlessly and professionally? You’re in the right place.
This guide will walk you through each step, ensuring you get it right the first time. Ready to give your kitchen a fresh, updated look? Let’s dive in and get started!

Credit: www.youtube.com
Choosing Drawer Pulls
Choosing the right drawer pulls can change the look of your kitchen. They make drawers easier to open and add style.
Consider the material, size, and style of the pulls. These factors help you match your kitchen design well.
Materials And Finishes
Drawer pulls come in many materials like metal, wood, and plastic. Each material has different finishes to choose from.
- Metal:Durable and common. Includes finishes like chrome, brass, and matte black.
- Wood:Gives a warm, natural look. Can be painted or stained.
- Plastic:Affordable and comes in many colors.
- Mixed materials:Combines metal and wood for a unique style.
Styles And Sizes
Drawer pulls have many styles. Choose one that fits your kitchen’s look and drawer size.
| Style | Description | Best For |
| Bar Pulls | Straight bars with a modern look | Modern kitchens |
| Knobs | Small round or square pulls | Traditional kitchens |
| Cup Pulls | Half-moon shape that fits your fingers | Rustic or farmhouse kitchens |
| Edge Pulls | Minimalist pulls hidden on drawer edges | Contemporary kitchens |
Matching Your Kitchen Decor
Match drawer pulls to your kitchen’s style and colors. Think about cabinets, countertops, and appliances.
Here are tips to match your drawer pulls:
- Choose finishes similar to your cabinet hardware.
- Use colors that contrast or blend with your cabinets.
- Pick styles that fit your kitchen’s theme.
- Consider the size of your drawers for pull size.
Tools And Materials Needed
Installing kitchen drawer pulls needs the right tools and materials. Gathering these first saves time and helps the job go smoothly.
Below are the basic tools, optional tools for better accuracy, and safety gear to keep you protected.
Basic Tools Checklist
- Measuring tape
- Pencil
- Electric drill
- Drill bits (usually 3/16 inch)
- Screwdriver (Phillips or flathead)
- Level
- Screws (usually included with pulls)
Optional Tools For Precision
| Tool | Purpose |
| Center punch | Marks drill spots to prevent slipping |
| Combination square | Ensures right angles and even spacing |
| Clamps | Holds drawer front steady during drilling |
| Template jig | Keeps pull placement consistent |
Safety Gear
Protect yourself with simple safety gear. It helps avoid injuries during drilling and handling tools.
- Safety glasses to protect your eyes
- Work gloves to protect your hands
- Ear protection if using loud power tools
- Dust mask if sanding or creating dust
Preparing Your Drawers
Installing new kitchen drawer pulls makes your cabinets look fresh. Before you start, you must prepare the drawers carefully.
This preparation includes removing old pulls, cleaning surfaces, and measuring for new ones. Each step helps ensure a smooth installation.
Removing Old Pulls
Use a screwdriver to remove the screws holding the old pulls. Keep the screws in case you need them later. Gently pull off the old hardware to avoid damage.
Cleaning And Inspecting Surfaces
Clean the drawer surface to remove dirt and grease. Use mild soap and water with a soft cloth. After cleaning, check for holes or scratches.
- Fill any holes with wood filler
- Sand rough spots gently
- Wipe the surface clean again after repairs
Measuring For New Pulls
Measure the distance between screw holes on the new pulls. Mark these points on the drawer front. Double-check measurements before drilling new holes.
| Measurement Type | How to Measure |
| Center-to-Center | Distance between screw holes |
| Pull Length | Total length of the drawer pull |
| Drawer Front Width | Width of the drawer face |
Marking Drill Points
Marking drill points is key to install kitchen drawer pulls correctly. Accurate marks help avoid mistakes and keep the pulls straight.
Use the right tools and methods to find exact spots for drilling. This guide covers three ways to mark drill points.
Finding The Center
Start by finding the center of the drawer front. Measure the drawer width with a tape measure and divide by two. Mark that spot lightly with a pencil.
Next, measure the height of the drawer front and find the vertical center. Mark it as well. The intersection is the center point for the pull.
Using Templates
Templates make marking drill points easier and faster. They keep holes consistent across drawers.
- Choose a template that matches your pull size and hole spacing.
- Place the template on the drawer front, aligning it with the center marks.
- Hold the template steady and mark the drill holes through it.
- Double-check marks before drilling.
Ensuring Alignment
Alignment is important to keep all pulls level and even. Use a ruler or level tool to check marks.
| Tool | Purpose | How to Use |
| Ruler | Measure distances between marks | Place ruler between marks to confirm equal spacing |
| Level | Check horizontal alignment | Lay level across marks to see if bubble is centered |
| Square | Verify right angles | Align square edges with drawer edges and marks |
Drilling Holes
Installing kitchen drawer pulls requires precise drilling of holes. This makes sure the pulls fit well and stay secure. Drilling holes can be easy if you use the right tools and techniques.
Below are key tips to help you drill perfect holes without damaging your drawers.
Choosing The Right Drill Bit
Select a drill bit that matches the size of the screws for your drawer pulls. Most drawer pulls use screws between 3mm and 5mm in diameter. A drill bit slightly smaller than the screw diameter works best.
- Use a brad point bit for wood for cleaner holes.
- A twist bit works well for most softwoods.
- Pick a drill bit that is sharp and not worn out.
- Check the length of the bit to avoid drilling too deep.
Drilling Techniques
Hold the drill steady and drill straight into the drawer front. Mark the hole locations first with a pencil or awl. Use a clamp to keep the drawer from moving. Drill slowly and with moderate pressure.
- Mark the spot for each hole.
- Place a piece of masking tape over the drill point to reduce splintering.
- Start drilling at low speed to make a guide hole.
- Increase speed gently and drill through the wood.
- Remove the drill bit slowly to keep holes clean.
Preventing Damage
Protect your drawer’s surface and edges while drilling. Avoid cracking or splitting the wood by using the right methods. Here is a table of common problems and how to avoid them.
| Problem | Cause | How to Prevent |
| Wood Splitting | Drilling too fast or near edges | Drill slowly and keep holes away from edges |
| Splintering | Drill bit exits wood too quickly | Use masking tape over hole area |
| Uneven Holes | Drill not held straight | Use a drill guide or clamp to keep steady |
| Hole Too Large | Wrong drill bit size | Match drill bit size to screw diameter |

Credit: atelierdeluxe.online
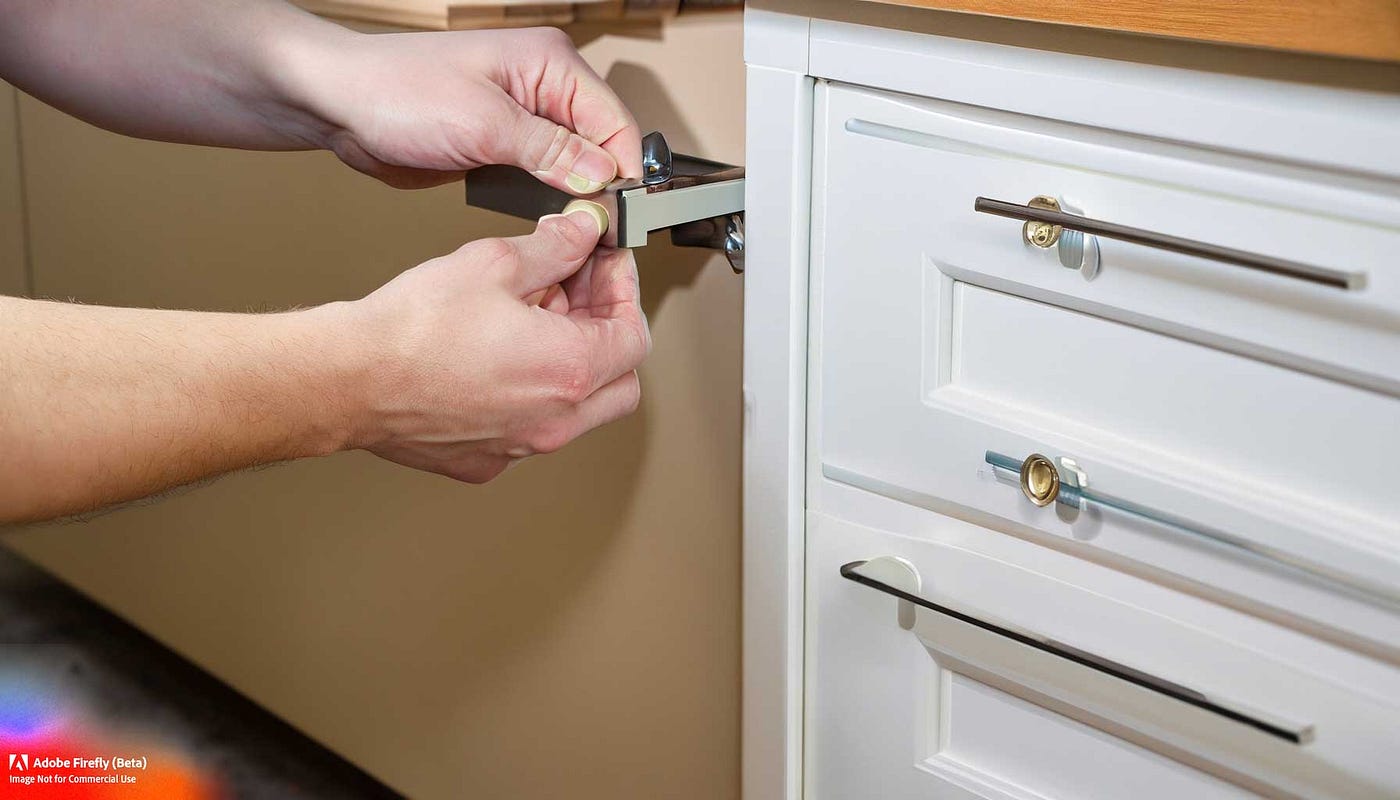
Installing The Pulls
Installing kitchen drawer pulls is a simple way to improve your cabinets. Proper installation keeps them secure and easy to use.
Follow these steps to attach the pulls correctly and check their stability.
Attaching Handles Securely
Place the pull on the drawer front where you want it. Align the screw holes with the pre-drilled holes on the drawer.
Insert the screws through the inside of the drawer and into the pull. Make sure the pull stays straight as you attach it.
Tightening Screws
Use a screwdriver to turn the screws clockwise. Tighten them until the pull is snug but do not over-tighten.
Over-tightening can strip the screws or damage the drawer front. Check that the screws hold the pull firmly in place.
- Tighten screws evenly on both sides
- Stop if you feel resistance
- Check the pull for any movement
Checking For Stability
After tightening, pull the handle gently to test its hold. It should not wiggle or feel loose.
If the pull moves, loosen the screws and try again. Make sure the screws fit the drawer thickness.
Final Touches
After installing kitchen drawer pulls, some final steps ensure they look good and work well. These touches help keep your pulls clean and aligned for lasting use.
Focus on cleaning, adjusting, and protecting the pulls for a polished finish.
Cleaning Residue
Remove any dust, fingerprints, or glue left on the drawer pulls. Use a soft cloth dampened with mild soap and water. Avoid harsh chemicals that may damage the finish.
- Wipe all surfaces gently
- Dry pulls completely to prevent moisture damage
- Check around screws for any leftover debris
Adjusting Alignment
Check if all pulls line up evenly. Misaligned handles can make drawers hard to use and look uneven.
- Open and close each drawer to test the pull’s movement
- Use a screwdriver to loosen screws slightly if needed
- Shift the pull to correct position
- Tighten screws firmly to hold the pull in place
- Measure spacing between pulls to keep them uniform
Adding Protective Coatings
Protect your drawer pulls from wear and tear by applying a clear coating. This step extends their life and keeps them shiny.
| Type of Coating | Purpose | How to Apply |
| Clear lacquer | Protects metal and finish | Spray or brush on thin layers |
| Wax polish | Prevents scratches | Rub on with a soft cloth |
| Oil-based sealant | Seals wood pulls | Apply with a brush, let dry |
Credit: medium.com
Tips For A Professional Look
Installing kitchen drawer pulls can change the look of your kitchen. A neat installation makes your kitchen look clean and stylish.
Follow these tips to get a professional finish that lasts and matches your kitchen design.
Consistent Spacing
Keep the spacing between drawer pulls the same on every drawer. This makes the kitchen look balanced and neat.
Use this simple method to measure spacing:
- Measure the width of the drawer front.
- Decide the distance between the center points of the pulls.
- Mark the spot in the middle of the drawer.
- Use a ruler or tape measure to mark equal distances from the center.
Choosing Complementary Hardware
Pick drawer pulls that match your kitchen’s style and other hardware. The right choice blends well with cabinets and appliances.
| Style | Recommended Pull Type | Finish |
| Modern | Straight bar pulls | Chrome or matte black |
| Traditional | Ornate handles | Antique brass or bronze |
| Rustic | Wood or leather pulls | Natural wood or dark metal |
Maintaining Your Pulls
Clean your drawer pulls regularly to keep them shiny and working well. Avoid harsh chemicals that can damage the finish.
- Wipe pulls with a soft cloth and mild soap
- Dry pulls immediately after cleaning
- Check screws every few months and tighten if needed
- Replace any worn or broken parts quickly
Frequently Asked Questions
How Do I Measure For Kitchen Drawer Pulls?
Measure the distance between screw holes on your drawer front. This is the pull’s center-to-center measurement. Accurate measuring ensures the pulls fit perfectly.
What Tools Are Needed To Install Drawer Pulls?
You need a drill, screwdriver, measuring tape, pencil, and screws. These tools help you mark, drill, and secure the pulls safely.
Can I Install Drawer Pulls Without Drilling New Holes?
Yes, if existing holes match your pull size. Otherwise, you must drill new holes to fit the pulls correctly.
How Do I Align Kitchen Drawer Pulls Evenly?
Use a measuring tape and pencil to mark hole positions. Check alignment with a level for a neat, professional look.
Conclusion
Installing kitchen drawer pulls can be simple and quick. Measure carefully and mark where each pull will go. Use the right tools for a neat finish. Take your time to avoid mistakes. New pulls can refresh your kitchen’s look. Enjoy the satisfaction of your DIY project.
Small changes can make a big difference. Now, your drawers are easier to open and look great too. Try it yourself and see the results!


