
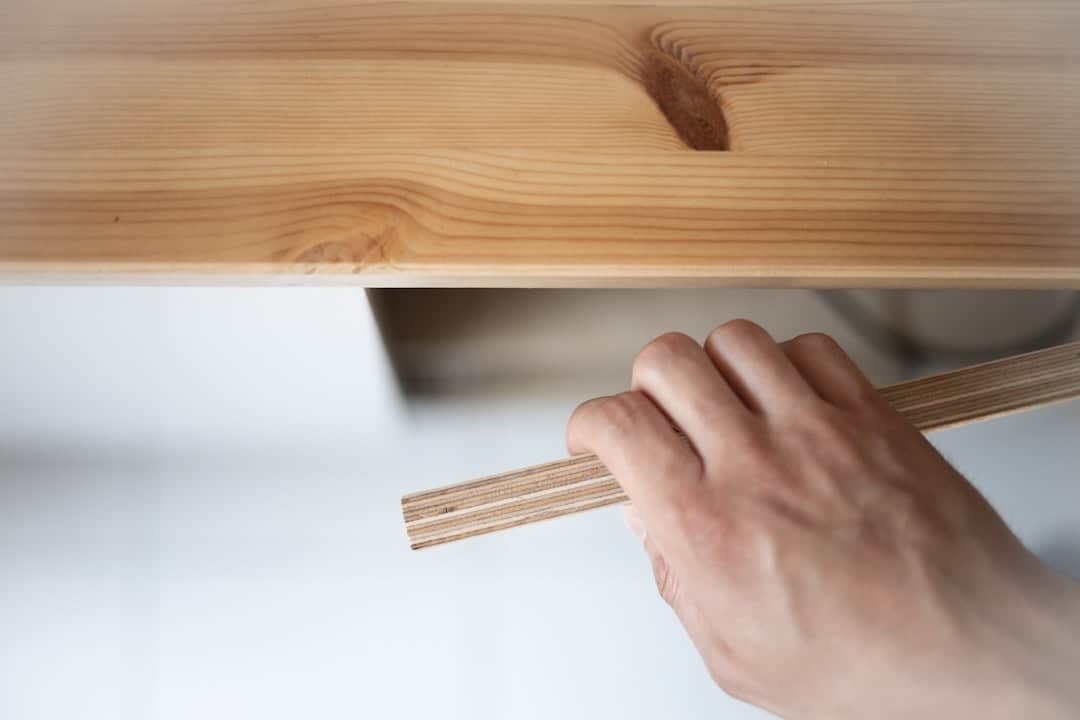
Are you tired of struggling with a cluttered kitchen? Imagine opening a drawer that slides smoothly, revealing neatly organized utensils and tools.
Learning how to install a kitchen drawer might seem daunting at first, but it's simpler than you think. This guide is designed just for you, breaking down the process into easy steps. You'll discover how to enhance your kitchen's functionality and aesthetics effortlessly.
Ready to transform your space and make cooking more enjoyable? Let's dive in and get those drawers in tip-top shape!

Credit: www.magnet.co.uk
Tools And Materials Needed
Installing a kitchen drawer needs the right tools and materials. Having everything ready saves time.
Using proper tools helps the drawer fit well and work smoothly. Let’s look at what you need.
Measuring Tape
A measuring tape helps you check the drawer size and cabinet space. Accurate measurement avoids mistakes.
Use a tape that is easy to read and long enough for your kitchen cabinets.
Screwdriver Or Drill
A screwdriver or drill installs screws that hold the drawer parts. A drill speeds up the work.
- Use a drill with screwdriver bits
- Choose the right size to fit your screws
- Keep batteries charged if cordless
Drawer Slides
Drawer slides help the drawer open and close smoothly. Pick slides that fit your drawer size.
Slides come in different types like side-mount or under-mount. Choose based on your cabinet style.
Screws And Fasteners
Screws and fasteners join the drawer parts and attach slides. Use the correct size for strong holds.
- Wood screws for drawer frame
- Machine screws for metal parts
- Avoid screws that are too long or short
Level
A level ensures the drawer is straight. This helps it slide well and look neat.
Use a small level for inside the cabinet and a longer one for larger drawers.
Pencil And Marker
Mark places for screws and slides with a pencil or marker. Clear marks guide your work.
Choose a pencil that is easy to erase or a marker that is thin and precise.
Clamps
Clamps hold parts together while you fix screws. They keep everything steady and aligned.
Use clamps suitable for the size of your drawer parts. Adjustable clamps work well for many tasks.
Safety Gear
Wear safety glasses to protect your eyes from dust and wood chips. Gloves protect your hands.
- Safety glasses
- Work gloves
- Dust mask if sanding or drilling
Credit: hanashappyhome.com
Preparing The Drawer Space
Installing a kitchen drawer starts with preparing the space carefully. This step helps the drawer fit well and work smoothly.
Proper preparation saves time and avoids damage during installation. Follow these tips to get ready.
Measuring The Cabinet Opening
Measure the width, height, and depth of the cabinet opening. Use a tape measure for accuracy.
Take measurements in several spots. Cabinets can have small differences inside.
- Measure the width at the top, middle, and bottom.
- Check the height from the bottom to the top edge.
- Measure the depth from front to back inside the cabinet.
- Write down the smallest numbers to ensure a good fit.
Clearing The Workspace
Remove any items inside or near the cabinet. Clear space helps you work safely and easily.
Clean the area to remove dust and debris. A clean workspace prevents damage to the drawer parts.
- Take out all dishes, pots, or tools from the cabinet.
- Move nearby furniture or obstacles away from the work area.
- Wipe down the cabinet interior with a damp cloth.
- Make sure you have enough light and room to move.
Selecting The Right Drawer Slides
Choosing the correct drawer slides is important for smooth opening and closing. The right slides support the drawer’s weight and size well.
This guide helps you pick drawer slides that fit your kitchen drawers perfectly.
Types Of Drawer Slides
There are several types of drawer slides. Each type offers different features and installation styles.
- Side-Mounted Slides:Attached on the drawer sides. They are strong and easy to install.
- Under-Mounted Slides:Fixed under the drawer. These slides are hidden and give a clean look.
- Center-Mounted Slides:Fixed under the center of the drawer bottom. They are less common and support light loads.
- Ball Bearing Slides:Use ball bearings for smooth motion. They are durable and handle heavy drawers well.
- Roller Slides:Use plastic or nylon rollers. They are cheaper but less smooth and less durable.
Choosing Based On Drawer Weight And Size
Drawer slides come with weight ratings and sizes. Choose slides that can hold your drawer’s weight and fit its size.
| Drawer Weight | Recommended Slide Type | Weight Capacity |
| Light (up to 50 lbs) | Roller or Center-Mounted Slides | Up to 50 lbs |
| Medium (50 to 100 lbs) | Side-Mounted Ball Bearing Slides | 50 to 100 lbs |
| Heavy (over 100 lbs) | Heavy-Duty Side-Mounted or Under-Mounted Slides | Over 100 lbs |
Installing Drawer Slides
Installing drawer slides correctly makes drawers open smoothly. It also helps the drawer hold weight and last longer.
This guide shows how to place and attach slides to cabinets and drawers step by step.
Marking Slide Placement
Start by marking where the slides will go inside the cabinet. Measure the height carefully to match the drawer size.
- Measure the drawer height and slide length.
- Mark the start and end points on the cabinet walls.
- Use a level to ensure marks are even on both sides.
- Double-check measurements before drilling.
Attaching Slides To Cabinet
Attach the cabinet part of the slide to the marks. Use screws and a drill to fix them firmly.
| Tool | Purpose |
|---|---|
| Power drill | To drive screws quickly |
| Level | To keep slides straight |
| Measuring tape | To mark accurate positions |
| Screwdriver | To tighten screws if needed |
Make sure the slides are flush with the cabinet sides. Test the slide movement before attaching the drawer part.
Fixing Slides To Drawer
Attach the drawer part of the slides to the sides of the drawer box. Align them with the cabinet slides for smooth operation.
- Place the slide on the drawer side.
- Mark screw holes with a pencil.
- Pre-drill holes to avoid wood splitting.
- Screw the slide securely to the drawer.
- Check that the slides line up with the cabinet slides.
Fitting The Drawer
Fitting a kitchen drawer correctly is important for smooth use and durability. This guide helps you install your drawer with care and accuracy.
Start by aligning the drawer with its slides. Then test its movement to ensure it opens and closes easily.
Aligning The Drawer With Slides
Proper alignment keeps the drawer balanced and prevents damage. Check the slides on both sides and adjust if needed.
- Hold the drawer close to the cabinet opening.
- Line up the drawer slides with the cabinet slides.
- Gently push the drawer into the slides.
- Make sure the drawer fits evenly on both sides.
- Adjust the slides if the drawer is crooked or stuck.
Testing Smooth Movement
After fitting the drawer, test how smoothly it moves. This step ensures the drawer works well every time you use it.
| Test | Action | Expected Result |
| Open drawer fully | Pull the drawer all the way out | Drawer slides out smoothly without resistance |
| Close drawer gently | Push the drawer back in slowly | Drawer closes evenly and stops flush with cabinet |
| Side to side check | Move the drawer slightly from side to side | Minimal side play, no wobbling |
| Weight test | Place weight inside and open/close | Movement remains smooth under load |

Credit: www.familyhandyman.com
Adjusting And Securing The Drawer
Installing a kitchen drawer is not complete until it fits and works well. Properly adjusting and securing the drawer ensures smooth operation and long-lasting use.
This guide covers how to fine-tune the drawer alignment and secure all screws and hardware safely.
Fine-tuning Drawer Alignment
Start by checking how the drawer slides in and out. It should move smoothly without sticking or wobbling. Use these tips to adjust it:
- Loosen the screws on the drawer slides slightly to allow movement.
- Push or pull the drawer gently to align it evenly with the cabinet edges.
- Tighten the screws while holding the drawer in the correct position.
- Test the drawer’s movement again to confirm smooth operation.
- If needed, adjust the side or bottom slides to fix any gaps or tilts.
Securing Screws And Hardware
Once the drawer is aligned, secure all screws and hardware tightly. This keeps the drawer stable and safe to use.
| Hardware | Action | Tip |
| Drawer slides | Tighten all mounting screws | Use a screwdriver that fits well to avoid stripping |
| Drawer front | Secure screws attaching front to drawer box | Check for level before fully tightening |
| Handles or knobs | Fasten firmly to prevent loosening | Do not overtighten to avoid damaging wood |
Maintaining Drawer Functionality
Keeping your kitchen drawer working well saves you time and effort. Regular care helps the drawer open and close smoothly.
Simple maintenance steps keep your drawer in good shape for a long time. This guide covers easy ways to maintain it.
Lubrication Tips
Lubricating the drawer slides reduces friction and noise. It makes the drawer glide smoothly every time you open or close it.
Use a silicone spray or a light oil for lubrication. Avoid thick grease that can attract dust and dirt.
- Clean the slides before applying lubricant.
- Apply lubricant evenly along the rails.
- Wipe off any excess to prevent buildup.
- Lubricate every six months or when the drawer feels stiff.
Regular Inspection
Check your drawer often for any loose screws or damaged parts. Early detection prevents bigger problems later.
Inspect the drawer slides, handles, and bottom panel. Tighten screws and fix issues quickly to keep the drawer working well.
- Look for loose or missing screws.
- Check the slides for wear or damage.
- Ensure the drawer sits evenly in the cabinet.
- Replace worn parts as needed.
Frequently Asked Questions
How Do I Measure For A Kitchen Drawer Installation?
Measure the drawer opening width, height, and depth accurately. Ensure the new drawer fits comfortably inside the cabinet space. Double-check measurements to avoid installation issues. Proper measurement helps achieve smooth drawer operation and a professional finish.
What Tools Are Needed To Install A Kitchen Drawer?
You need a drill, screwdriver, tape measure, level, and pencil. These tools help secure drawer slides and align the drawer properly. Using the right tools ensures a sturdy and smooth-operating drawer.
How Do I Attach Drawer Slides Correctly?
Attach slides inside the cabinet first, aligning them level and straight. Then mount the matching part on the drawer sides. Secure with screws and test the drawer movement. Correct alignment prevents sticking and ensures smooth opening and closing.
Can I Install A Kitchen Drawer Without Professional Help?
Yes, with basic tools and careful measurement, you can do it yourself. Follow step-by-step instructions, take your time, and double-check alignment. DIY installation saves money and can be rewarding with proper attention to detail.
Conclusion
Installing a kitchen drawer can be simple with clear steps. Take your time and follow each part carefully. Use the right tools for better results. Check your work often to avoid mistakes. A well-installed drawer adds convenience to your kitchen.
Enjoy the satisfaction of completing the task yourself. Small projects like this build your confidence. Keep practicing to improve your skills. Your kitchen looks nicer and works better now. Simple steps lead to great improvements.


