
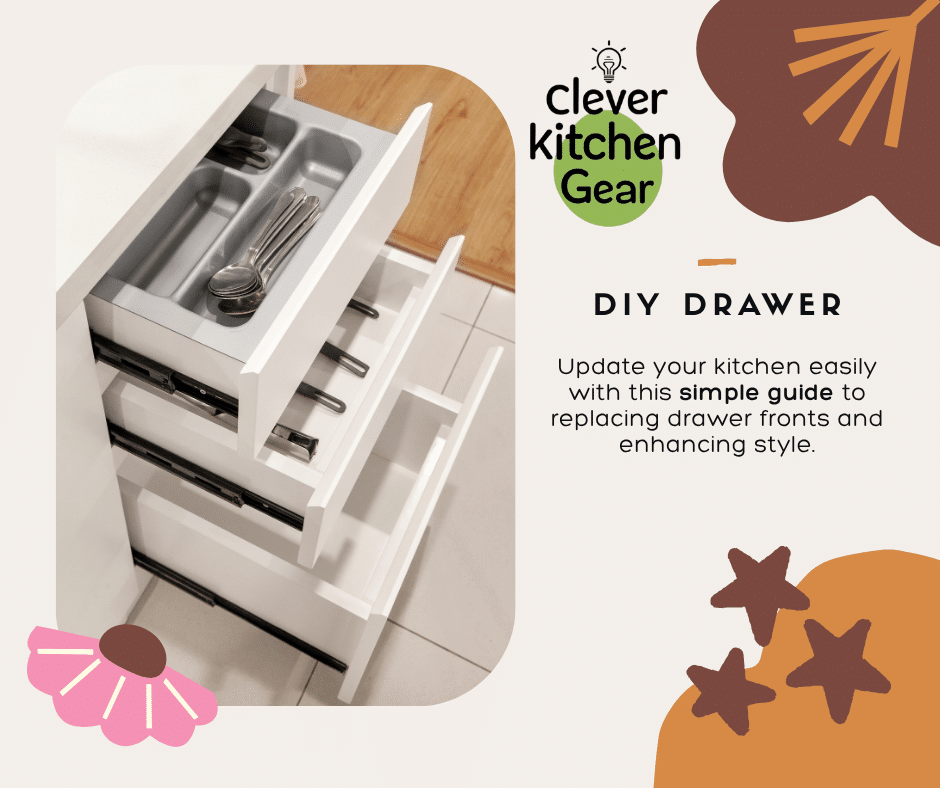
Can You Replace Kitchen Drawer Fronts?
Are your kitchen drawer fronts looking old? Maybe they just look worn out. You do not need a full replacement. You can simply change the drawer fronts. Replacing them is easy and saves money. It gives your kitchen a fresh look.
Do you wonder if you can change them? This article is for you. You will see how simple it is. Update your kitchen easily. Skip the cost of a full remodel. Your kitchen makeover starts now!
Signs You Need New Fronts
Kitchen drawer fronts wear out slowly. It is easy to replace just the fronts. Look for signs that show wear. This keeps your kitchen looking good. It also keeps it working well.
Visible Damage
Look for chips, cracks, or deep scratches. Warping or water stains also mean damage. Damaged fronts make your kitchen look old. They can also cause drawers to stick.
- Deep cuts or scratches appear.
- Paint or laminate starts peeling.
- Wood looks swollen or warped.
- Handles are loose or simply broken.
Outdated Style
Old fronts may not match your style. Tastes and trends always change. Updating fronts refreshes the room. You skip a full kitchen remodel. Choose designs that fit your style today.
- Colors or finishes look old-fashioned.
- Designs clash with appliances.
- Styles look dull or worn out.
Mismatch With Cabinets
Different colors can look very strange. Various materials create a mismatch. Replacing fronts creates a neat, uniform look. This improves the kitchen’s whole appearance.
- Drawer fronts have different wood stains.
- Handles do not match cabinet hardware.
- Materials clash with cabinet doors.
Choosing New Drawer Fronts
Changing fronts refreshes your whole kitchen. Pick the right fronts for the best look. This guide covers measuring and materials. It also helps you match your style.
Measure for Accuracy
Precise measurements ensure a perfect fit. Carefully measure the width and height.
- Remove the front to measure it directly.
- Use a metal tape for best precision.
- Record size in inches or millimeters.
- Check the thickness of the front piece.
- Note where the mounting holes sit.
Material Options
Drawer fronts use many materials. Pick one that fits your budget and use.
| Material | Durability | Appearance |
| Solid Wood | High | Natural, warm look. |
| MDF with Veneer | Medium | Smooth, consistent finish. |
| Laminate | Good | Many patterns and colors. |
| Thermofoil | Medium | Glossy or matte finish. |
Match Your Kitchen Style
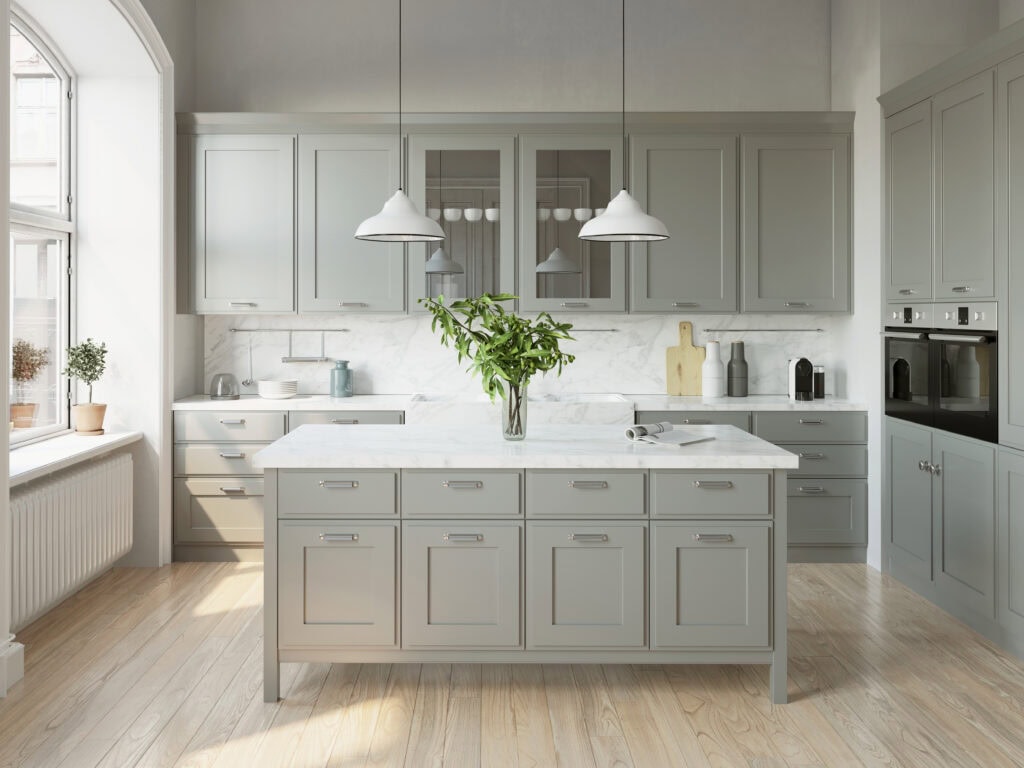
New fronts must match your kitchen style. Think about color, design, and hardware.
- Choose colors that blend with cabinets.
- Pick shaker, flat, or raised panel styles.
- Decide on matte, glossy, or textured finish.
- Match or update knobs and handles.
Tools and Materials Needed
Replacing fronts completely changes the look. You need the right tools to do it well. This guide helps you gather what is needed. Having tools ready makes work easier. Safety gear makes the job safer. Let us start with basic tools.
Basic Tools List
You need common tools for this job. They remove old fronts and attach new ones. These tools help you work fast and safely.
- Screwdriver (Phillips and flathead).
- Power drill with several bits.
- Measuring tape or a ruler.
- Clamps to hold fronts in place.
- Level to ensure straight lines.
- Hammer or a rubber mallet.
- Wood glue (optional for more hold).
- Chisel or a utility knife.
Recommended Materials
Choose quality materials for the new fronts. Good materials last longer and look better.
- Replacement fronts (wood, MDF, or laminate).
- Drawer front screws (check the size).
- Sandpaper for smoothing rough edges.
- Wood filler to fix any small holes.
- Paint or stain if you change the color.
- Clear coat or sealant for protection.
Safety Gear
Protect yourself while working. Safety gear prevents injuries from dust and tools.
- Safety glasses protect your eyes.
- Work gloves protect your hands.
- Dust mask stops you from breathing dust.
- Ear protection helps with loud tools.
- Wear closed-toe shoes for safety.
Credit: madcitywindows.com
Removing Old Drawer Fronts
Start by removing the old fronts with care. This prevents damage to the drawers. It ensures the new fronts fit right. Follow these steps to prepare the surface.
Detach Drawers Safely
Pull the drawer out gently first. You need to see the screws and clips. Check if the drawer has any clips. These clips keep it in place. Remove them with care to prevent damage.
-
Pull the drawer straight, do not force it.
-
Look for clips or stops on the rails.
-
Release clips by lifting or pressing.
-
Support the drawer to avoid dropping it.
Unscrew Drawer Fronts
Most fronts attach with screws from inside. Use a screwdriver to remove these screws slowly. Save the screws if you plan to reuse them.
Prepare the Surfaces
Clean the surfaces after removing the fronts. Remove old glue, dirt, and loose paint. Smooth the surface with sandpaper if needed. This step helps the new front stick better.
-
Use mild soap to clean off dirt.
-
Gently scrape old glue with plastic.
-
Sand rough areas with fine sandpaper.
-
Wipe with a dry cloth before installing.
Installing New Drawer Fronts
Replacing fronts gives your cabinets a new look. Installing new fronts is simple DIY work. Correct installation means neat, smooth drawers. Follow these steps to fit your new fronts.
Align and Position
Place the new front on the drawer box. Line it up evenly with cabinet edges. Check the gaps around the front. They must be consistent. Use tape or clamps to hold the front.
-
Hold the front even with cabinet sides.
-
Keep equal space between drawers.
-
Use a level for straight alignment.
Secure with Screws
Screw the front to the drawer box from inside. Use screws that are the correct length. This prevents any damage. Pre-drill holes to stop the wood from splitting. Tighten all screws evenly to hold the front flat.
-
Use wood screws, about 1.5 inches long.
-
Drill pilot holes before you screw.
-
Secure screws from inside the drawer box.
Adjust for Perfect Fit
Open and close the drawer after screwing. Check the fit. Adjust screws if the drawer sticks. Make small changes and test again. The drawer must move smoothly. It should look even with others.
-
Loosen screws to shift the front.
-
Check alignment after each change.
-
Ensure the drawer slides without rubbing.

Credit: www.youtube.com
Finishing Touches
New drawer fronts change your kitchen look. Finishing touches complete the project well. These small things improve both function and style. Focus on hardware and cleaning. This adds to the durability.
Add Handles or Knobs
Hardware gives fronts a finished look. They also make opening drawers easy. Pick hardware that fits your style. Choose one that fits your budget.
-
Select handles that match your design.
-
Measure carefully to align all holes.
-
Use screws and a drill to attach hardware.
-
Test handles to ensure comfort.
Touch-up Paint or Stain
Touch-up work improves the new fronts’ look. It hides any scratches or bad color. Use paint that matches the original.
Cleaning and Care Tips
Keep your new fronts clean. Regular cleaning removes grease and dirt. Proper care extends their life.
-
Use a soft cloth and mild soap.
-
Wipe up spills fast to avoid stains.
-
Avoid rough cleaners that harm the finish.
-
Dry all surfaces well after cleaning.
-
Use furniture polish sometimes for shine.
Common Mistakes to Avoid
Replacing fronts updates your kitchen well. Avoid simple errors for good results. Mistakes cause problems later. Knowing what to avoid saves time and money. Here are common errors and how to stop them.
Wrong Measurements
Wrong measurements are a big mistake. The front will not fit well. This causes gaps. It can stop the drawer from opening.
-
Measure height and width carefully.
-
Use a metal tape for accuracy.
-
Measure twice to confirm the size.
-
Note any damaged or uneven edges.
-
Write down all measurements clearly.
Poor Alignment
Bad alignment makes the front look crooked. It may not close correctly. This happens if screws are not straight.
Using Wrong Tools
Wrong tools damage the front. They slow down your work. For example, a wrong drill bit cracks the wood.
-
Use a drill with the correct bit size.
-
Have a good screwdriver that fits screws.
-
Use clamps to hold the front steady.
-
Use a level and measuring tape.
-
A power sander smooths edges easily.

Credit: granitetransformations.co.uk
When to Call a Professional
Replacing fronts is usually easy. Sometimes you need expert help. Knowing when to call a pro saves money. Some problems need more than basic fixes. A pro handles big issues safely.
Complex Designs
Unique shapes are hard to replace. Decorative details are tricky to match. Mistakes can ruin the look.
-
Curved or rounded fronts.
-
Custom paint or finishes.
-
Wood patterns that are inlaid.
-
Designs with multiple panels.
Structural Issues
The cabinet or drawer frame may be damaged. Repairing this needs skill. A pro can safely fix the structure.
Lack of DIY Experience
Call a pro if you doubt your skills. This work needs care and precision. Mistakes cost more to fix later. Hire a pro if you:
-
Have never used woodworking tools.
-
Do not own the right tools needed.
-
Find the measurements confusing.
-
Want a quick, clean result.
Frequently Asked Questions
Can I replace drawer fronts myself?
Yes, you can do this job yourself. You need basic tools and good measuring skills. Buy fronts that match your size and style.
How much does replacing fronts cost?
It costs about $50 to $200 per front. Cost changes with material and style. DIY work saves a lot of money.
What tools do I need?
You need a drill, screwdriver, and tape measure. Clamps and sandpaper are also useful. Proper tools ensure easy, accurate installation.
Can I match the fronts to my cabinets?
Yes, you can customize the fronts. Choose materials and colors that blend well. This makes a smooth, cohesive kitchen design.
Conclusion
Changing kitchen drawer fronts is easy. It gives a simple, effective upgrade. This transforms your kitchen’s look. You can choose many finishes and styles. Customization is easy and fun. Measure very carefully for the best fit. Basic tools are usually enough for this job. This project saves money over a full remodel. Enjoy your refreshed kitchen space. A new look awaits your kitchen today. Start your easy kitchen makeover now!



