
Are you tired of looking at the same old kitchen drawer fronts every day? Changing them can breathe new life into your space without the need for a complete remodel.
Imagine a kitchen that reflects your style, making cooking and entertaining even more enjoyable. This simple update can transform your kitchen’s look and feel, boosting your home’s appeal and maybe even your mood. You’ll discover how easy it is to swap out those outdated fronts with fresh, modern ones.
Stick with us, and you’ll be amazed at the transformation you can achieve with just a few simple steps. Ready to give your kitchen the facelift it deserves? Let’s dive in!
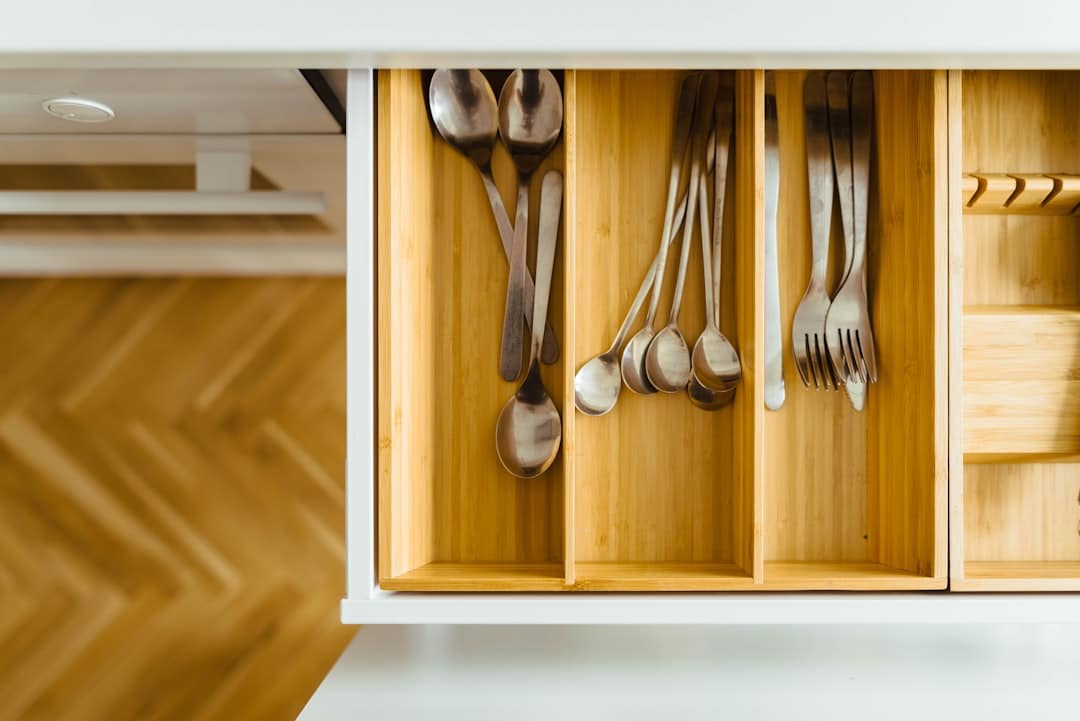
Credit: www.hgtv.com
Tools And Materials Needed
Changing kitchen drawer fronts is a simple way to update your kitchen’s look. You need the right tools and materials for the job.
This guide covers essential tools, how to choose new drawer fronts, and safety gear to protect yourself.
Essential Tools
You need some basic tools to remove old drawer fronts and install new ones. Having the right tools makes the work easier and faster.
- Screwdriver set (both flathead and Phillips)
- Power drill with drill bits
- Measuring tape
- Level
- Clamps to hold drawer fronts in place
- Pencil for marking
- Putty knife to remove old hardware or paint
- Sandpaper for smoothing surfaces
Choosing New Drawer Fronts
Select new drawer fronts that match your kitchen style and size. Measure your current drawers before buying new fronts.
Materials include wood, MDF, or laminate. Pick a finish that suits your cabinets and is easy to clean.
- Measure width, height, and thickness of old fronts
- Choose a style like flat, raised panel, or shaker
- Pick a durable material and finish
- Order fronts with pre-drilled holes if possible
Safety Gear
Safety gear protects you from injuries while working on your drawers. Always wear safety equipment before starting.
Use gloves to protect your hands and safety glasses to shield your eyes from dust or wood chips.
- Work gloves to avoid cuts and splinters
- Safety glasses to protect eyes
- Dust mask if sanding or drilling generates dust
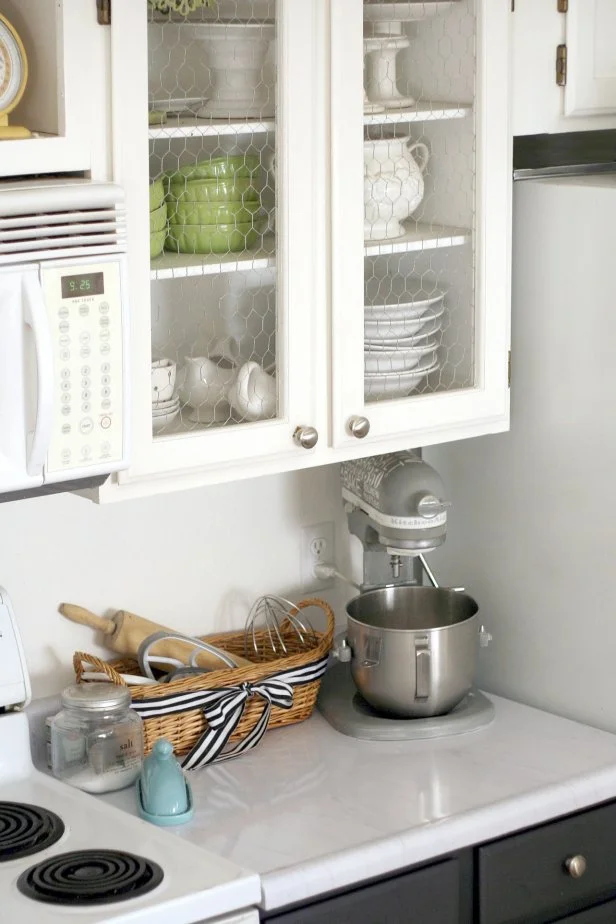
Credit: clickhere.medium.com
Preparing Your Workspace
Changing kitchen drawer fronts needs a clean and safe workspace. Take time to prepare your area well before starting.
A tidy space helps you work faster and avoid damage to your kitchen or tools.
Clearing The Area
Remove any items near the drawers you will work on. This gives you room to move and prevents accidents.
- Move small appliances off the countertop.
- Clear dishes and utensils from nearby surfaces.
- Keep pets and children away from the work zone.
- Lay down a drop cloth to catch dust or debris.
Removing Drawer Contents
Empty each drawer completely before you remove the fronts. This prevents items from falling or getting lost.
- Pull the drawer out gently.
- Take out all contents and set them aside.
- Check for any loose items stuck inside.
- Place the contents in labeled containers if needed.
Protecting Surroundings
Protect kitchen surfaces and walls to avoid scratches and stains during the work.
| Area | Protection Method |
|---|---|
| Countertops | Cover with thick cloth or cardboard |
| Floor | Use drop cloth or plastic sheeting |
| Nearby Cabinets | Apply painter’s tape on edges |
| Wall behind drawers | Hang a protective sheet or cardboard |
Removing Old Drawer Fronts
Changing kitchen drawer fronts can give your kitchen a fresh look. The first step is to remove the old drawer fronts carefully.
Removing drawer fronts requires some basic tools and patience. Follow the steps to avoid damage.
Locating Screws And Fasteners
Most drawer fronts are attached with screws or fasteners. These are usually found inside the drawer box.
Open the drawer fully and look on the sides or back of the drawer front. Sometimes screws are hidden under stickers or paint.
- Check the inside edges of the drawer box
- Look for small screws or clips holding the front
- Use a flashlight if the space is dark
- Remove any coverings hiding the screws
Detaching Drawer Fronts
Once you find the screws, use a screwdriver to remove them. Keep the screws safe for later use.
After all screws are out, gently pull the drawer front away from the drawer box. Do this slowly to avoid breaking the wood.
- Remove screws completely before pulling
- Hold the drawer box steady
- Pull straight to avoid damage
- Set the old front aside carefully
Handling Stubborn Fronts
Sometimes drawer fronts stick because of glue or paint. Use a flat tool like a putty knife to help loosen them.
Work slowly around the edges. Avoid using too much force to prevent cracks or chips.
- Gently slide a putty knife between the front and box
- Move the tool slowly along the edges
- Use a little heat to soften glue if needed
- Wear gloves to protect your hands
Measuring And Aligning New Fronts
Changing kitchen drawer fronts needs careful measuring and aligning. This ensures new fronts fit well and look good.
Focus on getting exact measurements and marks before drilling. Check alignment to keep everything straight and even.
Taking Accurate Measurements
Measure the width and height of the existing drawer front. Use a tape measure for best accuracy.
Write down measurements clearly. Double-check to avoid mistakes that cause poor fitting.
- Measure from edge to edge on all sides
- Note the thickness of the drawer front
- Check if any handles or knobs need space
Marking Drill Points
Mark where screws will go on the new drawer front. Use the old front as a guide for drilling points.
Use a pencil and ruler to make small marks. Keep marks light so they erase if needed.
- Align the new front with the drawer box
- Mark all screw holes clearly
- Double-check distances between marks
Checking Alignment
Place the new front on the drawer without screws first. Check if it fits evenly on all sides.
Look for gaps or uneven edges. Adjust the position until it looks straight and balanced.
- Use a level to check horizontal alignment
- Make sure edges line up with other drawers
- Confirm marks match the drawer box holes
Attaching New Drawer Fronts
Replacing kitchen drawer fronts can refresh your cabinets. Attaching new fronts is a key step in this process.
Proper attachment ensures the drawer fronts look even and work well. Follow the steps carefully to avoid mistakes.
Pre-drilling Holes
Pre-drilling holes helps prevent the wood from splitting. Mark where the screws will go before drilling.
- Measure and mark screw positions on the drawer front.
- Use a drill bit slightly smaller than the screws.
- Drill straight holes at the marked spots.
- Check that the holes line up with the drawer box.
Securing Fronts With Screws
Use screws to attach the drawer front firmly. Tighten screws evenly to avoid shifting the front.
| Type of Screw | Recommended Length |
| Wood screws | 1 to 1.5 inches |
| Sheet metal screws | 1 inch |
| Confirmat screws | 1.25 inches |
Adjusting For Fit
Make small adjustments to ensure the drawer front fits perfectly. Check gaps and alignment on all sides.
- Loosen screws slightly if the front is misaligned.
- Shift the drawer front gently to the desired position.
- Tighten screws firmly once aligned.
- Open and close the drawer to test smooth movement.
Finishing Touches
After changing your kitchen drawer fronts, finishing touches make a big difference. These steps help your drawers look neat and work well.
Follow these simple actions to complete the project and enjoy your updated kitchen.
Installing Handles Or Knobs
Choose handles or knobs that match your kitchen style. Use a drill and screws to attach them firmly. Align each handle so they look even across all drawers.
- Measure the center of each drawer front
- Mark drill points carefully
- Drill holes without cracking the wood
- Attach handles or knobs securely with screws
- Check that each handle is tight and straight
Cleaning Up
Cleaning up removes dust and debris left from installation. Wipe down drawer fronts and surrounding areas. Use a vacuum or brush to clear out inside the drawers.
| Cleaning Tool | Purpose | Tips |
| Microfiber Cloth | Remove dust from surfaces | Use damp cloth for sticky spots |
| Vacuum Cleaner | Clean inside drawers and cabinet edges | Use brush attachment for corners |
| Soft Brush | Clear debris from small crevices | Brush gently to avoid scratches |
Final Inspection
Check all drawer fronts for proper alignment. Open and close each drawer to test smooth movement. Tighten any loose screws and fix small issues.
Checklist for Final Inspection:
- Drawer fronts aligned evenly
- Handles or knobs secure and straight
- Drawers open and close smoothly
- No visible damage or scratches
- Workspace clean and free of tools
Tips For A Professional Look
Changing kitchen drawer fronts can refresh your space quickly. Doing it right gives a neat, polished look.
Use simple tips to get a professional finish. Pay attention to style, function, and common errors.
Matching Styles And Colors
Choose drawer fronts that match your kitchen’s style. Look at cabinet designs and overall color schemes.
- Pick colors close to your cabinets or walls.
- Use wood tones that blend well with existing surfaces.
- Match hardware style, like handles or knobs.
- Keep the finish smooth and even on all fronts.
Maintaining Drawer Functionality
Drawer fronts must open and close easily. Check measurements and hardware before installing new fronts.
| Tip | Details |
| Measure Carefully | Measure height, width, and depth of old fronts. |
| Check Hinges | Use the same hinge type or upgrade to match new fronts. |
| Test Fit | Place fronts on drawers before final fixing. |
| Allow Space | Leave small gaps for smooth opening and closing. |
Common Mistakes To Avoid
Some errors ruin the look or function of drawer fronts. Watch out for these common problems.
- Using mismatched paint or stain that clashes with cabinets.
- Ignoring drawer size and buying fronts that don’t fit.
- Skipping sanding or prepping surfaces before painting.
- Not tightening screws properly, causing loose fronts.
- Forgetting to test drawer movement after installation.

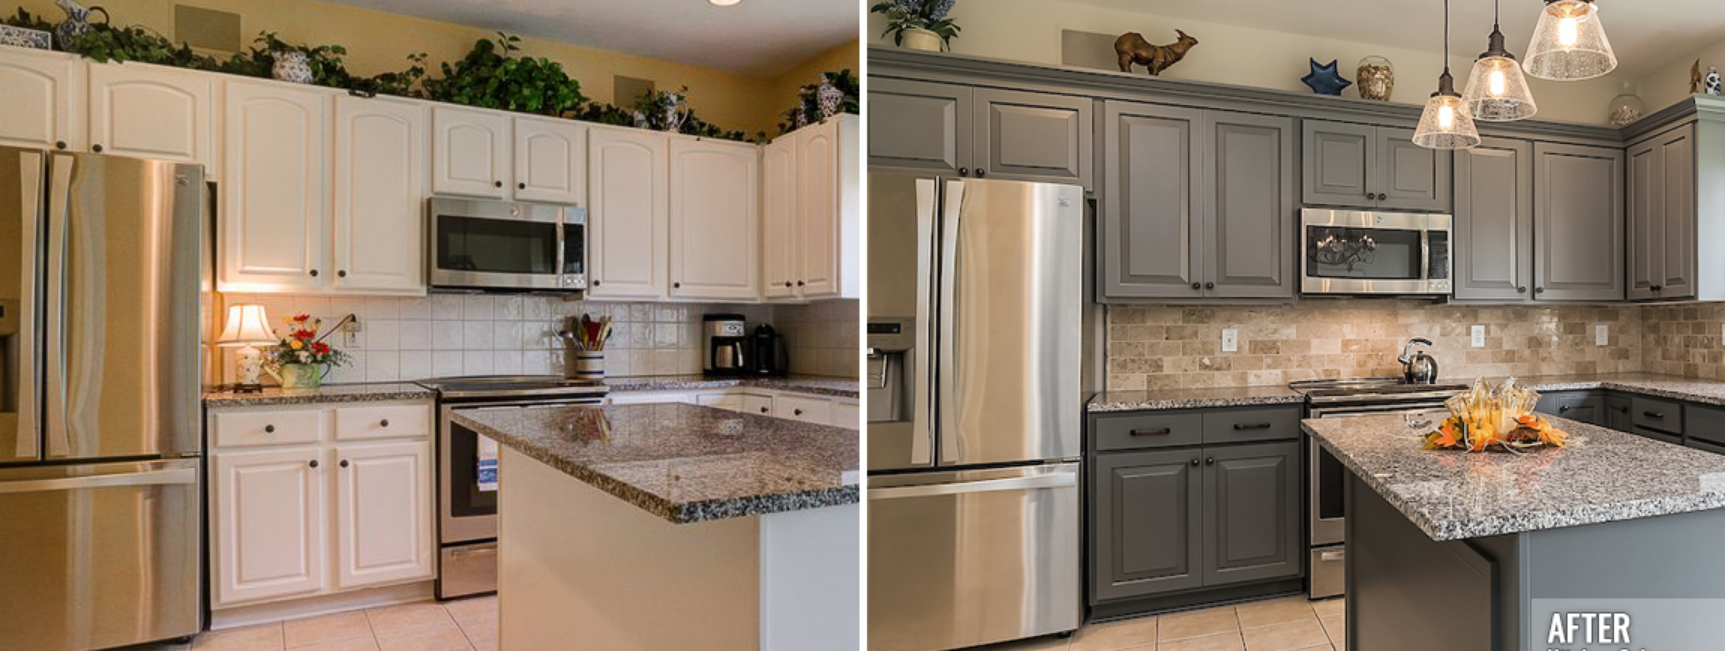
Credit: www.familyhandyman.com
Frequently Asked Questions
How Do I Remove Old Kitchen Drawer Fronts Safely?
To remove old drawer fronts, first take out the drawers completely. Unscrew the mounting screws inside the drawer box. Gently pull the drawer front away to avoid damaging it or the drawer box.
What Tools Are Needed To Change Kitchen Drawer Fronts?
You will need a screwdriver, drill, measuring tape, clamps, and new drawer fronts. A level helps ensure fronts are aligned. Sandpaper and paint might be needed for finishing touches.
How Do I Measure For New Kitchen Drawer Fronts?
Measure the width and height of the existing drawer fronts. Note the thickness and position of mounting holes. Accurate measurements prevent fitting issues with the new fronts.
Can I Paint Kitchen Drawer Fronts Instead Of Replacing?
Yes, painting is a cost-effective way to refresh drawer fronts. Sand and clean the surface before applying primer and paint. Use durable paint suitable for kitchen environments.
Conclusion
Changing kitchen drawer fronts can refresh your space quickly. Choose the right style and color for your kitchen. Measure carefully to ensure a perfect fit every time. Use basic tools to remove old fronts and attach new ones. Take your time and work step by step.
Small changes can make a big difference in your kitchen’s look. Enjoy the new feel of your updated drawers. Simple updates like this add value and charm to your home. Try it yourself and see how easy it can be!


