
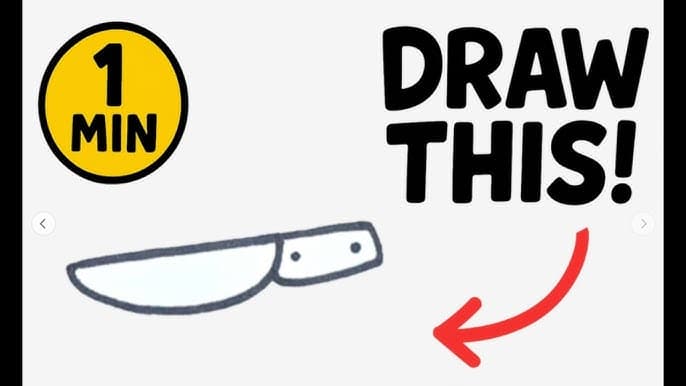
Have you ever wanted to capture the sleek elegance of a kitchen knife on paper? Drawing a kitchen knife might seem simple at first, but the devil is in the details.
Whether you're an aspiring artist or just looking for a fun and creative way to spend your time, learning how to draw a kitchen knife can be both rewarding and surprisingly therapeutic. Imagine being able to create a realistic representation that jumps off the page and catches the eye.
In this guide, you'll discover the step-by-step process to sketch a kitchen knife with precision and flair. Get ready to impress yourself and others with your newfound drawing skills. Let's dive into the art of bringing a kitchen essential to life on your canvas.
Tools And Materials
Drawing a kitchen knife needs the right tools and materials. These help you create clear and detailed artwork.
Choosing good supplies makes your drawing easier and looks better. Let’s look at what you need.
Choosing The Right Paper
Paper quality changes how your drawing looks. Pick paper that holds pencil marks well and does not tear.
Thicker paper works best for detailed knife drawings. Smooth texture helps with fine lines and shading.
- Use drawing paper with medium thickness (around 80-120 gsm)
- Smooth or vellum texture works well for pencils
- Avoid very rough paper to keep details sharp
Essential Drawing Tools
Basic drawing tools include pencils, erasers, and rulers. These help you sketch the knife shape and details.
Start with pencils of different hardness to get lines and shading right. A ruler keeps edges straight.
- Graphite pencils: HB for outlines, 2B or 4B for shading
- Good quality eraser to fix mistakes
- Ruler to draw straight lines for the knife blade
- Sharpener to keep pencil tips fine
Optional Supplies For Details
Extra supplies can add detail and texture to your knife drawing. These are not required but improve the final look.
Blending tools and fine pens help create smooth shading and sharp lines. Use them carefully for best results.
- Blending stumps or tortillons for smooth shading
- Fine-tip ink pens for outlining and small details
- Colored pencils to add color to the knife handle or blade
- White gel pen for highlights and reflections
Basic Shapes And Structure
Drawing a kitchen knife starts with simple shapes. This helps you create the right structure for the knife.
Focus on the main parts: the blade and the handle. Use basic forms to guide your drawing.
Sketching The Outline
Begin by drawing a long rectangle for the blade. This shape shows the knife’s length and width.
Next, add a smaller rectangle or oval for the handle. Place it at one end of the blade shape.
- Use light pencil strokes to draw shapes
- Keep lines simple and clear
- Draw shapes that match the knife’s size
Marking The Blade And Handle
Divide the blade into two parts: the sharp edge and the spine. The sharp edge is thinner and angled.
Show the handle’s shape by rounding its edges. Add a small curve where the blade meets the handle.
- Draw a curved line for the blade edge
- Keep the spine straight and thick
- Shape the handle for a comfortable grip
Establishing Proportions
Make sure the blade is longer than the handle. The blade is usually two to three times the handle’s length.
Check the width of the blade. It should be wider near the handle and thinner at the tip.
- Blade length: 2-3 times handle length
- Blade width: wider near the handle
- Handle shape fits the hand size
Adding Details
Adding details brings your kitchen knife drawing to life. Small touches make it look real and sharp.
Focus on the blade edge, handle design, and rivets. These details show the knife’s character.
Drawing The Blade Edge
The blade edge is the sharp part of the knife. Draw a smooth, thin line along the blade’s length.
Use a slight curve or a straight line depending on the knife type. Add small notches for serrated blades.
- Keep the edge thin and clean
- Show a slight shine or highlight
- Add tiny serrations if needed
Designing The Handle
The handle holds the knife. It should look comfortable and sturdy in your drawing.
Draw a shape that fits the hand, usually curved or straight. Add lines to show grip areas or grooves.
- Use smooth curves for comfort
- Show thickness for strength
- Add grip lines or texture marks
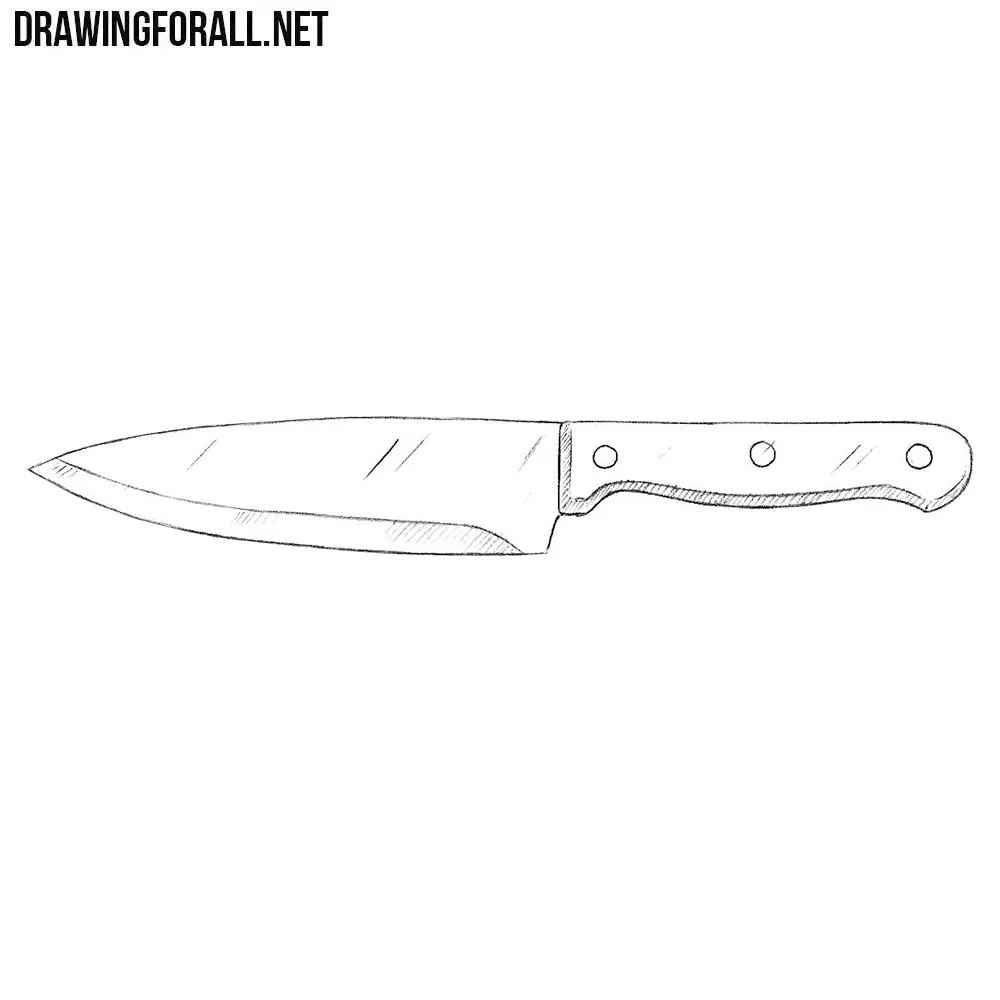
Including Rivets And Texture
Rivets attach the handle to the blade. Draw small circles evenly spaced on the handle.
Texture adds realism. Use light lines or dots to show wood grain or plastic patterns on the handle.
- Draw rivets as small round shapes
- Place rivets in a straight line
- Add texture with short, light strokes
Credit: www.drawingforall.net
Shading And Texture
Shading and texture bring your kitchen knife drawing to life. They show light, shadow, and surface details.
These techniques help the knife look real and three-dimensional on paper.
Creating Metal Shine
Metal shine shows the smooth, shiny surface of the knife blade. Use bright highlights and soft gradients.
Keep some areas white or very light to mimic light reflection on metal.
- Use a soft pencil or shading tool for smooth transitions
- Add thin, sharp white lines to represent light spots
- Keep edges crisp but blend the middle softly
Adding Handle Material Texture
Handles have different materials like wood, plastic, or metal. Each needs unique texture.
Draw small lines or dots for wood grain. Use smooth shading for plastic. Add slight reflections for metal.
- Wood: Use short, curved lines to show grain
- Plastic: Shade evenly with light reflections
- Metal: Use sharp highlights and smooth gradients
Using Shadows For Depth
Shadows create the illusion of depth and shape. Shade areas that are hidden from light.
Darken the side opposite the light source. Use soft blending to make shadows look natural.
- Shade under the blade and handle for realism
- Use darker shading near edges and curves
- Blend edges smoothly for soft shadows
Final Touches
After sketching your kitchen knife, spend time on the final touches. These small details bring your drawing to life.
Focus on making the lines clear and removing any extra marks. Add shadows or highlights to show depth and texture.
Refining Lines
Use a fine pencil or pen to sharpen the knife’s outline. Make the edges smooth and straight where needed. Darken important lines to make the knife stand out.
- Trace over the main blade edges carefully.
- Keep the handle lines even and clear.
- Use varied line thickness to show different parts.
- Avoid heavy lines on small details to keep them delicate.
Erasing Guidelines
Remove any construction lines lightly drawn at the start. This cleans the drawing and makes it look finished. Be gentle to avoid smudging.
| Tool | Purpose | Tip |
| Kneaded Eraser | Lightly lifts pencil marks | Press gently, do not rub hard |
| Precision Eraser | Erase small areas | Use for details around the blade and handle |
| Standard Eraser | Remove larger lines | Keep edges clean for a crisp look |
Enhancing Contrast
Add shading to show light and shadow on the knife. This gives it a 3D look. Use a soft pencil or charcoal for smooth shading.
- Shade one side darker to show a light source.
- Use gentle strokes for a smooth blade surface.
- Add small highlights by leaving areas white.
- Shade the handle differently to show texture.

Credit: www.freepik.com
Tips For Improvement
Drawing a kitchen knife well takes time and practice. Small changes can make your drawing look more real and sharp.
Try different methods to improve your lines and shapes. Notice what works and keep practicing to get better.
Practice Techniques
Focus on these techniques to improve your kitchen knife drawing skills.
- Draw the knife in simple shapes first, like rectangles and triangles.
- Use light lines at the start so you can erase and adjust easily.
- Practice shading to show the metal’s shine and the blade's edge.
- Study real knives or photos for details like handle texture and blade curve.
- Try drawing the knife from different angles to understand its form.
Common Mistakes To Avoid
Watch out for these errors to keep your drawing clear and accurate.
| Mistake | How to Fix |
| Blade looks flat | Add shading and highlights for depth |
| Handle is too thick or thin | Measure proportions carefully and compare with reference |
| Lines are too dark early on | Start with light sketches, darken only final lines |
| Ignoring reflections on metal | Use soft shading and white spaces for reflections |
| Wrong knife shape | Use photo references and draw basic shapes first |
Inspiration For Variations
Try these ideas to make your kitchen knife drawings more creative and interesting.
- Draw knives with different handle materials, like wood or plastic.
- Experiment with blade shapes, such as curved or serrated edges.
- Include details like brand logos or decorative patterns.
- Draw the knife in use, cutting vegetables or meat.
- Create a set of knives with matching designs.
Credit: stock.adobe.com
Frequently Asked Questions
How Do I Start Drawing A Kitchen Knife?
Begin by sketching the knife’s basic shape: a straight blade and a handle. Use light pencil strokes for easy adjustments.
What Materials Are Best For Drawing A Kitchen Knife?
Use pencils for sketching and fine liners for outlines. Colored pencils or markers help add realistic shading and texture.
How Can I Add Realism To My Kitchen Knife Drawing?
Focus on light and shadow details. Shade the blade to reflect metallic texture and highlight the handle’s grip.
What Are Common Mistakes To Avoid When Drawing Knives?
Avoid uneven blade edges and incorrect proportions. Ensure the handle connects smoothly to the blade for a natural look.
Conclusion
Drawing a kitchen knife can be simple and fun. Start with basic shapes and add details step by step. Keep practicing to improve your skills. Use light lines first, then darken the final drawing. Remember, patience helps create better art.
Enjoy the process and don't rush. Soon, your knife drawings will look sharp and clear. Drawing builds confidence and creativity. Try different styles and make your own design. Keep your tools ready and your mind open. You can draw anything with time and effort.


