
Get Your Kitchen Right: Rack Organization
Imagine finding what you need right away. That sounds great, yes? The secret to this kitchen calm is the rack setup. You might cook a lot or just sometimes. An organized kitchen saves time and stress. It can even make you want to cook new meals.
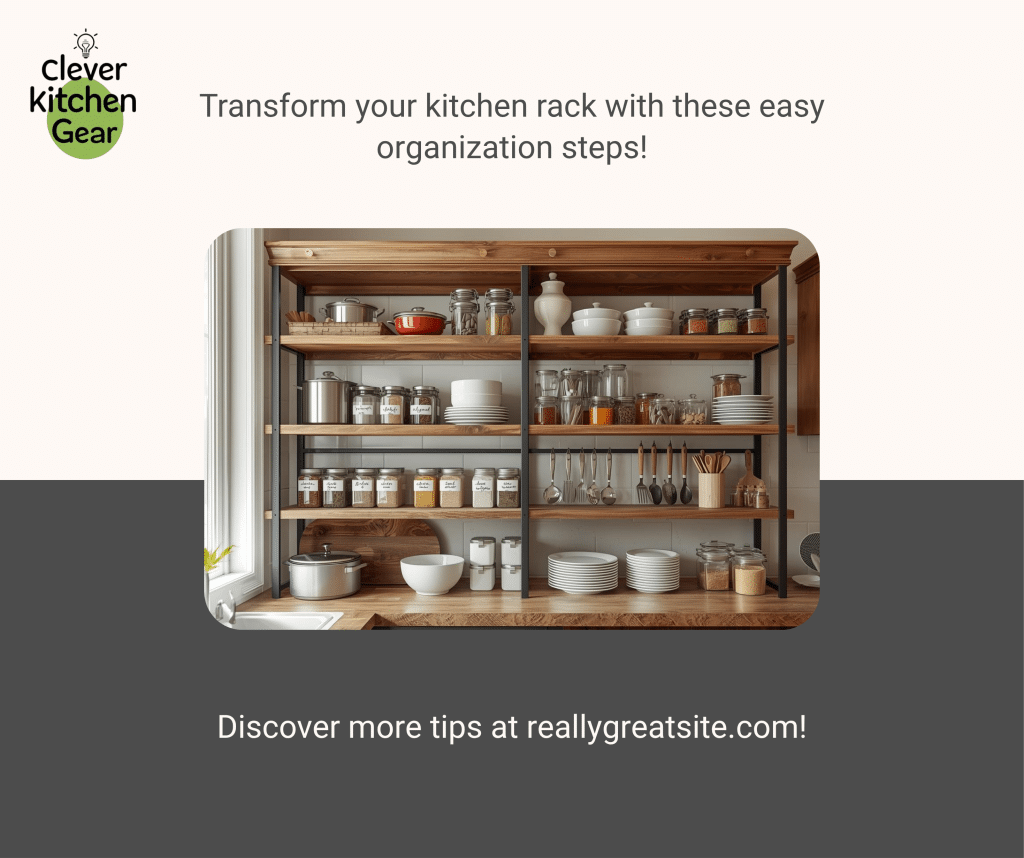
But how do you get organized easily? This guide shows simple steps on How to Set Kitchen Rack. You will learn to arrange your kitchen rack well. Every pot, pan, and spice jar will have a spot. Transform your kitchen into a perfect space. It will look great and work perfectly for you. Keep reading to find the secrets. A tidy kitchen makes cooking fun, not a chore.
:max_bytes(150000):strip_icc()/fw-one-off-mom-loved-kitchenaid-dish-rack-on-sale-tout-e3ecca30316945deb74b16e8d49e4477.jpg)
Credit: www.foodandwine.com
Choosing The Best Kitchen Rack
The right rack keeps your kitchen clean. It also makes cooking simpler. It organizes all your tools and food items.
Think about your needs and kitchen size first. Do this before picking a rack. Different racks fit different kitchen spaces.
Types Of Kitchen Racks
There are many kinds of racks. Each type fits different uses. They work well in different spaces.
-
Wall-mounted racks save floor space. Items stay easy to see.
-
Freestanding racks are flexible. You can move them as needed.
-
Corner racks use unused space well. They add storage space.
-
Overhead racks hold pans above the counter.
-
Pull-out racks fit inside cabinets. They organize small items.
Materials And Strength
Racks come in many materials. The material affects how long they last. It also changes how they look.
| Material | Strength | Care Needed |
| Stainless Steel | High | Easy to clean, resists rust. |
| Wood | Medium | Needs sealing, may warp from water. |
| Plastic | Low to Medium | Simple to clean, less strong. |
| Wire Mesh | High | Can rust if not properly coated. |
Size And Space Check
Measure your kitchen before you buy a rack. Pick a size that fits well. It should not block movement in your kitchen.
Use this checklist to pick the right size:
-
Measure wall or floor space you have.
-
Think about how many items you will store.
-
Leave space for easy access and cleaning.
-
Check the height for reaching things easily.
Planning Your Kitchen Setup
Setting up a rack needs smart planning. A well-planned kitchen is neat and easy to use.
Think about your space and storage needs. Do this before you place the rack. This helps you get the best results.
Checking Available Space
Measure the area for your new rack. Know the height, width, and depth.
Look for windows, doors, or appliances. Leave room for easy movement.
-
Measure wall length and height.
-
Note all windows or power outlets.
-
Allow room for doors to open fully.
-
Keep your walking path clear and open.
Knowing What You Need to Store
Think about what will go on the rack. Different items need different storage types.
Group items like spices, dishes, or pans. This helps pick the rack size. It helps select the right shelves too.
-
List large items like pots and pans.
-
Include small items like spices and herbs.
-
Think about daily versus occasional items.
-
Decide if you need closed or open shelves.
Using Space Up and Across
Use vertical space with tall racks. You can also stack shelves. This saves space on the floor.
Use horizontal space with wide racks. Put items side by side for easy reach.
-
Install shelves high up toward the ceiling.
-
Add hooks to hang tools and utensils.
-
Use stackable bins to save space.
-
Put heavy items on the lowest shelves.
Tools And Supplies You Need
You need the right tools to set up your rack. This helps you install it safely and correctly.
Knowing what you need saves time. It stops mistakes during installation too.
Essential Tools for Installation
These tools help mount the rack firmly. They measure, drill, and secure all parts.
-
Measuring tape gives exact sizes.
-
Electric drill makes screw holes.
-
Screwdriver tightens all screws.
-
Level tool keeps the rack straight.
-
Pencil marks where to drill.
-
Stud finder finds wall supports.
Safety Gear is Important
Safety gear stops injuries during work. Always wear these items before starting.
-
Safety glasses protect your eyes.
-
Work gloves shield your hands.
-
Dust mask stops you from breathing dust.
-
Ear protection if tools are loud.
Extra Accessories
Extra items make install simpler. They also make the rack stronger. These are not always needed but are helpful.
-
Wall anchors offer better support in drywall.
-
Mounting brackets give a stronger hold.
-
Rubber pads stop the rack from slipping.
-
Cleaning cloth wipes surfaces before fixing.
Step-by-step Rack Setup
Installing a rack helps you organize well. Follow these clear steps to mount it safely.
This guide covers measuring, mounting, and adjusting. It ensures the best fit for your kitchen.
Measure and Mark the Spot
First, measure the wall space. This is where you will place the rack. Use the tape to find height and width.
-
Decide the rack’s spot on the wall.
-
Mark the points for the screws.
-
Use a level to keep marks straight.
-
Check measurements before you drill.
Mounting The Rack to the Wall
Get your tools and wall anchors ready. Use a drill to make holes where you marked.
| Tool | Purpose |
| Drill | Makes holes for screws. |
| Screwdriver | Secures screws into anchors. |
| Wall Anchors | Holds screws firmly in drywall. |
| Level | Checks rack alignment. |
Push anchors into the holes. Then fix the rack with screws. Check the rack is tight and stable.
Securing and Adjusting
Tighten all screws after mounting. Adjust the rack if it is not straight or stable.
-
Use the level to check straightness.
-
Loosen screws to shift the rack if needed.
-
Tighten screws again once correct.
-
Test the rack by placing items on it.
Organizing Items On The Rack
A tidy rack saves space and time. It makes cooking easier by keeping things organized.
Use simple ways to group, contain, and label items. This keeps your rack neat and useful.
- Professional organizers simplify spice storage: “The easiest and most intuitive way to store spices is not in a basket, but on a small, tiered wire rack or a lazy Susan (turntable) placed on a shelf. This prevents you from having to pull out every jar to find the one in the back, ensuring all spice labels are visible with just a quick spin or glance. This setup is easy to maintain and dramatically cuts down cooking time.”
Grouping Similar Items
Put items of the same type together. This helps you find what you need fast. It keeps the rack clean.
-
Place all spices in one area.
-
Store baking ingredients together.
-
Keep all cooking oils in the same spot.
-
Group cleaning supplies away from food.
Using Baskets and Bins
Baskets hold small or loose things. They stop clutter. They also make cleaning simpler.
| Container Type | Best For |
| Wire baskets | Fruits, vegetables. |
| Plastic containers | Dry goods, snacks. |
| Glass jars | Spices, herbs. |
| Stackable bins | Utensils, kitchen tools. |
Labels Make Things Easy to Find
Labels help you find items quickly. They work well on baskets, jars, and shelves.
-
Use clear, simple labels always.
-
Label the container and the shelf.
-
Change labels if you move things.
-
Use waterproof stickers or printed labels.
Care And Cleaning Tips
Caring for your rack helps it last longer. Regular cleaning prevents damage. It keeps your kitchen tidy.
Here are simple tips to clean and keep your rack well.
Simple Cleaning Routine
Clean your rack often. This stops dirt and grease buildup. Wipe it down after cooking or every few days.
Use a soft cloth and mild soap. Mix with warm water. Avoid harsh cleaners. They can damage the rack surface.
-
Remove dust and crumbs every day.
-
Clean up spills right away.
-
Use non-abrasive cleaning products.
-
Dry the rack to stop any rust.
Checking for Damage
Look at your rack often for wear. Small problems get worse if you do not fix them.
Check screws, joints, and shelves for cracks. Tighten or replace parts as needed.
-
Check screws and bolts monthly.
-
Look for rust or corrosion.
-
Replace any broken or bent parts.
-
Check shelf stability before use.
Tips to Make It Last
Use your kitchen rack carefully. Do not put too much weight on shelves. This prevents bending.
Keep the rack dry and clean. Use protective pads. Use them if placing heavy or sharp items.
-
Do not overload the shelves ever.
-
Keep the rack dry to avoid rust.
-
Use a soft cloth for cleaning.
-
Place the heavy items on lower shelves.
Creative Organization Ideas
Setting up a rack makes your space useful. Good organization saves time. It helps you find things fast.
Try these ideas to keep your kitchen neat and stylish. Use racks in smart ways.
Hooks and Holders Work Well
Hooks add extra storage to your rack. They keep tools close to your hand.
You can hang mugs, spoons, and towels. This keeps counters clear and items neat.
-
Use S-hooks to hang pots and pans.
-
Attach magnetic strips for knives.
-
Install small holders for spice jars.
-
Add a rail with hooks for kitchen towels.
Using Multi-tier Racks
Multi-tier racks store many items in little space. They create vertical storage for better use.
Stack plates, bowls, and bins on different levels. This keeps your kitchen neat.
-
Place the heaviest items on the bottom.
-
Use the middle for everyday dishes.
-
Keep lightweight items on the top shelf.
-
Add baskets or trays for loose items.
Personalizing Your Space
Make your rack feel like your own. Add touches that match your style.
Use colors, labels, or small items to brighten the space. This helps you enjoy cooking and organizing.
-
Label shelves for fast finding.
-
Add colorful baskets or jars.
-
Use chalkboard paint for notes.
-
Place small plants nearby.

Credit: www.youtube.com

Credit: www.amazon.com
Frequently Asked Questions
How Do I Choose The Right Kitchen Rack Size?
Pick a rack that fits your space well. Measure your kitchen first. Choose the right height, width, and depth. Consider adjustable shelves for flexibility. This uses space well. You can reach items easily.
What Materials Are Best For Kitchen Racks?
Stainless steel, wood, and plastic are common. Stainless steel is strong and resists rust. Wood looks classic but needs care. Plastic is light and cheap but less sturdy. Choose based on style, strength, and price.
How To Install A Kitchen Rack Securely?
Use wall anchors and screws. Match them to your wall type. Mark drill points carefully for level placement. Use a level tool for accuracy. Follow all instructions exactly. Proper install stops accidents. It keeps items safe.
Can Kitchen Racks Improve Kitchen Organization?
Yes, racks use vertical space well. They keep spices and pans neat and handy. Tidy racks reduce clutter. They save counter space too. This makes cooking easier and more fun.
Conclusion
Setting up a kitchen rack saves space. It helps keep things neat. Pick the right spot with good light. Make sure it is easy to reach. Use strong tools. Follow steps carefully for safety. Group items by size and use. This helps you find them fast.
A well-set rack makes cooking and cleaning easier. Try different styles for your kitchen. Small changes help a lot. Start today. Enjoy a tidy kitchen very soon.


