
Transforming your kitchen can be as simple as adding crown moulding to your cabinets. This small change can make a big impact, turning your space from ordinary to elegant.
But how do you get started? If the thought of installing kitchen cabinet crown moulding feels daunting, you’re not alone. Many homeowners shy away from this project, fearing complicated steps or professional costs. The good news is, you can do it yourself with just a little guidance.
You’ll discover the straightforward steps to install crown moulding, enhancing the aesthetic of your kitchen without breaking the bank. Dive in and see how easy it can be to elevate your space with this stylish touch.
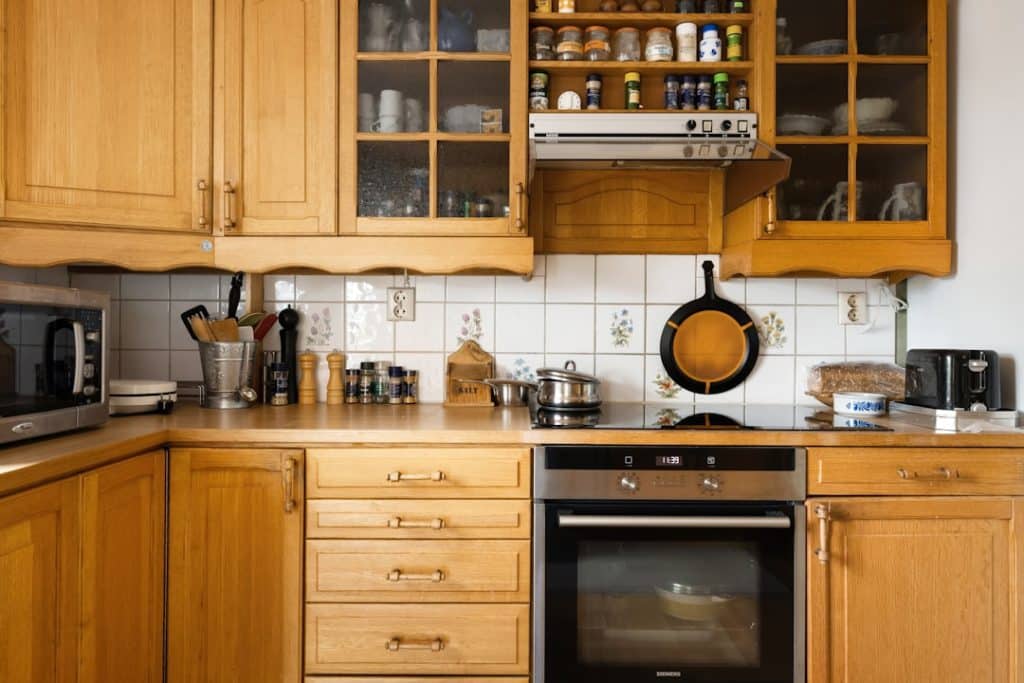
Credit: www.familyhandyman.com
Tools And Materials Needed
Installing kitchen cabinet crown moulding needs the right tools and materials. This guide lists what you should prepare before starting.
Having everything ready helps the work go smoothly and safely. Below are details for essential tools, moulding choices, and extra supplies.
Essential Tools
These tools help you measure, cut, and fix the crown moulding properly. Make sure they are in good working condition.
- Measuring tape for accurate dimensions
- Miter saw to cut angles precisely
- Level to check straightness
- Hammer or nail gun for fastening
- Stud finder to locate wall studs
- Caulking gun for filling gaps
- Safety glasses and gloves for protection
Choosing The Right Crown Moulding
Select moulding that matches your kitchen style and cabinet size. The material affects durability and ease of installation.
| Material | Description | Pros | Cons |
| Wood | Natural hardwood or softwood | Strong and classic look | Can warp or crack |
| MDF | Medium-density fiberboard | Affordable and smooth surface | Less durable with moisture |
| Polyurethane | Foam-based moulding | Lightweight and moisture resistant | Less natural appearance |
Additional Supplies
Besides tools and moulding, these items help finish the installation cleanly and securely.
- Finish nails or brad nails
- Wood glue for extra hold
- Painter’s caulk to seal edges
- Sandpaper for smoothing surfaces
- Paint or stain to match your cabinets
- Drop cloth to protect floors

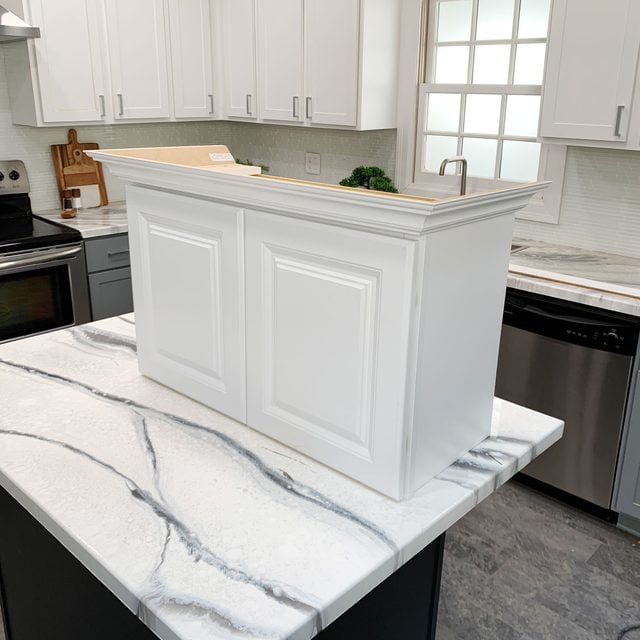
Credit: www.thisoldhouse.com
Preparing Your Cabinets
Installing crown moulding on kitchen cabinets starts with good preparation. You need to get your cabinets ready before you add any trim.
Proper preparation helps the moulding fit well and look clean. The key tasks include measuring, cleaning, sanding, and marking.
Measuring Cabinet Dimensions
Measure the width and height of each cabinet where the crown moulding will go. Use a tape measure for accuracy.
- Measure the top edge of the cabinet face
- Record the length of each side
- Note any corners or angles
- Double-check all measurements
Cleaning And Sanding Surfaces
Clean the cabinet tops and edges to remove dust and grease. Use a mild cleaner and a soft cloth.
Sanding the surfaces helps the moulding stick better. Use fine-grit sandpaper and sand lightly.
| Task | Tool | Tip |
| Cleaning | Soft cloth, mild cleaner | Wipe until dry |
| Sanding | Fine-grit sandpaper | Smooth edges only |
Marking Cutting Lines
Mark where you will cut the crown moulding pieces. Use a pencil and a straight edge for clear lines.
Tips for marking cutting lines:
- Mark inside edges for exact fit
- Label each piece with cabinet location
- Use masking tape to prevent slipping
Cutting Crown Moulding
Cutting crown moulding is an important step in installing kitchen cabinets. It needs precise cuts to fit corners and edges well. This guide helps you cut moulding pieces accurately.
Learn how to use a miter saw and make cuts for inside and outside corners. Follow tips for better accuracy and cleaner results.
Using A Miter Saw
A miter saw is the best tool for cutting crown moulding. It can cut angles quickly and precisely. Set the saw to the correct angle before cutting.
Hold the moulding firmly against the saw fence. Make slow, steady cuts to avoid splintering the wood. Always wear safety glasses while cutting.
Cutting Inside And Outside Corners
Inside corners need coping or angled cuts. Outside corners use mitered cuts where two pieces meet at a point. Measure the angle of the corner before cutting.
- For inside corners, cut one piece square and cope the other to fit.
- For outside corners, cut both pieces at 45 degrees for a tight fit.
- Check the corner angle with a protractor or angle finder.
Tips For Accurate Cuts
Measure twice before cutting to avoid mistakes. Mark the moulding clearly with a pencil. Use clamps to hold the moulding steady during cutting.
- Cut test pieces first to check angles.
- Keep the saw blade sharp for clean cuts.
- Cut slowly to prevent chipping.
- Use a sanding block to smooth cut edges.
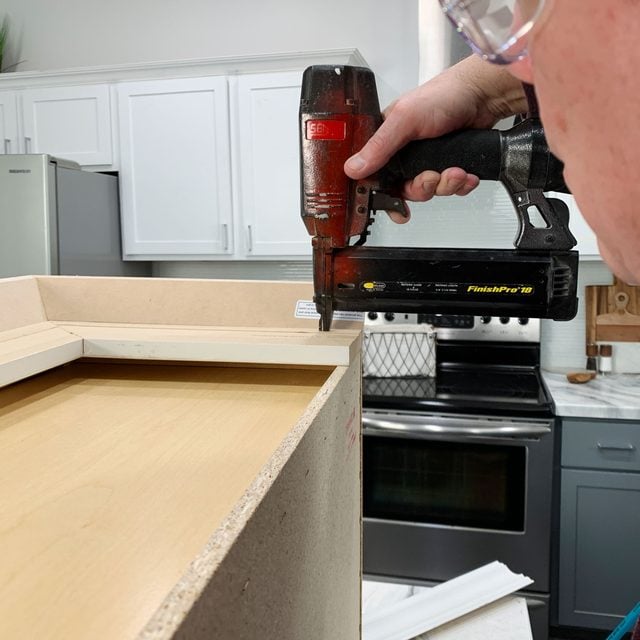
Credit: www.familyhandyman.com
Fitting And Attaching Moulding
Installing kitchen cabinet crown moulding gives a polished look. It takes careful fitting and attaching to get it right. This guide covers key steps for a strong, neat finish.
Start by preparing your moulding pieces. Then apply adhesive and nails to hold it in place. Finally, secure the moulding firmly to your cabinets.
Dry Fitting Pieces
Dry fitting means placing the moulding pieces without glue or nails. It helps check if cuts fit correctly and angles match. Adjust any gaps or overlaps before final attaching.
- Hold each piece against the cabinet top
- Check corners and joints for tight fit
- Mark any areas that need trimming
- Make sure moulding follows cabinet shape
- Test fit inside and outside corners carefully
Applying Adhesive And Nails
Use a strong wood glue or construction adhesive to bond moulding. Nails add extra hold and prevent shifting while glue dries. Both are needed for a durable installation.
| Material | Purpose | Tip |
|---|---|---|
| Wood Glue | Creates strong bond | Apply evenly on back of moulding |
| Finish Nails | Holds moulding in place | Use 1 ¼ inch nails for cabinets |
| Brad Nailer or Hammer | Drives nails | Use nail set to hide nail heads |
Securing Moulding To Cabinets
After applying glue and nails, press the moulding firmly against the cabinet. Secure it by nailing at regular points to keep it from moving. Check alignment before final drying.
- Press moulding tightly to cabinet edge
- Nail at corners and every 12 to 16 inches
- Use a nail set to countersink nails
- Wipe away excess glue with a damp cloth
- Let glue dry fully before painting or staining
Finishing Touches
Installing crown moulding on kitchen cabinets adds a polished look. Finishing touches make the moulding blend well with your cabinets.
Paying attention to small details improves the overall appearance and durability.
Filling Gaps And Nail Holes
Fill gaps between the moulding and cabinets for a smooth finish. Use wood filler to cover nail holes and cracks.
Let the filler dry completely before moving to the next step.
- Choose a wood filler that matches your cabinet color.
- Apply filler with a putty knife.
- Remove excess filler to avoid bumps.
- Allow enough drying time for a solid fill.
Sanding And Smoothing
Sand the filled areas and moulding edges to create a smooth surface. Use fine-grit sandpaper for best results.
Sanding helps paint or stain stick better and hides imperfections.
- Sand lightly to avoid damaging the moulding.
- Wipe dust off with a damp cloth after sanding.
- Check for any missed spots and sand again if needed.
Painting Or Staining
Choose paint or stain that matches your kitchen style. Apply evenly for a clean finish.
Use a brush or small roller designed for trim work to avoid streaks.
- Apply a primer if painting over bare wood.
- Let each coat dry fully before adding another.
- Use thin coats to prevent drips and runs.
- Consider sealing with a clear coat for extra protection.
Common Mistakes To Avoid
Installing kitchen cabinet crown moulding can improve your kitchen’s look. Avoiding common mistakes helps you get clean, professional results.
Many errors happen during measuring, cutting, and attaching the moulding. Fixing these mistakes saves time and money.
Incorrect Measurements
Measuring wrong leads to gaps or overlaps in the moulding. Always measure twice before cutting any piece.
Measure the length of each wall carefully. Use a tape measure and record the number clearly.
- Check wall corners for angles
- Measure from one end to the other
- Write down each measurement
- Double-check measurements before cutting
Poor Cutting Angles
Crown moulding needs precise angle cuts to fit corners tightly. Cutting at the wrong angle creates gaps or uneven joints.
Use a miter saw set to the correct angle. Practice cuts on scrap wood to ensure accuracy.
- Know the angle of your wall corners (usually 90°)
- Set the saw to 45° for standard corners
- Use coping cuts for inside corners
- Cut slowly and steadily for clean edges
Improper Attachment
Wrong attachment can cause moulding to loosen or fall off. Use the right tools and fasteners for a strong hold.
Nail the moulding into the cabinet frame, not just drywall. Use finishing nails and a nail gun if possible.
- Locate cabinet studs or solid wood
- Use 1.5-inch finishing nails
- Apply wood glue for extra strength
- Fill nail holes with wood filler for a smooth finish
Frequently Asked Questions
What Tools Are Needed To Install Crown Moulding?
You need a miter saw, measuring tape, nail gun, wood glue, and a ladder. These tools ensure precise cuts and secure installation of the moulding.
How Do You Measure For Kitchen Cabinet Crown Moulding?
Measure the length and angles of your cabinet tops accurately. Use a tape measure and note each section to cut moulding to fit perfectly.
Can I Install Crown Moulding On Existing Cabinets?
Yes, you can install crown moulding on existing cabinets. Ensure the cabinet tops are clean and level for proper adhesion and nailing.
What Type Of Crown Moulding Is Best For Cabinets?
Choose lightweight, flexible moulding made of MDF or wood. These materials are easy to cut, paint, and install on kitchen cabinets.
Conclusion
Adding crown moulding to your kitchen cabinets can improve their look. Follow the steps carefully to get clean, tight edges. Take your time measuring and cutting pieces correctly. Use the right tools for a smooth installation. Small details make a big difference in appearance.
Enjoy the fresh, finished look in your kitchen. Try this project to add style and value to your home. You can do it yourself with some patience and care.


