
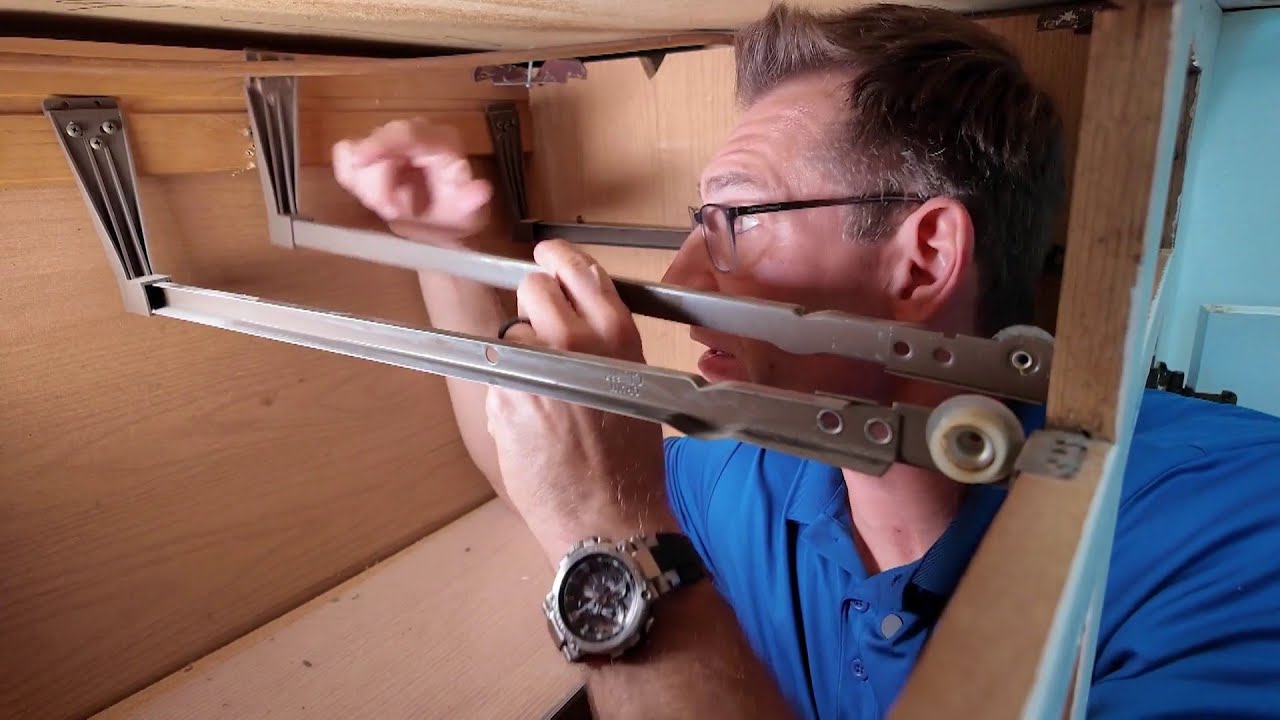
Is your kitchen drawer refusing to glide smoothly, causing frustration every time you reach for your utensils? You're not alone.
Faulty kitchen drawer slides can turn a simple task into a daily annoyance. But don't worry—fixing them is easier than you might think. In this guide, you'll discover simple, step-by-step solutions to get your kitchen drawers back on track. Imagine the satisfaction of a smoothly sliding drawer every time you pull it open.
Intrigued? Keep reading to learn how you can restore functionality to your kitchen and eliminate this pesky problem for good.

Credit: www.youtube.com
Common Drawer Slide Issues
Kitchen drawer slides can wear out or get damaged over time. Knowing common problems helps you fix them fast. This guide covers frequent slide issues and how to repair them.
Fixing drawer slides keeps your kitchen drawers working smoothly. It also stops drawers from sticking or falling out.
Worn Out Slides
Slides wear out with use. Metal parts can bend or break. Plastic rollers can crack or fall off. Worn slides make drawers hard to open or close.
To fix worn slides, replace broken parts or the whole slide. New slides restore smooth movement and support.
Misaligned Tracks
Misaligned tracks cause drawers to jam or not close fully. Tracks can shift from bumps or loose screws. Check if tracks are straight and even on both sides.
- Remove the drawer
- Check the alignment of each track
- Loosen screws slightly to adjust tracks
- Use a level to make tracks straight
- Tighten screws once aligned
Loose Screws
Loose screws make slides unstable. Drawers may wobble or fall out. Screws can loosen from regular use or heavy loads.
| Problem | Fix |
| Loose screws in slide tracks | Tighten with a screwdriver |
| Stripped screw holes | Use larger screws or wood filler |
| Missing screws | Replace with matching size screws |
Dirty Or Rusty Mechanisms
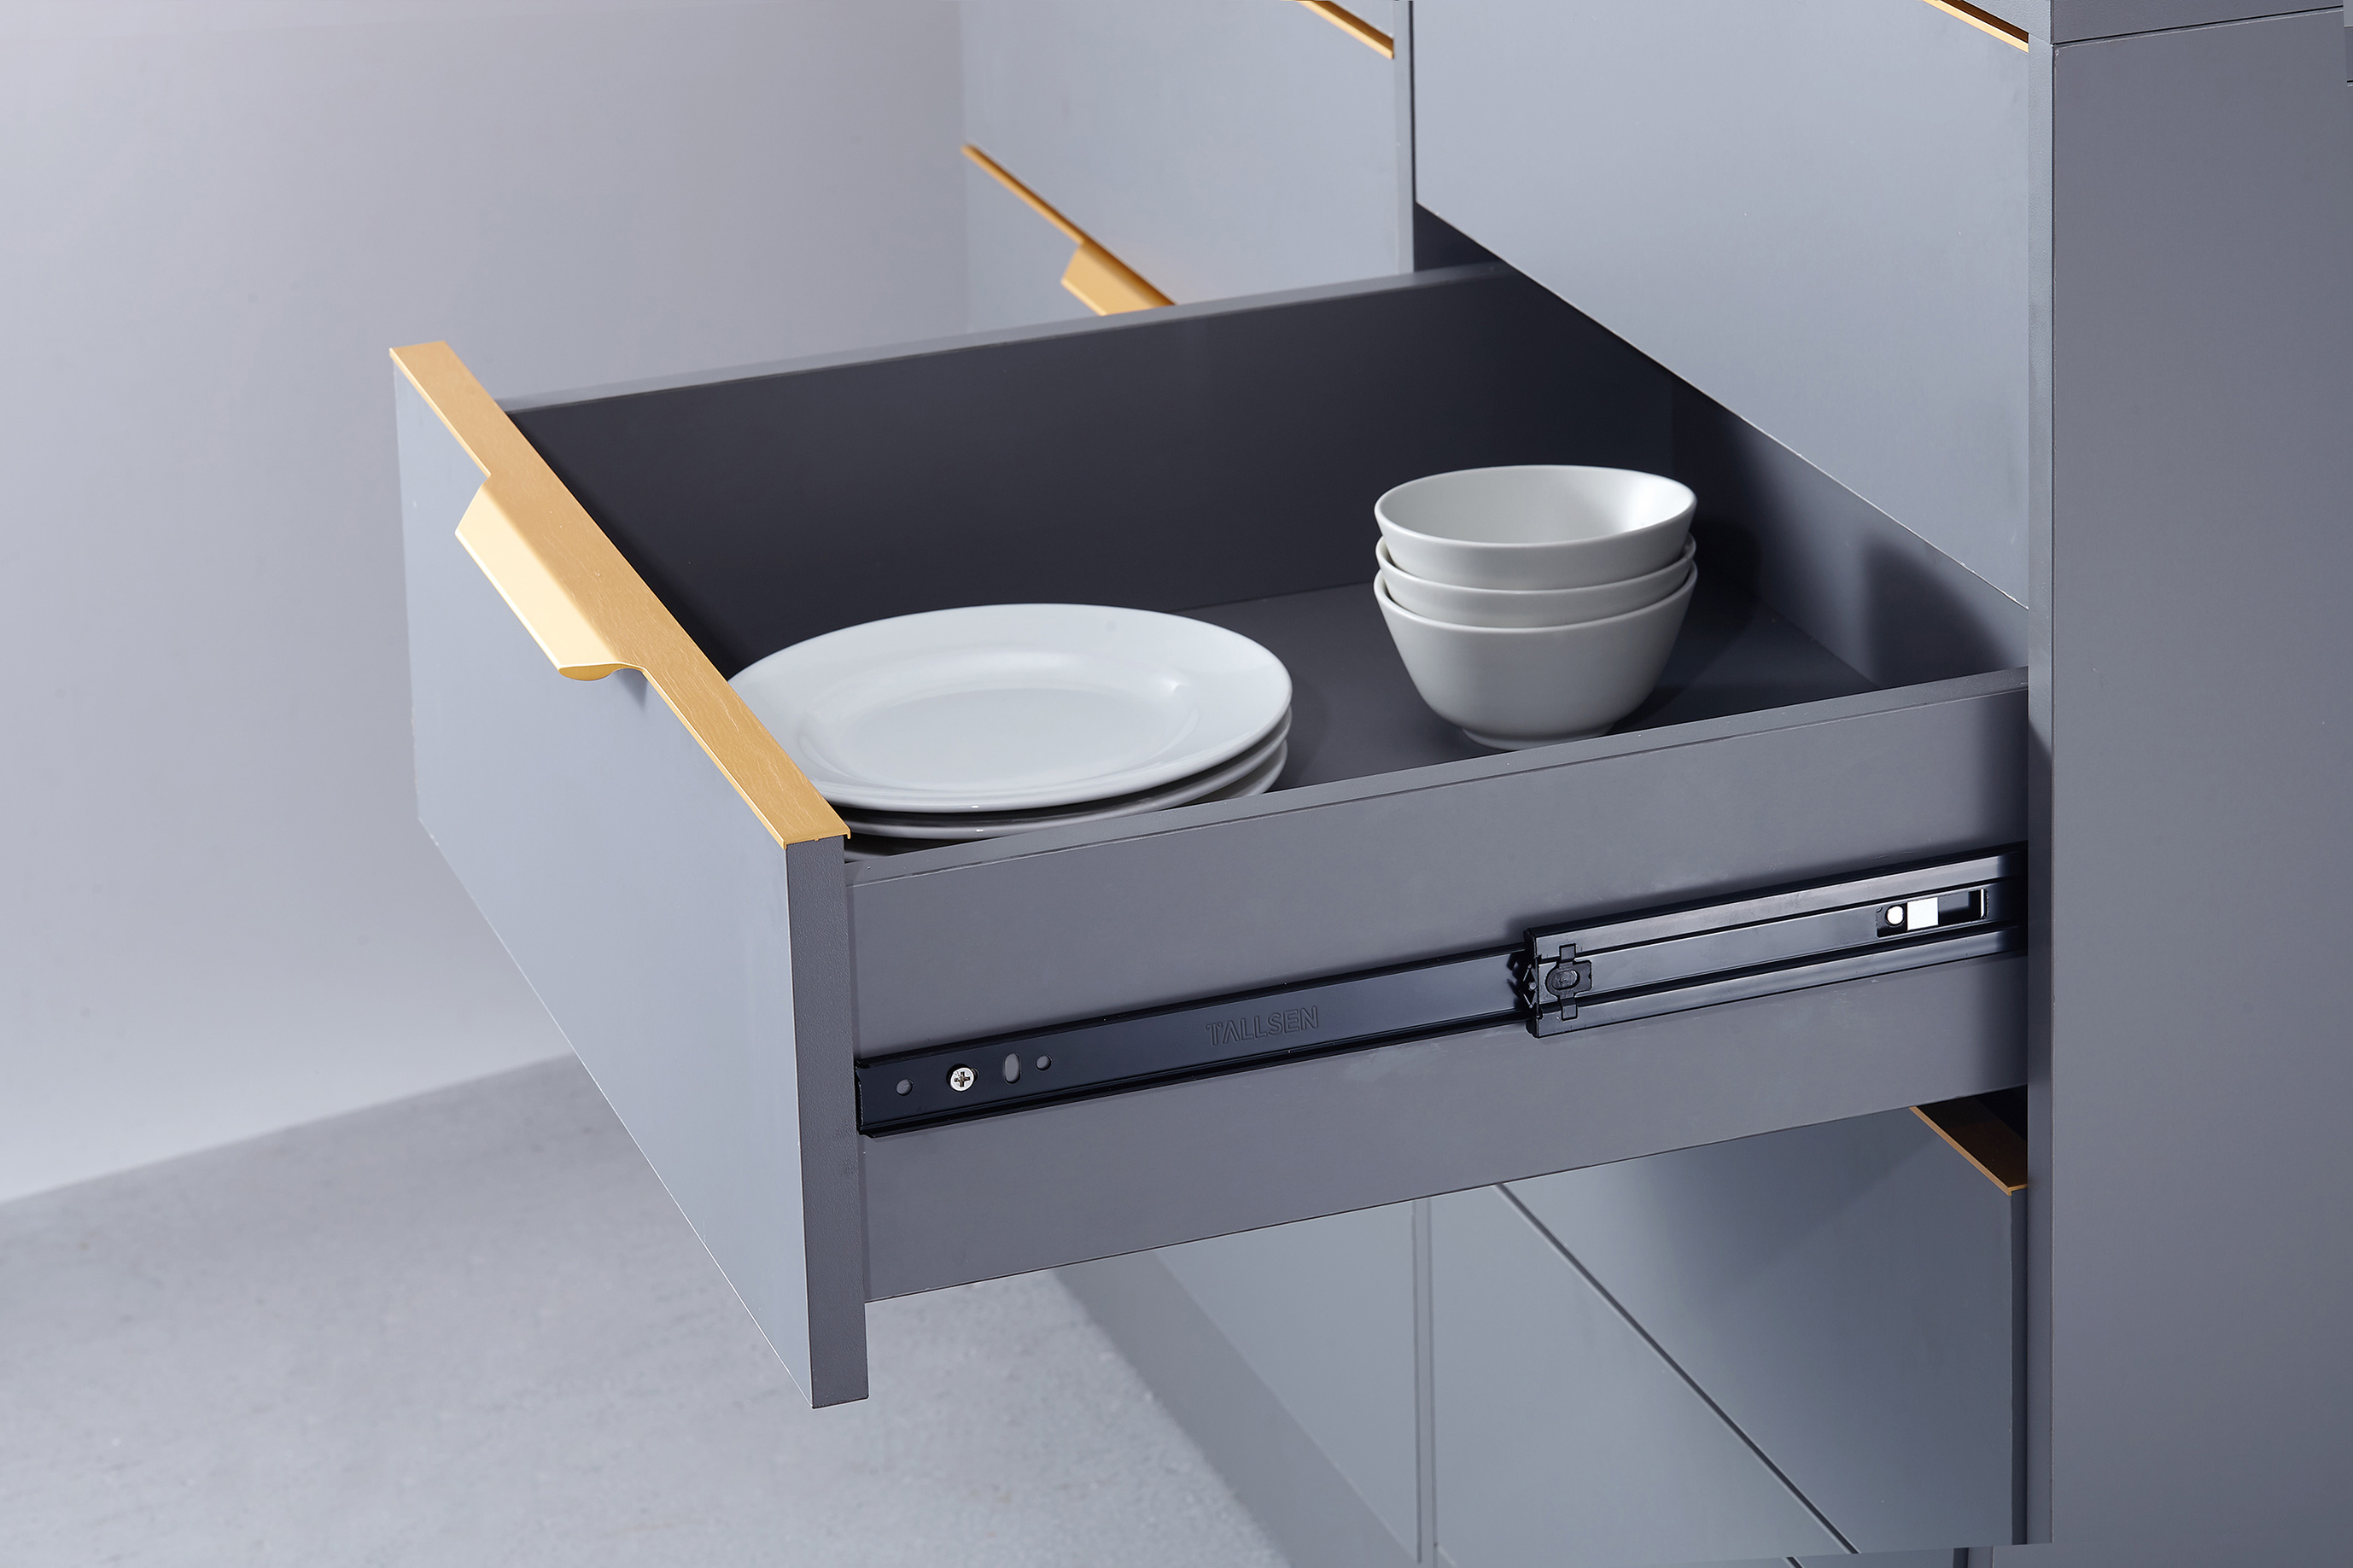
Dirt, dust, and rust block slide movement. Clean slides with a cloth and mild cleaner. Remove rust with steel wool or rust remover.
Use lubricant like silicone spray or white lithium grease. Apply lightly along the tracks and rollers. Avoid oil-based lubricants that attract dirt.
Credit: www.tallsen.com
Tools And Materials Needed
Repairing kitchen drawer slides needs the right tools and materials. Having them ready makes the job easier and faster.
This guide covers the basic tools and materials you will need to fix drawer slides properly.
Screwdrivers And Drill
You will need screwdrivers that fit the screws on the drawer slides. A power drill helps remove and install screws quickly.
- Flathead screwdriver for slotted screws
- Phillips screwdriver for cross-head screws
- Electric drill with screwdriver bits
- Drill bits for pilot holes if needed
Replacement Slides
Choose new drawer slides that match your drawer type and size. Slides come in different styles like ball bearing or roller types.
| Type | Description | Best For |
| Ball Bearing | Smooth and quiet sliding | Heavy drawers |
| Roller | Simple and affordable | Light to medium drawers |
| Undermount | Hidden slides for clean look | Modern cabinets |
Lubricants
Lubricants reduce friction and noise in drawer slides. Use ones that do not attract dust or dirt.
- Silicone spray for smooth movement
- Dry graphite lubricant to avoid residue
- Avoid oil-based lubricants that can gum up
Cleaning Supplies
Cleaning helps remove dirt and old grease. Clean parts before installing new slides or applying lubricant.
Useful cleaning supplies include:
- Soft cloths or rags
- Mild soap and water solution
- Small brushes for tight spaces
- Vacuum cleaner or compressed air to clear dust
Removing The Drawer
Removing a kitchen drawer is the first step in fixing drawer slides. It lets you check for damage or dirt.
Follow simple steps to safely clear and detach the drawer without causing harm.
Clearing The Drawer Contents
Empty the drawer fully before removal. This makes it lighter and easier to handle.
- Remove all dishes, utensils, or stored items.
- Check for any crumbs or debris and clean them out.
- Set contents aside in a safe place.
- Close the drawer gently after emptying.
Detaching The Drawer Safely
Use care when detaching the drawer from the slides. This prevents damage to the drawer or cabinet.
| Action | Details |
| Locate the slide release | Find the lever or clip on each side of the drawer slides. |
| Press or lift release | Engage the release to free the drawer from the slides. |
| Pull the drawer out | Pull the drawer straight out while holding the slides. |
| Handle with care | Keep the drawer level to avoid tipping or dropping. |
Fixing Misaligned Slides
Kitchen drawer slides can get misaligned over time. This causes the drawer to stick or not close properly. Fixing the alignment helps the drawer work smoothly again.
You can repair misaligned slides with simple tools. Focus on realigning the tracks and tightening any loose screws. These fixes often restore proper function quickly.
Realigning Tracks
Misaligned tracks cause the drawer to jam or move unevenly. To realign, first remove the drawer from the cabinet. Check the metal tracks on both sides for bends or damage.
- Loosen the screws holding the tracks slightly.
- Adjust the tracks so they are parallel and level.
- Make sure the tracks line up with the drawer rollers.
- Tighten the screws to hold the new position.
- Test the drawer by sliding it in and out smoothly.
Tightening Screws
Loose screws can cause slides to shift and misalign. Tighten all screws on the tracks and drawer frame. Use a screwdriver to secure them firmly but avoid over-tightening.
| Location | Action |
|---|---|
| Drawer slides | Check and tighten all screws |
| Drawer frame | Tighten screws holding slides |
| Cabinet sides | Secure mounting screws for tracks |
Replacing Damaged Slides
Kitchen drawer slides help drawers open and close smoothly. Sometimes, these slides get damaged and need replacement. Fixing them improves drawer function and prevents damage to your kitchen furniture.
This guide shows you how to remove old slides and install new ones easily. You will need basic tools like a screwdriver and new slides that fit your drawer.
Removing Old Slides
Start by taking the drawer out of its cabinet. Pull it out completely and set it on a flat surface. Look for screws or clips holding the slides in place.
Use a screwdriver to remove all screws from the slides on both the drawer and cabinet sides. Keep the screws if you plan to reuse them. Gently pull the slides off after removing the screws.
- Remove the drawer from the cabinet
- Find and remove screws from the slides
- Pull the old slides off carefully
Installing New Slides
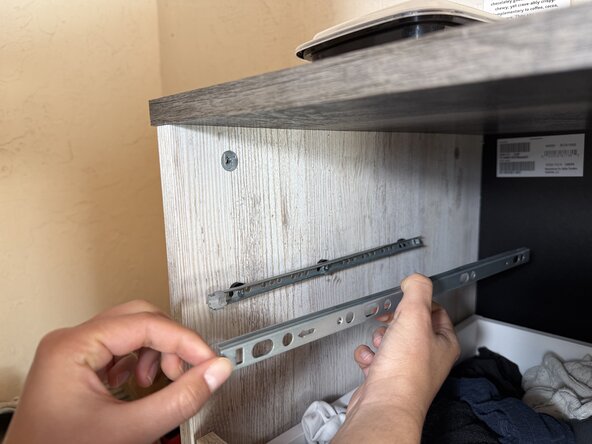
Choose new slides that match the size and type of the old ones. Attach the cabinet side slides first. Align them with the marks left by the old slides for a perfect fit.
Use a screwdriver to secure the slides with screws. Next, attach the drawer side slides in the same way. Slide the drawer back in and test it for smooth movement. Adjust if needed by loosening screws slightly.
- Match new slides to old slide size
- Install cabinet side slides first
- Attach drawer side slides next
- Test drawer movement and adjust
Credit: www.ifixit.com
Cleaning And Lubricating
Kitchen drawer slides can become sticky or noisy over time. Cleaning and lubricating them helps the drawer move smoothly. This keeps your kitchen working well and makes your drawers last longer.
Follow simple steps to remove dirt and apply lubricant. This will fix most common problems with drawer slides.
Removing Dirt And Debris
Start by pulling the drawer out fully. Look inside the slides for dust, crumbs, or small objects. Dirt can block the slides and stop the drawer from moving easily.
Use a soft cloth or brush to clean the inside of the slides. You can also use a vacuum with a small nozzle to remove hard-to-reach debris.
- Pull out the drawer completely
- Use a brush or cloth to clean slides
- Vacuum small debris if needed
- Wipe away any sticky residue
Applying Lubricant For Smooth Operation
Once the slides are clean, apply a lubricant to help them glide. Use a silicone spray or a light oil made for metal parts. Avoid thick grease which can attract more dirt.
Spray or apply a small amount of lubricant along the full length of the slides. Open and close the drawer several times to spread the lubricant evenly.
- Choose a silicone or light oil lubricant
- Apply lubricant along the slide rails
- Move the drawer back and forth
- Wipe off any extra lubricant
Testing And Adjusting
Fixing kitchen drawer slides needs careful testing and adjusting. This helps your drawers open and close smoothly.
Try the drawer many times after repair. Watch for any sticking or wobbling problems.
Checking Drawer Movement
Pull the drawer out fully and push it back in slowly. Check if it moves without stopping or rough spots.
Look for noises like grinding or squeaking. These signs show the slides may need more work.
- Test the drawer with light and full loads
- Notice if the drawer tilts when opened
- Check if the drawer closes flush with the cabinet
- Make sure the drawer does not fall out when pulled
Making Final Adjustments
Tighten or loosen screws to fix movement issues. Small changes can improve how the drawer slides.
If the drawer is too tight, slightly loosen the slide screws. If it is loose, tighten them carefully.
- Adjust screws on the drawer slides evenly
- Use a level to check the slide alignment
- Lubricate the slides with a silicone spray if needed
- Test the drawer again after each adjustment
Preventive Maintenance Tips
Keeping your kitchen drawer slides in good shape needs regular care. Small actions stop big problems.
Follow these easy tips to keep slides working smoothly and last longer.
Regular Cleaning
Dust and crumbs can block the drawer slides. Clean them often to avoid damage.
- Remove the drawer carefully before cleaning.
- Use a soft brush or cloth to clear dust and dirt.
- Check for any stuck debris inside the slides.
- Wipe with a damp cloth and dry well before reinserting.
Periodic Lubrication
Lubricating the slides reduces friction and noise. Use the right lubricant at the right time.
| Type of Lubricant | When to Use | How to Apply |
|---|---|---|
| Silicone Spray | Every 6 months | Spray lightly on the slides and wipe excess |
| White Lithium Grease | Once a year or if slides squeak | Apply a thin layer with a cloth or brush |
| Graphite Powder | For metal slides | Dust into the slide tracks carefully |
Avoiding Overloading
Too much weight can bend or break drawer slides. Know the load limits and keep drawers light.
- Do not fill drawers with heavy items beyond capacity.
- Spread weight evenly inside the drawer.
- Use dividers to organize and balance contents.
- Replace damaged slides immediately to prevent accidents.
Frequently Asked Questions
How Do I Fix A Sticking Kitchen Drawer Slide?
To fix a sticking drawer slide, first clean the track of dirt and debris. Then, lubricate it with silicone spray or a wax stick. Finally, check for misalignment and tighten any loose screws to ensure smooth movement.
What Tools Are Needed To Repair Drawer Slides?
You typically need a screwdriver, lubricant, replacement screws, and possibly new slides. A measuring tape and a level can help ensure proper alignment during repair or replacement.
When Should Kitchen Drawer Slides Be Replaced?
Replace drawer slides if they are bent, cracked, or don’t support smooth sliding. Also, if lubrication and tightening fail to fix the issue, installing new slides is the best option.
Can I Repair Kitchen Drawer Slides Myself?
Yes, most drawer slide repairs are simple and can be done with basic tools. Follow cleaning, lubrication, tightening, or replacement steps carefully for effective results without professional help.
Conclusion
Fixing kitchen drawer slides can be simple with the right steps. Clean and check each part carefully before you start. Tighten loose screws and replace broken pieces as needed. Testing the drawer after repair ensures smooth movement. Small repairs save money and extend drawer life.
Keep tools ready for quick fixes in the future. A working drawer makes your kitchen more functional and neat. Try these tips to keep your drawers sliding smoothly every day.


