
Are you tired of cluttered countertops and cabinets bursting at the seams? Imagine transforming your kitchen into a space of order and efficiency, where everything has its place.
Creating your own kitchen rack is simpler than you might think, and it’s a fantastic way to maximize space while adding a personal touch to your kitchen. Whether you’re a seasoned DIY enthusiast or someone who’s never picked up a hammer, this guide will walk you through every step of the process.
Get ready to unlock the secrets to a tidier, more organized kitchen that will make you wonder how you ever lived without it. Stay with us, and soon, you’ll discover how satisfying it is to create something functional and beautiful with your own hands.
Choosing Materials
Choosing the right materials is important for a kitchen rack. Good materials make it strong and long-lasting. You should think about how you will use the rack.
Materials also affect how the rack looks and how much it costs. Let’s look at some common choices for kitchen racks.
Wood Types And Benefits
Wood is a popular material for kitchen racks. It looks warm and natural. Different woods have different strengths and colors.
- Oak: Very strong and lasts a long time.
- Pine: Soft, easy to work with, and less expensive.
- Teak: Water-resistant and good for humid kitchens.
- Maple: Hard and smooth, with a light color.
Metal Options
Metal racks are sturdy and often modern-looking. They can hold heavy items and resist damage.
| Metal Type | Strength | Rust Resistance | Appearance |
| Stainless Steel | High | Excellent | Shiny and clean |
| Aluminum | Medium | Good | Light and dull |
| Iron | High | Low (needs coating) | Heavy and rustic |
Recycled Materials
Using recycled materials helps the environment. These materials can be as strong as new ones.
- Reclaimed wood from old furniture
- Metal scraps shaped into frames
- Plastic recycled into shelves

Credit: opendoorsopenhearts.com
Design Ideas
Making a kitchen rack is a great way to organize your space. You can choose designs that fit your kitchen style and needs.
This guide shares simple ideas to create useful and attractive kitchen racks. Each idea suits different kitchen layouts.
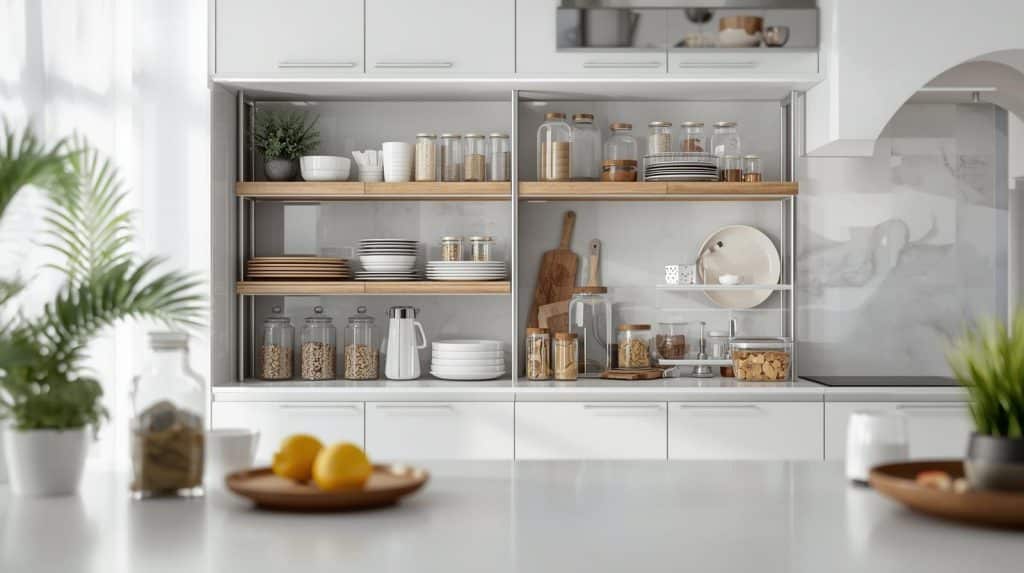
Open Shelves
Open shelves show your dishes and jars nicely. They keep things easy to reach and add charm to the kitchen.
Use wood or metal for strong shelves. Keep the design simple to match your kitchen’s look.
- Place shelves above counters for quick access
- Use brackets that fit your kitchen style
- Arrange items by size or color for neatness
- Add small plants for a fresh touch
Corner Racks
Corner racks use space that often stays empty. They fit well in small kitchens or tricky corners.
Choose rotating or tiered racks to hold spices, cups, or tools. This keeps things organized and easy to find.
- Use lazy Susans for smooth rotation
- Stack shelves to maximize vertical space
- Keep racks at eye level for convenience
- Pick materials that resist moisture
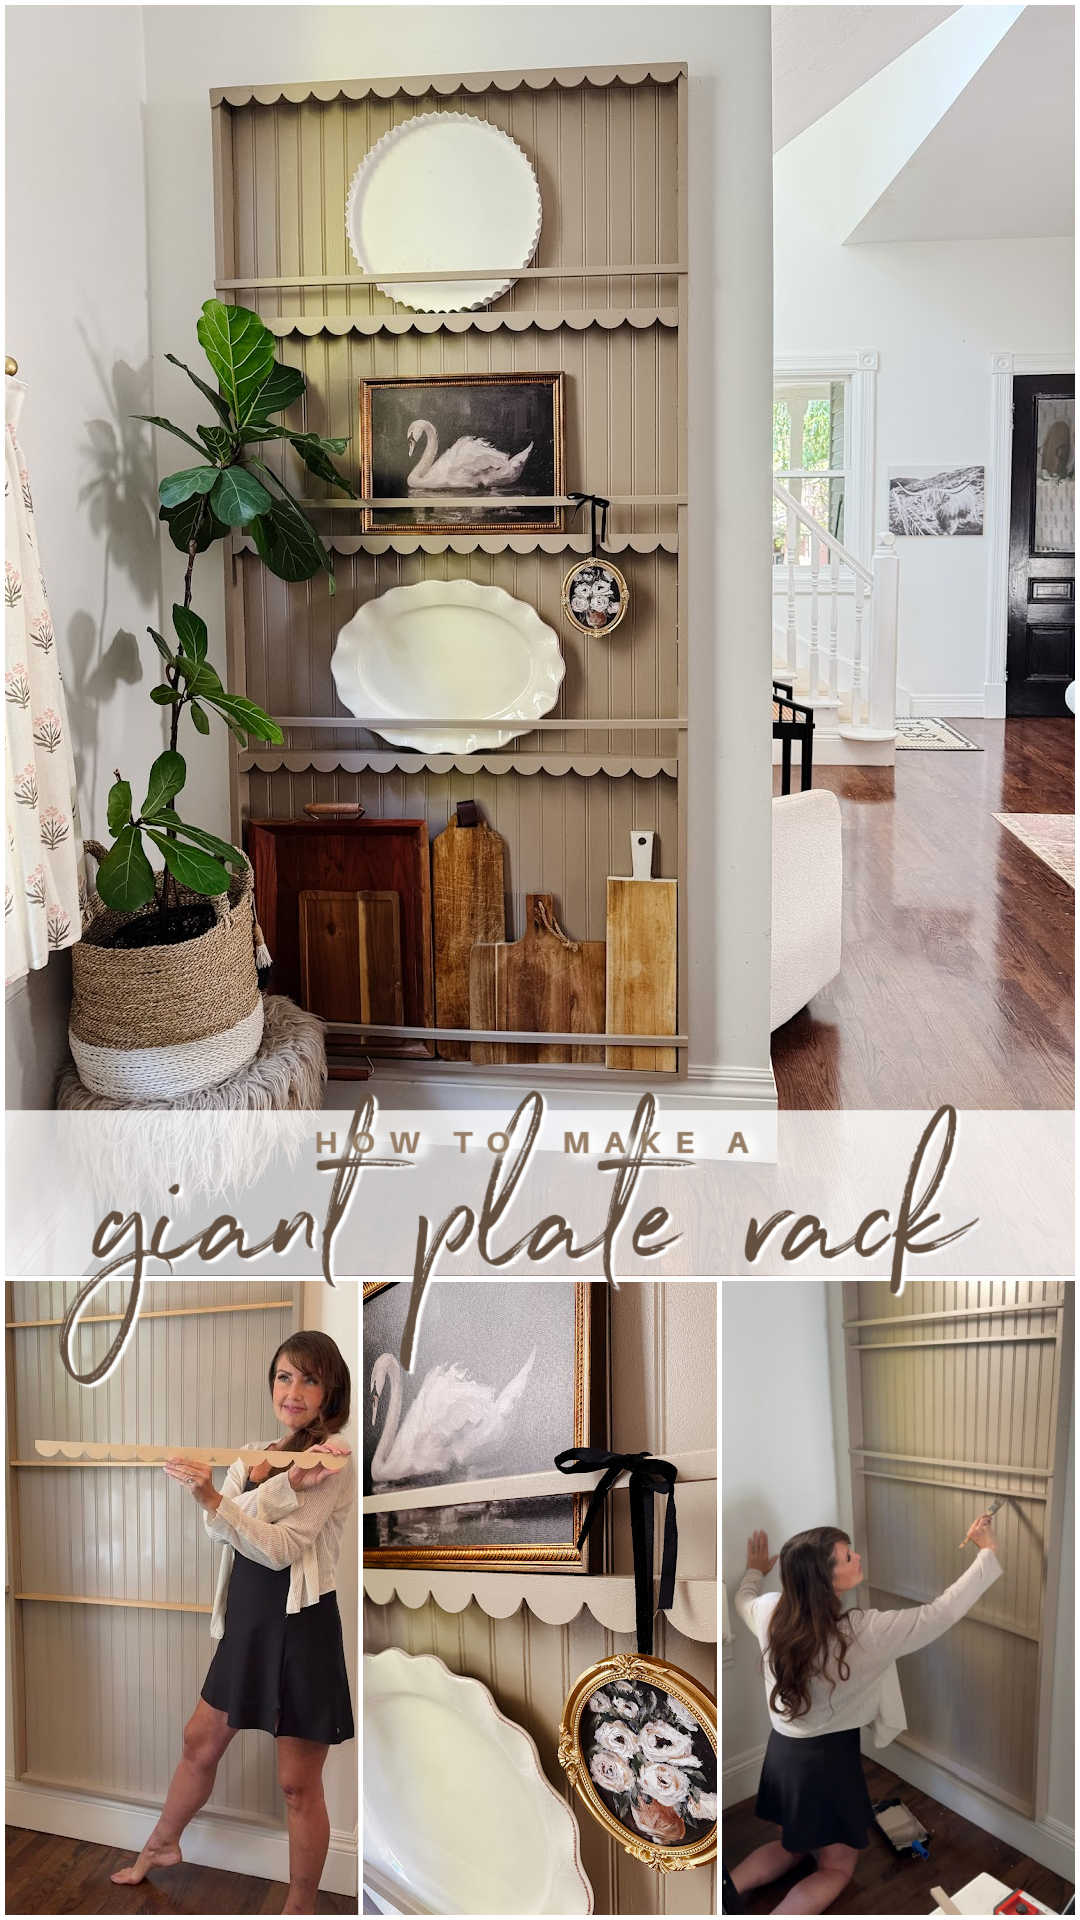
Wall-mounted Units
Wall-mounted racks free up counter space. They hold pots, pans, and utensils within reach.
Choose racks with hooks or shelves. Mount them securely to hold heavier kitchen items safely.
- Install racks near the stove for easy cooking
- Use metal hooks for hanging utensils
- Combine shelves and hooks for mixed storage
- Paint racks to match or contrast the wall
Tools You’ll Need
Making a kitchen rack requires some basic tools. These tools help you cut, join, and finish the wood. Having the right tools makes the project easier and safer.
Below, you will find the main tools needed. They are divided into hand tools, power tools, and safety gear. Each set plays an important role in building your rack.
Basic Hand Tools
Hand tools are simple and easy to use. They help with measuring, marking, and assembling your kitchen rack. Most of these tools you may already have at home.
- Measuring tape
- Pencil for marking wood
- Hand saw for cutting wood
- Hammer for nails
- Screwdriver for screws
- Wood clamps to hold pieces together
Power Tools
Power tools save time and effort. They help you cut and join wood faster and more precisely. Use them carefully and follow instructions.
- Electric drill for making holes
- Power screwdriver or drill driver
- Jigsaw for curved cuts
- Orbital sander for smooth surfaces
Safety Gear
Safety gear protects you from injuries. Always wear these items when working with tools. They keep your eyes, ears, and hands safe.
- Safety glasses to protect your eyes
- Ear protection like earplugs or earmuffs
- Work gloves to protect your hands
- Dust mask to avoid breathing sawdust
Step-by-step Construction
Building a kitchen rack is a simple project you can do at home. This guide walks you through the main steps. Follow them carefully to create a sturdy and useful rack.
You will learn how to measure and cut the materials, assemble the frame, and add finishing touches to complete your kitchen rack.
Measuring And Cutting
Start by measuring the space where you want to place the rack. Use a tape measure for accuracy. Decide the height, width, and depth that fit your kitchen.
- Measure the width of the area for the rack.
- Measure the desired height from floor to top shelf.
- Measure the depth to make sure the rack fits well.
- Mark these measurements on your wood pieces.
- Use a saw to cut the wood according to your marks.
Assembling The Frame
Once the pieces are cut, it is time to assemble the frame. Start by connecting the vertical and horizontal parts. Use screws or nails to hold them tightly.
| Part | Quantity | Notes |
| Vertical supports | 4 | For rack stability |
| Horizontal shelves | 3 | Space for storage |
| Back supports | 2 | Keep rack square |
| Screws or nails | As needed | Use proper length |
Make sure the frame is square and level before tightening all screws. You can use a carpenter’s square to check the corners.
Finishing Touches
After assembling, sand all surfaces to remove rough edges. This will make the rack safe to use and give it a smooth look.
Here are some finishing ideas:
- Apply a coat of paint or wood stain to protect the wood.
- Add rubber feet to the bottom to prevent slipping.
- Attach hooks on the sides for hanging utensils.
- Place liners on shelves to keep items clean.
Painting And Finishing
Painting and finishing protect your kitchen rack. They also make it look nice and last longer.
Choose the right paint or finish to suit wood and kitchen conditions.
Choosing Paint Types
Use paint made for wood surfaces. It should handle moisture and heat in kitchens.
Water-based paints dry fast and clean easily. Oil-based paints last longer but take more time.
- Water-based paint: quick drying, easy clean-up
- Oil-based paint: durable, smooth finish
- Chalk paint: gives a matte look, easy to distress
- Spray paint: good for even coverage on hard-to-reach areas
Applying Stain Or Varnish
Stain changes the wood color while showing its grain. Varnish adds shine and protection.
Apply stain with a cloth or brush. Let it soak, then wipe off the extra.
Use varnish after the stain dries. Apply thin coats and let each dry well.
- Test stain on a small wood area first
- Apply stain in the wood direction
- Use a soft brush or cloth for varnish
- Sand lightly between varnish coats
Sealing For Durability
Sealing protects your rack from water, stains, and wear. It makes cleaning easier.
Choose a sealer that fits kitchen use. Polyurethane is strong and water-resistant.
- Use polyurethane for strong water protection
- Apply sealer in thin, even coats
- Let each coat dry before adding the next
- Lightly sand between coats for smooth finish
Credit: tatertotsandjello.com
Organizing Tips
Keeping your kitchen rack tidy helps you find things fast. Good organization saves space and time.
Simple tips can make your kitchen rack neat and easy to use every day.
Maximizing Space
Use vertical space by adding extra shelves or hooks. This makes room for more items.
Stack items carefully to avoid clutter and keep everything visible.
- Install tiered racks for plates and cups
- Use wall-mounted hooks for utensils
- Place taller items at the back
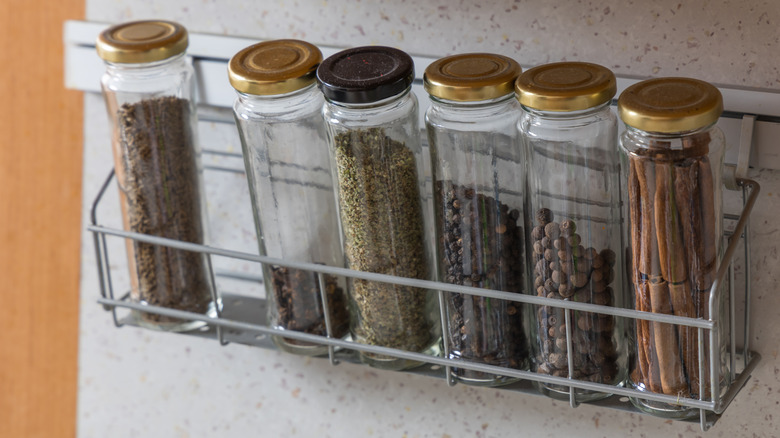
Using Baskets And Containers
Baskets and containers keep small items together and stop mess. Choose sizes to fit your rack.
Clear containers help you see contents easily without opening them.
- Use baskets for fruits and vegetables
- Store spices in small containers
- Group similar items in labeled boxes
Labeling For Efficiency
Labels help you find items quickly and keep things in order. Use simple and clear words.
Label baskets, containers, and shelves to avoid confusion and save time.
- Write labels with large, easy-to-read font
- Use waterproof labels for kitchen moisture
- Update labels when contents change
Maintenance And Care
Keeping your kitchen rack clean and sturdy helps it last longer. Regular care stops damage and keeps it safe to use.
Simple steps for cleaning, protecting, and checking your rack make a big difference. Follow these tips to keep it in good shape.
Cleaning Techniques
Clean your kitchen rack often to remove dust and stains. Use a soft cloth with mild soap and water to wipe it down.
Avoid harsh chemicals that can damage the rack’s surface. Dry it well after cleaning to stop rust or mold from forming.
- Use a soft sponge or cloth
- Clean with warm water and gentle soap
- Dry completely to prevent moisture damage
- Spot clean spills quickly
Preventing Damage
Protect your kitchen rack from heavy loads and sharp objects. Avoid placing wet items directly on wooden racks to stop warping.
Use pads or mats under heavy items to spread weight evenly. Keep the rack away from direct heat sources to prevent cracking or fading.
- Do not overload shelves
- Use protective pads for heavy items
- Keep away from heat and sunlight
- Handle with care to avoid scratches
Periodic Checks
Check your kitchen rack regularly for loose screws or damaged parts. Tighten screws and fix any issues to keep it stable and safe.
Look for signs of rust, cracks, or wear. Repair or replace parts early to avoid bigger problems.
- Inspect screws and joints every month
- Look for cracks or rust spots
- Fix loose parts immediately
- Replace damaged parts as needed
Credit: www.tastingtable.com
Frequently Asked Questions
What Materials Are Best For Making A Kitchen Rack?
Wood, metal, and plastic are popular materials for kitchen racks. Wood offers a rustic look and durability. Metal provides strength and modern aesthetics. Plastic is lightweight and affordable. Choose based on your kitchen style, budget, and the rack’s intended use.
How Do I Measure Space For A Kitchen Rack?
Measure the available wall or countertop space accurately. Use a tape measure to note height, width, and depth. Allow extra space for easy access and ventilation. Proper measurements ensure the rack fits well and functions efficiently in your kitchen.
What Tools Are Needed To Build A Kitchen Rack?
Basic tools include a saw, drill, screwdriver, measuring tape, and level. Sandpaper and paintbrushes are helpful for finishing touches. Having the right tools simplifies assembly and improves the rack’s durability and appearance.
How Can I Customize My Kitchen Rack Design?
Customize by adjusting size, shelves, and finishes to fit your needs. Add hooks, baskets, or labels for better organization. Use paint or stain to match your kitchen décor. Personalization enhances both function and style.
Conclusion
Making your own kitchen rack saves money and fits your space well. You choose the size, style, and materials easily. This project helps keep your kitchen neat and organized. It also adds a personal touch to your home. Start small and build up your skills step by step.
Enjoy the process and the useful rack you create. Simple tools and patience make the task fun and doable. Your kitchen will look better and work smarter with your new rack.


