

How to Make Kitchen Rack at Home: Step-by-Step DIY Guide
Are you tired of cluttered countertops and cabinets bursting at the seams? Imagine having a perfectly organized kitchen where everything has its place.
Making your own kitchen rack at home might just be the perfect solution. Not only does a custom rack save space, but it also adds a personal touch to your kitchen décor. Plus, it can be surprisingly easy and cost-effective.
If you’ve ever wondered How to Make Kitchen Rack at Home, this guide will walk you through step-by-step instructions to create a kitchen rack that fits your style and needs perfectly. Get ready to transform your kitchen into a more efficient and enjoyable space!
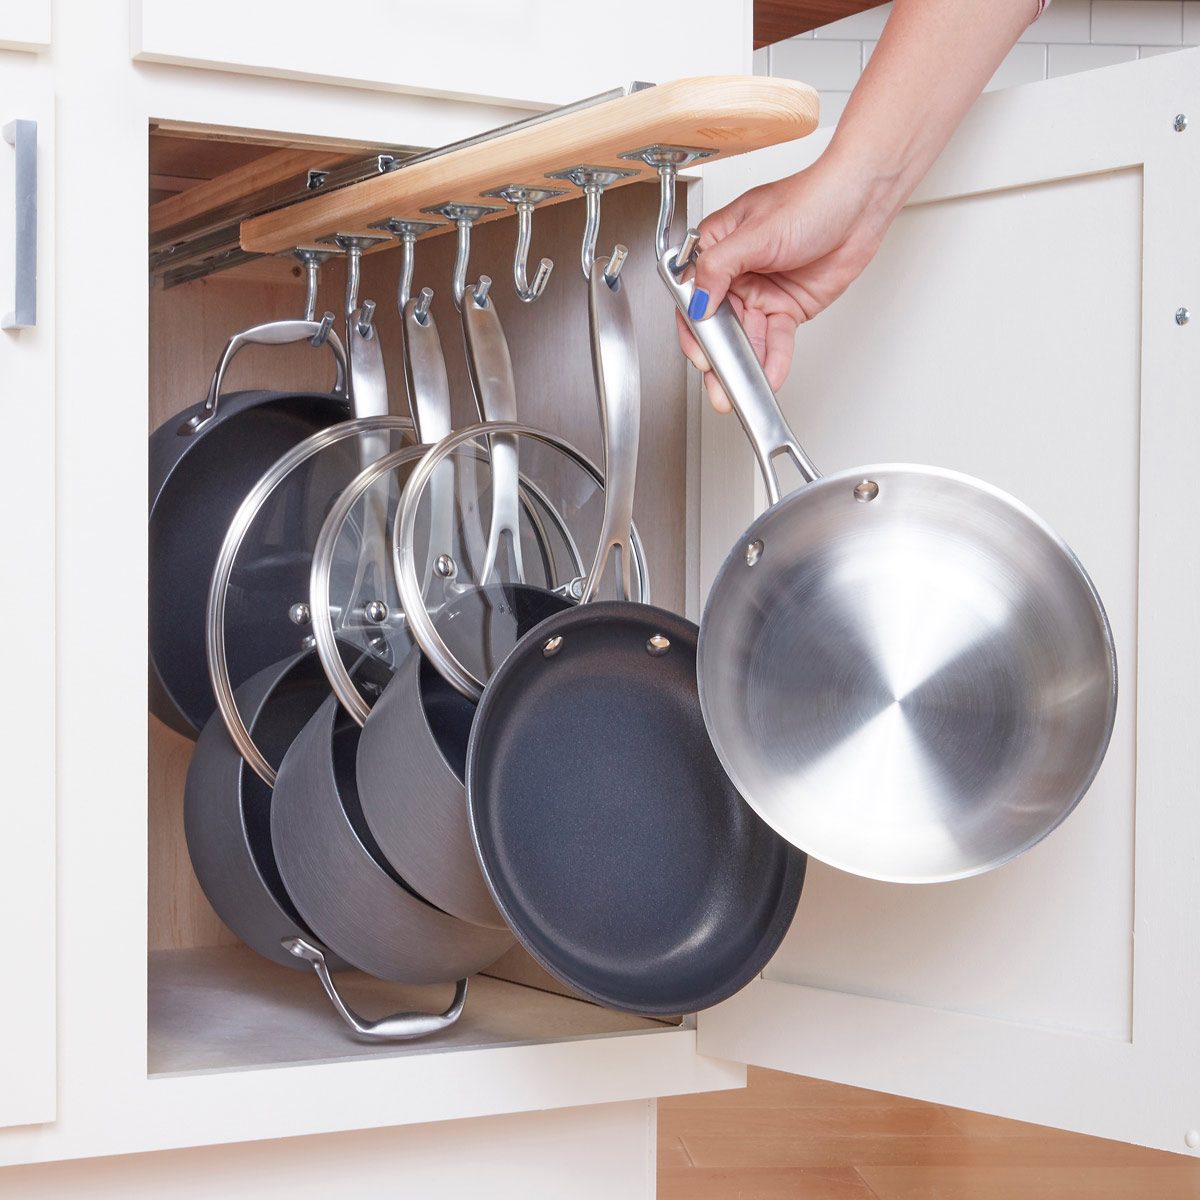
Credit: www.familyhandyman.com
Materials Needed
Making a kitchen rack at home is a simple project. You need the right materials for a strong rack.
This guide lists the wood types, tools, and supplies you will need to build your rack.
Wood Types
Choose wood that is strong and easy to work with. Wood gives your rack a natural look.
Some woods are better for kitchen racks because they resist moisture and wear.
- Pine: Soft and easy to cut, affordable for beginners
- Oak: Hard and durable, great for heavy items
- Birch: Smooth finish, looks good when painted
- Cedar: Naturally resists moisture and insects
Tools Required
You need some basic tools to cut and join the wood pieces. These tools make building safer and faster.
- Hand saw or electric saw to cut wood
- Drill for making holes and screws
- Screwdriver to fix screws securely
- Measuring tape for accurate sizes
- Level to keep the rack straight
- Sandpaper to smooth rough edges
Additional Supplies
Besides wood and tools, you need some supplies to join parts and finish your rack.
- Wood screws to hold pieces together
- Wood glue for extra strength
- Paint or wood varnish for protection
- Brushes or rags to apply finish
- Protective gloves and goggles for safety
Planning Your Rack
Planning a kitchen rack at home starts with good preparation. It helps make sure your rack fits well and looks great.
This guide covers measuring space, design styles, and choosing the right dimensions for your rack.
Measuring Space
Measure the area where you want to place the kitchen rack. Check the width, height, and depth carefully.
- Use a tape measure for accuracy
- Note any obstacles like doors or switches
- Allow space for easy access and movement
- Write down the measurements for reference
Design Styles
Pick a design style that matches your kitchen look. This affects how your rack will blend in.
- Modern: clean lines and simple shapes
- Rustic: natural wood and rough finishes
- Industrial: metal parts and open shelves
- Classic: detailed trims and solid wood
Choosing Dimensions
Decide the size of shelves and overall rack. It must fit your space and hold what you need.
| Dimension | Recommended Size | Notes |
|---|---|---|
| Width | 24 to 36 inches | Depends on available wall space |
| Height | 60 to 72 inches | Should not block windows or cabinets |
| Depth | 12 to 18 inches | Allows enough shelf space without crowding |
| Shelf Spacing | 10 to 15 inches | Enough room for plates and jars |
Step-by-step Assembly
Making a kitchen rack at home is a useful project. It helps organize your kitchen and saves space.
This guide shows simple steps to build a sturdy rack using wood. Follow each step carefully for best results.
Cutting Wood Pieces
Start by measuring the wood pieces you need. Use a saw to cut them to the right size.
Cut pieces for the shelves, sides, and support beams. Make sure each piece is straight and smooth.
- Measure twice before cutting
- Use a fine-toothed saw for clean cuts
- Wear safety goggles while cutting
Joining Techniques
Join the wood pieces with screws or nails. Pre-drill holes to stop wood from splitting.
Use wood glue on joints for extra strength. Clamp pieces together until glue dries.
- Align wood pieces carefully before joining
- Use a screwdriver or drill for screws
- Check for a square frame with a carpenter’s square
Sanding And Finishing
Smooth all surfaces with sandpaper. Start with coarse grit, then use fine grit for a polished look.
Apply paint, varnish, or wood stain to protect the wood. Let the finish dry fully before use.
- Sand edges to avoid splinters
- Use a soft cloth to apply finish
- Work in a well-ventilated area
Creative Storage Ideas
Making a kitchen rack at home helps organize your space. It saves room and keeps things tidy.
Use simple materials to build useful racks. These ideas fit small kitchens well.
Multi-tier Shelves
Multi-tier shelves give you more space vertically. You can store plates, jars, and spices easily.
Use wood or metal to make strong shelves. Stack them to fit your kitchen wall.
- Keep heavy items on the bottom shelf
- Use baskets to hold small items
- Label shelves for easy access
Hanging Options
Hanging racks free up counter space. Hang pots, pans, or cups from hooks or rods.
Choose a spot near your cooking area for quick reach. Use strong hooks to hold weight.
- Install a metal rod under cabinets
- Use ceiling hooks for large pots
- Hang mugs by their handles
Incorporating Hooks
Hooks add flexible storage to your kitchen rack. They hold utensils, towels, and small tools.
Place hooks on sides or under shelves. This keeps items visible and easy to grab.
- Use S-hooks for easy hanging and moving
- Attach adhesive hooks for no drilling
- Group similar items on one hook
Safety Tips
Building a kitchen rack at home can be safe if you take the right steps. Safety helps you avoid accidents and damage.
Focus on tool handling, material safety, and proper installation to keep your project secure.
Tool Handling
Use tools carefully to avoid injuries. Always wear protective gear like gloves and goggles while working.
- Read the tool manual before use.
- Keep tools clean and sharp.
- Store tools in a safe place after use.
- Use the right tool for each task.
- Keep your work area tidy and well-lit.
Material Safety
Choose safe and strong materials for your kitchen rack. Check for sharp edges or splinters before use.
| Material | Safety Tip |
| Wood | Smooth rough edges and avoid cracked pieces. |
| Metal | Wear gloves to prevent cuts and rust. |
| Paint or Finish | Use non-toxic and water-based products. |
Proper Installation
Install the rack firmly to keep it stable. Use wall anchors or screws that fit the wall type.
- Measure and mark the wall before drilling.
- Check for pipes or wires inside the wall.
- Use a level to keep the rack straight.
- Do not overload the rack with heavy items.
- Test the rack for stability before use.
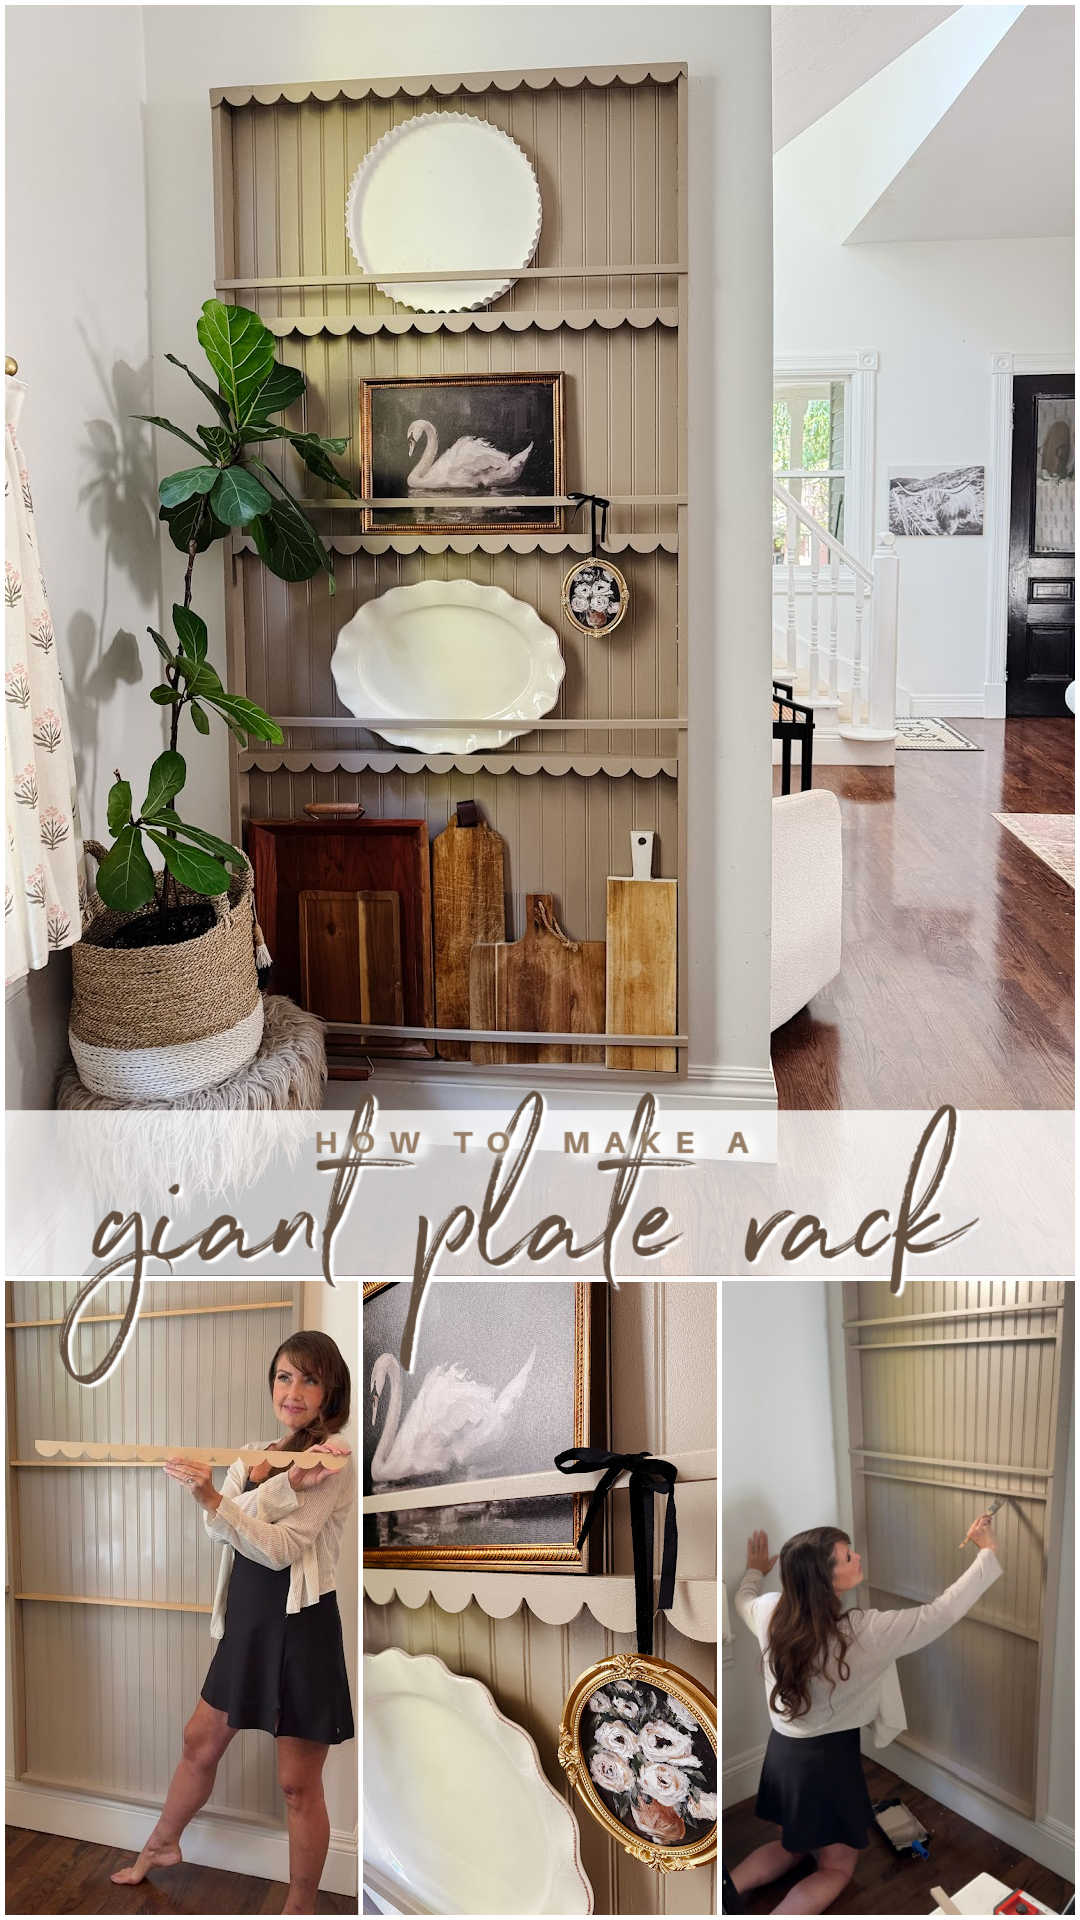
Credit: tatertotsandjello.com
Maintenance And Upkeep
Keeping your kitchen rack clean and in good shape helps it last longer. Proper care prevents damage and keeps it looking nice.
Regular checks and simple cleaning steps will save you time and money in the future. Here are some ways to care for your kitchen rack.
Cleaning Methods
Clean your kitchen rack often to avoid dirt build-up. Use mild cleaners and soft cloths to protect the material.
- Wipe with a damp cloth daily
- Use warm soapy water for tough stains
- Dry thoroughly to stop rust or mold
- Avoid harsh chemicals and abrasive tools
- Clean spills immediately to prevent damage
Repair Tips
Fix small issues quickly to keep your rack strong. Tighten loose screws and replace broken parts as soon as possible.
| Problem | Cause | Solution |
| Loose screws | Regular use | Tighten with screwdriver |
| Rust spots | Moisture exposure | Sand and repaint |
| Broken shelf | Heavy weight | Replace or reinforce shelf |
| Wobbly rack | Uneven floor | Adjust feet or add pads |
Enhancing Durability
Make your kitchen rack last longer by protecting it from damage. Use covers and avoid overloading shelves.
- Apply a sealant or varnish for wood racks
- Use rust-proof paint on metal parts
- Place rack away from direct sunlight and moisture
- Do not store very heavy items on top shelves
- Check and tighten fasteners regularly
Frequently Asked Questions
What Materials Do I Need To Make A Kitchen Rack At Home?
You need wood or metal for the frame, screws, nails, sandpaper, paint, and tools like a drill and saw. Choose materials based on your kitchen style and rack size for durability and aesthetic appeal.
How Much Time Does It Take To Build A Kitchen Rack?
Building a kitchen rack typically takes 3 to 6 hours. This depends on the design complexity, your experience, and drying time for paint or finish.
Can I Customize The Kitchen Rack Design Easily?
Yes, you can customize the design by altering dimensions, shelves, and paint colors. Customization helps fit your kitchen space and personal style perfectly.
Is It Safe To Use Homemade Kitchen Racks For Heavy Items?
If built with quality materials and proper techniques, homemade racks can safely hold heavy kitchen items. Ensure strong joints and secure mounting for safety.
Conclusion
Making a kitchen rack at home saves money and space. It helps keep your kitchen neat and organized. You only need simple tools and materials. The steps are easy to follow and quick to do. This project gives you a useful rack that fits your style.
Try making one today and enjoy a tidier kitchen. Small efforts bring big changes. Your kitchen will look better and work smarter. Give it a go and see the difference yourself.


