

Are you tired of rummaging through drawers to find the right kitchen utensil? Imagine cooking your favorite meal with every tool you need within arm's reach, neatly organized in a stylish holder.
Creating your own kitchen utensil holder not only adds a personal touch to your space but also transforms your cooking experience. In this guide, you'll discover simple steps to craft a holder that fits your style and keeps your kitchen tidy.
Ready to enhance your kitchen's functionality and flair? Let's dive into the process and turn clutter into convenience.
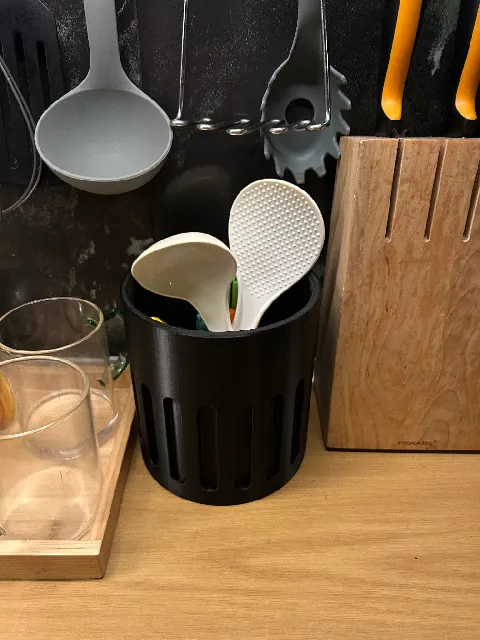
Credit: www.printables.com
Choosing Materials
Choosing the right materials is important for a kitchen utensil holder. The material affects how strong and easy to clean the holder will be.
Pick materials that fit your kitchen style and last long. This guide explains popular choices for your project.
Wood Options
Wood is a classic choice for utensil holders. It looks warm and natural in any kitchen.
Hardwoods like oak and maple resist scratches and water better. Softwoods like pine are easier to work with but need sealing.
- Oak: strong and durable
- Maple: smooth and hard
- Pine: light and easy to cut
- Bamboo: eco-friendly and water-resistant
Metal Choices
Metal holders offer a modern and sturdy look. They are easy to clean and last a long time.
Stainless steel is rust-resistant and looks sleek. Aluminum is light but can scratch. Wrought iron adds a rustic feel but may need coating.
- Stainless steel: rust-proof and strong
- Aluminum: lightweight and affordable
- Wrought iron: heavy and rustic
Upcycled Containers
Upcycled containers give a new life to old items. They are budget-friendly and eco-friendly.
Use jars, cans, or boxes to hold utensils. Clean and decorate them to fit your kitchen style.
- Glass jars: easy to clean and clear
- Metal cans: sturdy and recyclable
- Wooden boxes: rustic and reusable
- Plastic containers: light and colorful
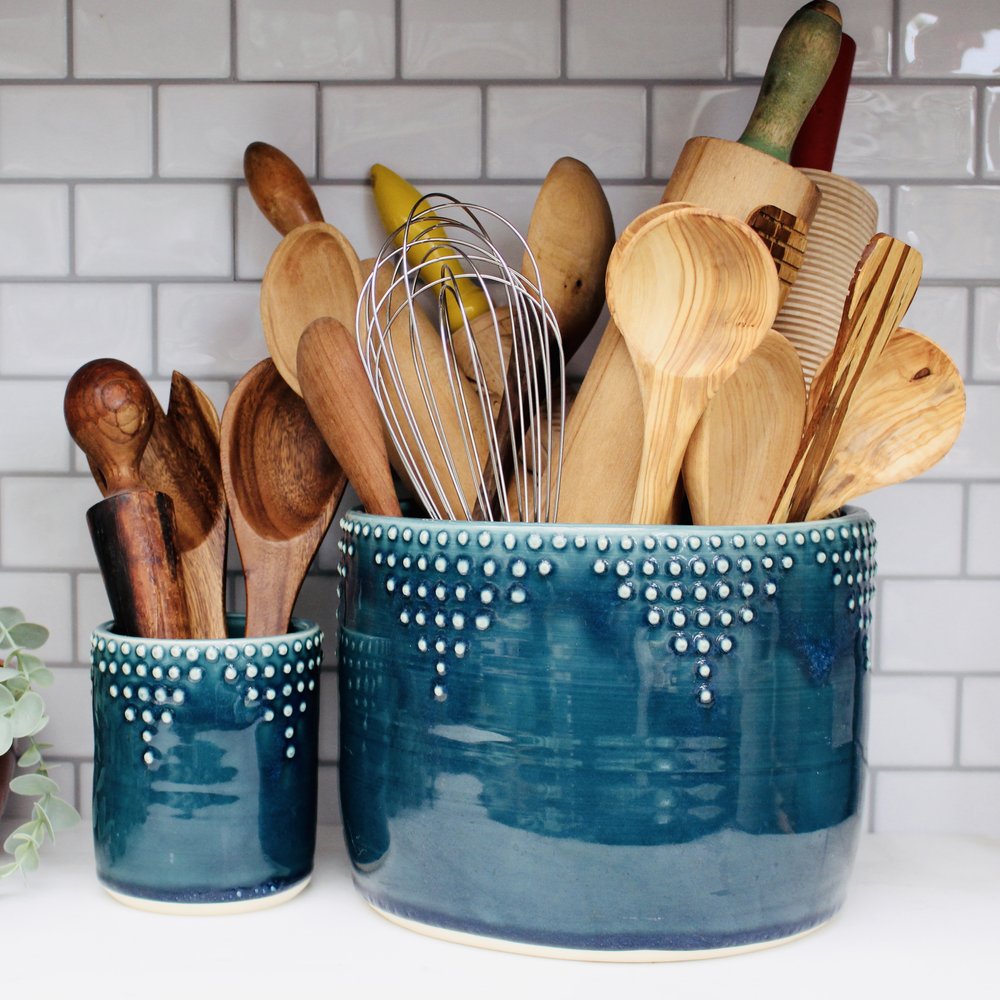
Credit: www.backbaypottery.com
Basic Tools Needed
Making a kitchen utensil holder is a fun and simple project. You only need a few basic tools to get started. These tools help you cut, fasten, and finish your holder.
Knowing the right tools makes your work easier and safer. Let’s look at the tools you will need for each step.
Cutting Tools
Cutting tools help shape the wood or material for your utensil holder. Choose tools that make clean and accurate cuts. This step is very important to get the right size.
- Hand saw – good for small cuts and simple shapes
- Jigsaw – useful for curved or detailed cuts
- Utility knife – handy for trimming edges or softer materials
- Sandpaper – helps smooth rough cut edges
Fastening Supplies
Fastening supplies hold the pieces of your holder together. Use strong and reliable items to keep it sturdy. Pick fastening tools that fit your materials.
- Wood glue – bonds pieces firmly without nails
- Small nails or brads – add extra strength
- Hammer – to drive nails in place
- Screwdriver and screws – for very secure joints
Finishing Equipment
Finishing equipment gives your utensil holder a nice look and protects it. Use these tools to smooth and seal the surface. This step makes your project last longer.
- Sandpaper – smooths rough spots and edges
- Paintbrush or cloth – for applying paint or varnish
- Wood stain or paint – adds color and protection
- Clear sealant or varnish – protects the wood from moisture
Simple Designs For Beginners
Making a kitchen utensil holder is an easy way to organize your tools. You can create holders with simple materials at home.
This guide shows three simple designs for beginners. Each design uses basic steps and common items.
Box Style Holder
A box style holder is a simple container to keep your utensils. You can use wood, cardboard, or plastic boxes.
Paint or decorate the box to match your kitchen style. Add dividers if you want to separate different utensils.
- Choose a box size that fits your countertop
- Sand wooden boxes for smooth edges
- Use waterproof paint for durability
- Add small wooden dividers for organization
Jar And Can Holder
Old jars or cans make great utensil holders. Clean them well and remove labels before use.
Decorate the jars with ribbon, paint, or fabric. Group several jars on a tray for easy movement.
- Use glass jars or metal cans
- Paint outside for a fresh look
- Glue fabric or ribbon around the jar
- Place jars on a sturdy tray
Hanging Utensil Rack
A hanging rack saves space and keeps utensils within reach. Use hooks or a rod on the wall or under cabinets.
Attach S-hooks to hang spoons, spatulas, and ladles. Choose a spot near your cooking area for easy access.
- Install a wooden or metal rod horizontally
- Use S-hooks to hang utensils
- Measure space before installation
- Choose a spot that is easy to reach
Creative Diy Ideas
Making a kitchen utensil holder is simple and fun. You can use things around the house to create useful holders.
This guide shows easy ideas to make holders with items you may already have. It keeps your kitchen neat and stylish.
Repurposed Tin Cans
Old tin cans can become great utensil holders. Clean the cans well before using them.
You can paint or decorate the cans to match your kitchen style. Add some sand or small stones at the bottom to keep them steady.
- Remove labels and wash cans
- Paint with colors or patterns
- Glue fabric or paper around the cans
- Add weight inside for stability
Painted Mason Jars
Mason jars are perfect for holding utensils. Paint them with bright or pastel colors for a fresh look.
Use chalk paint for a matte finish or spray paint for a smooth coat. You can also add labels to organize your kitchen tools.
- Choose clean mason jars of any size
- Apply paint in thin layers
- Let them dry completely
- Label jars for different utensils
Wooden Crate Holders
Wooden crates make rustic utensil holders. Use small crates or cut bigger ones to size.
You can leave the wood natural or paint it. Sand the edges to avoid splinters and add dividers inside for better organization.
- Select wooden crates or boxes
- Sand rough edges
- Paint or varnish the wood
- Add wooden dividers if needed
- Place on kitchen counter or hang on wall
Step-by-step Assembly
Making a kitchen utensil holder is a simple project you can do at home. Follow these steps to build one that fits your kitchen style.
This guide covers measuring, cutting, joining, sanding, and painting your utensil holder.
Measuring And Cutting
Start by measuring the size you want for your utensil holder. Mark the wood pieces carefully before cutting.
Use a ruler and pencil to draw straight lines. Cut the wood with a saw, following your marks precisely.
- Measure twice to avoid mistakes
- Cut slowly to keep edges straight
- Wear safety gear when cutting wood
Joining Pieces
Next, join the cut wood pieces to form the holder shape. Use wood glue for a strong bond.
Hold the pieces together with clamps while the glue dries. You can add nails for extra support.
- Apply glue evenly on edges
- Clamp pieces tightly but not too hard
- Let glue dry for at least one hour
Sanding And Painting
After the glue dries, sand the entire holder to smooth rough edges. Use medium-grit sandpaper first.
Once smooth, paint or stain the holder to protect the wood and match your kitchen decor.
- Sand in the direction of the wood grain
- Use a clean cloth to remove dust before painting
- Apply paint in thin, even coats
Customizing Your Holder
Making a kitchen utensil holder is fun and useful. You can change it to fit your style and needs.
Adding personal touches makes your holder unique. You can decorate it with labels, designs, or special finishes.
Adding Labels
Labels help you keep your utensils organized. You can write or stick labels on your holder.
Use clear labels for quick identification. You can use tags or small boards for the labels.
- Write utensil names with a marker
- Use chalkboard paint for reusable labels
- Attach small wooden tags with string
Decorative Elements
Decorations make your holder look nice. You can add patterns, stickers, or small objects.
Choose decorations that match your kitchen style. Simple designs often look clean and neat.
- Paint stripes or dots with acrylic paint
- Glue small shells or buttons
- Use washi tape for colorful stripes
Personalized Finishes
Finishes protect your holder and add style. You can varnish, stain, or add a matte coat.
Choose finishes that fit your kitchen's look. Some finishes make cleaning easier too.
- Apply clear varnish for shine and protection
- Use wood stain for a natural look
- Try matte spray paint for a soft finish
Maintenance Tips
Keeping your kitchen utensil holder in good shape helps it last longer. Regular care keeps it clean and safe to use.
Follow simple steps to clean, protect, and fix your utensil holder. This guide shows easy ways to do that.
Cleaning Methods
Clean your utensil holder often to stop dirt and germs. Use gentle soap and warm water for most materials.
- Wash with mild dish soap and a soft cloth.
- Rinse well to remove soap residue.
- Dry completely to avoid water spots or rust.
- Avoid harsh chemicals that can damage the surface.
- For wooden holders, use a damp cloth and dry quickly.
Protecting Surfaces
Protect your utensil holder surface to keep it looking new. Use simple ways to stop scratches and stains.
| Material | Protection Tip |
| Wood | Apply food-safe mineral oil monthly |
| Metal | Keep dry and avoid harsh cleaners |
| Plastic | Keep away from heat sources |
| Ceramic | Use soft cloths to avoid scratches |
Repairing Damage
Fix small damage quickly to stop it from getting worse. Use easy repair tricks for common problems.
- For scratches on wood, sand lightly and apply oil.
- Fill small cracks in ceramic with food-safe glue.
- Use metal polish to remove rust spots.
- Replace broken plastic parts if possible.
- Check for loose joints and tighten if needed.

Credit: www.backbaypottery.com
Placement Ideas
Finding the right place for your kitchen utensil holder helps keep your cooking space neat.
Good placement saves time and makes your kitchen more functional.
Countertop Organization
Placing your utensil holder on the countertop keeps tools within easy reach while cooking.
- Choose a spot near the stove for quick access.
- Keep it clear of sinks to avoid water damage.
- Select a corner to save workspace.
- Use a matching holder to blend with your kitchen style.
Wall Mount Options
Mounting your utensil holder on the wall frees up countertop space.
| Mount Type | Benefits |
|---|---|
| Magnetic Strip | Easy to install and holds metal utensils securely. |
| Hook Rack | Allows hanging of multiple utensils for quick access. |
| Shelf with Containers | Combines storage with display, saving space. |
Drawer Inserts
Using drawer inserts keeps your utensils hidden but organized.
- Select inserts with compartments for different utensils.
- Place near prep areas for convenience.
- Choose adjustable dividers for flexible storage.
- Keep the drawer clutter-free by regularly sorting tools.
Frequently Asked Questions
What Materials Do I Need For A Utensil Holder?
You need basic materials like wood, nails, glue, paint, and sandpaper. Choose materials based on your design and durability preferences.
How Long Does It Take To Make A Utensil Holder?
It typically takes 1 to 2 hours. Time depends on design complexity and drying time for paint or glue.
Can I Customize The Utensil Holder Design?
Yes, you can customize colors, shapes, and sizes to match your kitchen style and storage needs.
Is Making A Utensil Holder Beginner-friendly?
Absolutely. Simple designs require basic skills and tools, making it a great DIY project for beginners.
Conclusion
Making a kitchen utensil holder is simple and fun. It helps keep your kitchen neat and organized. You can use materials you already have at home. This project saves money and adds a personal touch to your space. Try different styles to match your kitchen decor.
Enjoy the process and the final result. A well-made holder makes cooking easier every day. Start your project today and see the difference it brings. Simple steps lead to useful and beautiful kitchen storage.


