
Are you tired of cluttered countertops and disorganized kitchen spaces? Imagine opening a drawer and finding everything neatly in its place, perfectly within reach.
Learning how to make a kitchen cabinet drawer might sound daunting, but it’s more achievable than you think. By doing it yourself, you gain control over the design, functionality, and even the cost, all while adding a personal touch to your kitchen.
With F KD techniques, you’ll discover the simple steps to create a kitchen cabinet drawer that not only fits your space but also elevates your kitchen experience. Get ready to transform chaos into calm with a project that’s both practical and rewarding. Dive in, and let’s get started on crafting the perfect drawer for your needs!
Materials And Tools Needed
Building a kitchen cabinet drawer requires careful selection of materials and tools. Using the right supplies makes the process easier and the result stronger.
This guide covers the essential materials and tools you need before you start making your drawer.
Essential Materials
Choosing quality materials helps your drawer last longer and function well. Here are the main materials you will need.
- Wood boards (plywood or hardwood) for the drawer sides, front, back, and bottom
- Wood glue for strong joints
- Wood screws or nails to hold parts together
- Drawer slides or runners for smooth opening and closing
- Sandpaper to smooth the wood surfaces
- Wood stain or paint for finishing the drawer
Required Tools
Using the right tools makes cutting and assembling the drawer easier. These are the tools you will need for the project.
| Tool | Purpose |
|---|---|
| Measuring tape | Measure wood pieces accurately |
| Saw (hand saw or circular saw) | Cut wood boards to size |
| Drill | Make holes for screws and drawer slides |
| Screwdriver | Drive screws into wood |
| Clamps | Hold wood parts tightly while glue dries |
| Sandpaper or electric sander | Smooth edges and surfaces |
| Pencil | Mark measurements and cutting lines |
Planning Your Drawer
Planning your kitchen cabinet drawer helps ensure it fits well and works smoothly. Good planning saves time and materials.
Start by measuring the space and deciding the drawer style. These choices affect the drawer’s size and look.
Measuring The Space
Measure the width, height, and depth of the cabinet opening. Use a tape measure for accuracy.
- Measure the inside width from left to right.
- Measure the inside height from top to bottom.
- Measure the inside depth from front to back.
- Note any obstacles like pipes or hinges inside.
- Double-check all measurements before cutting materials.
Choosing The Drawer Style
Pick a drawer style that fits your cabinet and use. Styles vary by front design and drawer slides.
| Drawer Style | Description | Best Use |
| Face Frame Drawer | Drawer front covers cabinet frame | Traditional cabinets |
| Inset Drawer | Drawer front fits inside frame | Clean, classic look |
| Full Overlay Drawer | Drawer front covers cabinet edges | Modern style |
Cutting The Wood
Cutting the wood accurately is important for a sturdy drawer. Use the right tools and measure carefully before cutting.
Take your time to prepare the panels and cut the pieces to the correct size. This helps your drawer fit perfectly in the cabinet.
Preparing The Panels
Start by selecting good quality wood panels. Check for any cracks or knots that could weaken the drawer.
- Measure the drawer dimensions carefully
- Mark the cutting lines clearly on each panel
- Use a straight edge to draw precise lines
- Double-check all measurements before cutting
Cutting Side And Bottom Pieces
Cut the side and bottom pieces with a saw suited for fine woodworking. Smooth edges ensure easy assembly later.
| Piece | Recommended Thickness | Cutting Tips |
|---|---|---|
| Side Pieces | 3/4 inch | Cut straight and smooth edges for strong joints |
| Bottom Piece | 1/4 inch | Cut to fit snugly inside the sides |

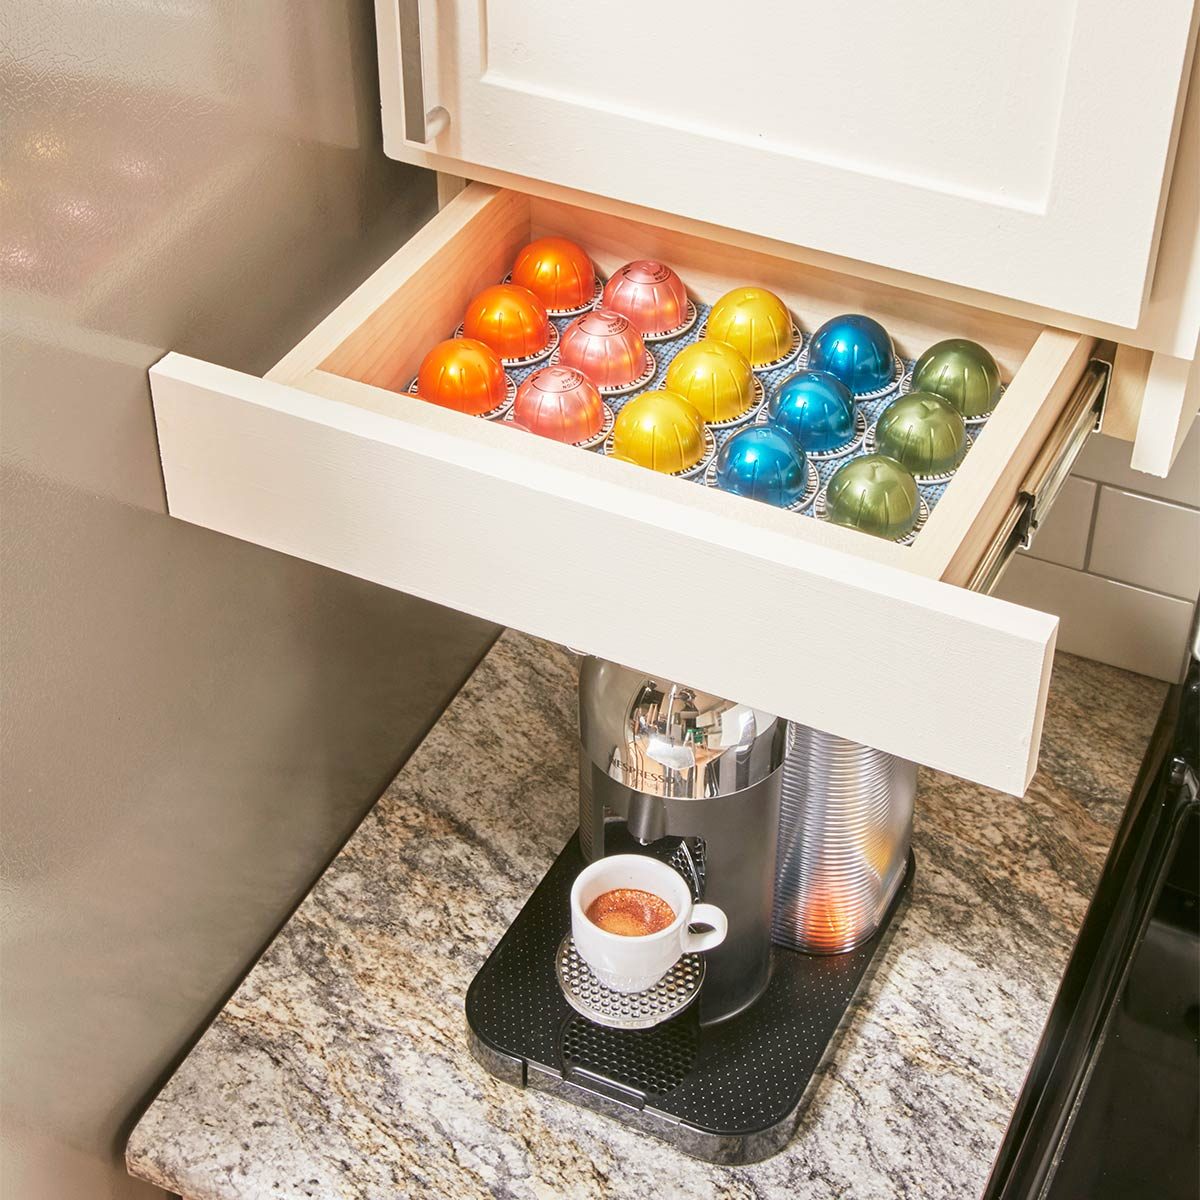
Credit: www.youtube.com
Assembling The Drawer Box
Building a kitchen cabinet drawer starts with putting the parts together. This guide will help you assemble the drawer box correctly. Focus on joining the sides and attaching the bottom to create a strong frame.
Use the right tools and materials to make sure the drawer fits well and lasts long. Follow each step carefully for best results.
Joining The Sides
Start by joining the two side panels with the front and back panels. Make sure the edges line up evenly. Use wood glue on the edges before fastening.
- Apply glue along the edges of the side panels.
- Align the front and back panels with the sides.
- Use clamps to hold the pieces tightly together.
- Fasten the panels with screws or nails for extra strength.
- Check the corners with a square to keep them at 90 degrees.
Attaching The Bottom
The bottom panel supports everything inside the drawer. It needs to fit snugly inside the frame. Attach it after the sides are securely joined.
| Material | Thickness | Attachment Method |
|---|---|---|
| Plywood | 1/4 inch (6 mm) | Glue and finishing nails |
| MDF | 1/4 inch (6 mm) | Glue and screws |
| Solid wood | 1/2 inch (12 mm) | Glue and screws or nails |
Place the bottom panel inside the frame. Use wood glue on the edges and secure it with nails or screws. Make sure the bottom is flush with the sides for a clean fit.
Sanding And Finishing
After building your kitchen cabinet drawer, sanding and finishing are key steps. These steps help the wood look smooth and protect it from damage.
Taking time to sand and finish properly will make your drawer last longer and look great in your kitchen.
Smoothing The Surfaces
Start by sanding all wooden surfaces of the drawer. Use medium-grit sandpaper to remove rough spots and edges.
After the first sanding, switch to fine-grit sandpaper. This makes the wood very smooth and ready for finishing.
- Sand with the wood grain to avoid scratches
- Check corners and edges carefully
- Remove all dust with a clean cloth before finishing
Applying Finish Or Paint
Choose a finish or paint that fits your kitchen style and protects the wood. Apply thin, even coats for best results.
Let each coat dry fully before adding another. This avoids sticky spots and ensures a smooth surface.
- Use a brush or foam applicator for finish or paint
- Lightly sand between coats with fine sandpaper
- Apply two to three coats for strong protection
- Keep your work area dust-free during drying
Credit: www.familyhandyman.com
Installing Drawer Slides
Installing drawer slides helps your kitchen cabinet drawers open and close smoothly. It is important to choose the right slides and mount them correctly.
This guide will explain how to pick the proper slide type and how to attach slides to both the drawer and the cabinet.
Choosing Slide Types
There are several types of drawer slides. Each type has a different way of working and fits different drawer styles.
- Side-mount slides attach to the sides of the drawer and cabinet.
- Under-mount slides fit underneath the drawer for a cleaner look.
- Center-mount slides install under the center of the drawer.
- Ball bearing slides offer smooth and quiet movement.
- Roller slides use wheels and are less expensive but less durable.
Mounting Slides On Drawer And Cabinet
Proper mounting ensures the drawer works well and lasts longer. Measure carefully and follow these tips for each part.
| Step | Action | Tip |
|---|---|---|
| 1 | Mark slide position on drawer side | Use a pencil and level for accuracy |
| 2 | Attach slide to drawer using screws | Do not overtighten screws to avoid damage |
| 3 | Mark matching slide position inside cabinet | Check alignment with drawer slides |
| 4 | Fasten slide to cabinet side | Test fit before fully tightening screws |
| 5 | Insert drawer and test slide movement | Adjust screws if drawer binds or sticks |
Fitting The Drawer
Fitting a kitchen cabinet drawer correctly is key for easy use and durability. This guide covers placing the drawer and adjusting it for smooth operation.
Pay close attention to alignment and movement. A well-fitted drawer saves time and avoids damage later.
Placing The Drawer In Cabinet
Start by sliding the drawer gently into the cabinet frame. Make sure the drawer runners line up with the cabinet slides. Check that the drawer sits evenly on both sides.
- Inspect the drawer slides for dirt or damage before placing.
- Hold the drawer level and push it in slowly.
- Stop if you feel resistance and check alignment.
- Ensure the drawer front is flush with the cabinet face.
- Test the drawer by pulling it out halfway to check the fit.
Adjusting For Smooth Operation
If the drawer sticks or is loose, adjust the slides or runners. Small changes make a big difference in how the drawer moves.
| Problem | Cause | Adjustment |
|---|---|---|
| Drawer sticks when opening | Misaligned slides or debris | Clean slides and realign carefully |
| Drawer rattles or moves side to side | Loose screws or worn runners | Tighten screws and replace worn parts |
| Drawer front is uneven | Incorrect mounting or warped frame | Adjust mounting screws or shim frame |
| Drawer does not close fully | Obstruction or bent slide | Remove obstruction and straighten slide |
Adding Handles And Hardware
Adding handles and hardware to your kitchen cabinet drawers makes them easier to open and gives your kitchen a polished look. Choosing the right handles and installing them correctly can improve both function and style.
This guide will help you select drawer pulls and install handles with simple steps you can follow.
Selecting Drawer Pulls
Pick drawer pulls that match your kitchen’s style and the size of your drawers. Consider the material, finish, and how comfortable they feel in your hand.
- Choose between knobs or handles based on drawer size.
- Select finishes like brushed nickel, bronze, or chrome.
- Match the style to your cabinets (modern, rustic, or classic).
- Check that the pull is strong enough for daily use.
- Measure your drawer front to find the right size handle.
Installing Handles
Installing handles requires careful measuring and using the right tools. Mark the spots for screws before drilling holes to avoid mistakes.
| Tool | Use |
| Measuring Tape | Measure drawer front and mark holes |
| Drill | Make holes for screws |
| Screwdriver | Attach handles securely |
| Level | Ensure handles are straight |
Follow these steps to install your drawer handles:
- Measure and mark the screw hole locations on the drawer front.
- Use a drill to make holes at the marked points.
- Place the handle on the drawer front aligning with the holes.
- Insert screws through the back of the drawer into the handle.
- Tighten screws with a screwdriver until the handle is secure.
- Check the handle is level and adjust if needed.
Tips For Durable Drawers
Making a kitchen cabinet drawer that lasts takes careful work. You need to focus on strong parts and good care. This helps the drawer stay useful for many years.
Strong drawers hold heavy items well. They also open and close smoothly. Follow simple tips to make your drawers tough and long-lasting.
Reinforcing Joints
Joints are where the drawer parts meet. Strong joints keep the drawer from falling apart. Use wood glue and screws to hold the joints tight.
Try adding corner blocks inside the drawer. These blocks give extra support. Also, avoid using just nails because they can loosen over time.
- Apply wood glue on all joint surfaces
- Use screws instead of nails
- Add corner blocks for extra strength
- Clamp joints while glue dries
- Check joints for any gaps before finishing
Maintenance Advice
Taking care of your drawers helps them last longer. Keep the slides clean and free of dirt. Dust and dirt can make drawers hard to open.
Check the screws and tighten them if loose. Use a soft cloth to clean the drawer surfaces. Avoid putting very heavy items that can break the drawer.
- Clean drawer slides regularly
- Tighten screws every few months
- Use mild cleaners on wood surfaces
- Avoid overloading drawers with heavy items
- Fix any damage as soon as you see it

Credit: www.familyhandyman.com
Frequently Asked Questions
How Do I Choose Materials For Kitchen Cabinet Drawers?
Select durable wood like plywood or hardwood for strength. Use quality drawer slides for smooth operation. Choose finishes that resist moisture and stains to ensure longevity in the kitchen environment.
What Tools Are Essential For Making Cabinet Drawers?
Basic tools include a saw, drill, screwdriver, measuring tape, and clamps. A router helps create smooth edges. Drawer slides installation needs a level and a pencil for accuracy.
How Can I Ensure My Drawer Fits Perfectly?
Measure the cabinet opening carefully, accounting for slide thickness. Cut drawer parts precisely to size. Assemble and test the drawer before final installation to ensure smooth fit and movement.
What Type Of Drawer Slides Work Best For Kitchen Cabinets?
Ball-bearing slides offer smooth, quiet operation and durability. Soft-close slides prevent slamming and extend drawer life. Choose slides rated for the drawer’s weight capacity for best results.
Conclusion
Making a kitchen cabinet drawer can be simple and rewarding. Follow each step carefully for the best results. Use the right tools and materials to ensure strength and durability. Take your time to measure and cut accurately. A well-made drawer improves your kitchen’s look and function.
Practice makes perfect, so don’t be afraid to try again. Enjoy the satisfaction of creating something useful with your own hands. Keep learning and improving your skills with every project. Your kitchen will thank you for the effort.


