
How to Build a Kitchen Cabinet Drawer Perfectly & Easily
Are you looking to give your kitchen a fresh, organized look without breaking the bank? Building your own kitchen cabinet drawer might be the perfect DIY project for you.
Imagine the satisfaction of sliding open a drawer that you crafted with your own hands. Not only does it add a personal touch to your kitchen, but it also offers a sense of accomplishment. In this guide, you’ll discover the straightforward steps to create a durable and stylish drawer.
You don’t need to be a master carpenter; just a few tools, some materials, and a bit of patience are all it takes. Ready to transform your kitchen space and impress your guests? Let’s dive into the process and get you started on your first kitchen cabinet drawer!

Credit: www.youtube.com
Materials And Tools Needed
Building a kitchen cabinet drawer requires specific materials and tools. These help you create a strong and useful drawer.
Knowing what wood, hardware, and tools to use makes the project easier. It also improves the drawer’s quality.
Essential Wood Types
Choosing the right wood is important for a durable kitchen drawer. Use wood that can handle daily use.
- Hardwood like oak or maple is strong and lasts long
- Plywood is good for drawer sides and bottom
- Softwood like pine is easy to cut but less durable
- Choose smooth, dry wood to avoid warping
Required Hardware
Hardware holds the drawer parts together and lets it slide smoothly. Pick quality pieces for best results.
- Drawer slides or runners to allow smooth movement
- Screws and nails for assembly
- Wood glue for strong joints
- Handles or knobs for opening the drawer
- Corner brackets for extra support (optional)
Recommended Tools
You need some basic tools to cut, join, and finish the drawer pieces. Using the right tools saves time.
- Measuring tape and pencil for precise marks
- Hand saw or power saw to cut wood
- Hammer or drill for fixing screws and nails
- Clamps to hold wood while glue dries
- Screwdriver for drawer hardware
- Sandpaper or sander to smooth edges
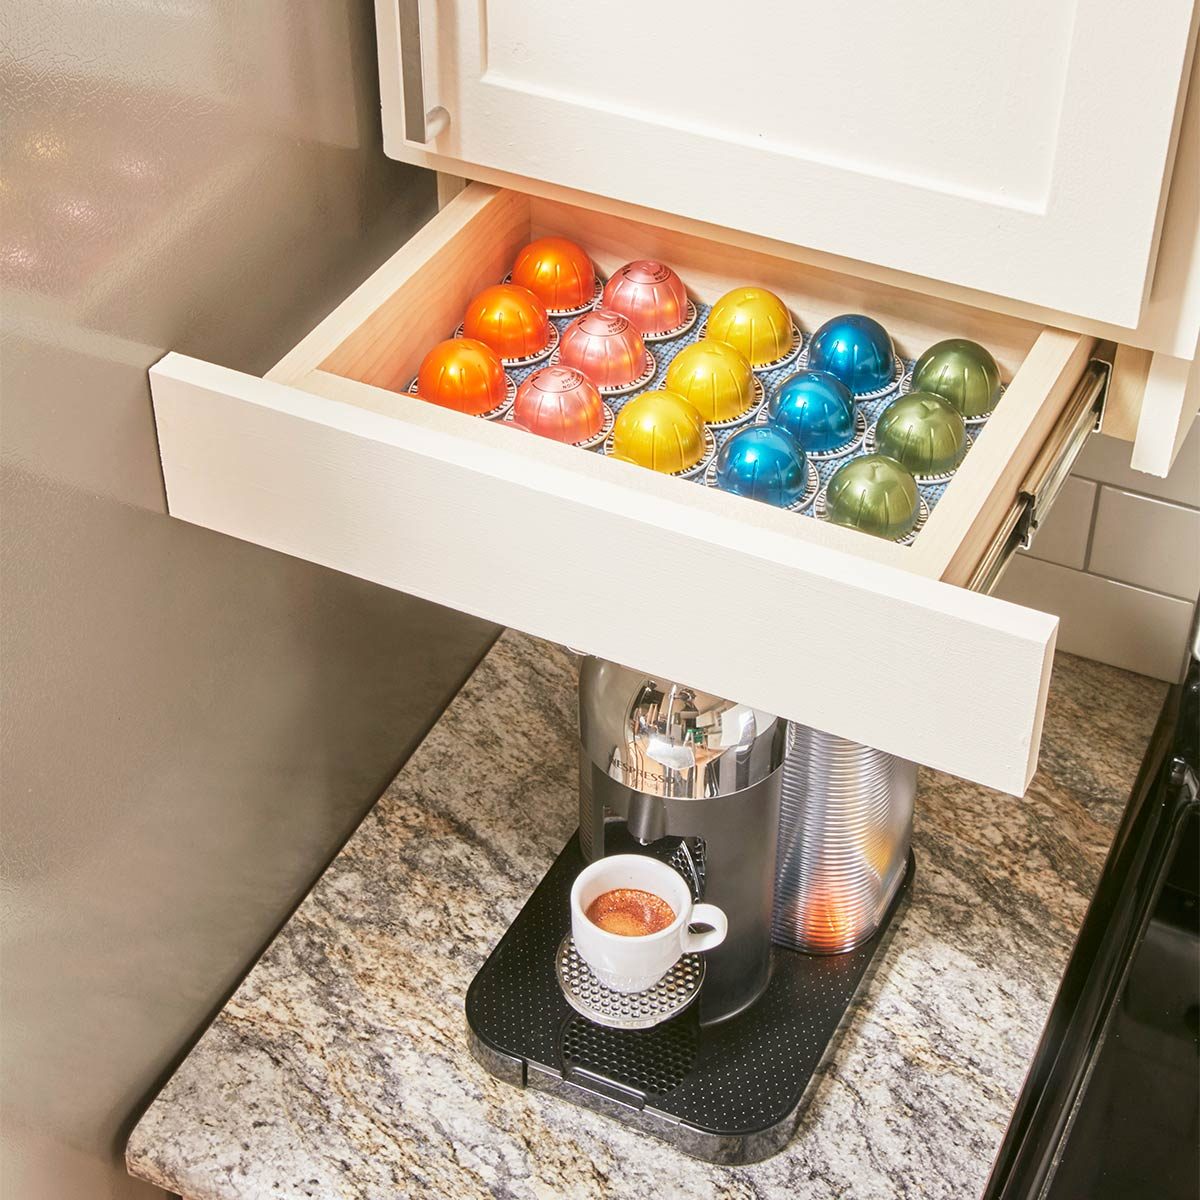
Credit: www.familyhandyman.com
Planning Your Drawer Design
Building a kitchen cabinet drawer starts with good planning. You need to think about space, size, and style before you begin.
Taking time to plan helps you create a drawer that fits well and looks great in your kitchen.
Measuring Your Space
First, measure the area where the drawer will go. Use a tape measure to get the width, height, and depth of the cabinet opening.
Write down all measurements carefully. Double-check to avoid mistakes that can waste materials or cause fitting problems.
Choosing Drawer Dimensions
Decide the size of your drawer based on the space you measured. The drawer should fit well without blocking other cabinet parts.
- Allow 1/2 inch clearance on each side of the drawer.
- Keep 1/4 inch space at the back for smooth sliding.
- Choose a height that matches the cabinet shelves.
- Make sure the depth fits inside the cabinet fully.
Selecting Drawer Style
Pick a drawer style that matches your kitchen design and needs. Common styles include framed, frameless, and inset drawers.
| Drawer Style | Description | Best For |
| Framed | Has a frame around the drawer front | Traditional kitchens |
| Frameless | No frame, drawer front covers edges | Modern kitchens |
| Inset | Drawer front sits flush with cabinet face | High-end or custom kitchens |
Cutting And Preparing Wood
Building a kitchen cabinet drawer starts with cutting and preparing the wood. This step ensures all parts fit well and work smoothly.
Careful measuring and cutting help make strong and durable drawer pieces.
Marking And Measuring Pieces
First, measure the wood pieces based on your drawer size. Mark each piece clearly with a pencil.
Use a square tool to keep lines straight and accurate. Double-check all measurements before cutting.
- Measure twice to avoid mistakes
- Mark each piece’s length and width
- Label pieces for easy identification
- Use a sharp pencil for clear marks
Cutting Side Panels
Cut the side panels carefully along the marked lines. Use a saw suited for wood, like a circular saw or handsaw.
Keep the wood steady to get straight cuts. Smooth rough edges with sandpaper for a clean finish.
- Clamp wood to a stable surface
- Follow pencil lines exactly
- Sand edges after cutting
- Check panel size against plans
Preparing Drawer Bottom And Front
Cut the drawer bottom from thin plywood or hardboard. Make sure it fits inside the drawer frame tightly.
Cut the drawer front from solid wood. Sand all surfaces smooth before assembly for a nice look.
- Cut bottom slightly smaller than frame
- Use smooth, flat wood for bottom
- Sand front panel edges and face
- Check fit before gluing or nailing
Assembling The Drawer Box
Building a kitchen cabinet drawer starts with assembling the drawer box. This box holds the contents and fits into the cabinet space. It must be strong and square for smooth operation.
Follow these steps carefully to join the parts together. Use the right tools and materials for best results.
Joining Side Panels
Start by connecting the two side panels of the drawer box. These panels form the length of the drawer. Make sure their edges are clean and smooth.
Use wood glue along the edges where the panels meet. Then, join them with screws or nails for extra strength. Check the corners to keep them at a 90-degree angle.
- Apply wood glue evenly on the joining edges
- Clamp panels to hold them in place
- Drive screws or nails about every 6 inches
- Use a square tool to check the corner angle
Attaching Drawer Bottom
The drawer bottom holds everything inside. It fits into a groove or rests on small supports inside the side panels. Choose a strong material like plywood for the bottom.
Slide the bottom panel into place carefully. Make sure it fits snugly without gaps. Secure it with small nails or screws around the edges. Avoid pushing too hard to prevent warping.
- Cut bottom panel to the exact drawer size
- Insert panel into grooves or onto ledges
- Use finishing nails or screws to fix it
- Check that the bottom lies flat and tight
Securing The Front Panel
The front panel gives the drawer its final look. It also strengthens the box. Align it carefully with the side and bottom panels before fixing.
Attach the front panel with wood glue and screws. Make sure the edges line up and the panel sits flush. Wipe off extra glue before it dries for a clean finish.
- Position front panel so edges match drawer sides
- Apply glue on joining edges
- Secure with screws from inside the drawer box
- Use clamps to keep the panel steady while drying
Sanding And Finishing
Sanding and finishing are key steps in building a kitchen cabinet drawer. They prepare the wood and protect it. Good finishing makes the drawer look smooth and last longer.
Taking time on these steps improves the drawer’s quality and appearance. Follow simple tips to get the best results.
Smoothing Surfaces
Start by sanding all wooden parts of the drawer. Use fine-grit sandpaper to remove rough spots. Sand along the wood grain to avoid scratches.
Check for any uneven areas and sand them until smooth. Wipe the dust off with a clean cloth before moving on.
Applying Stain Or Paint
Choose a stain or paint that matches your kitchen style. Stain shows the wood grain, while paint covers it completely.
Apply a thin coat with a brush or cloth. Let it dry fully before adding more coats. Multiple coats create a richer color.
- Test color on scrap wood first
- Use smooth, even strokes
- Allow each coat to dry well
- Sand lightly between coats for smoothness
Sealing For Durability
Seal the drawer with a clear finish to protect it from moisture and scratches. Polyurethane is a good choice for kitchen cabinets.
Apply the sealer in thin layers. Let each layer dry and sand lightly before the next. This builds a strong, lasting finish.
- Choose water-based or oil-based sealer
- Use a clean brush for application
- Work in a well-ventilated area
- Allow full curing time before use
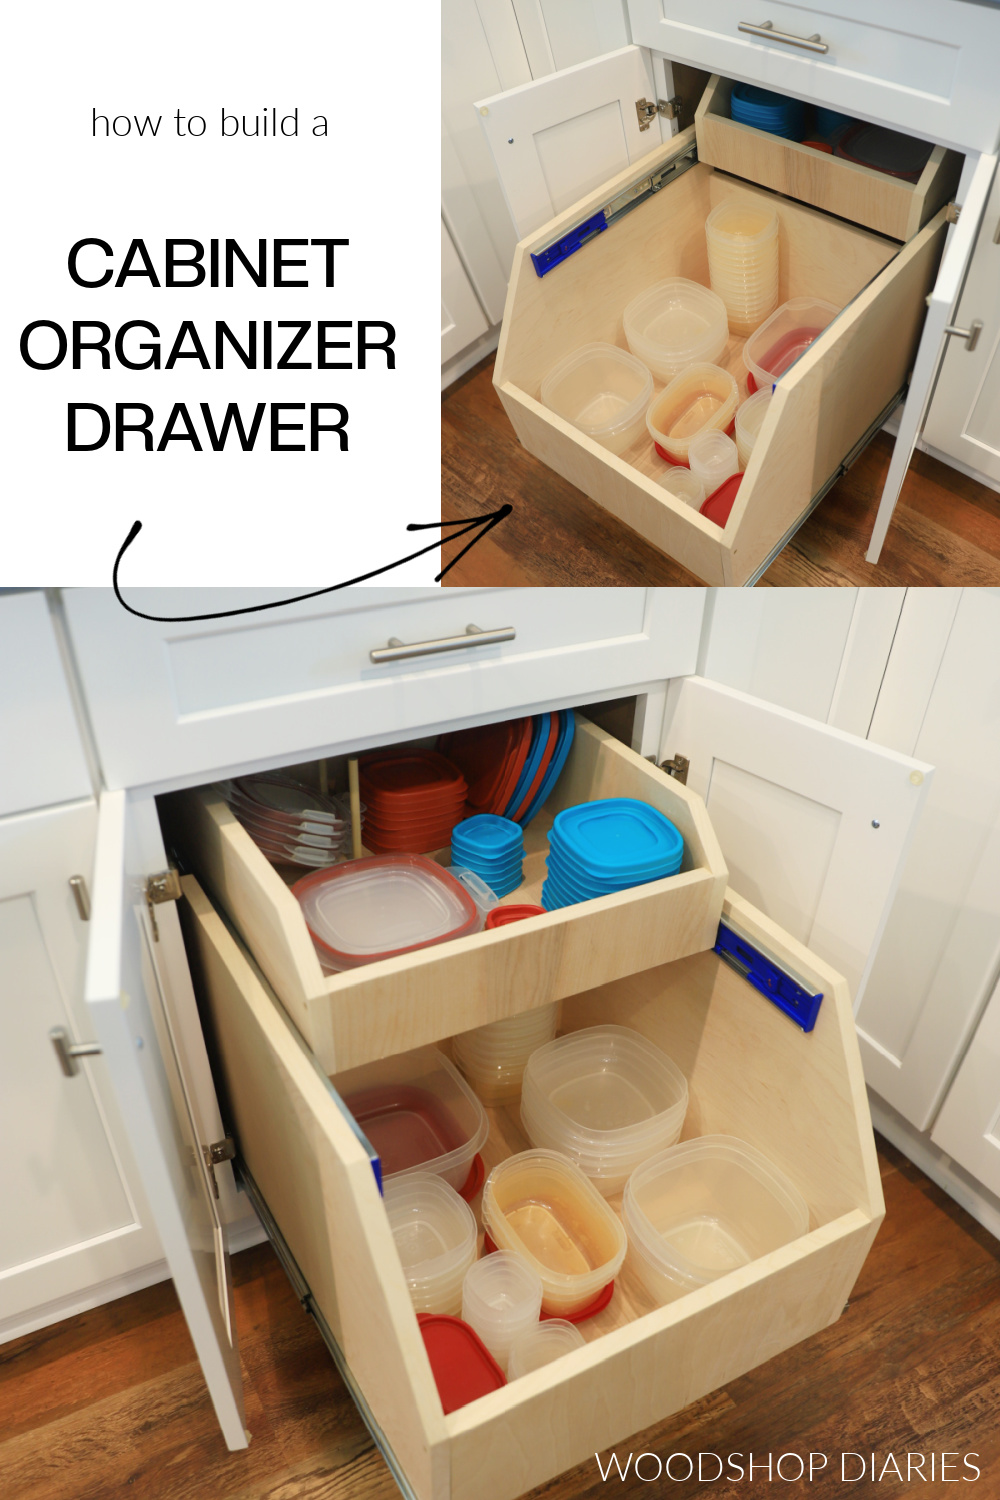
Credit: www.woodshopdiaries.com
Installing Drawer Slides
Installing drawer slides is a key step in building kitchen cabinet drawers. Proper slides help the drawer open and close smoothly.
This guide covers types of drawer slides, how to mount them to the cabinet, and how to attach them to the drawer.
Types Of Drawer Slides
Drawer slides come in several types. Each type has different features and uses.
- Side-Mounted Slides: Attach to the sides of the drawer and cabinet.
- Under-Mounted Slides: Fixed under the drawer for a clean look.
- Center-Mounted Slides: Installed under the center of the drawer.
- Ball-Bearing Slides: Use ball bearings for smooth movement.
- Roller Slides: Use plastic or metal rollers for sliding.
Mounting Slides to Cabinet
Mounting slides to the cabinet requires care to keep the drawer aligned. Use a level to ensure the slides are straight.
| Tool | Purpose |
| Level | Check slide alignment |
| Drill | Make pilot holes |
| Screwdriver | Secure screws |
| Measuring Tape | Measure slide placement |
Mark the slide position on the cabinet sides. Drill pilot holes before screwing in the slides.
Attaching Slides to Drawer
Attach the matching part of the slide to the drawer. Align it carefully so the drawer fits well.
- Measure the drawer sides to find the slide position.
- Mark the spots for screws on the drawer.
- Drill pilot holes to avoid splitting the wood.
- Screw the slides onto the drawer securely.
- Test the drawer fit and adjust if needed.
Fitting The Drawer into the Cabinet
Fitting a kitchen cabinet drawer requires care and precision. Proper installation ensures the drawer works smoothly and lasts long.
This guide explains how to fit the drawer into the cabinet correctly. Follow each step to avoid common issues.
Aligning The Drawer
Start by placing the drawer inside the cabinet frame. Check if the drawer fits evenly on all sides. The drawer should not touch the cabinet walls.
- Slide the drawer carefully into the rails.
- Look for gaps between the drawer and cabinet sides.
- Adjust the drawer position until it is centered.
- Ensure the drawer front is flush with the cabinet face.
Adjusting For Smooth Operation
After aligning, adjust the drawer slides or runners. This helps the drawer open and close without sticking or noise.
| Adjustment Part | Action | Purpose |
| Slide Screws | Tighten or loosen | Control drawer tightness |
| Runners | Move slightly up or down | Keep drawer level |
| Stops | Set position | Limit drawer travel |
Testing Drawer Functionality
Test the drawer by opening and closing it several times. Check if it moves smoothly and stays in place when opened.
- Open the drawer fully and close it gently.
- Listen for any scraping or rubbing sounds.
- Check if the drawer front stays aligned.
- Make small adjustments if needed.
Adding Handles and Accessories
Adding handles and accessories can improve the look and function of your kitchen cabinet drawers. The right hardware makes opening drawers easier and adds style.
This guide covers how to pick drawer handles, install them, and add optional dividers for better organization.
Choosing Drawer Handles
Choose handles that match your kitchen style and feel comfortable to use. Consider the size and finish of the handles to fit your drawer fronts.
- Knobs: Small and round, easy to install.
- Pulls: Longer, offer a firm grip.
- Bar Handles: Modern look with straight lines.
- Recessed Handles: Built into the drawer for a sleek design.
Installing Handles
Measure carefully before drilling holes to avoid mistakes. Use a template for even spacing on all drawers.
- Mark the drill spots on the drawer front.
- Drill holes slowly to avoid splitting wood.
- Attach handles with screws provided.
- Tighten screws but do not over-tighten.
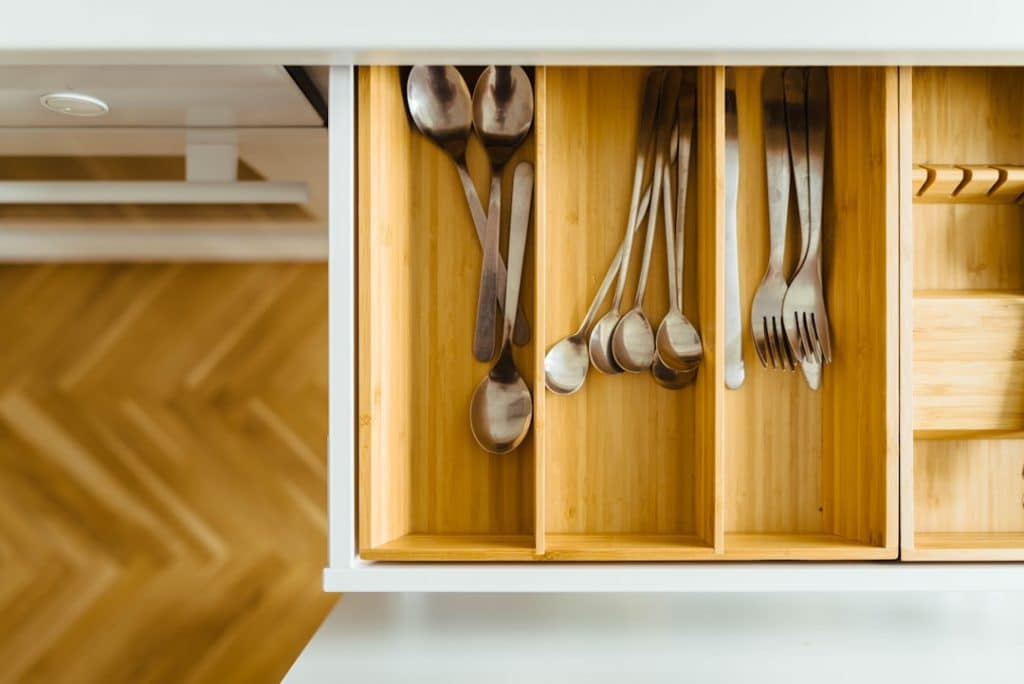
Optional Drawer Dividers
Dividers help keep your drawer items organized and easy to find. You can add fixed or adjustable dividers based on your needs.
| Type | Description | Best For |
| Fixed Dividers | Installed permanently inside the drawer. | Cutlery and small tools |
| Adjustable Dividers | Can be moved or removed as needed. | Varied kitchen items |
| Expandable Dividers | Stretch to fit drawer width. | Flexible storage needs |
Frequently Asked Questions
What Materials Are Best for Kitchen Cabinet Drawers?
Plywood and solid wood are ideal for kitchen cabinet drawers. They offer durability and a smooth finish. Avoid particleboard, as it lacks strength and longevity.
How Do I Measure for a Kitchen Cabinet Drawer?
Measure the drawer opening’s width, height, and depth accurately. Subtract about 1/2 inch from width and height for smooth slide operation. Use a tape measure for precise dimensions.
What Tools Are Needed to Build a Cabinet Drawer?
Essential tools include a saw, drill, screwdriver, measuring tape, clamps, and a square. These tools help cut, assemble, and align drawer parts correctly.
How Do I Install Drawer Slides Properly?
Attach slides evenly on drawer sides and cabinet frame. Use a level to ensure alignment. Test the drawer for smooth opening and closing before final screws.
Conclusion
Building a kitchen cabinet drawer takes time and patience. Follow each step carefully to get the best result. Use the right tools to make your work easier. Measure twice to avoid mistakes. A well-made drawer fits perfectly and works smoothly.
You can improve your kitchen’s look and function by doing this yourself. Keep practicing, and your skills will grow with each project. Enjoy the satisfaction of creating something useful with your own hands. Simple steps lead to great results. Start your project today and make your kitchen better.


