
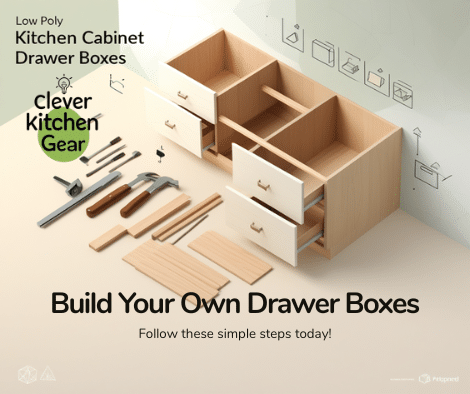
Is your kitchen due for a small upgrade? Are you not ready for a full, expensive remodel? Then learning how to build kitchen cabinet drawer boxes is a perfect solution. You will save money. You also get the satisfaction of making something yourself. Imagine opening a drawer you built, perfectly made for your kitchen. This task might sound hard, but do not worry.
With the right guide, you can master this rewarding project. You will find simple step-by-step instructions. These are for beginners. Expert tips are included to help you succeed. You will learn how to build them with precision and style. Ready to transform your kitchen with custom drawers? Let’s unlock the secrets to crafting these essential parts! Your dream kitchen is closer than you think.
What You Need to Get Started
Building strong, lasting drawers requires good materials. Choosing the right items helps create durable boxes. This guide covers the best wood, tools, and hardware you need.
Pick the Right Wood
Choose wood that is sturdy and easy to work with. Plywood is popular for drawer boxes. It resists warping and costs less. Solid woods like oak and maple look nice and offer great strength.
-
Plywood: Durable and budget-friendly.
-
Oak: Strong with a classic, textured look.
-
Maple: Hard, with a smooth surface.
-
Birch: Light in color and very sturdy.
Tools Checklist
You need specific tools for cutting, joining, and finishing. Having all your tools ready makes the job easier and faster.
-
Table saw or circular saw for straight cuts.
-
Measuring tape and square for accuracy.
-
Wood glue for strong joints.
-
Clamps to hold pieces tight while drying.
-
Drill with bits for screws and holes.
-
Screwdriver or impact driver.
-
Sander or sandpaper for smooth edges.
-
Hammer and nails for extra support.
Hardware You Will Need
Drawer boxes need hardware to work well. These parts make the drawers slide easily and stay secure.
-
Drawer slides or runners for smooth movement.
-
Screws to fasten the hardware and wood.
-
Drawer pulls or handles for an easy grip.
-
Corner brackets for more strength (if desired).
-
Wood filler to cover any gaps.
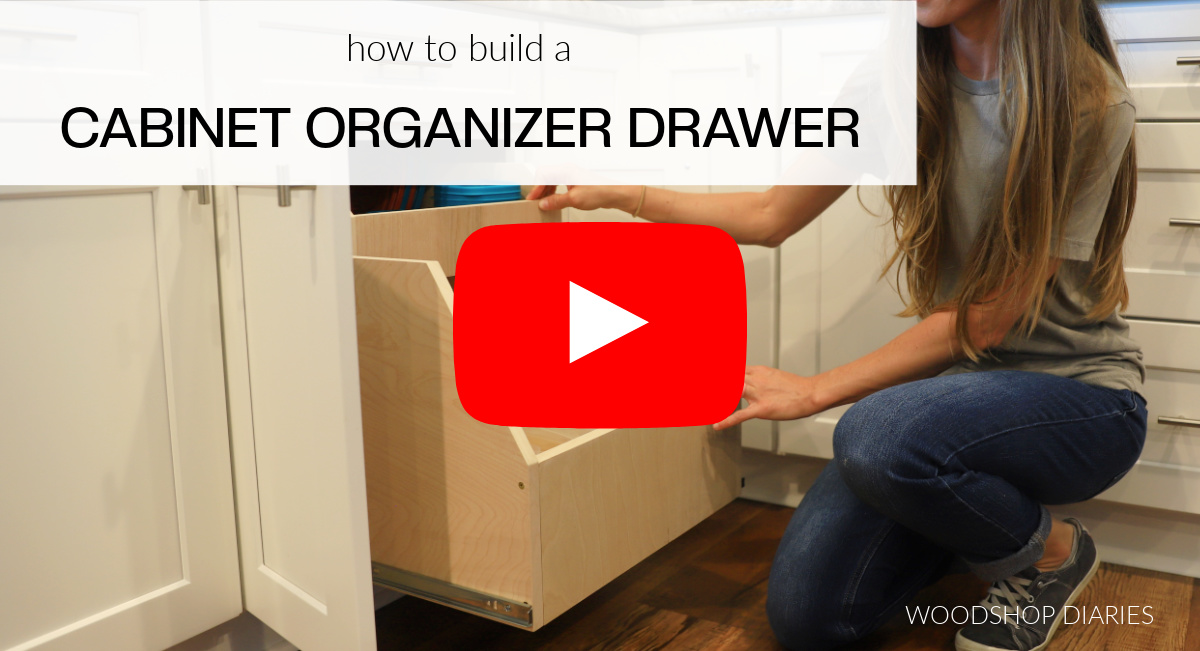
Credit: www.woodshopdiaries.com
Get Your Workspace Ready
You need a safe and clean workspace. Preparing your area helps you work faster. It also prevents mistakes. Organizing your tools before you start saves time. It keeps the project running smoothly.
Clean and Organize
Clear your work area of clutter. You need room to move freely. Group all your tools and materials together. This makes them easy to reach.
-
Remove unneeded items from the work area.
-
Arrange tools by type and how you use them.
-
Keep wood pieces and screws neatly organized.
-
Make sure the floor is dry and clean.
Safety is Key
Safety is most important when using tools. Protect yourself and anyone near you.
-
Wear safety glasses to protect your eyes.
-
Use ear protection for loud machines.
-
Keep a first aid kit nearby.
-
Wear gloves when handling rough wood.
-
Ensure your workspace has good lighting.
Set Up Work Stations
Arrange your area by the task you are doing. Have separate spots for measuring, cutting, and assembly.
Measure and Plan Carefully
Building starts with good measuring and planning. Accurate numbers ensure the drawer fits well. Planning the layout saves time and stops mistakes.
Take Exact Measurements
Measure the cabinet opening first. This is where the drawer will sit. Use a tape measure for precise numbers. Check the width, height, and depth of the space. Measure in a few spots to find any differences.
-
Measure the inside width of the cabinet.
-
Measure the inside height of the space.
-
Measure the inside depth from front to back.
-
Note any uneven surfaces or obstacles.
Draw Your Drawer Plan
Sketch your drawer box on paper. This helps you see how the parts fit. Label each part with its size and position. Mark where the joints will go.
-
Draw the front, back, sides, and bottom pieces.
-
Show how the corners will connect.
-
Include space for the drawer slides.
-
Note the thickness of the wood you will use.
Calculate Size and Gaps
Figure out the final drawer size. Subtract space for slides and clearance gaps. You need room for smooth closing. Include the wood thickness in your numbers. Adjust for any special joints you use.
Cut the Wood Pieces
Cutting the wood pieces is the first step in building. Accurate cuts help the drawer fit right. They also make it last longer. Measure twice before you cut. This saves both wood and time.
Cut the Side Panels
The side panels are the drawer walls. Cut them to the exact height and depth you need. The depth should match the cabinet’s inside depth. Remember to allow space for the back piece.
-
Use a saw with a fine blade for smooth cuts.
-
Mark your measurements clearly on the wood.
-
Cut slowly to avoid splitting the wood.
Cut the Bottom Panel
The bottom panel carries the weight. It must fit tightly inside the side panels. Measure the inside length and width between the sides. Cut the bottom piece slightly smaller. This allows for easy fitting.
-
Use sturdy plywood for the bottom strength.
-
Cut straight edges to fit tightly.
-
Sand the edges lightly to remove roughness.
Make Sure Edges Are Perfect
Precise edges make the drawer box strong. They also make assembly easy. Use the right tools to keep cuts clean. Check each piece after cutting. Sand any rough spots. Ensure the corners are square.
-
Use a carpenter’s square to check the angles.
-
Sand edges with medium grit sandpaper.
-
Remove all dust before you start assembly.
Put the Drawer Box Together
Building the box requires careful assembly. This guide helps you join the parts correctly. Follow these steps to make a strong and lasting drawer.
Join the Side Panels
Line up the two side panels first. Make sure they are even and square. Apply wood glue on the edges to hold them. Then, fasten them with nails or screws.
-
Check that the panels meet evenly at the corners.
-
Apply glue evenly along the joining edges.
-
Use clamps to hold panels while the glue dries.
-
Drive screws carefully to avoid splitting the wood.
Attach the Bottom Panel
Place the bottom panel inside the frame. It should fit tightly. Put glue along the bottom edges of the side panels. Then, slide the bottom panel into its place.
-
Use 1/4-inch plywood for the bottom piece.
-
Make sure the panel fits without any gaps.
-
Secure it with screws along all edges.
-
Check for evenness before the glue dries.
Make Joints Stronger
Add corner braces inside the joints. This reinforces the drawer. It stops wobbling. Use wood glue and screws to fix the braces. Let the glue dry completely before use.
-
Choose small wooden or metal corner braces.
-
Place braces evenly on all corners.
-
Pre-drill holes to stop the wood from splitting.
-
Tighten screws securely but do not damage the wood.
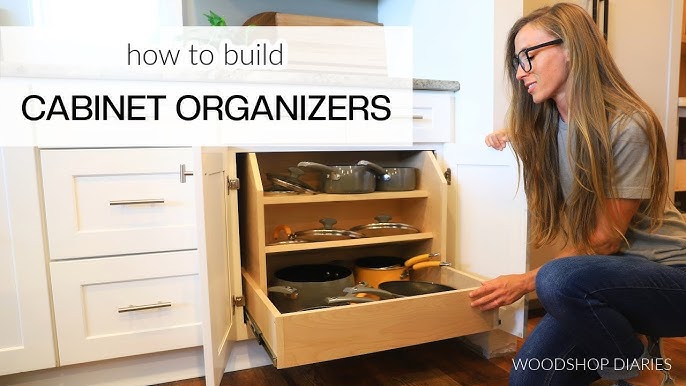
Credit: www.youtube.com
Sanding and Finishing
Sanding and finishing are key steps. They make the wood smooth. They protect it from damage. Good finishing also makes the drawer look great. This guide covers sanding, applying finish, and drying time.
Sanding for a Smooth Feel
Sanding removes rough spots. It makes the surface ready for finish. Start with rough paper. Move to finer grits for a smooth feel. Sand along the wood grain to avoid scratches.
-
Start with 80-grit paper to remove big marks.
-
Use 120-grit paper to smooth the surface further.
-
Finish with 220-grit paper for a very soft feel.
-
Wipe off all dust with a cloth between steps.
Apply Finish or Paint
Choose a finish to protect the wood. You can use stain, paint, or clear varnish. Apply thin coats only. This prevents drips and uneven surfaces.
-
Use a brush or cloth for even coverage.
-
Apply a thin first coat. Let it dry completely.
-
Lightly sand the surface after each coat.
-
Add more coats as needed for full color.
Drying Time
Drying and curing times are different for each finish. Proper drying ensures durability. Follow the instructions on the product label.
Put in the Drawer Slides
Correctly installing slides helps your drawers move well. This guide explains slide types. It also shows you how to mount them. Good installation makes your drawers work better every day.
Types of Drawer Slides
There are a few common types of slides. Each fits different drawer styles.
-
Side-Mounted: Installed on the cabinet and drawer sides.
-
Under-Mounted: Hidden below the drawer for a clean look.
-
Ball-Bearing: Strong and smooth. Good for heavy loads.
-
Roller Slides: Use plastic rollers. Cheaper but less durable.
Mount Slides on Drawer and Cabinet
Measure carefully before attaching. Mark the spots where the slides will go. Use screws that fit the slide holes. Keep the slides straight and level for smooth movement.
-
Attach the cabinet slide inside the cabinet first.
-
Fix the matching slide part to the drawer side.
-
Check alignment by slowly sliding the drawer in.
-
Tighten screws, but do not damage the wood.
Test the Function
After you install the slides, test the drawer. It should open fully and close softly. Look for any wobbling or sticking. If there are issues, adjust the screws.
-
Check if the drawer moves smoothly. No noise.
-
The drawer must stay in place when fully open.
-
Make sure the drawer closes flush with the cabinet.
Fit and Adjust the Drawers
Fitting and adjusting are important final steps. Correct fitting ensures smooth movement. It also keeps the drawer steady. This guide helps you insert the box and make final adjustments.
Insert the Drawer Box
Carefully slide the drawer box into the cabinet. Line up the drawer slides with the cabinet slides. Push the drawer slowly. If it feels tight, check the slides for anything blocking them.
Align for Smooth Use
Align the drawer so it sits evenly inside the opening. The front should be flush with the cabinet. Uneven gaps cause rubbing.
-
Use a level to check the side-to-side alignment.
-
Adjust the drawer slides if the drawer is crooked.
-
Ensure there is equal space on both sides.
Final Adjustments
Test the drawer again. Open and close it many times. Listen for any scraping. Adjust the slides as needed. Tighten all screws once the fit is good. This keeps the drawer stable.
Care and Durability Tips
Building your own drawers is rewarding. Strong drawers work well for years. Use simple tips to keep them in good shape. Fix small issues quickly to prevent bigger ones.
Prevent Wear and Tear
Choose strong joints and good wood. Use quality screws and glue.
-
Add drawer liners to protect the wood from scratches.
-
Use soft-close slides to lessen impact.
-
Keep the weight inside within limits.
-
Apply a clear sealant to protect the wood from moisture.
Regular Cleaning
Clean your drawers often. Dust and crumbs damage the slides.
Fix Common Issues
Drawers sometimes squeak or stick. Fix these right away.
-
If a drawer sticks, look for dirt or swollen wood. Light sanding helps.
-
Squeaky slides need cleaning and lubricating.
-
Tighten loose screws to stop wobbling.
-
Fix drawers that do not close evenly.

Credit: www.familyhandyman.com
Frequently Asked Questions
What materials are best for kitchen cabinet drawer boxes?
Plywood and solid wood are best for strength. Plywood is durable and resists warping. Solid wood looks nice. Do not use particleboard; it breaks easily.
How do I measure for kitchen cabinet drawer boxes?
Measure the cabinet opening depth, width, and height. Subtract space for slides. Use a tape measure. Check your numbers twice.
What tools are needed to build drawer boxes?
You need a saw, drill, screwdriver, tape measure, and clamps. A square helps you make accurate cuts.
How do I assemble kitchen cabinet drawer boxes?
Cut the pieces first. Use glue and screws to join the sides. Attach the bottom panel securely. Sand the edges smooth. Ensure all corners are square for a strong box.
Conclusion
Building your own drawer boxes takes care and planning. Start with good measurements. Use quality materials. Cut and join the pieces carefully for a strong box. Sand the wood smooth. Add the slides for easy movement.
Take your time to ensure a perfect fit. You will create a useful drawer box. This project improves your kitchen storage. Give it a try and enjoy your custom work!



