
Are you tired of dealing with a leaky kitchen sink or a basket that just doesn't fit right? Installing a new kitchen sink basket might seem like a daunting task, but it’s easier than you think.
Imagine the satisfaction of a perfectly functioning sink, free from annoying drips and clogs. In this guide, you'll discover simple, step-by-step instructions to install a kitchen sink basket, saving you time and possibly a costly plumber's visit. We’ll walk you through each part of the process, making it easy for you to achieve professional results on your own.
By the end of this article, you’ll not only have a smoothly operating kitchen sink but also the confidence to tackle more DIY projects. Ready to transform your kitchen sink experience? Let's dive in!

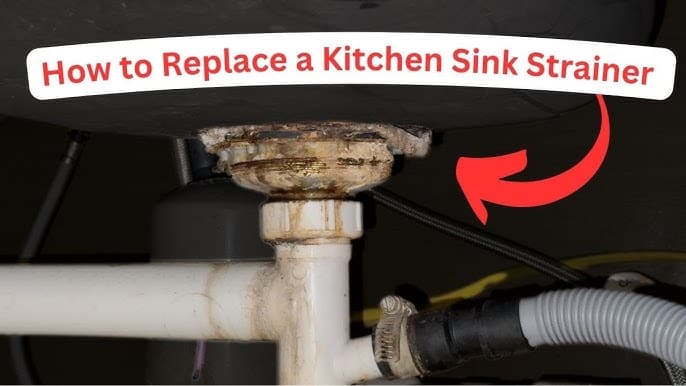
Credit: www.youtube.com
Tools And Materials Needed
Installing a kitchen sink basket is a simple task. You need the right tools and materials to do it well. This guide lists everything you need before you start.
Having all tools and materials ready saves time. It also helps avoid mistakes during installation.
Kitchen Sink Basket
The kitchen sink basket is the main part you will install. It fits inside the drain hole and catches debris.
Make sure the basket size matches your sink drain opening. This ensures a tight fit and prevents leaks.
Plumber’s Putty Or Silicone Sealant
Use plumber’s putty or silicone sealant to create a watertight seal. This stops water from leaking around the basket.
Putty is easy to mold and remove later. Silicone sealant dries stronger and lasts longer.
Adjustable Wrench
An adjustable wrench helps tighten or loosen nuts. It fits different sizes of plumbing fittings.
Use it carefully to avoid damaging metal parts. A secure fit prevents leaks under the sink.
Screwdriver
You may need a flathead or Phillips screwdriver. It helps to remove or attach screws on the sink or plumbing parts.
Keep the correct type of screwdriver handy to avoid slipping or damaging screws.
Bucket Or Container
A bucket or container catches water from the pipes when you disconnect them. This prevents spills and keeps the area clean.
Place it under the sink before starting to avoid water damage.
Cleaning Cloth Or Rag
Use a cloth or rag to wipe off excess putty or sealant. It also cleans the sink surface before installation.
Keeping the area dry helps the sealant stick better and prevents leaks.
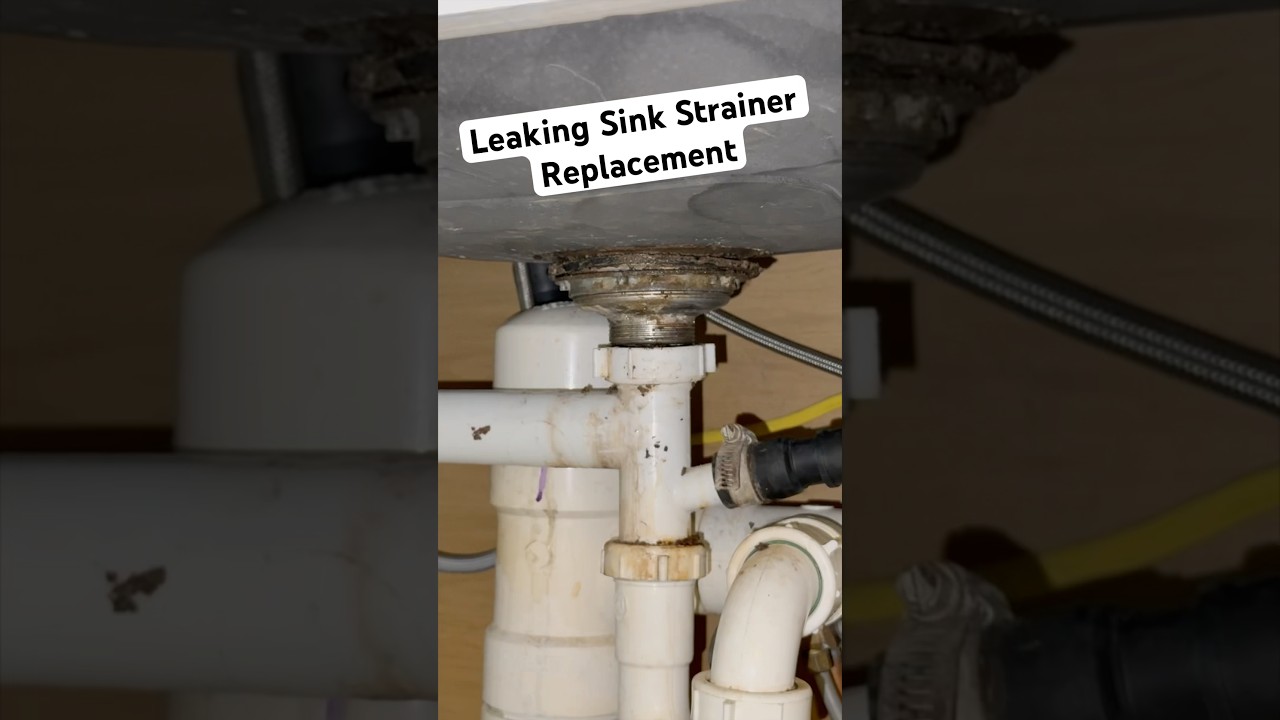
Credit: www.youtube.com
Preparing The Sink Area
Installing a kitchen sink basket needs a clean and ready workspace. Preparing the sink area helps the basket fit well and last long.
This guide explains how to get your sink area ready for the basket installation.
Clear The Area Around The Sink
Remove all items around the sink to avoid clutter. This gives you space to work safely and easily.
Clear both sides of the sink and under the counter if possible.
Turn Off The Water Supply
Shut off the water valves under the sink. This stops water flow during installation.
Test the faucet to confirm no water comes out after shutting the valves.
Clean The Sink Drain Area
Use a cloth and cleaner to remove dirt around the drain hole. A clean surface helps the basket seal tightly.
- Wipe away grease and food scraps
- Dry the area completely before installation
- Check for any damage or cracks
Remove Old Sink Basket Or Strainer
Unscrew and lift out any old basket or strainer parts. This clears the drain hole for the new basket.
Keep tools handy like a wrench or screwdriver for this task.
Check The Drain Pipe And Components
Look under the sink to inspect the drain pipe and parts. Fix any leaks or damage before installing the new basket.
This prevents problems after the basket is installed.
Removing The Old Basket
Removing the old kitchen sink basket is the first step before installing a new one. It helps to prepare the sink for a secure and leak-free fit.
Make sure you have the right tools and take safety precautions to avoid damage to the sink or plumbing.
Turn Off The Water Supply
Before you begin, turn off the water supply under the sink. This prevents water from leaking while you work on the basket.
Disconnect The Drain Pipes
Use a wrench to loosen the slip nuts on the drain pipes connected to the basket. Carefully pull the pipes away to clear the area.
Remove The Mounting Nut
- Locate the mounting nut underneath the sink holding the basket in place.
- Use a basin wrench or adjustable wrench to turn the nut counterclockwise.
- Keep turning until the basket loosens and can be removed from the sink.
Clean The Sink Drain Area
After removing the basket, clean the sink drain area. Remove old putty, grime, and debris for a smooth surface.
| Tool | Purpose |
| Putty knife | Remove old putty |
| Cleaning cloth | Wipe away dirt and moisture |
| Bucket | Catch any water spills |

Credit: www.familyhandyman.com
Cleaning The Drain Opening
Cleaning the drain opening is important before installing a kitchen sink basket. It helps prevent clogs and ensures a good fit.
Remove any dirt, old putty, or debris from the drain area. A clean surface helps the basket seal tightly.
Remove Old Putty And Debris
Use a putty knife or scraper to take off old plumber’s putty around the drain opening. Clear away any loose debris.
Make sure to clean the edges well. This helps the new basket sit flat and prevents leaks.
Clean With Mild Soap And Water
Wash the drain opening with warm water and mild soap. This removes grease and dirt that can block the drain.
Use a soft cloth or sponge to gently scrub the area. Rinse well and dry before installing the basket.
Check For Damage Or Rust
Look closely at the drain opening for cracks, rust, or damage. These problems can cause leaks later.
- Replace damaged parts if needed
- Use rust remover for small rust spots
- Contact a professional if damage is severe
Dry The Drain Opening Completely
Make sure the drain opening is dry before installation. Water can stop the basket from sealing properly.
Use a clean cloth to wipe the area or let it air dry. A dry surface helps putty or sealant stick better.
Applying Plumber’s Putty
Plumber’s putty helps seal the kitchen sink basket. It prevents leaks around the drain. Using it correctly is important for a good fit.
This guide explains how to apply plumber’s putty step-by-step. Follow these instructions to install your kitchen sink basket properly.
Prepare The Area
Clean the sink drain opening well. Remove old putty or debris. A clean surface helps the putty stick better.
Roll The Plumber’s Putty
Take a small amount of plumber’s putty. Roll it between your hands to form a long, thin rope. The rope should be slightly longer than the drain opening.
- Use enough putty to cover the drain hole edge.
- Keep the rope smooth and even.
- Avoid cracks or breaks in the putty rope.
Apply The Putty Rope
Press the putty rope firmly around the underside of the kitchen sink basket flange. Make sure it forms a complete seal without gaps.
Install The Sink Basket
Place the sink basket into the drain hole. Push it down evenly to spread the putty. Tighten the mounting nut under the sink to secure the basket.
| Action | Tip |
| Place putty rope | Press firmly for a good seal |
| Insert sink basket | Push evenly to spread putty |
| Tighten mounting nut | Do not overtighten to avoid damage |
Clean Excess Putty
After tightening, plumber’s putty squeezes out. Use a cloth to wipe away the extra putty around the sink basket flange.
Positioning The Basket Strainer
Installing a kitchen sink basket strainer correctly helps prevent clogs and leaks. Proper positioning ensures smooth water flow and easy cleaning.
Follow these tips to place the basket strainer in the right spot for best performance.
Align The Strainer With The Drain Hole
Make sure the basket strainer fits exactly into the sink's drain hole. It should sit flat without gaps to avoid leaks.
Check the sink drain hole size before buying the basket strainer to ensure a perfect fit.
Center The Basket Strainer
Place the basket strainer in the center of the drain opening. This helps water flow evenly down the drain.
Centering also prevents water from pooling around the edges, which can cause damage.
Ensure The Strainer’s Lip Sits Flush
The strainer’s top lip should sit flush against the sink surface. This creates a seal that stops leaks.
If the lip sticks up or tilts, water may escape under the strainer.
Check The Basket Strainer’s Depth
The basket part must fit fully inside the drain pipe without blocking water flow. Avoid placing it too deep or too shallow.
Proper depth helps catch food waste while letting water drain easily.
Use A Tight Seal With Plumber’s Putty
Apply plumber’s putty around the underside of the basket strainer’s lip. This seals the connection to the sink.
- Roll a small rope of putty
- Press it firmly under the strainer lip
- Remove excess putty after tightening
Securing The Basket From Below
Securing the kitchen sink basket from below is key to a leak-free sink installation. This process helps hold the basket tightly in place under the sink.
Using the right tools and following clear steps ensures the basket stays secure and stable for years.
Prepare The Sink Area
Before securing the basket, clean the sink drain hole and remove old putty or sealant. This ensures a good seal and fit.
Apply Plumber’s Putty Or Sealant
Place a ring of plumber’s putty or silicone sealant around the underside of the basket flange. This prevents leaks between the sink and basket.
Attach The Basket From Below
From below the sink, push the basket into the drain hole. Hold it steady while fitting the rubber gasket and mounting nut onto the basket’s threaded part.
- Slide the rubber gasket onto the basket’s threaded pipe.
- Follow with the metal or plastic mounting nut.
- Tighten the nut by hand until snug.
- Use a wrench to securely tighten the nut without over-tightening.
Check The Tightness And Seal
Make sure the basket is tight but not warped. Over-tightening can damage the sink or basket.
| Tool | Purpose |
| Plumber’s Putty | Creates watertight seal |
| Rubber Gasket | Prevents leaks under the sink |
| Mounting Nut | Secures the basket in place |
| Wrench | Tightens mounting nut |
Tightening The Locknut
Tightening the locknut is a key step when installing a kitchen sink basket. It secures the basket in place and prevents leaks.
Doing this carefully helps ensure your sink basket stays firmly attached under the sink.
Prepare The Locknut And Gasket
Before tightening, place the rubber gasket and cardboard washer on the basket tailpiece. These parts create a good seal.
Make sure these parts sit flat against the sink bottom to avoid leaks later.
Hand-tighten The Locknut First
Start by screwing the locknut onto the basket tailpiece by hand. Turn it clockwise until it feels snug.
This ensures the locknut is aligned and prevents cross-threading before using tools.
Use A Wrench To Tighten
Use a pipe wrench or adjustable wrench to tighten the locknut further. Turn slowly and steadily.
Stop tightening once the basket feels secure but avoid overtightening to prevent damage.
- Hold the basket firmly from above the sink
- Tighten the locknut until it stops turning easily
- Check the gasket does not deform or squeeze out
Check For Leaks After Tightening
After tightening, run water into the sink and check under it for leaks. Tighten a bit more if needed.
Fix any leaks quickly by adjusting the locknut until the seal is tight.
Connecting The Drain Pipe
Connecting the drain pipe is an important part of installing your kitchen sink basket. It ensures water flows smoothly from the sink to the plumbing system.
Follow these instructions carefully to avoid leaks and maintain proper drainage.
Prepare The Drain Pipe And Sink Basket
First, check that the drain pipe and sink basket parts are clean and free from debris. Remove any old plumber’s putty or sealant from the sink drain opening.
Attach The Basket Strainer
Place plumber’s putty around the underside of the basket strainer. Insert the strainer into the sink drain hole and press firmly.
From below the sink, screw on the rubber gasket, cardboard washer, and mounting nut. Tighten the nut to secure the basket strainer in place.
Connect The Drain Pipe To The Basket
- Slide the slip nut and washer onto the drain pipe.
- Push the drain pipe into the basket strainer tailpiece.
- Tighten the slip nut by hand to secure the connection.
- Ensure the washer is properly seated to prevent leaks.
Check Alignment And Tighten
Make sure the drain pipe aligns well with the P-trap or waste pipe. Adjust the pipe position if needed.
| Part | Purpose | Tips |
|---|---|---|
| Plumber’s Putty | Seal between sink and basket | Use enough to prevent leaks |
| Rubber Gasket | Create a watertight seal | Place correctly under sink |
| Slip Nut and Washer | Secure pipe connections | Hand-tighten; avoid overtightening |
| Basket Strainer | Filter debris and connect to drain | Ensure firm mounting |
Test For Leaks
Turn on the water and fill the sink. Check all connections for leaks carefully.
If you find any leaks, tighten the slip nuts slightly or adjust the washers as needed.
Testing For Leaks
After installing your kitchen sink basket, it is important to check for leaks. Leaks can cause water damage and reduce sink performance.
Testing helps you find any loose connections or faulty seals before using the sink regularly.
Inspect The Connections Visually
Look closely at all the joints around the sink basket. Check where the basket meets the sink and the drain pipe.
Make sure there are no gaps or signs of water. Tighten any loose nuts or fittings you see.
Run Water To Check For Drips
Turn on the faucet and let water flow through the basket drain. Watch carefully for any water drops outside the pipes.
Try running hot and cold water to test the seal under different temperatures.
Use Paper Towels To Detect Moisture
Place dry paper towels under the sink basket and pipes. After running water, check the towels for wet spots.
This method helps you find small leaks that are hard to see with the naked eye.
Tighten And Adjust As Needed
If you find any leaks, turn off the water supply before making adjustments. Tighten the basket locknut or drain connections.
Replace worn-out washers or use plumber’s tape to improve the seal if tightening does not stop leaks.
Tips For A Perfect Fit
Installing a kitchen sink basket needs care to ensure it fits well. A perfect fit helps prevent leaks and keeps your sink clean.
Use the right tools and take measurements before starting. This guide shares tips to help you get the best fit.
Measure Your Sink Carefully
Measure the sink drain opening and the basket size. Check the diameter and depth to find a matching basket.
Choose The Right Basket Type
Select a basket that fits your sink style. Some baskets suit drop-in sinks, while others fit undermount sinks better.
Prepare The Sink Area
Clean the drain opening and remove old sealant. A clean surface helps the basket sit properly and prevents leaks.
Secure The Basket Properly
Tighten the basket locknut evenly. Avoid over-tightening, which can damage the sink or basket.
- Place the basket in the drain opening
- Apply plumber’s putty or gasket as needed
- Insert the locknut under the sink
- Tighten the nut by hand, then use a wrench
- Check that the basket sits flat and is secure
Test For Leaks
Run water and check under the sink for leaks. Tighten connections if you see any water dripping.
| Common Issue | Possible Cause | Fix |
| Water leaks under sink | Loose locknut or poor seal | Tighten locknut or reapply putty |
| Basket does not fit | Wrong size or type | Measure again and buy correct basket |
| Basket wobbles | Uneven tightening | Loosen and retighten evenly |
Frequently Asked Questions
What Tools Are Needed To Install A Kitchen Sink Basket?
You need a wrench, plumber’s putty, screwdriver, and plumber’s tape. These tools help secure the basket tightly and prevent leaks.
How Do I Prevent Leaks When Installing A Sink Basket?
Apply plumber’s putty around the basket flange before placing it. Tighten the locknut firmly to ensure a watertight seal.
Can I Install A Kitchen Sink Basket Without A Plumber?
Yes, it’s a straightforward DIY task. Follow instructions carefully and use the right tools to avoid leaks and damage.
How Long Does It Take To Install A Kitchen Sink Basket?
Installation usually takes 30 to 60 minutes. Time varies depending on your experience and sink type.
Conclusion
Installing a kitchen sink basket is simple and saves time. Follow the steps carefully for a secure fit. Use basic tools and be patient during the process. A well-installed basket helps keep your sink clean and organized. Take your time to avoid leaks and ensure proper drainage.
Enjoy the benefits of a neat and functional kitchen sink. Try this easy project to improve your kitchen today.


