
Are you looking for a creative way to wrap kitchen utensils and pans as a gift? You’re in the right place!
How to Gift Wrap Kitchen Utensils With Pans is easier than you think. Gift-giving is an art, and wrapping something as practical as kitchen utensils can be a fun challenge. Imagine the recipient’s delight when they see your beautifully wrapped gift that’s more than just paper and ribbon—it’s a mini masterpiece! This guide will show you how to transform everyday kitchen items into a present that’s not only functional but also visually stunning.
By the end, you’ll not only know how to wrap these items with flair but also create an unforgettable unboxing experience. Ready to make your gift stand out? Let’s get started!
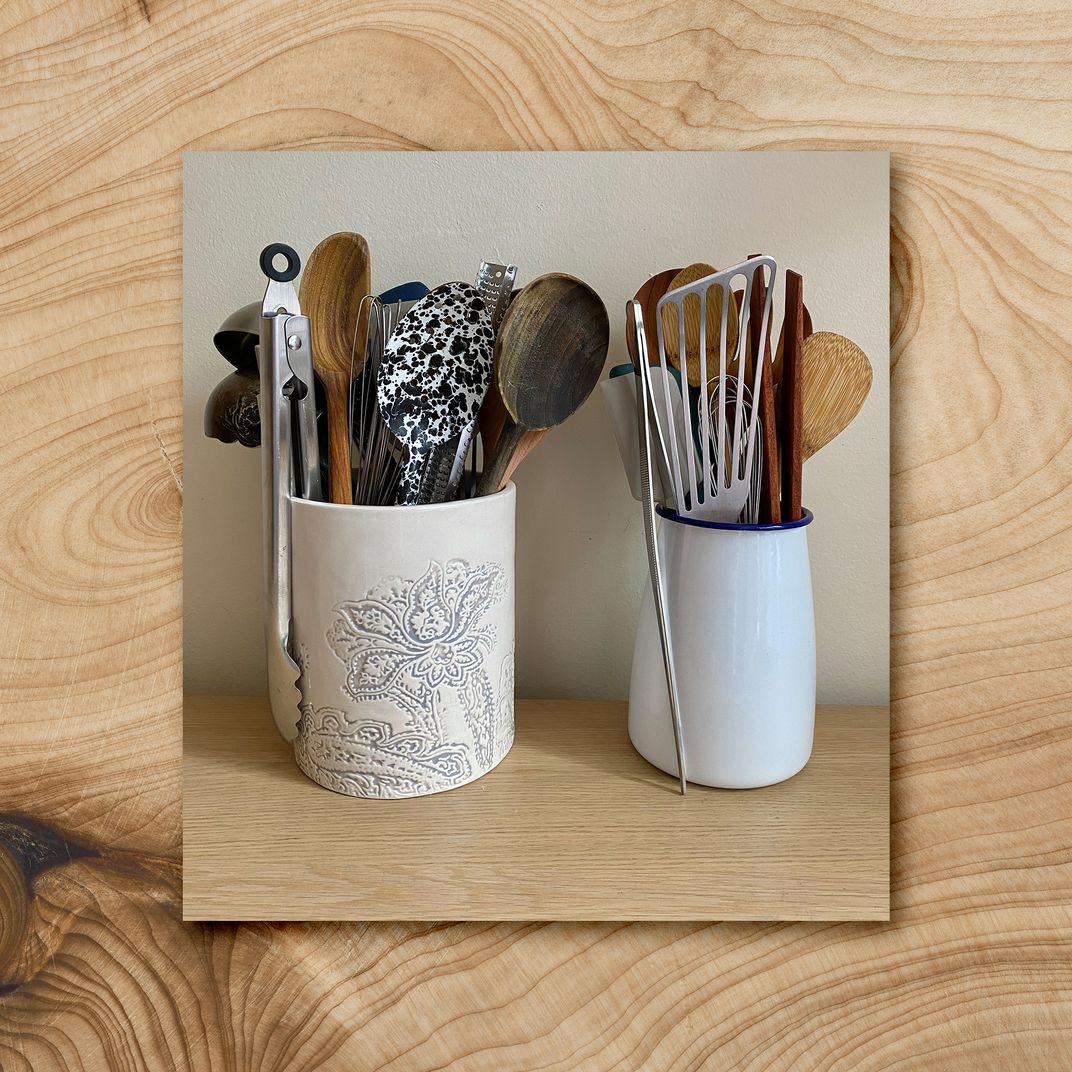
Credit: nymag.com
Choosing The Right Materials
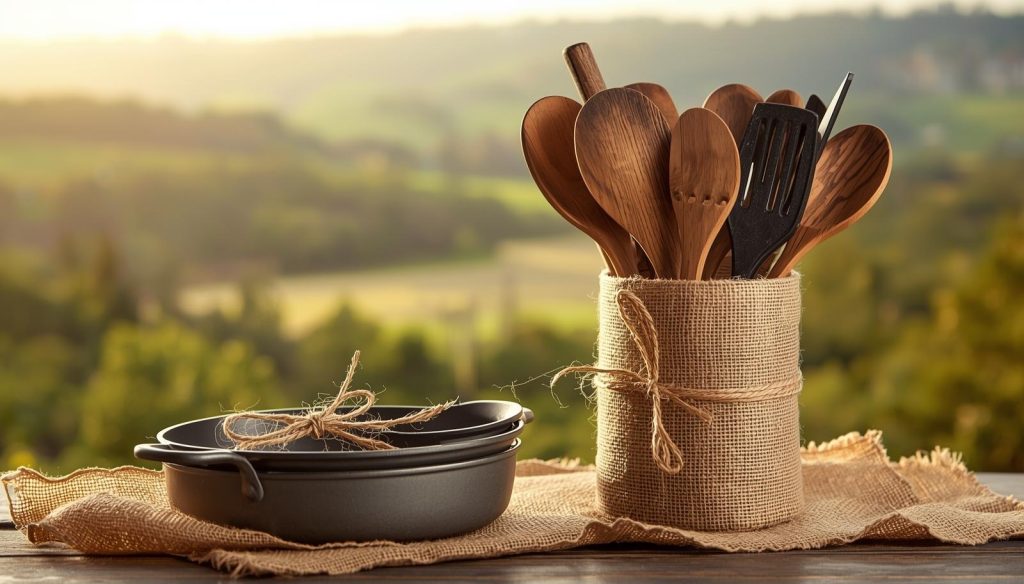
Gift wrapping kitchen utensils with pans needs the right materials. Choosing them well helps the gift look neat and special.
Picking wrapping items that fit the shape and size of pans keeps the gift safe and pretty.
Wrapping Paper And Fabric Options
Choose wrapping paper that is thick enough to hold the pan’s shape. Fabric wraps can add a soft and creative touch.
- Use kraft paper for a natural look
- Try patterned paper for a festive feel
- Pick cotton or linen cloth for reusable wrapping
- Check that fabric is easy to tie and does not slip
Ribbons And Twine Choices
Ribbons and twine help keep the wrapping tight and add style. Choose materials that match the wrapping paper or fabric.
| Type | Best Use | Look |
| Satin Ribbon | Formal gifts | Shiny and smooth |
| Jute Twine | Rustic style | Natural and rough |
| Grosgrain Ribbon | Casual gifts | Textured and firm |
| Curling Ribbon | Fun, colorful gifts | Bright and curly |
Decorative Accessories
Add small decorations to make the gift unique. These can be simple but eye-catching.
- Attach a small wooden spoon or spatula
- Use dried herbs like rosemary or thyme
- Add a gift tag with a handwritten note
- Use small pine cones or berries for a natural look
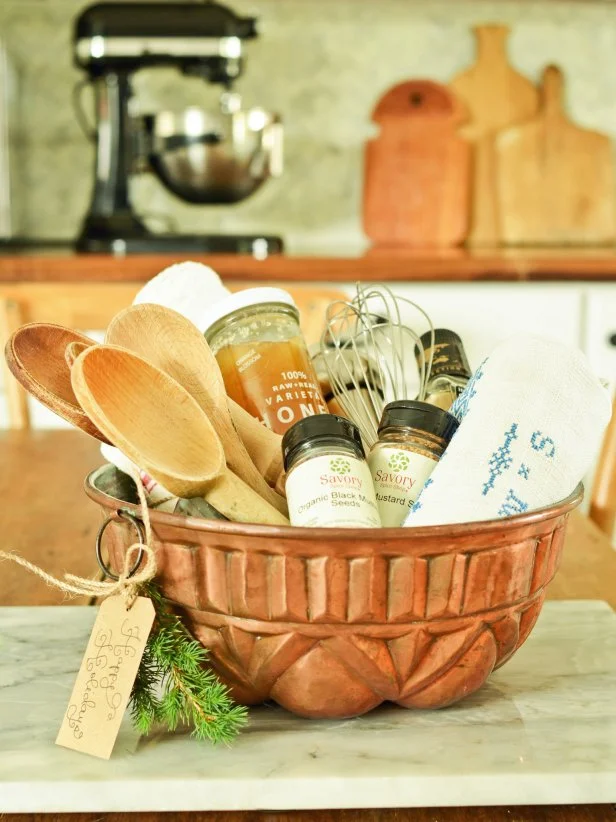
Credit: www.hgtv.com
Preparing Kitchen Utensils For Wrapping
Wrapping kitchen utensils with pans makes a unique gift. Proper preparation helps the wrapping look neat and secure.
Organize the utensils well before you start. This ensures the gift looks tidy and feels balanced.
Cleaning And Arranging Items
Clean all utensils and pans thoroughly. Remove any food residues and dry them well to avoid stains.
Arrange the utensils by size and shape. Place larger items at the bottom and smaller ones on top.
- Wash all items with soap and water
- Dry each piece completely
- Sort utensils by size
- Lay out pans flat and clean
Bundling Utensils Together
Group utensils that fit well together. Use a strong string or ribbon to tie them securely.
Keep the bundles compact to fit inside or on top of the pans. This makes wrapping easier and tidier.
- Select utensils with similar sizes
- Place handles in the same direction
- Use kitchen twine or ribbon to tie bundles
- Check that bundles are firm but not too tight
Securing Small Pieces
Small utensils can get lost or fall out during wrapping. Use clear tape or small bags to hold them.
Attach small pieces to larger items or place them inside pans. This prevents movement and keeps the gift neat.
- Wrap small items in tissue paper
- Use small plastic bags for tiny utensils
- Attach small bundles to pans with tape
- Place loose items inside the pans
Wrapping Pans Creatively
Wrapping kitchen utensils with pans can be a unique and thoughtful way to present a gift. Using pans as part of the wrapping adds a creative touch that recipients will enjoy.
This guide shows you how to wrap pans creatively. You will learn how to use pans as containers, add layers with tissue or fabric, and finish with decorative bows.
Using Pans As Gift Containers
Pans can hold smaller kitchen utensils like spatulas, spoons, or whisks. This makes the gift neat and easy to carry. Choose a clean, attractive pan that fits the utensils well.
- Pick a pan size that fits the utensils comfortably.
- Place the utensils inside the pan handle-first.
- Arrange utensils so they do not stick out awkwardly.
- Use a clear wrap or fabric to keep utensils in place.
Layering With Tissue Or Fabric
Adding tissue paper or fabric inside the pan gives a soft base and adds color. It protects the utensils and makes the gift look fuller and more attractive.
| Material | Effect | Tips |
| Tissue Paper | Light and colorful | Choose colors that match the pan |
| Fabric | Soft and reusable | Use cotton or linen for a natural feel |
| Kitchen Towels | Practical and decorative | Wrap utensils in the towel before placing |
Tying Decorative Bows
Finish your wrapped pan by tying a decorative bow around the handle or the entire pan. This adds charm and keeps everything secure.
Here are some bow styles you can try:
- Simple ribbon bow in a bright color
- Twine bow for a rustic look
- Double-layered bow using two ribbons
- Fabric strips tied into a bow
Combining Utensils And Pans In One Gift
Giving kitchen utensils and pans together makes a practical and thoughtful gift. It helps the receiver get everything needed for cooking in one package.
Wrapping these items neatly can be a challenge. Use simple ideas to keep the set secure and attractive.
Stacking And Securing Sets
Stack pans from largest to smallest to save space. Place utensils on top or inside the smallest pan.
- Lay a soft cloth or paper towel between pans to avoid scratches.
- Use kitchen twine or ribbon to tie the set tightly.
- Wrap the whole stack with clear or colored cellophane to hold everything in place.
- Add a bow or knot to finish the look.
Adding Personalized Tags
Tags add a personal touch to the gift. They can show the recipient’s name or a short message.
| Tag Type | Description |
| Handmade Paper | Write a note with a calligraphy pen for a classic look. |
| Chalkboard Tags | Reusable tags that can be customized for any occasion. |
| Wooden Tags | Engrave the recipient’s name for a lasting keepsake. |
Incorporating Themed Decorations
Choose decorations that match the kitchen or cooking theme. This adds fun and makes the gift stand out.
- Attach small wooden spoons or mini whisks to the ribbon.
- Use fabric with cooking prints like herbs, vegetables, or utensils as wrapping material.
- Include a small recipe card tied with the bow for an extra touch.
Creative Wrapping Techniques
Gift wrapping kitchen utensils with pans can be fun and unique. Creative wrapping ideas make your gift stand out. They add a personal touch to everyday items.
Use simple materials and easy methods to wrap your gifts. These techniques also help reduce waste. Let’s explore three creative ways to wrap kitchen gifts.
Furoshiki Style Wrapping
Furoshiki is a Japanese wrapping cloth. It uses a square piece of fabric to wrap items without tape or glue. This style is eco-friendly and reusable.
- Place the pan diagonally in the center of the cloth.
- Fold two opposite corners over the pan and tie them in a knot.
- Bring the other two corners and tie them securely on top.
- Add a small kitchen utensil inside the folds if space allows.
- Adjust the fabric to make sure the pan is covered well.
Using Reusable Bags Or Towels
Reusable bags and kitchen towels make great wrapping options. They protect the pan and add extra value to the gift. Choose colors and patterns that match the kitchen theme.
| Material | Benefit |
| Cotton Towel | Soft and absorbent |
| Canvas Tote Bag | Durable and reusable |
| Mesh Produce Bag | Lightweight and breathable |
| Linen Napkin | Elegant and simple |
Crafting Custom Gift Boxes
Make a gift box that fits your pan and utensils perfectly. Use cardboard or wood for sturdy boxes. Decorate with ribbons or natural elements like twine and dried herbs.
Custom box tips:
- Measure the pan and add extra space for padding.
- Line the box with tissue paper or shredded paper.
- Arrange utensils neatly inside the box.
- Seal the box with a decorative ribbon or bow.
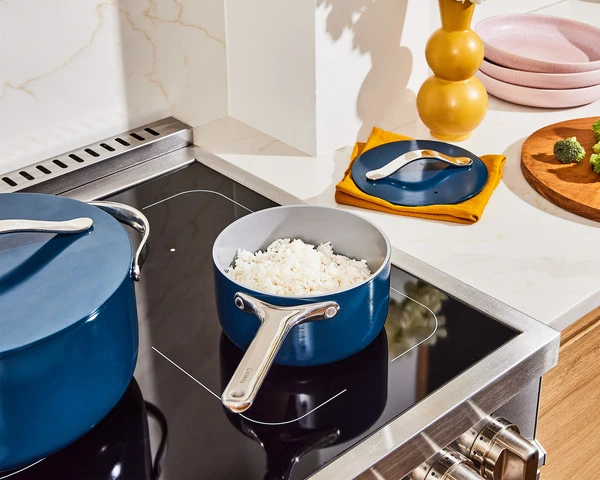
Credit: www.carawayhome.com
Tips For Presentation And Delivery
Gift wrapping kitchen utensils with pans can be both fun and creative. Good presentation makes your gift look special and thoughtful.
Use simple ideas to add charm and ensure your gift arrives safely. Follow these tips for the best results.
Adding Scented Elements
Adding scented touches makes your gift more inviting. Choose mild scents that blend well with kitchen items.
- Place dried herbs like rosemary or lavender inside the pan handle wrap
- Use cinnamon sticks or vanilla pods tied with a ribbon
- Attach a small sachet with a fresh, clean scent
- Spritz a light mist of citrus-scented spray on tissue paper
Ensuring Safe Transport
Protect your gift during transport to avoid damage. Use padding and secure wrapping.
| Material | Purpose |
| Bubble wrap | Protects pans from scratches and dents |
| Tissue paper | Prevents minor scratches and adds softness |
| Cardboard box | Keeps the gift stable and easy to carry |
| Ribbon or twine | Keeps wrapping tight and secure |
Final Touches For Impact
Finish your gift with small details that catch the eye. These touches make your wrapping stand out.
- Tie a colorful ribbon around the pan handle
- Add a handwritten gift tag with a short message
- Attach a small kitchen-themed charm or ornament
- Use patterned wrapping paper that matches kitchen colors
Frequently Asked Questions
How Do I Securely Wrap Kitchen Utensils With Pans?
Use bubble wrap or cloth to protect utensils and pans. Tie them together with twine or ribbon tightly to prevent movement. Add decorative paper for a polished look. This keeps items safe and visually appealing.
What Materials Are Best For Gift Wrapping Pans And Utensils?
Use sturdy wrapping paper, tissue paper, or reusable fabric. Add cushioning like bubble wrap or cloth. Twine, ribbons, and gift tags enhance presentation. Choose materials that protect and complement the kitchen theme.
Can I Use Eco-friendly Options For Wrapping Kitchen Gifts?
Yes, use recycled paper, fabric wraps, or reusable bags. Natural twine or ribbons are also eco-friendly. These options reduce waste and look charming. They align with sustainable gifting practices.
How To Make Wrapped Kitchen Utensils Look Attractive?
Arrange utensils neatly around or inside pans. Use colorful ribbons and tags. Add small decorative items like herbs or dried flowers. This creates a thoughtful, eye-catching presentation.
Conclusion
Gift wrapping kitchen utensils with pans can be simple and fun. Use sturdy paper to protect the pan’s surface. Tie a ribbon tightly to keep everything secure. Add a small tag to personalize your gift. This way, your present looks neat and thoughtful.
Anyone will appreciate the care you put in. Try these steps to make your gifts stand out. Enjoy giving something useful and nicely wrapped!


