
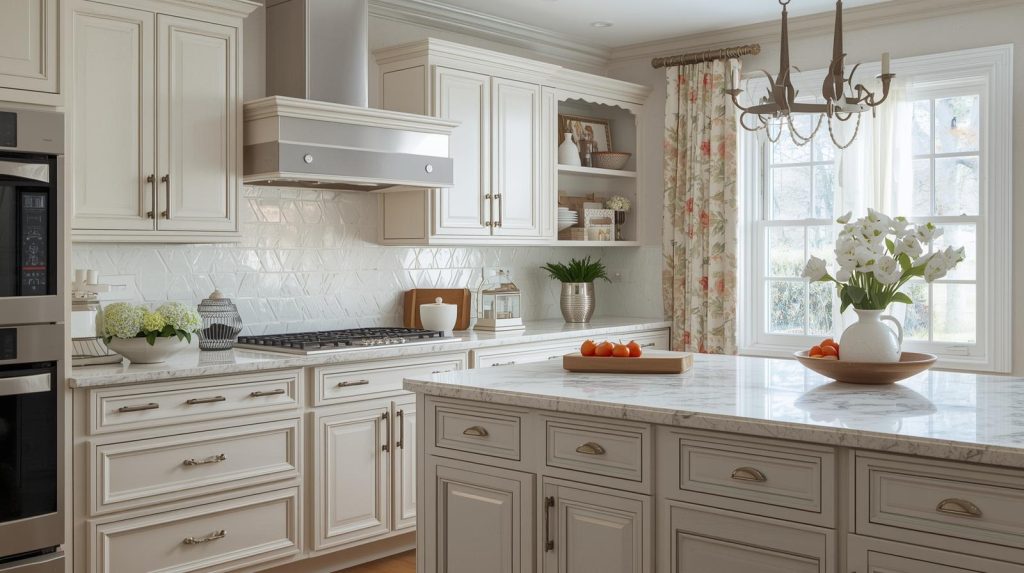
Transforming your kitchen can be as simple as adding moulding to your cabinet doors. Imagine giving your space a fresh and elegant look without the need for a complete renovation.
Moulding can instantly elevate the style of your kitchen, making it look more sophisticated and polished. If you’ve been dreaming of a kitchen makeover but dread the thought of a full remodel, you’re in the right place. In this guide, you’ll learn How to Add Moulding to Kitchen Cabinet Doors effortlessly.
Get ready to unlock a new level of charm in your home by learning a few easy techniques that can make a big impact. Let’s dive in and see how you can achieve that high-end look you’ve always wanted!
Credit: www.familyhandyman.com
Tools And Materials Needed
Adding moulding to kitchen cabinet doors can improve their look. You need the right tools and materials to do this job well.
This guide covers the essential tools, how to choose moulding, and extra supplies you might need.
Essential Tools For The Project
Use these tools to measure, cut, and attach moulding to your cabinet doors. They help make your work neat and easy.
- Measuring tape – to get exact sizes
- Miter saw or hand saw – for cutting moulding at angles
- Sandpaper or sanding block – to smooth edges
- Wood glue – to stick moulding to doors
- Brad nailer or hammer and small nails – to secure moulding
- Clamps – to hold moulding while glue dries
- Paintbrush or stain applicator – to finish the moulding
- Safety goggles – to protect your eyes
Choosing The Right Moulding
Select moulding that matches your kitchen style and cabinet design. The size and shape matter for a good fit.
Look for moulding made from wood or MDF. Both work well but have different finishes and prices.
- Crown moulding adds a classic, elegant touch
- Beadboard moulding offers a simple, clean look
- Flat stock moulding is easy to paint and shape
- Choose moulding width that suits your cabinet door size
Additional Supplies
Besides tools and moulding, you need some extra items to complete the project smoothly.
- Wood filler – to fill nail holes or gaps
- Painters tape – to protect cabinet surfaces while painting
- Drop cloth – to keep your workspace clean
- Cleaning cloth – to wipe dust and glue spills
- Primer and paint or wood stain – to finish the moulding
Preparing The Cabinet Doors
Adding moulding to kitchen cabinet doors can improve their look. Proper preparation makes the process easier.
Start by getting the cabinet doors ready. This means removing parts, cleaning, and measuring carefully.
Removing Doors And Hardware
Take off the cabinet doors by unscrewing the hinges. Be sure to support the door so it does not fall.
Remove all handles, knobs, and any other hardware. This helps you work on a smooth surface.
- Use a screwdriver to remove screws from hinges
- Carefully take off handles and knobs
- Place screws and hardware in a container to keep them safe
Cleaning And Sanding Surfaces
Clean the cabinet doors to remove dirt and grease. Use a mild cleaner and a soft cloth.
Lightly sand the door surface with fine-grit sandpaper. This helps the moulding stick better.
- Wipe doors with a damp cloth and mild soap
- Let doors dry completely before sanding
- Sand gently to avoid damaging the wood
- Remove sanding dust with a clean cloth
Measuring For Moulding Placement
Measure the cabinet door carefully before cutting moulding. Accurate measurements prevent mistakes.
Mark where the moulding will go on the door surface. Use a pencil and a straight edge for clear lines.
- Measure the length and width of the door
- Decide the moulding design and placement
- Mark the outline for moulding with a pencil
- Double-check measurements before cutting moulding
Cutting And Fitting Moulding
Adding moulding to kitchen cabinet doors can enhance their look. Cutting and fitting the moulding correctly is key to a neat finish.
This guide covers how to measure, cut, and dry fit your moulding pieces for the best results.
Measuring And Marking Moulding Pieces
Start by measuring the cabinet door edges where you want to add moulding. Use a tape measure for accuracy.
- Measure each side of the door carefully.
- Mark the moulding length on each piece with a pencil.
- Double-check all measurements before cutting.
- Use a square tool to mark straight cutting lines.
Cutting Techniques For Clean Edges
Clean cuts make the moulding fit better and look professional. Use a miter saw or a fine-tooth handsaw for best results.
- Set the saw to a 45-degree angle for corner cuts.
- Cut slowly to avoid splintering the wood.
- Sand edges lightly to smooth any rough spots.
- Check each cut piece against your marked lines.
Dry Fitting The Moulding
Before gluing or nailing, place the moulding pieces on the cabinet door. Dry fitting helps verify the fit and alignment.
| Dry Fit Check | What to Look For |
|---|---|
| Edges meet tightly | No gaps or uneven joints |
| Moulding lies flat | Flush with the door surface |
| Length fits well | Matches measured marks accurately |
| Corners align | Angles match smoothly |
Credit: www.familyhandyman.com
Attaching Moulding To Doors
Adding moulding to kitchen cabinet doors can improve their look. It adds style and depth to plain doors.
Attaching moulding properly keeps it secure and neat. Use the right tools and techniques for best results.
Choosing Adhesives And Fasteners
Choose strong adhesives made for wood to hold moulding firmly. Wood glue works well for most projects.
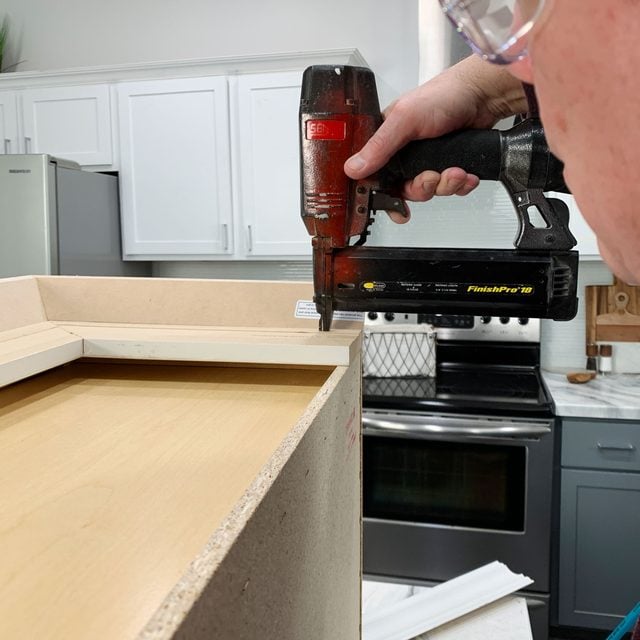
Use small finish nails or brads to add extra support. They keep moulding in place while glue dries.
- Wood glue for strong bonding
- Finish nails or brads for extra hold
- Clamps to hold pieces while drying
- Check adhesive drying time on labels
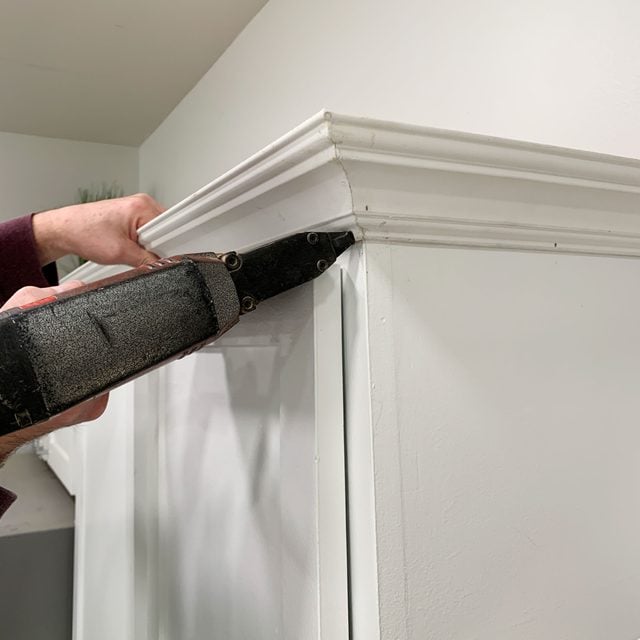
Applying Moulding Securely
Clean the door surface before attaching moulding. Dust and grease reduce adhesive strength.
Apply glue evenly on the back of the moulding. Press it firmly onto the door surface.
- Wipe door with a damp cloth
- Spread glue in a thin, even layer
- Press moulding firmly for 30 seconds
- Use clamps to keep moulding tight
- Drive nails carefully to avoid splitting
Checking For Alignment And Gaps
Check moulding edges for straight lines and tight corners. Misalignment looks unprofessional.
Fill small gaps with wood filler or caulk. Sand smooth after drying for a clean finish.
- Use a level or straight edge
- Look closely at corners and joints
- Fill gaps with wood filler
- Sand filler smooth once dry
- Touch up paint if needed
Finishing Touches
Adding moulding to kitchen cabinet doors gives them a fresh, custom look. The finishing touches are key to a professional result. This guide covers filling gaps and nail holes, sanding for smoothness, and painting or staining the doors.
Taking time to complete these steps well will improve the cabinet doors’ appearance and durability. Use simple tools and materials for best results.
Filling Gaps And Nail Holes
Small gaps and nail holes can ruin the smooth look of your moulding. Fill them before sanding and painting. Use wood filler or putty for the best finish.
- Apply wood filler with a putty knife over gaps and holes.
- Press the filler firmly and smooth it out.
- Let it dry completely according to the product instructions.
- Check for any low spots and add more filler if needed.
- Once dry, the surface should be flush with the surrounding wood.
Sanding For Smoothness
Sanding creates a smooth surface that helps paint or stain stick better. Use fine-grit sandpaper for a gentle finish. Sand all surfaces evenly, including moulding and doors.
| Sandpaper Grit | Purpose |
| 120 | Initial sanding to smooth rough filler and wood |
| 180 | Refine surface before painting or staining |
| 220 | Final sanding for a very smooth finish |
Painting Or Staining The Doors
Choose paint or stain that matches your kitchen style. Apply thin coats for an even look. Use a brush or sprayer for best coverage.
- Clean dust off doors before starting.
- Use primer if painting for better adhesion.
- Apply multiple thin coats instead of one thick coat.
- Allow each coat to dry fully before the next.
- Lightly sand between coats for smoothness.

Credit: www.thisoldhouse.com
Reinstalling And Final Checks
After adding moulding to your kitchen cabinet doors, you need to put the doors back. This step ensures your kitchen looks neat and works well.
It is important to check that the doors open and close correctly. Also, clean your workspace to finish the project safely.
Reattaching Doors And Hardware
Start by lining up the cabinet doors with the hinges. Use a screwdriver to attach the doors carefully. Tighten the screws so the doors stay in place.
Next, reattach any handles or knobs. Make sure they are secure and fit well on the new moulding.
Ensuring Proper Door Function
Open and close each door to check its movement. The doors should swing smoothly without sticking or scraping.
If a door does not close properly, adjust the hinges slightly. Small changes can fix alignment and make the doors fit perfectly.
- Check for gaps around the door edges
- Listen for rubbing or scraping sounds
- Make sure doors stay closed without force
Cleaning Up The Workspace
Clear away any leftover wood scraps, nails, or screws. Use a vacuum or broom to clean dust from the floor and surfaces.
Wipe down the cabinet doors and moulding to remove fingerprints and glue spots. A clean workspace helps prevent accidents and keeps your kitchen tidy.
Frequently Asked Questions
What Tools Do I Need To Add Moulding To Cabinet Doors?
You need a measuring tape, miter saw, wood glue, clamps, sandpaper, and finishing nails. A nail gun speeds up assembly. Also, prepare paint or stain for finishing the moulding.
How Do I Measure Moulding For Kitchen Cabinet Doors?
Measure the height and width of each door precisely. Cut moulding pieces slightly longer and trim after dry fitting. Accurate measuring ensures a clean, professional look.
Can I Use Any Type Of Wood For Moulding?
Yes, but choose wood that matches or complements your cabinet finish. Common options are pine, oak, or MDF. Consider durability and ease of painting or staining.
How Do I Attach Moulding To Cabinet Doors Securely?
Apply wood glue on moulding edges and press onto the door. Use finishing nails or a nail gun to fasten. Clamp if needed until glue dries for strong adhesion.
Conclusion
Adding moulding to kitchen cabinet doors can change their look fast. It adds style and depth without much cost. You only need a few tools and some patience. Take your time to measure and cut carefully. Paint or stain the moulding to match your cabinets.
This small project can make your kitchen feel fresh and new. Try it yourself and enjoy the new look in your home. Simple steps, great results.


