
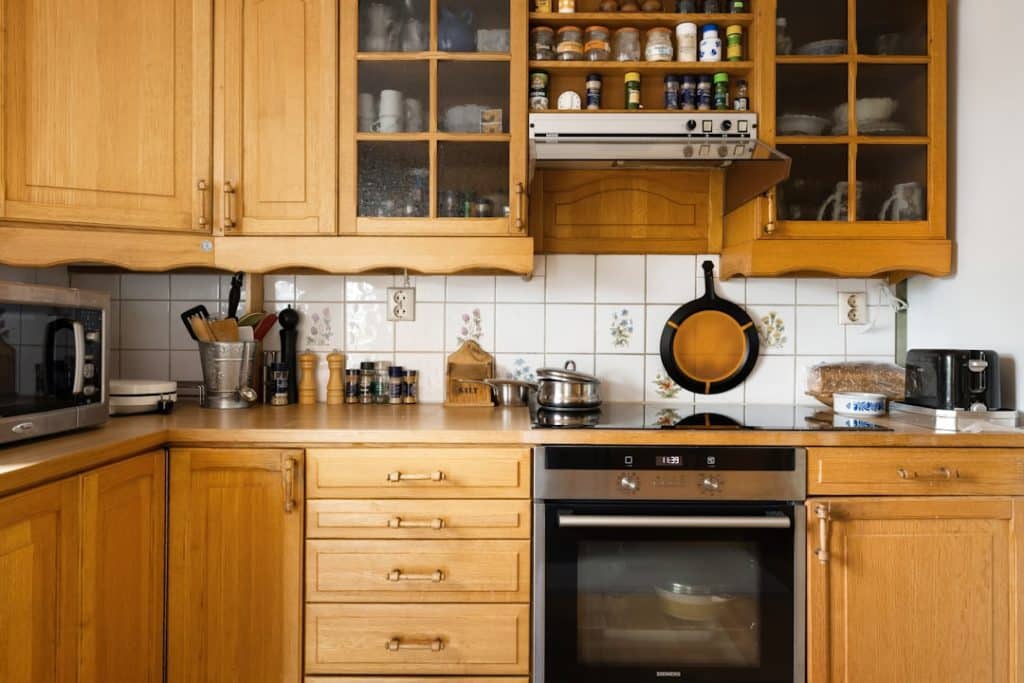
Are you looking to give your kitchen a fresh, elegant look without a full remodel? Installing crown moulding around your kitchen cabinets is a simple way to add style and value to your space.
You might think it’s complicated or expensive, but with the right steps, you can do it yourself—even if you’re not a pro. In this guide, you’ll discover easy-to-follow tips that make the process smooth and rewarding. Ready to transform your kitchen and impress everyone who walks in?
Let’s get started!
Tools And Materials Needed
Installing crown moulding around kitchen cabinets can improve your kitchen’s look. You need the right tools and materials to do the job well.
This guide covers the essential tools, types of crown moulding, and extra supplies you might need.
Essential Tools
These tools help you cut, measure, and fix the moulding correctly. Using the right tools makes the job easier and neater.
- Miter saw or miter box for angled cuts
- Measuring tape to get exact lengths
- Pencil for marking cut lines
- Level to keep moulding straight
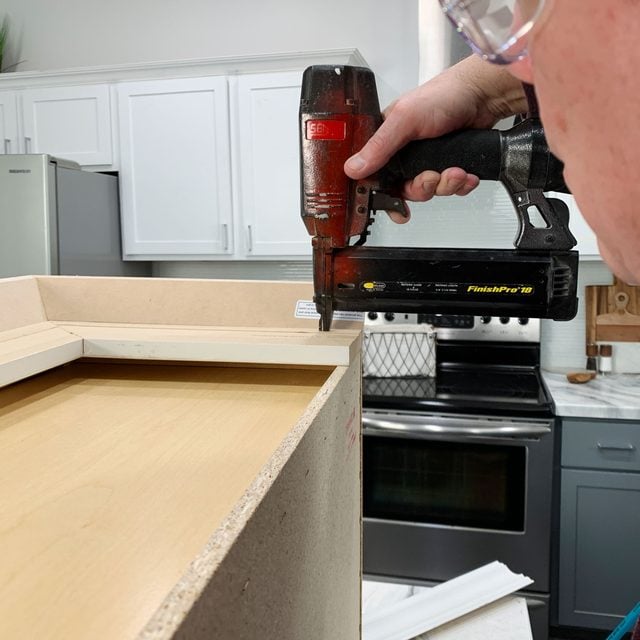
- Nail gun or hammer with finishing nails
- Caulking gun for filling gaps
- Safety glasses and dust mask
Types Of Crown Moulding
Crown moulding comes in different styles and materials. Choose one that fits your kitchen design and skill level.
- Wood moulding offers a classic look and can be painted or stained.
- Polyurethane moulding is lightweight and easy to cut.
- MDF moulding is smooth and affordable but less durable.
- PVC moulding is water-resistant, good for humid kitchens.
Additional Supplies
You need a few extra supplies to finish the installation well. These help secure and hide nails or seams.
- Wood glue for extra hold at corners
- Painter’s caulk to fill small gaps
- Sandpaper to smooth rough edges
- Paint or stain to match your cabinets
- Drop cloth to protect surfaces
Credit: www.familyhandyman.com
Preparing The Kitchen Cabinets
Installing crown moulding around kitchen cabinets starts with good preparation. Clean and measure the cabinets carefully before cutting any moulding.
These steps help ensure a perfect fit and a neat finish. Take your time to avoid mistakes.
Cleaning And Measuring
First, clean the top edges of your kitchen cabinets. Remove dust, grease, and dirt. A clean surface helps the moulding stick better.
- Use a mild detergent and a soft cloth
- Dry the surface completely
- Check for any loose cabinet parts
- Repair or tighten screws if needed
- Measure the length and width of each cabinet section
Accurate measurements let you cut the moulding to the right size. Write down all measurements clearly.
Marking Cutting Lines
Mark the cutting lines on the crown moulding before cutting. Use a pencil and a carpenter’s square for straight lines.
| Tool | Purpose |
|---|---|
| Pencil | Mark cutting points clearly |
| Carpenter’s square | Draw straight lines and angles |
| Tape measure | Check length and width |
| Miter saw | Cut moulding at correct angles |
Cutting Crown Moulding
Cutting crown moulding for kitchen cabinets takes care and accuracy. It fits on top of cabinets to give a clean look.
This guide helps you cut moulding pieces that fit perfectly around your cabinets.
Measuring Lengths
Measure the length where the moulding will go. Use a tape measure for accuracy.
Measure along the top edge of the cabinets. Write down each length clearly.
- Measure twice to avoid mistakes
- Mark the wall or cabinet edges
- Note inside and outside corner lengths
Making Miter Cuts
Miter cuts join two pieces of moulding at an angle. Use a miter saw to make clean cuts.
Set the saw to 45 degrees for most corners. Cut slowly to keep the edges smooth.
- Check the angle before cutting
- Cut the moulding face down on the saw
- Test fit pieces before final installation
Handling Inside And Outside Corners
Inside corners need two 45-degree cuts that fit together inside the corner.
Outside corners require cuts that wrap around the corner. Adjust the saw angle if needed.
- Inside corner: cut two pieces at 45 degrees inward
- Outside corner: cut two pieces at 45 degrees outward
- Use scrap wood to practice corner cuts

Credit: www.thisoldhouse.com
Installing The Moulding
Installing crown moulding around kitchen cabinets adds a polished look. It can be tricky to fit the moulding perfectly.
This guide helps you install moulding with care and accuracy. Follow these tips for a neat finish.
Positioning And Securing
Place the moulding on top of the cabinets to see how it fits. Mark the wall and cabinet where the moulding will sit.
Hold the moulding firmly in place before securing. This prevents shifting and ensures a tight fit.
Using Adhesive And Nails
Apply a strong wood adhesive to the back of the moulding. This helps hold it against the cabinet and wall.
Use finishing nails to fasten the moulding securely. Drive nails into studs or cabinet frames for a solid hold.
- Apply adhesive evenly on the moulding
- Press moulding firmly in place
- Use a nail gun or hammer with finishing nails
- Space nails about 12 inches apart
- Fill nail holes with wood filler for a smooth look
Dealing With Uneven Surfaces
Kitchen cabinets and walls may not be perfectly flat. Check the surface for bumps or gaps before installing.
Use caulk or wood filler to fill gaps between the moulding and surface. Sand rough spots for better contact.
- Test fit moulding to find uneven spots
- Apply caulk to fill small gaps
- Use wood filler for larger gaps or holes
- Sand filled areas smooth after drying
- Repaint or stain moulding if needed
Finishing Touches
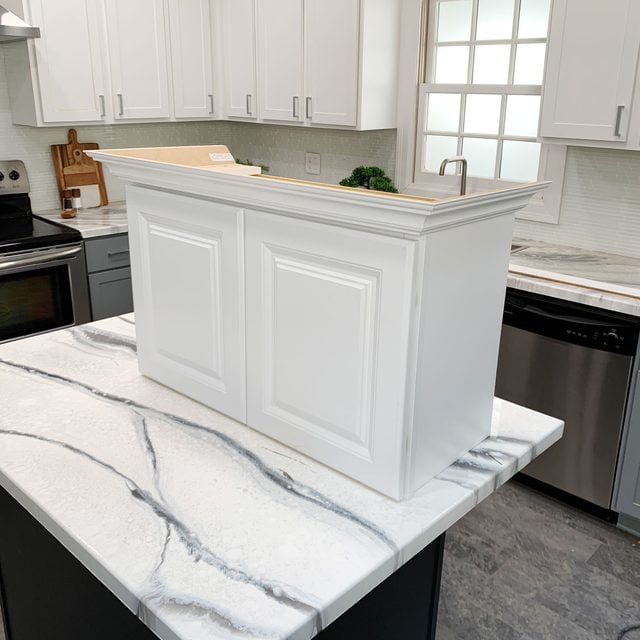
Installing crown moulding around kitchen cabinets adds style and value. The final steps make the job look neat and polished. These finishing touches hide small flaws and protect the wood.
Take your time with filling, sanding, painting, and cleaning. Each step improves the overall appearance and helps the moulding last longer.
Filling Gaps And Nail Holes
Use wood filler or caulk to fill gaps and nail holes. This hides any imperfections and makes the moulding look seamless. Choose a filler that matches the colour of your moulding or paint.
- Apply filler with a putty knife
- Press filler firmly into holes and gaps
- Let the filler dry completely
- Remove any excess filler with a damp cloth
Sanding And Painting
Sanding smooths out the filler and rough edges. Use fine-grit sandpaper for a gentle finish. After sanding, paint the moulding to match your cabinets or walls.
| Task | Tip |
| Sanding | Use 220-grit sandpaper for smooth finish |
| Painting | Apply thin, even coats with a brush or roller |
| Drying | Allow each coat to dry fully before next coat |
Cleaning Up
Remove dust and paint drips after painting. Clean tools right away to keep them in good shape. Proper cleanup helps keep your kitchen tidy and your moulding looking great.
For cleaning:
- Wipe surfaces with a damp cloth
- Use mild soap for paint spills
- Store leftover paint properly
- Dispose of waste safely
Credit: www.familyhandyman.com
Tips For A Professional Look
Installing crown moulding around kitchen cabinets adds style and value to your kitchen. A neat installation can make your cabinets look custom and elegant.
Follow these tips to ensure your crown moulding fits well and looks polished. Pay attention to style, safety, and solving common problems.
Choosing The Right Style
Select crown moulding that matches your kitchen’s design. The right style blends with your cabinets and room decor.
- Pick a moulding profile that fits your cabinet design.
- Consider the height and width of the moulding relative to cabinet size.
- Match the moulding finish with your cabinet color or paint it for contrast.
- Use simpler moulding in small kitchens to avoid a crowded look.
Working Safely
Safety is important when cutting and installing crown moulding. Use proper tools and protective gear to avoid accidents.
- Wear safety glasses to protect your eyes from wood chips.
- Use a stable ladder or step stool to reach high cabinets safely.
- Handle saws and cutting tools carefully and follow instructions.
- Keep your work area clean to prevent tripping or slipping.
Troubleshooting Common Issues
Some problems may occur during installation. Knowing how to fix them helps keep your project on track.
| Problem | Cause | Solution |
| Gaps at corners | Incorrect miter cuts | Re-cut angles or use wood filler to fill gaps |
| Moulding not flush | Uneven cabinet tops | Sand high spots or use shims to level moulding |
| Cracks after nailing | Wood drying or nailing too close to edges | Pre-drill holes and use wood glue with nails |
Frequently Asked Questions
What Tools Are Needed To Install Crown Moulding?
You need a miter saw, measuring tape, nail gun, wood glue, caulk, and a level. These tools ensure precise cuts and secure installation around cabinets.
How Do You Measure For Crown Moulding Around Cabinets?
Measure the cabinet width and height, then add extra for corners. Accurate measurements prevent gaps and ensure a perfect fit during installation.
Can Crown Moulding Be Painted After Installation?
Yes, painting crown moulding after installation is common. Use primer and paint for a smooth, professional finish that matches your kitchen decor.
How Do You Cut Crown Moulding Corners Perfectly?
Use a miter saw set at 45 degrees for inside and outside corners. Practice on scrap pieces to achieve clean, precise corner joints.
Conclusion
Completing your crown moulding project feels rewarding. You’ve added style to your kitchen. Each step was simple and clear. Measure, cut, and install. Now your cabinets look elegant and finished. Don’t rush the process. Take your time. Double-check your work for best results.
Enjoy the new look in your kitchen. Share your experience with friends. They’ll admire your handy skills. Remember, practice makes perfect. Try more DIY projects and improve. Your home will thank you. Happy renovating!



