
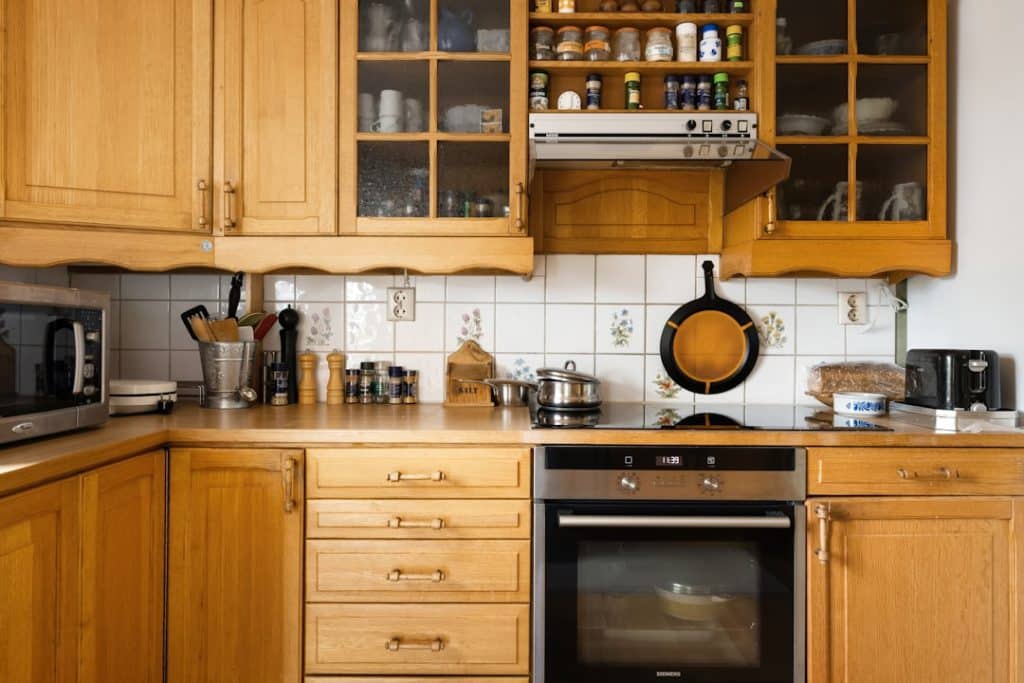
Are you looking to add a touch of elegance to your kitchen without a full renovation? Installing crown moulding above your kitchen cabinets is a simple, cost-effective way to elevate the entire space.
Imagine your kitchen looking polished and finished, with that perfect detail catching everyone’s eye. In this guide, you’ll discover step-by-step how to install crown moulding yourself, even if you’ve never done it before. By the end, you’ll have the confidence and know-how to transform your kitchen into a stylish, inviting area you’ll love showing off.
Keep reading to unlock the secrets to a flawless crown moulding installation.
Credit: www.familyhandyman.com
Tools And Materials Needed
Installing crown moulding above kitchen cabinets adds style and finish to your space. Getting the right tools and materials makes the job easier and safer.
Below are the main items you need before starting your crown moulding project. Each group covers important parts to prepare.
Essential Tools
Use these tools to measure, cut, and attach the crown moulding properly. Having them ready helps work go smoothly.
- Miter saw or hand saw with miter box
- Measuring tape
- Level
- Stud finder
- Pencil for marking
- Hammer or nail gun
- Caulk gun
- Sandpaper or sanding block
- Safety goggles and gloves
Types Of Crown Moulding
Crown moulding comes in different materials and styles. Choose one that fits your kitchen’s look and your installation skill level.
| Type | Description | Pros | Cons |
| Wood | Solid wood strips | Classic look, can be painted or stained | Can warp, needs finishing |
| MDF | Medium-density fiberboard | Affordable, smooth surface | Not moisture resistant |
| Polyurethane | Lightweight foam material | Easy to cut, moisture resistant | Can dent easily |
| Polystyrene | Foam with plastic coating | Very lightweight, easy to install | Less durable |
Additional Supplies
These supplies help secure the moulding and make the installation neat and strong.
- Finish nails or brad nails
- Wood glue
- Painter’s caulk to fill gaps
- Primer and paint or stain
- Drop cloth to protect surfaces
- Cleaning cloths for dust
Credit: www.familyhandyman.com
Preparing The Kitchen Cabinets
Installing crown moulding above kitchen cabinets adds style and depth. Before you start, prepare the cabinets well. This makes the installation easier and cleaner.
Good preparation helps the moulding fit perfectly. It also protects your cabinets during the process.
Measuring The Space
Measure the length of the cabinet tops where the moulding will go. Use a tape measure for accuracy. Note the length of each cabinet section separately.
Also, check the height from the cabinet top to the ceiling. This helps you choose the right size for your moulding.
- Measure each cabinet run carefully
- Record measurements on paper
- Double-check your numbers
- Note any irregular shapes or corners
Cleaning And Clearing
Clear the cabinet tops before installation. Remove items like decor, kitchen tools, or appliances. This creates a safe workspace.
Clean the cabinet surfaces with a damp cloth. Dirt and dust can stop the moulding from sticking well. Let the surface dry fully before you start.
- Remove all items from cabinet tops
- Wipe surfaces to remove dust and grease
- Allow cabinets to dry completely
Marking Cut Lines
Mark where you will cut the moulding pieces. Use a pencil and a straight edge. Mark both length and angle cuts clearly.
Mark the moulding pieces to match cabinet corners and edges. This helps you cut accurately and fit the moulding smoothly.
- Use a pencil for light, clear marks
- Mark inside and outside corners
- Check angles before cutting
- Label each piece for its cabinet section
Cutting Crown Moulding
Cutting crown moulding above kitchen cabinets requires precision. It shapes the overall look and fit of the moulding.
This guide explains how to cut moulding using tools and techniques for corners and safety.
Using A Miter Saw
A miter saw helps make clean, angled cuts needed for crown moulding. Set the saw to the right angle for each cut.
- Measure the length carefully before cutting.
- Set the miter saw to a 45-degree angle for most corners.
- Use a test piece to check the angle before cutting the real moulding.
- Keep the moulding firmly against the fence for stability.
- Cut slowly to avoid splintering the wood.
Handling Inside And Outside Corners
Inside and outside corners need different cutting angles. Knowing these angles ensures a tight fit.
| Corner Type | Angle for Left Piece | Angle for Right Piece |
| Inside Corner | 45° miter, bevel 33.9° | 45° miter, bevel 33.9° |
| Outside Corner | 45° miter, bevel 31.6° | 45° miter, bevel 31.6° |
Safety Tips
Working with a miter saw can be dangerous without proper safety. Always follow these rules.
- Wear safety goggles to protect your eyes.
- Use ear protection if the saw is loud.
- Keep hands away from the blade when cutting.
- Make sure the saw blade is sharp and properly installed.
- Work on a stable surface to avoid slips.
Installing The Moulding
Installing crown moulding above kitchen cabinets gives your space a polished look. This process needs careful measuring and fitting.
Follow these steps to place the moulding properly and secure it tightly.
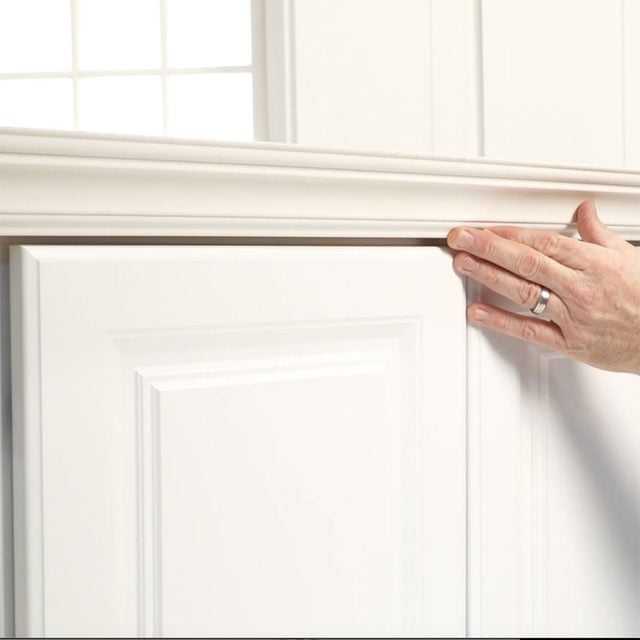
Positioning The Pieces
Start by measuring the length of the cabinet tops. Cut the moulding pieces to fit these measurements. Dry fit each piece before nailing to check the alignment and angles.
- Measure each wall section above the cabinets.
- Cut moulding at 45-degree angles for corners.
- Place pieces carefully to avoid gaps.
- Use a level to ensure straight placement.
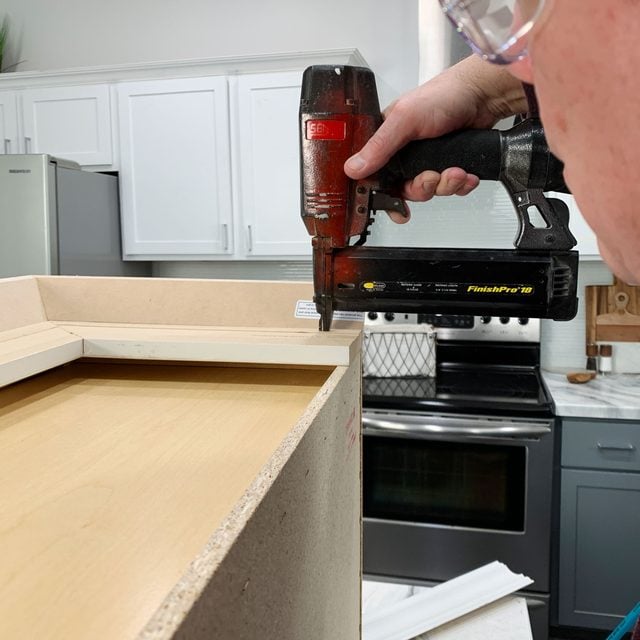
Nailing And Securing
Secure the moulding with finishing nails. Use a nail gun or hammer and nails sized for trim. Nail into studs or solid backing for a firm hold.
| Tool | Purpose |
| Nail Gun | Quick and even nailing |
| Hammer | Manual nailing for small jobs |
| Finishing Nails | Small heads, easy to cover |
| Stud Finder | Locate studs behind walls |
Dealing With Gaps
Gaps between moulding pieces or the wall can appear. Fill these with caulk or wood filler. Sand smooth after drying and paint to match the moulding.
Tips for gap filling:
- Use paintable caulk for small cracks.
- Wood filler works well for larger gaps.
- Sand lightly for a smooth finish.
- Match paint color to the moulding for a seamless look.
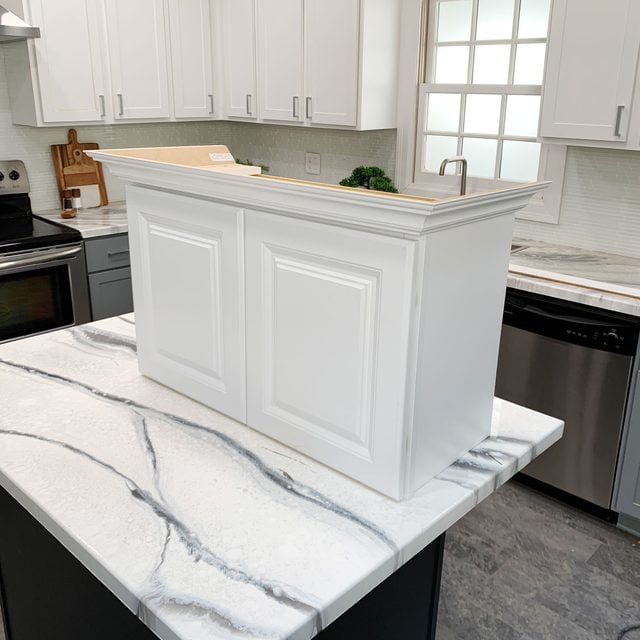
Finishing Touches
After installing crown moulding above your kitchen cabinets, finishing touches make it look polished. These small steps hide imperfections and create a seamless look.
Proper finishing helps the moulding blend with your kitchen style. It also protects the wood and paint from damage.
Filling Nail Holes
Fill nail holes to hide where you attached the moulding. Use wood filler that matches your moulding color.
Apply filler with a putty knife and smooth it out. Let it dry completely before sanding.
- Choose wood filler close to moulding color
- Use a putty knife for smooth application
- Sand gently after drying for a flat surface
Caulking Joints
Caulk the joints where moulding pieces meet and where it touches the wall or cabinet. This fills gaps and cracks.
Use paintable caulk for a clean and smooth finish. Apply a thin bead and smooth it with your finger or a caulk tool.
- Use paintable latex caulk
- Apply a thin, even bead
- Smooth with finger or caulk smoothing tool
- Wipe excess caulk quickly with a damp cloth
Painting Or Staining
Paint or stain the crown moulding to match your kitchen cabinets or walls. This step protects the wood and improves appearance.
Use a brush for detailed edges. Apply thin coats and let each coat dry fully before adding another.
- Choose paint or stain that matches your kitchen
- Use a small brush for neat edges
- Apply thin, even coats
- Let each coat dry before applying the next
Common Challenges And Solutions
Installing crown moulding above kitchen cabinets can be tricky. Many people face problems that slow down the work.
This guide covers common challenges and how to fix them. Use these tips to get a clean, professional look.
Uneven Walls Or Cabinets
Walls and cabinets are not always perfectly straight. This can leave gaps between the moulding and surfaces.
To handle uneven surfaces, use a flexible caulk to fill small gaps. For bigger gaps, add thin shims behind the moulding.
- Check the wall and cabinet edges with a level before installation.
- Use a sanding block to smooth small bumps or high spots.
- Apply painter’s caulk after nailing the moulding in place.
- Insert wood shims to fill large gaps and secure the moulding firmly.
Moulding Warping
Wood moulding can warp from moisture or storage conditions. Warped pieces will not fit tightly.
| Cause | Solution |
| High humidity | Store moulding in a dry place before use |
| Improper storage | Keep moulding flat and supported |
| Warped piece found | Replace or gently steam and clamp straight |
Always inspect moulding before installation. Avoid using warped pieces to keep a neat finish.
Handling Tight Spaces
Space above cabinets can be limited. This makes fitting and cutting moulding harder.
Try these tips for tight spaces:
- Measure carefully and mark cuts before cutting.
- Use a compact miter saw for better control.
- Cut moulding into smaller sections if needed.
- Dry fit each piece before nailing.
- Consider flexible moulding for curved or narrow areas.
Maintenance Tips
Keeping crown moulding clean helps it look new longer. Regular care stops damage and keeps it bright.
Check your moulding often. Small fixes stop big problems later.
Cleaning Crown Moulding
Dust crown moulding with a soft cloth or duster. This stops dirt build-up.
Use a mild soap and water mix for deeper cleaning. Avoid harsh chemicals that can damage paint.
- Dust weekly to prevent dirt
- Wipe with a damp cloth for stains
- Dry with a soft towel to avoid water marks
Touching Up Paint
Check paint on crown moulding for chips or cracks. Fix small spots to keep it fresh.
Use matching paint and a small brush. Apply thin coats and let dry fully before adding more.
- Match paint color exactly
- Use gentle brush strokes
- Let paint dry between coats
Checking For Damage
Look for cracks, gaps, or loose parts in the moulding. Early checks prevent costly repairs.
Fix small cracks with wood filler. Reattach loose moulding with wood glue or nails.
- Inspect moulding monthly
- Fill cracks with wood filler
- Secure loose pieces with glue or nails
Credit: www.familyhandyman.com
Frequently Asked Questions
How Do I Measure For Crown Moulding Above Cabinets?
Measure the width and depth of the cabinet tops carefully. Include any gaps between cabinets and ceiling for accurate fitting.
What Tools Are Needed To Install Crown Moulding?
You need a miter saw, measuring tape, nail gun, level, adhesive, and caulk for a precise and secure installation.
Can I Install Crown Moulding Without Professional Help?
Yes, with basic carpentry skills and proper tools, you can install crown moulding yourself confidently.
How Do I Cut Crown Moulding Corners Correctly?
Use a miter saw set at 45-degree angles for inside and outside corners to ensure perfect joints.
Conclusion
Installing crown moulding above kitchen cabinets is a rewarding project. It adds elegance and a finished look to your kitchen. With simple tools and patience, anyone can do it. Measure carefully to ensure a precise fit. Remember to paint or stain before installation for a neat finish.
Follow the steps, and you’ll enhance your kitchen’s charm. Don’t rush the process; take your time for best results. Enjoy the satisfaction of your beautifully upgraded kitchen. Your effort will surely impress family and friends. Happy decorating!


