
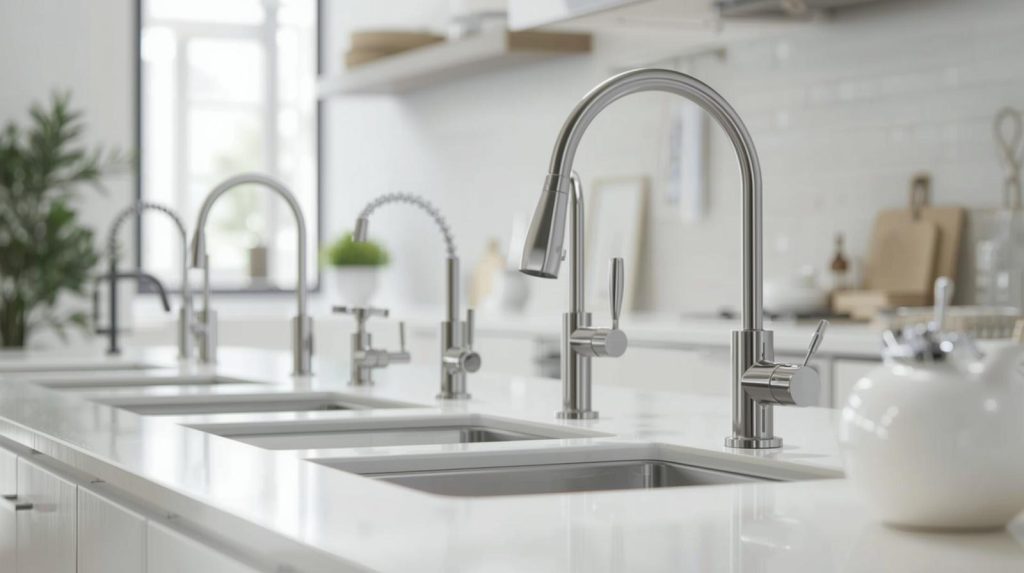
Add Pot Filler to Kitchen and enjoy the convenience of filling your pots right where you cook, without carrying heavy water-filled containers from the sink to the stove. Adding a pot filler can transform your cooking experience, making it both efficient and enjoyable.
But how do you go about installing one? That’s exactly what we’ll explore in this guide. Whether you’re redesigning your kitchen or just looking to enhance its functionality, a pot filler can be a game-changer. It saves time, reduces strain, and adds a touch of luxury to your space.
The best part? It’s easier to install than you might think. Stick with us as we break down the steps to seamlessly add this handy fixture to your kitchen. By the end, you’ll know exactly how to make this upgrade with confidence and ease.
Credit: alliedphs.com
Benefits Of A Pot Filler
Adding a pot filler to your kitchen can make cooking easier. It helps you fill pots with water right by the stove.
This small faucet saves time and effort while adding style to your kitchen space.
Convenience In Cooking
A pot filler lets you fill large pots without carrying them from the sink. This reduces spills and mess.
You can quickly add water while cooking, saving time and making meal prep smoother.
Water Conservation
Pot fillers help use only the water you need. You fill pots directly, so less water is wasted.
This direct access to water helps keep your kitchen cleaner and reduces water spills.
Enhancing Kitchen Style
Pot fillers come in many designs that match kitchen styles. They add a modern or classic look.
Installing a pot filler can make your kitchen look more professional and well-planned.
Choosing The Right Pot Filler
Adding a pot filler to your kitchen can make cooking easier. It lets you fill pots with water right at the stove.
Choosing the right pot filler depends on the type, material, and placement in your kitchen.
Types Of Pot Fillers
Pot fillers come in different styles. Each style fits certain kitchen needs and designs.
- Wall-mounted pot fillers: These attach to the wall near the stove and fold away when not in use.
- Deck-mounted pot fillers: These are fixed on the countertop or sink area.
- Freestanding pot fillers: These stand alone and can be moved if needed.
Materials And Finishes
Choosing the right material helps your pot filler last longer and look good.
| Material | Durability | Appearance |
| Stainless Steel | High | Modern and shiny |
| Brass | Medium | Classic and warm |
| Chrome | High | Bright and reflective |
| Bronze | Medium | Rustic and traditional |
Measuring For Placement
Measure carefully before installing your pot filler. Proper placement makes it easy to use.
- Measure the distance from the stove to the water source.
- Check the height so the filler reaches your pots easily.
- Allow space for the arm to fold back against the wall.
- Make sure plumbing connections are accessible.
Planning The Installation
Adding a pot filler to your kitchen needs good planning. It helps avoid mistakes and extra work later.
Start by checking your kitchen layout and plumbing. This guide will help you with key points.
Locating Water Supply Lines
Find where the water supply lines run behind your kitchen walls. The pot filler needs to connect to a cold-water line.
Look under the sink or in the basement for the main water pipes. Use a stud finder or pipe locator to check inside walls.
Assessing Wall Support
The pot filler is heavy and will stick out from the wall. Make sure the wall can hold its weight safely.
| Wall Type | Support Needed | Notes |
|---|---|---|
| Drywall with Studs | Attach to Studs | Use screws into wooden studs |
| Tile or Stone | Reinforce with Backing | May need plywood behind wall |
| Concrete or Brick | Use Anchors | Heavy-duty anchors required |
If you find weak walls, add extra support before installation. This keeps the pot filler secure.
Tools And Materials Needed
- Pipe wrench
- Adjustable wrench
- Pipe cutter
- Stud finder or pipe locator
- Drill and drill bits
- Wall anchors or screws
- Teflon tape
- Pot filler faucet kit
- Measuring tape
- Safety goggles
Gather all tools and materials before starting. This saves time and avoids delays.
Step-by-step Installation Process
Adding a pot filler to your kitchen makes filling large pots easier. This guide shows how to install one safely and correctly.
Follow these steps carefully to avoid problems and ensure your pot filler works well.
Shutting Off Water Supply
Before starting, turn off the main water supply to your kitchen. This stops water flow and prevents leaks during installation.
- Locate the main water shutoff valve under the sink or near the water meter.
- Turn the valve clockwise to close it.
- Open the kitchen faucet to drain any remaining water.
- Use a wrench to loosen any pressure in the pipes.
Mounting The Pot Filler
Choose the right spot on the wall near your stove to mount the pot filler. The height should be comfortable for filling pots on the stove.
- Mark the mounting holes using the pot filler bracket as a guide.
- Drill holes into the wall where marked.
- Insert wall anchors if needed for extra support.
- Attach the pot filler bracket with screws.
- Secure the pot filler arm to the bracket.
Connecting The Plumbing
Connect the pot filler to the water supply line. Use proper plumbing fittings to avoid leaks.
| Connection Part | Purpose | Tools Needed |
|---|---|---|
| Supply Line | Delivers water to pot filler | Pipe cutter, wrench |
| Shutoff Valve | Allows water flow control | Adjustable wrench |
| Threaded Fittings | Secure joints between pipes | Plumber’s tape |
Wrap plumber’s tape on threaded ends before connecting. Tighten fittings with a wrench but avoid over-tightening.
Testing For Leaks
After installation, turn the water supply back on slowly. Check all joints and the pot filler arm for leaks.
- Open the new shutoff valve supplying the pot filler.
- Extend the pot filler arm and turn the faucet on.
- Look carefully for any drips or water around connections.
- If you see leaks, tighten the fittings gently.
- Dry all areas and monitor again after a few minutes.
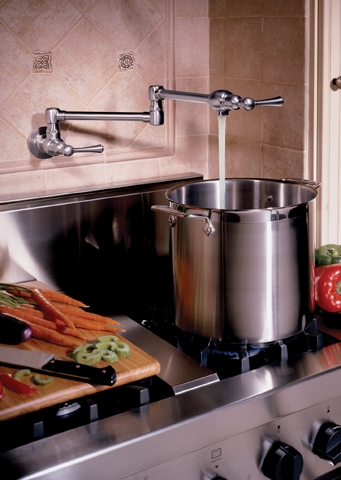
Maintenance Tips
Adding a pot filler to your kitchen is a smart choice. Keeping it clean and well-maintained helps it last longer.
Regular care stops problems and keeps the faucet working smoothly.
Cleaning The Faucet
Clean the pot filler regularly to avoid buildup. Use a soft cloth and mild soap to wipe it down.
Avoid harsh cleaners that can damage the finish. Dry the faucet after cleaning to prevent water spots.
- Use mild soap and warm water
- Wipe with a soft cloth, not abrasive pads
- Dry faucet to avoid water marks
- Clean aerator to keep water flow steady
Preventing Leaks
Leaks waste water and can cause damage. Turn off the faucet gently to avoid wear on the parts.
Check the joints and connections for tightness. Replace washers or seals if you notice dripping.
- Close faucet handles softly
- Check connections often
- Replace worn washers quickly
- Use plumber’s tape for tight seals
Regular Inspections
Look over your pot filler every few months. Check for rust, cracks, or loose parts.
Early fixes stop bigger problems. Keep an eye on how smoothly the faucet moves and works.
- Inspect faucet body for damage
- Test handle movement regularly
- Check water pressure and flow
- Schedule repairs if needed
Credit: www.kingstonbrass.com
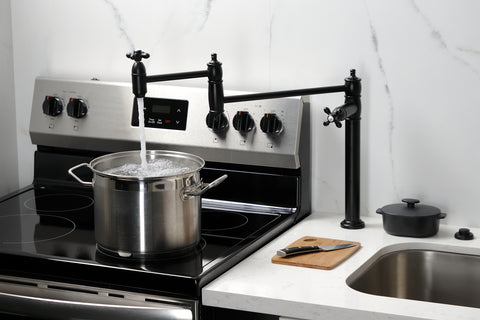
Design Ideas With Pot Fillers
Pot fillers add both style and function to your kitchen. They make filling pots easier and save time.
Choosing the right pot filler design can enhance your kitchen’s look. Consider how it fits with your style.
Modern And Minimalist Styles
Modern kitchens often use sleek pot fillers with clean lines and simple shapes. Stainless steel or matte black finishes work well.
- Choose wall-mounted pot fillers with a fold-away arm.
- Pick finishes like chrome, brushed nickel, or black matte.
- Look for designs with minimal details to keep a clean look.
- Install near the stove or sink for easy access.
Rustic And Vintage Looks
Rustic kitchens pair well with pot fillers that have antique brass or bronze finishes. These add warmth and charm.
| Finish | Style | Best Kitchen Type |
|---|---|---|
| Antique Brass | Vintage | Farmhouse, Rustic |
| Oil-Rubbed Bronze | Old-fashioned | Country, Cottage |
| Matte Black | Modern Rustic | Industrial, Rustic |
Look for pot fillers with classic handles and exposed joints. These details add to the vintage feel.
Complementing Kitchen Decor
Match your pot filler style with your existing kitchen decor. This creates a balanced and unified look.
- Use metallic finishes that match cabinet hardware.
- Consider the color and texture of your countertops.
- Pick a pot filler size that suits your cooking space.
- Think about the wall surface where you will install it.
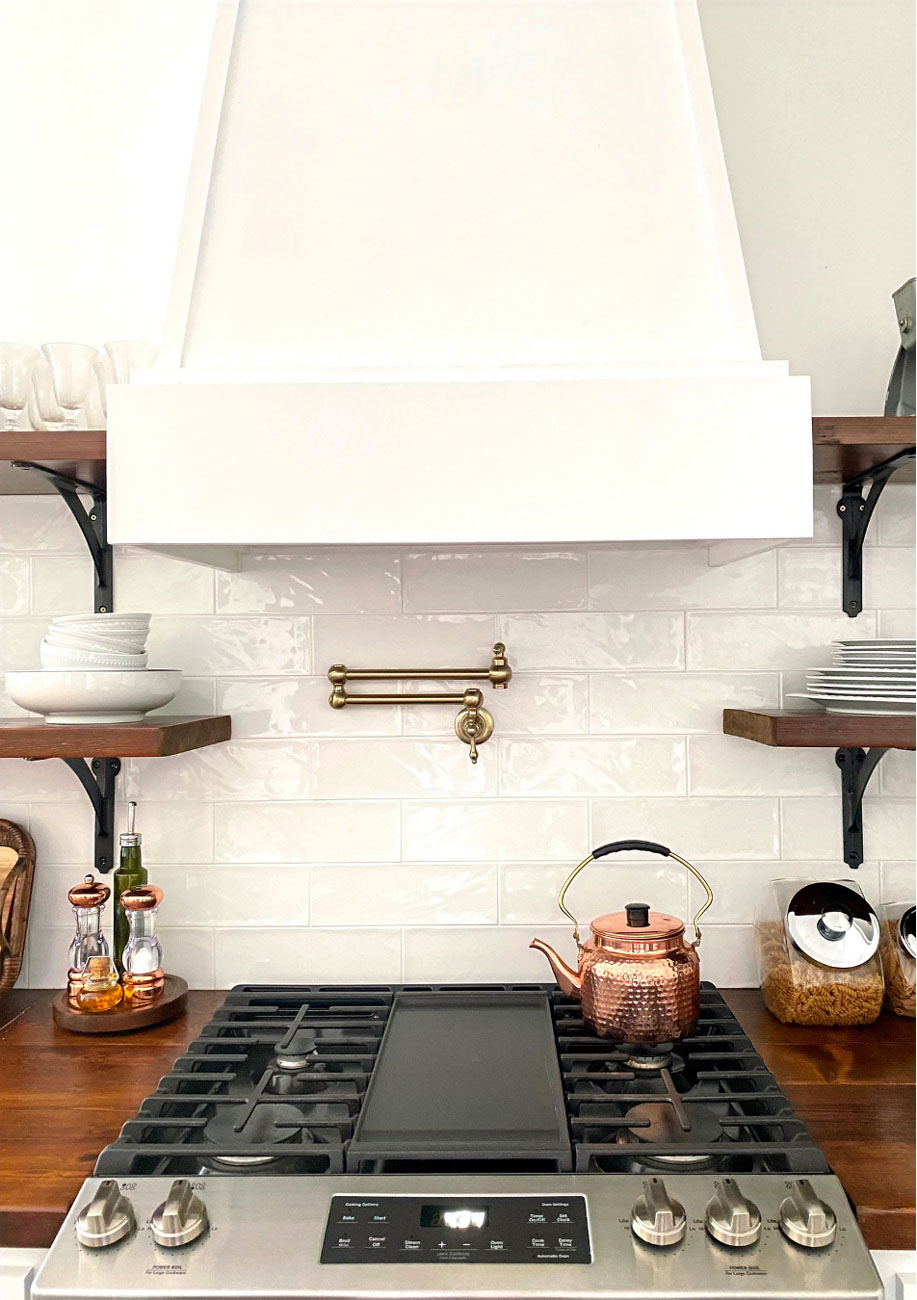
Credit: heatherhomes.net
Frequently Asked Questions
What Is A Pot Filler And Why Add It To Kitchen?
A pot filler is a wall-mounted faucet near the stove. It fills pots with water easily, saving trips to the sink. Adding one enhances kitchen convenience and efficiency by reducing spills and effort during cooking.
How To Install A Pot Filler Faucet Step-by-step?
First, locate plumbing near the stove for water supply. Turn off the water main before installation. Mount the pot filler on the wall, connect to water lines, and secure it tightly. Finally, test for leaks and proper water flow.
What Tools Are Needed To Add A Pot Filler?
You will need a drill, pipe wrench, adjustable wrench, pipe cutter, plumber’s tape, and mounting hardware. These tools help in drilling holes, tightening connections, and ensuring a secure, leak-free installation.
Can I Install A Pot Filler Without Professional Help?
Yes, if you have plumbing experience and proper tools, DIY installation is possible. However, hiring a professional ensures compliance with codes and prevents water damage risks.
Conclusion
Adding a pot filler can save time and effort in the kitchen. It brings water closer to your stove, making cooking easier. Installation needs careful planning and the right tools. A professional plumber can help if you are unsure. This simple upgrade improves your kitchen’s function and style.
Try it to enjoy a more convenient cooking space. Small changes can make a big difference in your daily routine. Consider adding a pot filler to boost your kitchen’s comfort.


