
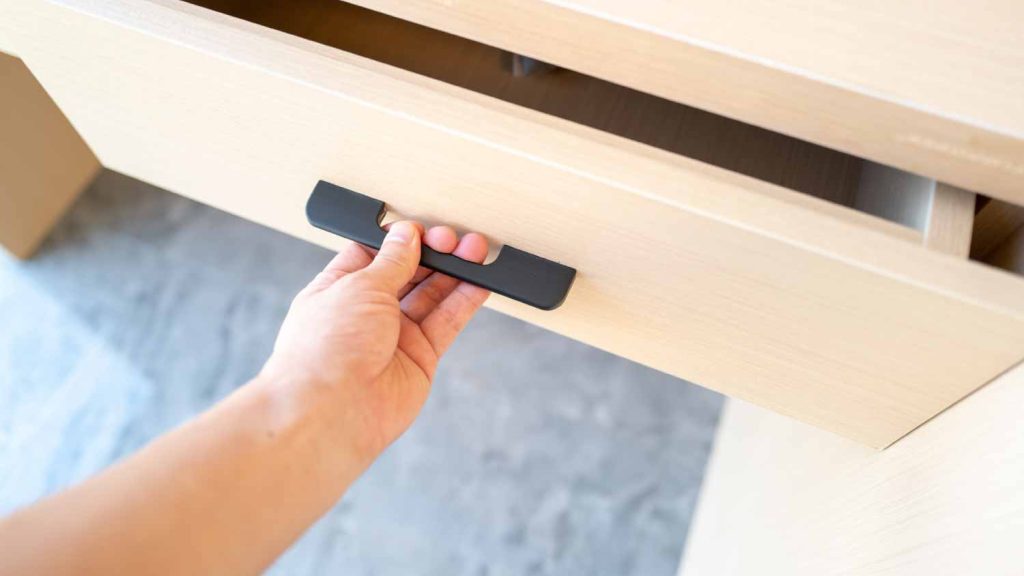
Are you tired of dealing with a loose or broken kitchen drawer front every time you reach for a spatula or your favorite seasoning? Fixing it might seem like a daunting task, but it’s simpler than you think.
Imagine the satisfaction of pulling open a sturdy drawer, smoothly gliding without any hiccups. In this guide, you’ll discover easy-to-follow steps on how to repair kitchen drawer front, saving you both time and money. With just a few tools and some basic know-how, you can transform your kitchen experience and restore the functionality of your cabinets.
Let’s dive in and get your kitchen running smoothly again!
Tools And Materials Needed
Fixing a kitchen drawer front needs the right tools and materials. Gathering these before you start saves time and effort.
This guide lists the basic items you need to repair a drawer front properly and safely.
Basic Tools
You will need some common hand tools for most drawer front repairs. These tools help you remove, adjust, and attach parts.
- Screwdriver set (flat and Phillips heads)
- Hammer
- Measuring tape or ruler
- Wood glue
- Clamps
- Putty knife
- Sandpaper (medium and fine grit)
Replacement Parts And Materials
Sometimes, the drawer front needs new parts. These materials help restore strength and appearance.
| Material | Purpose |
| Wood filler | Fill cracks or holes |
| Replacement screws | Secure loose parts |
| Touch-up paint or stain | Match drawer color |
| New drawer front (if needed) | Replace damaged front |
Safety Gear
Protect yourself during repair work. Safety gear keeps you safe from dust and injury.
- Safety glasses
- Dust mask
- Work gloves

Credit: m.youtube.com
Assessing The Damage
Before fixing a kitchen drawer front, you need to check the damage carefully. This helps you decide if you can repair it or if you must replace it.
Look closely at the drawer front to see what kind of problems it has. This step saves time and money during the repair process.
Types Of Drawer Front Damage
Drawer fronts can get damaged in several ways. Knowing the type of damage helps you choose the right fix.
- Scratches and dents:Surface marks that can be sanded or filled.
- Loose or broken joints:The parts of the drawer front may come apart.
- Water damage:Swelling or warping from moisture.
- Cracks or splits:Wood may crack due to age or impact.
- Peeling or chipped veneer:The outer layer may lift or fall off.
Determining Repair Vs Replacement
Decide if you should repair the drawer front or replace it. Some damages are easy to fix, while others need a new part.
| Damage Type | Repair | Replacement |
| Scratches and dents | Yes, with sanding and filling | No |
| Loose or broken joints | Yes, with glue and clamps | No |
| Water damage | Sometimes, if mild | Yes, if severe |
| Cracks or splits | Sometimes, with wood filler | Yes, if large |
| Peeling or chipped veneer | Yes, if small area | Yes, if large area |
Removing The Drawer Front
Fixing a kitchen drawer often starts with removing its front. This lets you work on the drawer without damage. Take your time to avoid breaking any parts.
Follow clear steps to remove the drawer front safely. This guide helps you do it the right way.
Safety Tips
Safety is important when removing the drawer front. Use the right tools and protect yourself. Keep your workspace clean and organized.
- Wear safety glasses to protect your eyes
- Use gloves to avoid splinters and cuts
- Work in a well-lit area
- Keep tools away from children
- Handle drawer parts carefully to prevent damage
Step-by-step Removal Process
Start by emptying the drawer. Then, remove screws or clips that hold the front piece. Carefully pull the drawer front away from the box.
- Take the drawer out of the cabinet
- Look under or inside the drawer for screws
- Use a screwdriver to remove all screws
- If clips hold the front, gently release them
- Pull the drawer front straight off
- Check for any nails or glue and remove them
Keep all screws and parts safe for reassembly. Clean the area before fixing or replacing the drawer front.

Credit: www.angi.com
Fixing Common Issues
Kitchen drawer fronts often get damaged from daily use. Fixing them keeps your kitchen looking nice.
Simple repairs can restore the drawer front without replacing it. This saves money and time.
Repairing Scratches And Dents
Light scratches and dents make drawer fronts look old. You can fix them with a few tools.
Use wood filler or wax sticks to fill scratches. Sand the area smooth after drying.
- Clean the surface before repair
- Apply wood filler or wax to scratches
- Let it dry fully
- Sand gently to smooth the surface
- Apply matching paint or stain
Gluing Loose Parts
Loose parts on a drawer front can cause it to wobble or fall apart. Use wood glue to fix them.
Apply glue to the loose joint and clamp it until dry. This strengthens the connection.
- Remove loose parts carefully
- Clean old glue or dirt
- Apply wood glue evenly
- Press parts together firmly
- Clamp or hold in place for hours
Filling Holes And Cracks
Holes and cracks weaken drawer fronts and let dirt inside. Filling them makes the drawer strong again.
Use wood filler or putty to fill holes. Smooth the surface and paint to match the drawer.
- Clean the damaged area
- Press wood filler into holes or cracks
- Let filler dry completely
- Sand the area smooth
- Paint or stain to match
Sanding And Smoothing Surfaces
Sanding and smoothing surfaces are key steps in fixing a kitchen drawer front. They prepare the wood for painting or staining. Proper sanding removes old finishes and rough spots.
Using the right tools and techniques makes the drawer look smooth and new. This helps the repair last longer and look clean.
Choosing The Right Sandpaper
Select sandpaper grit based on the damage and surface condition. Start with coarse grit to remove old paint or rough patches. Use finer grit to smooth the wood.
- 80-grit for heavy sanding and paint removal
- 120-grit for smoothing rough wood
- 220-grit for final finishing before painting
Sanding Techniques
Sanding by hand or with a power sander works well. Always sand in the direction of the wood grain. This prevents scratches that show after painting.
Keep the sanding motion even and light. Check your work often to avoid removing too much material.
Smoothing And Cleaning The Surface
After sanding, clean the drawer front to remove dust and debris. A tack cloth or damp rag works best. This step ensures paint or stain sticks well.
| Step | Action | Tip |
|---|---|---|
| 1 | Sand with coarse grit | Remove old finish |
| 2 | Sand with medium grit | Smooth rough areas |
| 3 | Sand with fine grit | Prepare for paint |
| 4 | Clean the surface | Use tack cloth |

Credit: www.reddit.com
Applying Paint Or Stain
Repairing a kitchen drawer front often needs a fresh coat of paint or stain. This step improves the drawer’s look and protects the wood.
Applying paint or stain correctly helps the finish last longer. It also makes the surface smooth and even.
Choosing The Right Finish
Pick a finish that suits your kitchen style and the drawer material. Paint gives a solid, colorful look. Stain shows the wood grain.
Consider how much use the drawer gets. Glossy finishes are easier to clean. Matte finishes hide scratches better.
- Use paint for bold colors and full coverage.
- Use stain to highlight natural wood patterns.
- Glossy finish for easy cleaning and shine.
- Matte finish for a soft, natural look.
Techniques For Even Coverage
Apply paint or stain in thin, even layers to avoid drips and streaks. Use smooth, long strokes in one direction.
Let each layer dry fully before adding the next. Sand lightly between coats for a smooth finish.
- Use a high-quality brush or foam applicator.
- Work in a well-lit and dust-free area.
- Apply thin coats instead of thick ones.
- Sand lightly with fine-grit sandpaper between coats.
- Follow the drying time on the product label.
Reattaching The Drawer Front
Fixing a kitchen drawer front helps keep your cabinets looking neat. It also keeps the drawer working well.
This guide shows how to put the drawer front back on the drawer securely.
Aligning And Securing
First, line up the drawer front with the drawer box. Make sure the edges match evenly.
- Hold the drawer front steady against the drawer box.
- Check that the gaps between the drawer front and cabinet are even.
- Use clamps to keep the drawer front in place if needed.
- Insert screws or nails into the drawer front through the inside of the drawer box.
- Tighten all fasteners until the front feels secure.
Testing Functionality
After attaching the drawer front, test how it works. Open and close the drawer several times.
| Test | What to Check | Fix If Needed |
| Open Drawer | Drawer moves smoothly without sticking | Adjust screws or sand edges |
| Close Drawer | Drawer front sits flush with cabinet | Tighten fasteners or reposition front |
| Drawer Alignment | Even gaps on all sides | Realign and resecure drawer front |
Preventing Future Damage
Repairing a kitchen drawer front is just the first step. To keep it looking good, you must prevent new damage. Small efforts can extend the life of your drawers.
Here are key ways to protect your drawers from future harm. Follow these tips to keep your kitchen neat and functional.
Regular Maintenance Tips
Check your kitchen drawers often for signs of wear. Cleaning and tightening help avoid bigger problems later.
- Clean drawer fronts with a soft cloth and mild soap.
- Inspect hinges and screws monthly to ensure they are tight.
- Lubricate drawer slides to keep them moving smoothly.
- Remove debris inside drawers that can scratch or damage surfaces.
- Handle drawers gently to avoid stress on the front panel.
Protective Measures
Use protective tools and methods to keep drawers safe from damage and moisture.
| Protective Measure | Purpose | How to Apply |
| Drawer Liners | Prevent scratches inside drawers | Place soft liners on drawer bottoms before use |
| Water-Resistant Sealant | Protect wood from moisture damage | Apply a clear sealant on drawer fronts and edges yearly |
| Soft-Close Hinges | Reduce impact damage when closing | Install hinges that close slowly and softly |
| Handle Covers | Protect handles from wear and tear | Use silicone covers or replace worn handles promptly |
Frequently Asked Questions
How Do I Fix A Loose Kitchen Drawer Front?
To fix a loose drawer front, tighten or replace the screws holding it. If screws are stripped, use wood filler or larger screws for better grip.
What Tools Are Needed To Repair Drawer Fronts?
You need a screwdriver, wood glue, clamps, wood filler, sandpaper, and replacement screws. These tools help you secure and restore the drawer front properly.
Can I Repair A Cracked Kitchen Drawer Front?
Yes, use wood glue to bond the crack. Clamp it firmly until dry, then sand and repaint for a smooth finish.
How Do I Align A Misaligned Drawer Front?
Loosen the screws slightly, adjust the drawer front to align properly, then tighten screws. Check alignment by opening and closing the drawer smoothly.
Conclusion
Repairing a kitchen drawer front is simple with the right steps. Take your time and follow each instruction carefully. Small fixes can make your kitchen look fresh again. Use basic tools you already have at home. This task saves money and adds value to your space.
Try it yourself and enjoy a neat, working drawer. You will feel proud of your handiwork. Keep your kitchen organized and functional with easy repairs like this.



