
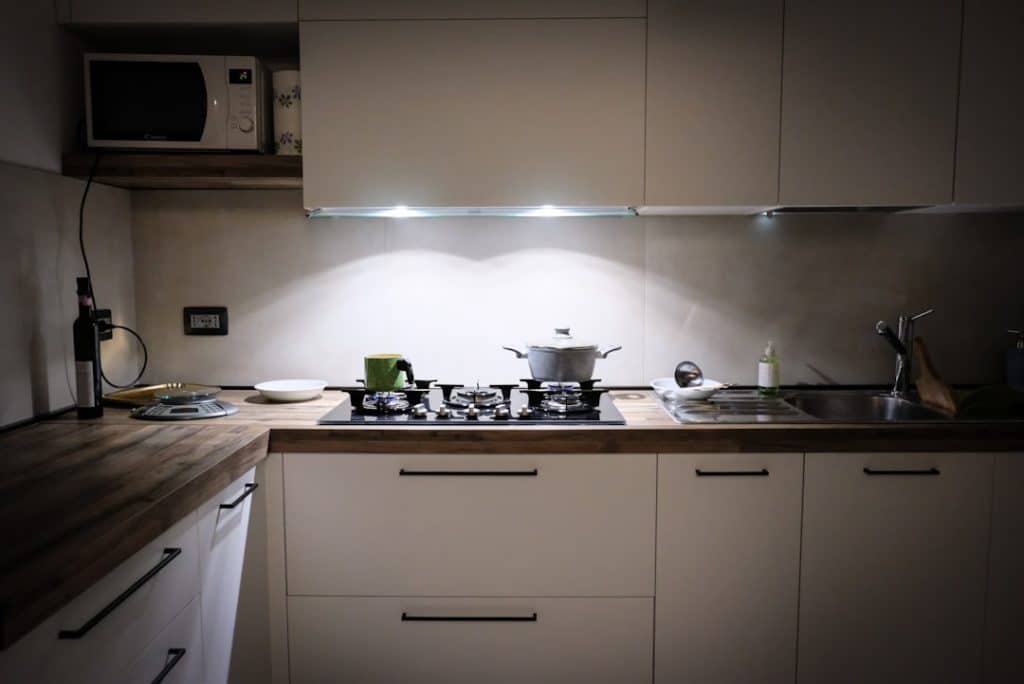
Imagine transforming your kitchen from a simple workspace into a captivating space that exudes style and elegance. Installing pot lights in your kitchen cabinets can do just that!
These sleek lights not only brighten up your kitchen, making it more functional, but also add a touch of modern sophistication that enhances its overall ambiance. You might think this is a task only for the pros, but with the right guidance, you can do it yourself.
If you’re wondering How to Install Pot Lights in Kitchen Cabinets, the process is simpler than you may expect. In this guide, you’ll discover easy steps to install pot lights, turning your kitchen into a warm, inviting haven. Ready to shed some light on your kitchen cabinets? Let’s dive in!
Choosing Pot Lights
Pot lights add focused illumination to kitchen cabinets. Picking the right ones helps brighten your workspace. It also improves the room’s style and function.
Consider the types, brightness, and energy use before installing pot lights. These factors affect your lighting quality and costs.
Types Of Pot Lights
There are several pot light types for kitchens. Choose based on size, style, and installation needs.
- Recessed Downlights: Fit flush with the ceiling for a clean look.
- Adjustable or Gimbal Lights: Can be tilted to highlight specific areas.
- LED Modules: Compact and energy-saving with long life.
- Surface-Mounted Lights: Easy to install on cabinet surfaces.
Brightness And Color Temperature
Brightness is measured in lumens. Choose enough light to see clearly but avoid glare.
| Brightness (Lumens) | Suggested Use | Color Temperature (Kelvin) | Effect |
|---|---|---|---|
| 300-500 | Task lighting in cabinets | 2700K – 3000K | Warm, cozy light |
| 500-800 | General cabinet lighting | 3500K – 4100K | Neutral, bright light |
| 800+ | Highlighting or display lighting | 5000K – 6500K | Cool, daylight-like light |
Energy Efficiency Options
Energy-efficient pot lights save electricity and lower bills. Choose options that last longer and use less power.
- LED Pot Lights: Use 75% less energy than halogen bulbs.
- Smart Lighting: Can be dimmed or scheduled to reduce use.
- Low-Voltage Lights: Use less power and reduce heat.
Gathering Tools And Materials
Installing pot lights in kitchen cabinets needs careful planning. You must have the right tools and parts ready before starting.
This guide covers the main tools, safety gear, and lighting components you need for the job.
Required Tools
Using the correct tools makes the installation easier and safer. You will need basic electrical and carpentry tools.
- Drill with hole saw attachment
- Wire stripper and cutter
- Voltage tester
- Screwdriver set
- Measuring tape
- Fish tape or wire puller
- Utility knife
Safety Gear
Safety is very important when working with electrical wiring and power tools. Protect yourself with proper gear.
| Gear | Purpose |
|---|---|
| Insulated gloves | Prevent electrical shock |
| Safety goggles | Protect eyes from dust and debris |
| Dust mask | Keep dust out of lungs |
| Work boots | Protect feet from injury |
Lighting Components
Choosing the right lighting parts ensures good light quality and easy installation. Check compatibility with your cabinet style.
- Pot light fixtures designed for cabinets
- LED bulbs with correct wattage
- Low-voltage transformers if needed
- Electrical wire rated for lighting
- Wire connectors and junction boxes
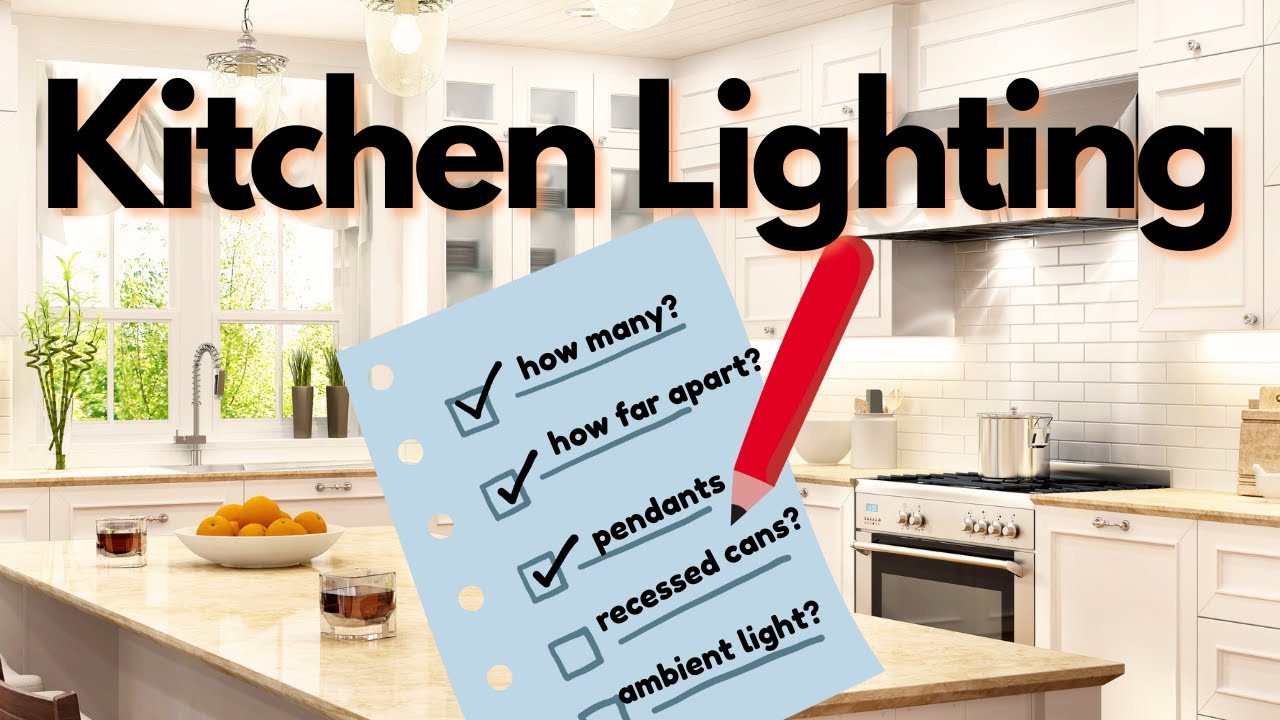
Planning Light Placement
Installing pot lights in kitchen cabinets brightens work areas and adds style. Proper planning helps place lights for best effect.
Good light placement ensures even lighting and avoids shadows. Measure and plan before installing the lights.
Measuring Cabinet Dimensions
Measure the height, width, and depth of each cabinet. This helps decide how many lights fit inside.
Note any shelves or dividers that may block light. Measure the space where you want to install the pot lights.
- Use a tape measure for accuracy
- Write down all cabinet sizes
- Measure inside and outside surfaces
Spacing And Positioning
Space lights evenly to avoid dark spots. Keep lights away from cabinet edges to prevent glare.
Place lights near work areas like sinks or counters. Aim for balanced lighting across all cabinets.
- Space lights about 12 to 18 inches apart
- Position lights toward countertop fronts
- Adjust spacing based on cabinet size
Power Source Location
Find a nearby power source for easy wiring. Plan light placement close to existing electrical outlets if possible.
Consider using a junction box inside the cabinet. Check local electrical codes to ensure safety.
- Locate power near the cabinet top or back wall
- Use extension cords only if safe and allowed
- Hire an electrician if unsure about wiring
Preparing Cabinets
Installing pot lights in kitchen cabinets needs careful preparation. Preparing the cabinets well makes the installation smooth and safe.
Start by checking the cabinet space and tools. This helps avoid mistakes during the work.
Marking Drill Points
Mark the exact spots where you will drill holes for the pot lights. Use a pencil or marker for clear marks.
Measure carefully to keep lights evenly spaced. Double-check measurements before marking.
- Use a tape measure to find the center of each cabinet section
- Mark spots where wires will go through
- Keep marks small and precise
Cutting Holes
Cut holes in the cabinet at the marked points. Use the right size hole saw or drill bit for your pot lights.
Cut slowly to avoid splintering the wood. Support the cabinet panel from behind if possible.
- Wear safety glasses to protect your eyes
- Use a drill with a hole saw attachment
- Cut straight and steady for clean holes
Clearing Debris
Remove all dust and wood pieces from the holes and cabinet surfaces. Clean areas help lights fit properly.
Use a vacuum or a soft brush to clear debris. Check for any leftover splinters inside the holes.
- Vacuum inside and around the holes
- Wipe surfaces with a damp cloth
- Ensure no debris blocks wiring paths
Wiring The Lights
Wiring pot lights in kitchen cabinets requires careful planning and safety. It involves running cables, connecting to power, and using wire connectors.
Follow each step carefully to ensure your lights work well and are safe to use.
Running Electrical Cables
Start by planning the path for electrical cables inside the cabinets. Use a drill to make holes for the cables to pass through.
- Measure the distance between each light fixture.
- Cut the electrical cable to the needed length.
- Feed the cable through the drilled holes carefully.
- Secure the cable with clips to avoid loose wires.
Connecting To Power
Connect the cables to your power source safely. Turn off the main power before starting any connections.
- Find a nearby power supply or switch box.
- Strip the cable ends to expose the wires.
- Connect the black (hot) wire to the power source’s black wire.
- Connect the white (neutral) wire to the power source’s white wire.
- Attach the ground wire to the grounding screw or wire.
- Use electrical tape to secure the connections.
Using Wire Connectors
Wire connectors join wires and keep them safe inside the cabinet.
| Connector Type | Use | Tips |
| Twist-on (wire nuts) | Connects two or more wires | Twist wires tightly before screwing on |
| Push-in connectors | Quick connections without twisting | Ensure wires are fully inserted |
| Crimp connectors | Permanent connections | Use a crimping tool for secure fit |
:strip_icc()/BHGMargauxChristiansonHomeB_1659_preview-7a67d3ec45be4af2ba99ace510b7707f.jpg)
Credit: www.bhg.com
Installing Pot Lights
Pot lights add bright, focused light to your kitchen cabinets. Installing them can improve your workspace.
Follow these steps to place pot lights safely and correctly in your kitchen cabinets.
Inserting Light Fixtures
First, cut holes in the cabinet bottom to fit your pot lights. Check the size before cutting.
Push the light fixture into the hole until it fits snugly. Make sure it is flush with the surface.
Securing Fixtures
Use the clips or screws that came with your pot lights to hold them in place. Tighten them firmly.
Check that the fixtures do not move or fall out. Secure wiring inside the cabinet to avoid damage.
- Attach mounting clips to the fixture
- Press fixture into hole
- Tighten screws or clips
- Organize and secure wires
Testing Connections
Turn on the power and switch to test your pot lights. Make sure all lights turn on without flickering.
If lights do not work, check wire connections and power source. Fix any loose wires before finalizing.
Final Adjustments
After installing pot lights in your kitchen cabinets, it is important to make final changes. These changes help the lights work better and look great.
Check the lights carefully and make sure everything is safe and clean before using the kitchen.
Adjusting Light Angles
Adjust the angle of each pot light to highlight your kitchen features. Tilt lights to focus on countertops or decor.
Try different angles to reduce shadows and make your kitchen look brighter and more inviting.
- Point lights toward work areas for better visibility
- Avoid shining lights directly into your eyes
- Use adjustable fixtures for flexible lighting
Installing Dimmers Or Switches
Add dimmers or switches to control your pot lights easily. This helps you change the light level for different needs.
Install dimmers to save energy and create a soft mood in the kitchen. Make sure switches are easy to reach.
- Turn lights on and off without fuss
- Adjust brightness for cooking or relaxing
- Use compatible dimmers with your light bulbs
Cleaning Up Workspace
Clean your workspace after installing the lights. Remove all tools and debris to keep the kitchen safe and neat.
Wipe down cabinet surfaces and check for any dust on the light covers. Clean lights shine brighter and last longer.
- Pick up screws, wires, and packaging
- Use a soft cloth to clean light covers
- Dispose of waste properly
Credit: www.youtube.com
Safety Tips And Maintenance
Installing pot lights in kitchen cabinets adds style and function. Keeping them safe and well-maintained is important. This guide covers key tips for safety and upkeep.
Follow these simple steps to avoid hazards, replace bulbs safely, and inspect your lights regularly.
Avoiding Electrical Hazards
Turn off the power before working on pot lights. Use a voltage tester to confirm no electricity is flowing. Avoid overloading circuits and use the right wattage bulbs.
- Always switch off the breaker for the circuit
- Wear insulated gloves for extra protection
- Do not touch wires with wet hands
- Use bulbs that match the fixture’s specifications
Replacing Bulbs
Replace bulbs carefully to avoid damaging the fixture or hurting yourself. Let bulbs cool before handling. Use a soft cloth to grip the bulb and avoid fingerprints.
| Bulb Type | Recommended Wattage | Notes |
| LED | 6-12 watts | Energy efficient, lasts long |
| Halogen | 20-35 watts | Brighter but hotter |
| Incandescent | 40 watts max | Less efficient, short life |
Regular Inspections
Check your pot lights every few months. Look for flickering, dimming, or unusual heat. Clean dust and debris from fixtures to keep them bright and safe.
- Inspect wiring for damage or wear
- Clean lenses and bulbs gently with a dry cloth
- Ensure fixtures are secure and not loose
- Replace faulty parts immediately

Credit: www.angi.com
Frequently Asked Questions
How Do I Choose The Right Pot Lights For Cabinets?
Choose pot lights with the right size and brightness for your cabinets. LED lights are energy-efficient and long-lasting. Consider dimmable options for adjustable lighting. Ensure the color temperature complements your kitchen’s style and enhances visibility.
What Tools Are Needed To Install Pot Lights In Cabinets?
You will need a drill, hole saw, wire stripper, screwdriver, voltage tester, and fish tape. Safety gear like gloves and goggles is essential. These tools help create holes, connect wiring, and secure the lights safely.
Can I Install Pot Lights Without Professional Help?
Yes, if you have basic electrical knowledge and follow safety guidelines. Turn off the power before installation. Use proper tools and read instructions carefully. For complex wiring, consult a licensed electrician to avoid hazards.
How Do I Wire Pot Lights In Kitchen Cabinets Safely?
Turn off the circuit breaker before wiring. Connect the black (hot) wires, white (neutral) wires, and ground wires securely. Use wire nuts to join wires and electrical tape for insulation. Test connections with a voltage tester before restoring power.
Conclusion
Installing pot lights in kitchen cabinets brightens your cooking space. It also adds style and makes finding items easier. Take time to measure and plan before starting. Use the right tools for safe and neat work. Test the lights once installed to ensure they work well.
Enjoy the warm, focused light that helps in daily kitchen tasks. Small changes like this can improve your home’s look and feel. Start your project with confidence and watch your kitchen shine.


