
Looking to add style and save space in your kitchen? How to Hang Pots above Kitchen Island is a smart and eye-catching solution.
It keeps your cookware within easy reach and turns your kitchen into a more organized, inviting space. If you’ve ever wondered how to hang pots safely and beautifully, you’re in the right place. You’ll discover simple steps and practical tips to transform your kitchen island into a functional centerpiece.
Keep reading to find out how to make your kitchen both stylish and efficient!
Choosing The Right Pot Rack
Hanging pots above your kitchen island saves space and adds style. Picking the right pot rack is key to making this work well.
The right rack holds your pots safely and matches your kitchen’s look. Think about size, material, and type before buying.
Types Of Pot Racks
Pot racks come in different styles. Choose one that fits your kitchen size and your cooking needs.
- Ceiling-mounted racks: Hang from the ceiling above the island. They save space and look open.
- Wall-mounted racks: Attach to the wall near the island. They keep pots reachable but free up ceiling space.
- Freestanding racks: Stand on the floor near the island. They do not require installation but take up floor space.
Material And Finish Options
Materials affect the rack’s strength and style. Pick a finish that matches your kitchen decor and is easy to clean.
- Stainless steel: Strong, modern, and rust-resistant. Fits many kitchen styles.
- Wrought iron: Classic look with strong support. Often comes in black or bronze finishes.
- Wood: Warm and natural feel. Usually mixed with metal for hanging hooks.
- Chrome: Shiny and sleek. Resists rust but needs regular cleaning.
Size And Capacity Considerations
Measure your kitchen island and count your pots before choosing a rack. The rack must hold all pots safely.
- Check the rack’s weight limit to support your pots.
- Choose a size that fits above the island without blocking light or movement.
- Allow space between hooks to avoid crowded pots.
- Consider future additions if you plan to buy more pots.

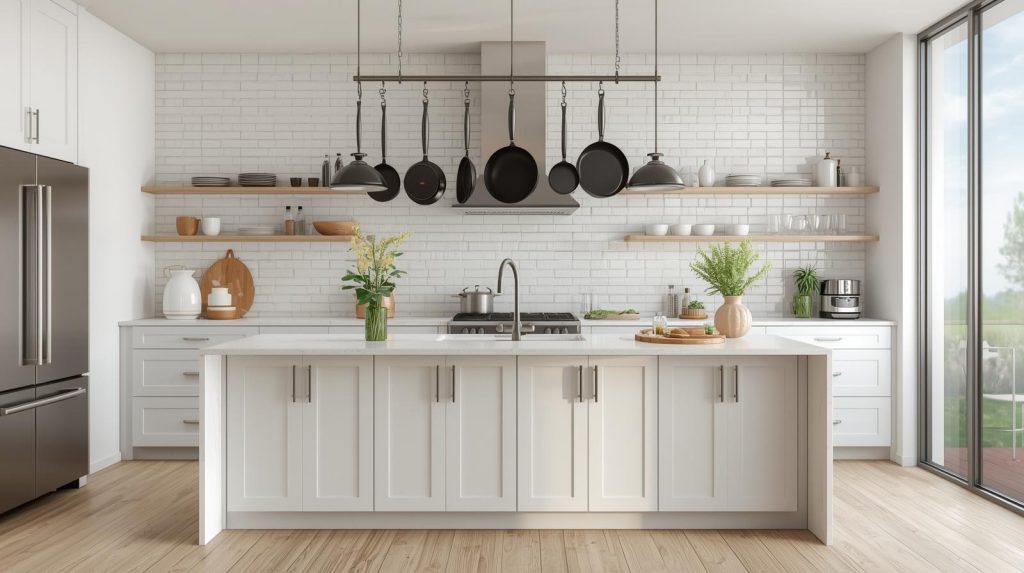
Credit: annmorrislighting.com
Measuring Your Space
Hanging pots above your kitchen island adds style and convenience. Proper measurement is key to a balanced look and safe setup.
Take your time to measure carefully. This guide helps you find the right dimensions and heights for your space.
Assessing Kitchen Island Dimensions
Start by measuring the length and width of your kitchen island. These numbers tell you how much space you have for hanging pots.
- Measure the island’s length from one end to the other.
- Measure the width across the island.
- Note any overhangs or seating areas.
- Keep clearance space for walking around the island.
Determining Ceiling Height
Measure from the floor to the ceiling above your kitchen island. This height affects where you hang the pots.
| Ceiling Height | Recommended Hanging Length |
|---|---|
| 8 feet (96 inches) | 24 to 30 inches from ceiling |
| 9 feet (108 inches) | 30 to 36 inches from ceiling |
| 10 feet (120 inches) or higher | 36 to 42 inches from ceiling |
Finding The Ideal Hanging Height
The pots should hang at a height that is easy to reach but not in the way. Use these tips to find the best spot.
- Measure from the floor to where pots will hang.
- Keep at least 30 to 36 inches above the island surface.
- Make sure pots do not block sight lines or lighting.
- Adjust height based on your kitchen’s layout and ceiling height.
Tools And Materials Needed
Hanging pots above a kitchen island adds charm and saves space. Before you begin, gather all necessary tools and materials. This helps the job go smoothly and safely.
Below are the key items you will need. They are grouped into essential tools, hardware and anchors, and safety equipment.
Essential Tools
These tools help you measure, drill, and hang the pots properly. Make sure they are in good condition before starting.
- Measuring tape to mark the hanging spots
- Drill with bits suitable for your ceiling type
- Screwdriver for tightening screws
- Stud finder to locate ceiling joists
- Level to ensure the rack hangs straight
- Pencil for marking positions
Hardware And Anchors
Choosing the right hardware keeps your pots secure. Use anchors that match your ceiling material and weight needs.
| Hardware | Use | Recommended For |
|---|---|---|
| Heavy-duty ceiling hooks | Hang pots and racks | Wood joists |
| Toggle bolts | Secure hooks in drywall ceilings | Drywall or plaster ceilings |
| Expansion anchors | Hold screws firmly | Concrete or brick ceilings |
| Eye bolts | Attach hanging chains or wires | Strong ceiling beams |
Safety Equipment
Protect yourself during installation with safety gear. This prevents injuries and makes the task easier.
- Safety goggles to shield your eyes from dust
- Gloves to protect your hands when drilling
- Dust mask if drilling into plaster or drywall
- Step ladder to reach the ceiling safely
- Hearing protection if using loud power tools
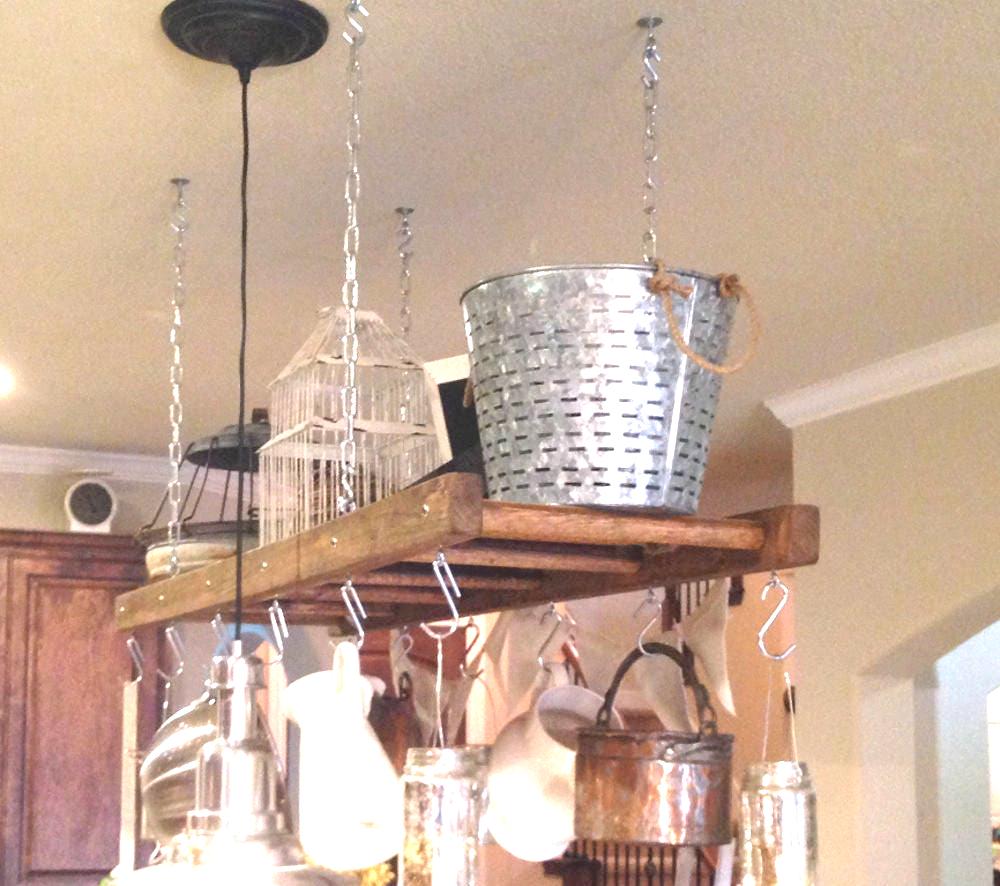
Credit: www.etsy.com
Installation Steps
Hanging pots above your kitchen island adds style and saves space. The process requires careful planning and secure mounting.
Follow these steps to install your pot rack safely and correctly.
Locating Ceiling Joists
Ceiling joists are the wooden beams that support your ceiling. You must attach the pot rack to these joists for safety.
Use a stud finder to find the joists above your kitchen island. Mark their locations clearly on the ceiling.
Marking Drill Points
Once you locate the joists, decide where to place the pot rack hooks. Measure the rack size and center it over the island.
Mark drill points on the ceiling where the screws will go. Make sure the points align with the joists for strong support.
- Measure the pot rack’s width and length
- Find the center point above the island
- Mark drill points over the joists
- Double-check measurements before drilling
Mounting The Pot Rack
Drill pilot holes at the marked points to prevent wood splitting. Use a drill bit smaller than your screws.
Attach the mounting hooks or brackets using strong screws. Tighten them well so the rack holds weight safely.
- Drill pilot holes carefully
- Use screws suitable for wood joists
- Secure hooks or brackets tightly
- Check for stability before hanging pots
Securing Hooks And Chains
Attach chains or hooks to the mounted brackets. Adjust chain length so the rack hangs at a comfortable height.
Double-check all connections. Make sure the hooks and chains are secure and can hold the weight of your pots.
- Connect chains or hooks to the brackets
- Adjust height as needed
- Tighten all connections firmly
- Test rack stability before use
Arranging Pots And Pans
Hanging pots above a kitchen island saves space and looks great. Proper arrangement helps keep your kitchen neat and easy to use.
Organizing pots and pans well makes cooking faster. You can find what you need quickly and keep your kitchen safe.
Organizing By Size And Weight
Place heavier pots close to the ceiling or near the hooks that hold more weight. Lighter pans can hang on thinner hooks or farther away.
Group similar sizes together. Keep large pots in one area and smaller pans in another to make the setup balanced.
- Heavy pots near strong hooks
- Light pans on smaller hooks
- Large pots grouped together
- Small pans arranged by size
Maximizing Accessibility
Hang your most-used pots within easy reach. Place items you use less often higher up or at the ends.
Make sure there is space between pots. This helps you grab one pot without moving others.
- Keep daily-use pots at arm level
- Store seasonal pots higher up
- Leave space between hanging items
- Arrange by how often you cook
Creating Visual Appeal
Use matching or similar pots for a clean look. Mix colors and finishes carefully to avoid clutter.
Arrange pots by shape or style. You can create patterns or lines that look neat and organized.
- Choose matching pot sets
- Group by color or finish
- Align pots in straight lines
- Use symmetry to create balance
Maintenance Tips
Hanging pots above your kitchen island looks great and saves space. Keeping the pot rack clean and safe is important. Regular care helps your kitchen stay organized and neat.
By following tips on How to Hang Pots above Kitchen Island, you can maintain your pot rack effectively. Simple steps ensure your pots remain easy to reach, your kitchen stays safe, and your space continues to look stylish and functional.
Cleaning The Pot Rack
Dust and grease can build up on the pot rack. Clean it often to keep it shiny and strong. Use a soft cloth and mild soap. Avoid harsh chemicals that may damage the finish.
- Wipe down the rack weekly
- Remove pots before cleaning
- Dry the rack to stop rust
- Check hooks for dirt and clean them
Checking For Stability
Make sure the pot rack is secure. Check the hooks and screws monthly. Tighten any loose parts to avoid accidents. A stable rack protects your pots and your family.
- Test the rack by gently pulling
- Look for any bending or damage
- Tighten screws with a screwdriver
- Replace worn hooks or parts
Updating Your Storage Setup
As your kitchen changes, update your pot rack setup. Add or remove hooks to fit new pots. Keep your storage space organized and easy to use.
- Group pots by size or use
- Use extra hooks for lids or utensils
- Clear unused pots to save space
- Adjust hook positions for balance
Design Ideas And Inspiration
Hanging pots above your kitchen island adds style and saves space. It creates a focal point and makes your kitchen feel cozy.
Below are ideas to help you choose the best look for your kitchen. Each style offers a unique way to hang pots with charm and function.
Modern And Minimalist Styles
Modern kitchens use clean lines and simple forms. Choose sleek metal racks or slim rods to hang pots. Use stainless steel or black finishes for a sharp look.
Keep the setup neat by hanging only a few pots. Arrange them by size or color for easy access and a tidy appearance.
Rustic And Vintage Looks
Rustic kitchens feel warm and lived-in. Use wooden beams or wrought iron hooks to hang pots. Copper or cast iron pots add vintage charm.
- Use reclaimed wood for the rack
- Choose pots with patina or wear
- Add antique-style chains or hooks
- Mix different pot sizes and shapes
Incorporating Lighting
Lighting can highlight your hanging pots and create mood. Use spotlights or LED strips above or under the rack.
| Lighting Type | Effect | Best Use |
| Spotlights | Focus on pots | Modern kitchens |
| LED Strips | Soft glow | Rustic and vintage |
| Pendant Lights | Bright and decorative | All styles |

Credit: www.amazon.com
Frequently Asked Questions
How High Should Pots Hang Above Kitchen Island?
Pots should hang 28 to 34 inches above the island surface. This height allows easy reach and prevents head bumps. Adjust based on ceiling height and personal comfort. Proper height ensures safety and functional kitchen space.
What Materials Are Best For Hanging Kitchen Pots?
Stainless steel and wrought iron are ideal materials for hanging pots. They offer durability, rust resistance, and strong support. Choose materials matching your kitchen style for a cohesive look. Proper material ensures long-lasting functionality.
Can I Hang Pots Without Ceiling Anchors?
Hanging pots without ceiling anchors is not recommended. Anchors provide essential support and prevent accidents. Use ceiling joists or beams for secure installation. Proper mounting ensures safety and stability for heavy pots.
How To Organize Pots On A Hanging Rack Above Island?
Arrange pots by size and frequency of use on the rack. Hang larger pots in the center and smaller ones on the edges. This setup maximizes space and accessibility. Organizing efficiently keeps your kitchen tidy and functional.
Conclusion
Creating a stylish kitchen is easy with hanging pots. It saves space and adds charm. Follow the steps to hang pots securely. Choose strong hooks and sturdy beams. Make sure everything is balanced. Measure carefully to avoid mistakes. Keep safety in mind.
Enjoy a tidy and attractive kitchen island. Impress guests with your cooking space. Organize pots for easy access. Cooking becomes more fun and efficient. A well-organized kitchen boosts your mood. Happy cooking!


