
Imagine this: You’re preparing a delicious meal using your trusty Kitchen Aid pots. Everything is going great until you notice the stubborn stains on the sides.
You’ve tried scrubbing, soaking, and even a few secret remedies from grandma’s book. Yet, those marks remain. If this sounds familiar, you’re not alone. Learning How to Clean Sides of Kitchen Aid Pots can be a challenge—but don’t worry, there are effective solutions to restore their shine.
This guide is here to help you tackle those pesky stains with ease. By the end, you’ll have pots that look brand new and cooking sessions that are stress-free. Let’s dive into the secrets of achieving spotless pots, so you can focus on what truly matters—crafting those amazing dishes that bring joy to your table.
Preparing Your Kitchen Aid Pots
Cleaning the sides of your Kitchen Aid pots is important to keep them looking good. Proper preparation helps make cleaning easier.
Start by getting everything ready. This way, you can clean your pots quickly and without missing any spots.
Gathering Cleaning Supplies
Collect the right tools before you begin cleaning your pots. Having all supplies at hand saves time and effort.
- Mild dish soap
- Soft sponge or cloth
- Warm water
- Old toothbrush or small brush
- Microfiber towel for drying
Removing Loose Debris
Before washing, remove any loose food or dirt from the sides of the pots. This prevents scratching during cleaning.
| Method | Details |
|---|---|
| Rinse with warm water | Hold the pot under running water to wash away crumbs and dirt. |
| Brush gently | Use a soft brush to remove stuck-on particles without damaging the pot. |
| Wipe with cloth | Use a damp cloth to clean any remaining spots before washing. |

Credit: www.reddit.com
Cleaning Techniques For Pot Sides
Keeping the sides of your Kitchen Aid pots clean is important for maintaining their look and function.
Use simple methods to remove stains and food residue without damaging the pot surface.
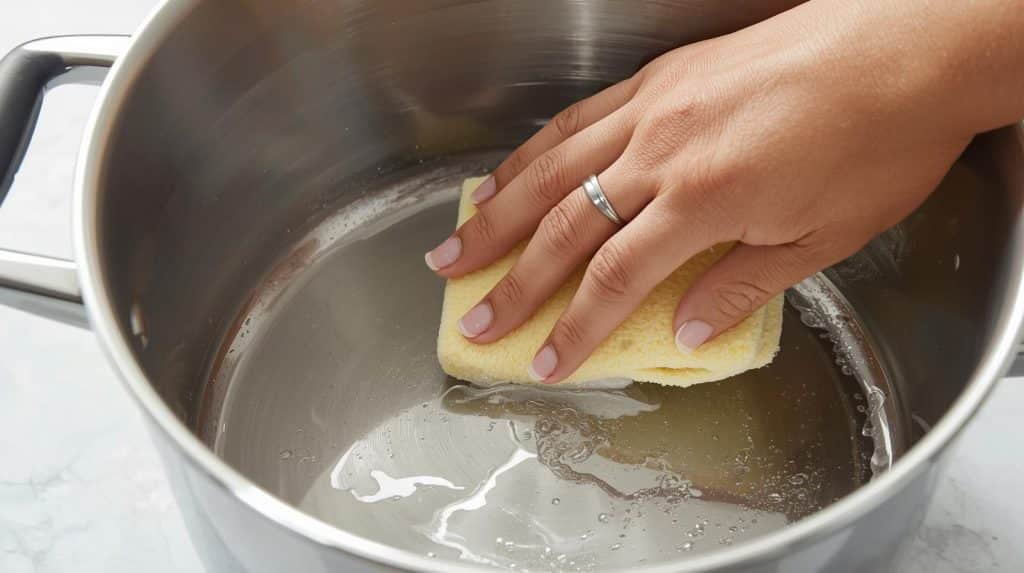
Using Warm Soapy Water
Warm soapy water is the easiest way to clean your pot sides daily. It helps loosen grease and stuck food.
- Fill the sink with warm water and add dish soap.
- Use a soft cloth or sponge to wipe the pot sides gently.
- Rinse thoroughly with clean water to remove soap.
- Dry with a soft towel to prevent water spots.
Applying Baking Soda Paste
Baking soda paste removes tough stains and burnt spots on pot sides safely.
Mix baking soda with water to make a thick paste. Apply it to the pot sides and let it sit for 15 minutes. Then scrub gently.
| Ingredient | Amount |
|---|---|
| Baking Soda | 2 tablespoons |
| Water | 1 tablespoon |
Scrubbing With A Soft Sponge
Use a soft sponge to scrub the pot sides without scratching the surface.
- Choose a sponge that is gentle but effective.
- Dip the sponge in warm soapy water or baking soda paste.
- Rub the pot sides in circular motions to remove dirt.
- Rinse and dry the pot after cleaning.
Dealing With Stubborn Stains
Cleaning the sides of Kitchen Aid pots can be tough when stains stick hard. Stubborn marks need special care to come off.
Using natural and safe cleaning methods helps protect your pots. Here are easy ways to remove tough stains.
Vinegar Soak Method
Vinegar is great for loosening stuck-on stains. Its acidity breaks down grease and burnt food.
Fill the pot with equal parts water and white vinegar. Let it soak for 30 minutes to an hour.
- Mix 1 cup vinegar with 1 cup water
- Pour into the pot to cover stains
- Soak for 30 to 60 minutes
- Scrub gently with a soft sponge
- Rinse with warm water and dry
Lemon Juice Treatment
Lemon juice works well on light stains and adds a fresh smell. Its natural acids help remove discoloration.
Apply lemon juice directly to the stain. Let it sit for 15 to 20 minutes before scrubbing.
- Cut a lemon in half
- Rub the juice on the stained areas
- Leave it for 15 to 20 minutes
- Scrub softly with a sponge or cloth
- Rinse and dry the pot
Commercial Cleaner Options
Some commercial cleaners work well on tough stains. Choose ones safe for Kitchen Aid pots to avoid damage.
Follow the cleaner’s instructions carefully. Use gloves and keep the area ventilated for safety.
- Pick cleaners marked safe for cookware
- Apply cleaner on the stained area
- Let it sit for the time advised
- Scrub gently with a sponge
- Rinse thoroughly and dry

Credit: blog.blueapron.com
Maintaining The Shine
Keeping the sides of your Kitchen Aid pots shiny makes them look new. Clean pots also last longer and stay safe to use.
Simple care steps help keep the shine on your pots. Use gentle cleaning and polishing to avoid damage.
Polishing With Olive Oil
Olive oil is a natural way to polish your pots. It adds shine and protects the surface from drying out.
Apply a small amount of olive oil to a soft cloth. Rub the sides of the pot in a circular motion for best results.
- Use extra virgin olive oil for better shine
- Apply oil sparingly to avoid sticky residue
- Buff with a dry cloth after applying oil
Regular Cleaning Schedule
Clean your Kitchen Aid pots often to keep them bright and shiny. A regular cleaning routine stops stains and buildup.
Wash pots with warm soapy water after each use. Dry them fully to prevent water spots and rust.
- Use a soft sponge to avoid scratches
- Avoid harsh chemicals that damage the finish
- Dry pots with a clean towel right after washing
- Polish once a week to maintain shine
Avoiding Damage During Cleaning
Cleaning the sides of Kitchen Aid pots needs care. Using wrong tools or chemicals can cause damage.
Follow simple steps to keep your pots safe and clean. Avoid scratches and harmful effects during cleaning.
Choosing The Right Tools
Use soft cloths or sponges to clean the pot sides. Hard brushes or steel wool can scratch the surface.
Make sure tools are clean before use. Dirt or grit on tools can cause damage as well.
- Use microfiber cloths for gentle cleaning
- Choose non-abrasive sponges or pads
- Avoid metal scrubbers or rough brushes
- Rinse tools to remove trapped dirt
Avoiding Harsh Chemicals
Harsh chemicals can ruin the pot’s finish. Stay away from bleach, ammonia, or strong acids.
Use mild dish soap and warm water instead. These clean well without harming the pot’s sides.
- Use gentle dish soap for washing
- Do not use bleach or ammonia-based cleaners
- Avoid abrasive powders or acidic solutions
- Test new cleaners on a small spot first

Credit: www.kitchenaid.com
Frequently Asked Questions
How Do I Clean The Sides Of Kitchen Aid Pots Effectively?
Use warm soapy water and a soft sponge to clean the sides. Avoid abrasive scrubbers to prevent damage. For tough stains, a baking soda paste helps lift residue gently without scratching.
Can I Use Vinegar To Clean Kitchen Aid Pot Sides?
Yes, vinegar is safe and effective for cleaning pot sides. Mix equal parts vinegar and water, then wipe the sides. This removes mineral deposits and restores shine naturally.
What Should I Avoid When Cleaning Kitchen Aid Pots?
Avoid harsh chemicals and steel wool scrubbers. These can damage the pot’s finish. Always use mild detergents and soft cleaning tools to maintain your pot’s quality and appearance.
How Often Should I Clean The Sides Of Kitchen Aid Pots?
Clean the sides after every use to prevent buildup. Regular cleaning keeps pots looking new and extends their lifespan. Quick daily care saves time on deep cleaning later.
Conclusion
Cleaning the sides of your Kitchen Aid pots keeps them shiny and neat. Use gentle scrubbing with mild soap to remove stains. Avoid harsh tools that can scratch the surface. Regular care helps your pots last longer and stay safe to use.
Simple steps make cleaning easy and quick. Keep your kitchen tools in good shape for better cooking every day. A little effort goes a long way in maintaining your pots. Try these tips and enjoy cooking without worrying about tough stains.


