
Your kitchen dish scrub brush works hard every day to keep your dishes clean. But have you ever wondered how to clean kitchen dish scrub brush properly?
If you don’t clean it regularly, it can become a breeding ground for bacteria and odors. You might be unknowingly spreading germs every time you wash your dishes. Don’t worry—this guide will show you simple and effective ways how to clean kitchen dish scrub brush.
By the end, you’ll know exactly how to keep your brush fresh, safe, and ready to tackle even the toughest messes. Keep reading to protect your health and make your kitchen sparkle!

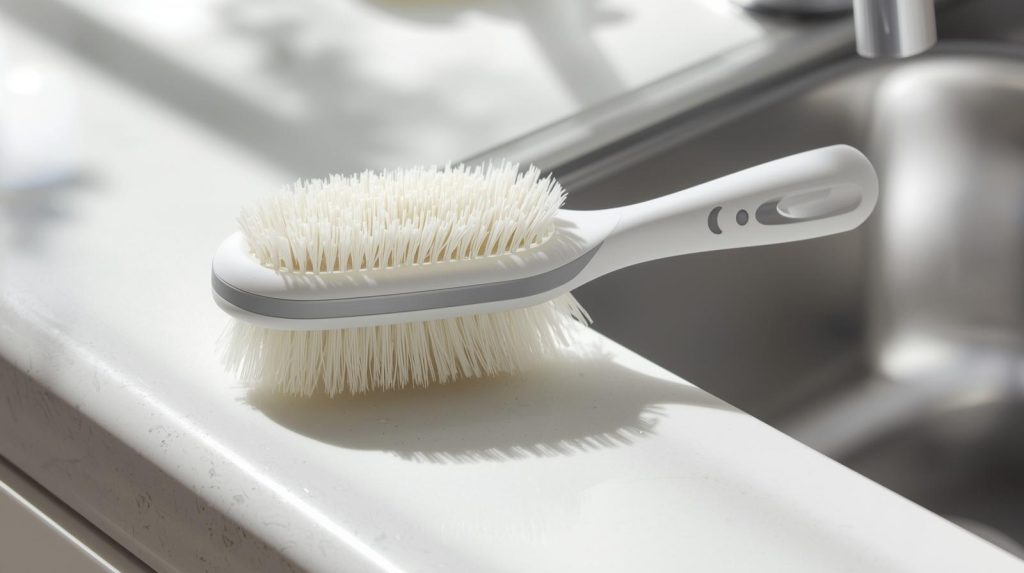
Credit: www.mrsiga.com
Why Clean Your Dish Scrub Brush
Your dish scrub brush helps clean dirty dishes every day, but it collects food bits and germs.
Regularly clean kitchen dish scrub brush to keep it fresh and safe to use. This prevents bad smells and bacteria build-up, ensuring your kitchen stays hygienic.
Prevent Germ And Bacteria Growth
Wet brushes hold moisture. This makes germs grow quickly on the bristles.
Cleaning your brush kills germs. It stops bacteria from spreading to your dishes.
Stop Bad Odors
Food bits trapped in the brush can rot. This causes a bad smell in your kitchen.
Regular cleaning removes food scraps. It keeps your brush smelling clean and fresh.
Extend Brush Life
Dirt and grime can damage the bristles over time. This makes the brush less effective.
Cleaning your brush helps it last longer. You save money by not replacing it often.
Improve Dish Cleaning
A clean brush scrubs better and removes food and grease from dishes more easily.
If you don’t clean kitchen dish scrub brush, dirty bristles can push germs and dirt back onto your dishes. Regular cleaning stops this problem and keeps your kitchen hygienic.
Signs Your Brush Needs Cleaning
Your kitchen dish scrub brush works hard to clean your dishes daily. Over time, it can collect dirt, grease, and germs.
Recognizing when your brush needs cleaning helps keep your kitchen hygienic and your dishes spotless.
Visible Dirt And Grime
If you see food particles or sticky residue on the bristles or handle, it’s time to clean kitchen dish scrub brush. Dirt buildup can trap bacteria and reduce its cleaning power, making your dishwashing less effective.
Unpleasant Odor
A foul or sour smell from your scrub brush means bacteria and mold may be growing. This odor is a clear sign that cleaning is overdue.
Frayed Or Worn Bristles
When bristles look bent, broken, or worn out, the brush does not clean well. Dirt and germs can hide in damaged bristles.
Slow Drying Time
If your brush stays wet for hours after use, it might be harboring bacteria. Good airflow helps the brush dry faster and stay clean.
Signs Table
| Sign | What It Means |
| Visible dirt on bristles | Brush is dirty and needs washing |
| Bad smell | Bacteria or mold growth present |
| Frayed bristles | Brush is worn and less effective |
| Brush stays wet | Moisture trapped, bacteria can grow |
Materials Needed For Cleaning
Cleaning your kitchen dish scrub brush keeps it fresh and safe to use. To properly clean kitchen dish scrub brush, you only need a few simple materials.
Gathering the right items before you start will make the process easier, faster, and more effective.
Soap Or Dish Detergent
A good soap or dish detergent helps remove grease and food particles from the brush. Choose one that cuts through oils.
Hot Water
Hot water loosens dirt and kills germs on the scrub brush. Make sure the water is warm enough to clean but not so hot it damages the bristles.
Vinegar Or Baking Soda
Natural cleaners like vinegar or baking soda help remove odors and disinfect the brush.
- Use white vinegar for soaking the brush
- Baking soda can be sprinkled on the brush before scrubbing
Cleaning Container
Use a bowl or a small basin to soak the scrub brush. It should be large enough for the brush to fit comfortably.
Old Toothbrush Or Small Brush
An old toothbrush or a small cleaning brush helps reach tight spots in the scrub brush to remove trapped dirt.
Drying Rack Or Clean Cloth
After cleaning, dry the scrub brush well. A drying rack or clean cloth works best to air dry or pat it dry.
| Material | Purpose |
| Soap or Dish Detergent | Remove grease and food residue |
| Hot Water | Loosen dirt and kill germs |
| Vinegar or Baking Soda | Disinfect and remove odors |
| Cleaning Container | Soak the scrub brush |
| Old Toothbrush or Small Brush | Scrub hard-to-reach areas |
| Drying Rack or Clean Cloth | Dry the brush after cleaning |
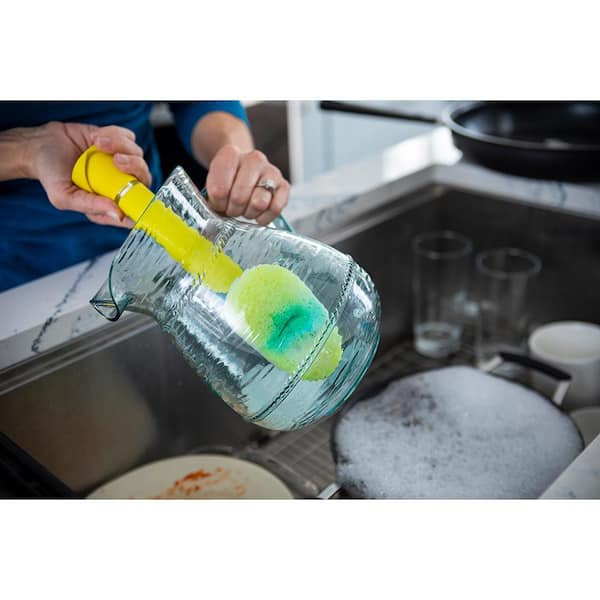
Credit: www.homedepot.com
Simple Daily Cleaning Steps
Cleaning your kitchen dish scrub brush daily helps keep it fresh. Regularly clean kitchen dish scrub brush to remove germs and trapped food bits.
Simple cleaning takes only a few minutes and keeps your brush ready for the next use, ensuring hygienic and effective dishwashing.
Rinse The Brush Thoroughly
After washing dishes, rinse the scrub brush under hot water. This removes leftover food and soap.
Make sure water flows through the bristles to clean deep inside.
Shake Off Excess Water
Shake the brush well to remove as much water as possible. This helps the brush dry faster.
Dry brushes do not grow bacteria or mold easily.
Store The Brush Upright
Keep the brush standing with bristles up. This lets air reach all parts of the brush.
Good air flow helps the brush dry completely and stay clean.
Use Vinegar For Weekly Deep Cleaning
Once a week, soak the brush in white vinegar for 10 minutes. Vinegar kills germs and removes odors.
- Fill a cup with white vinegar
- Place the brush bristles down in the cup
- Let it soak for 10 minutes
- Rinse well with hot water
- Shake off water and store upright
Deep Cleaning Methods
Keeping your kitchen dish scrub brush clean is important. Regularly clean kitchen dish scrub brush to remove germs and food buildup.
Deep cleaning your scrub brush regularly helps it last longer, stay fresh, and remain effective for everyday dishwashing.
Using Vinegar And Baking Soda
Vinegar and baking soda help break down dirt and kill bacteria on the brush. This mix cleans well without harsh chemicals.
To clean, soak the brush in vinegar for 30 minutes. Then sprinkle baking soda on it and scrub gently.
- Fill a bowl with white vinegar
- Soak brush for 30 minutes
- Sprinkle baking soda on brush
- Scrub brush gently with old toothbrush
- Rinse with warm water and air dry
Boiling Water Technique
Boiling water kills germs and loosens food stuck in the brush. This method is quick and natural.
Place the scrub brush in boiling water for a few minutes. Be careful not to burn yourself during this process.
- Boil water in a pot
- Turn off heat and place brush in water
- Let it soak for 5 minutes
- Remove brush with tongs
- Shake off excess water and let it dry
Dishwasher Cleaning
Using the dishwasher is an effective way to clean kitchen dish scrub brush, especially for brushes without wooden handles.
Place the brush on the top rack and run a normal cycle. Always ensure the brush is dishwasher safe before cleaning to avoid damage.
- Check if brush is dishwasher safe
- Place brush on top rack
- Run a normal wash cycle
- Remove and air dry completely
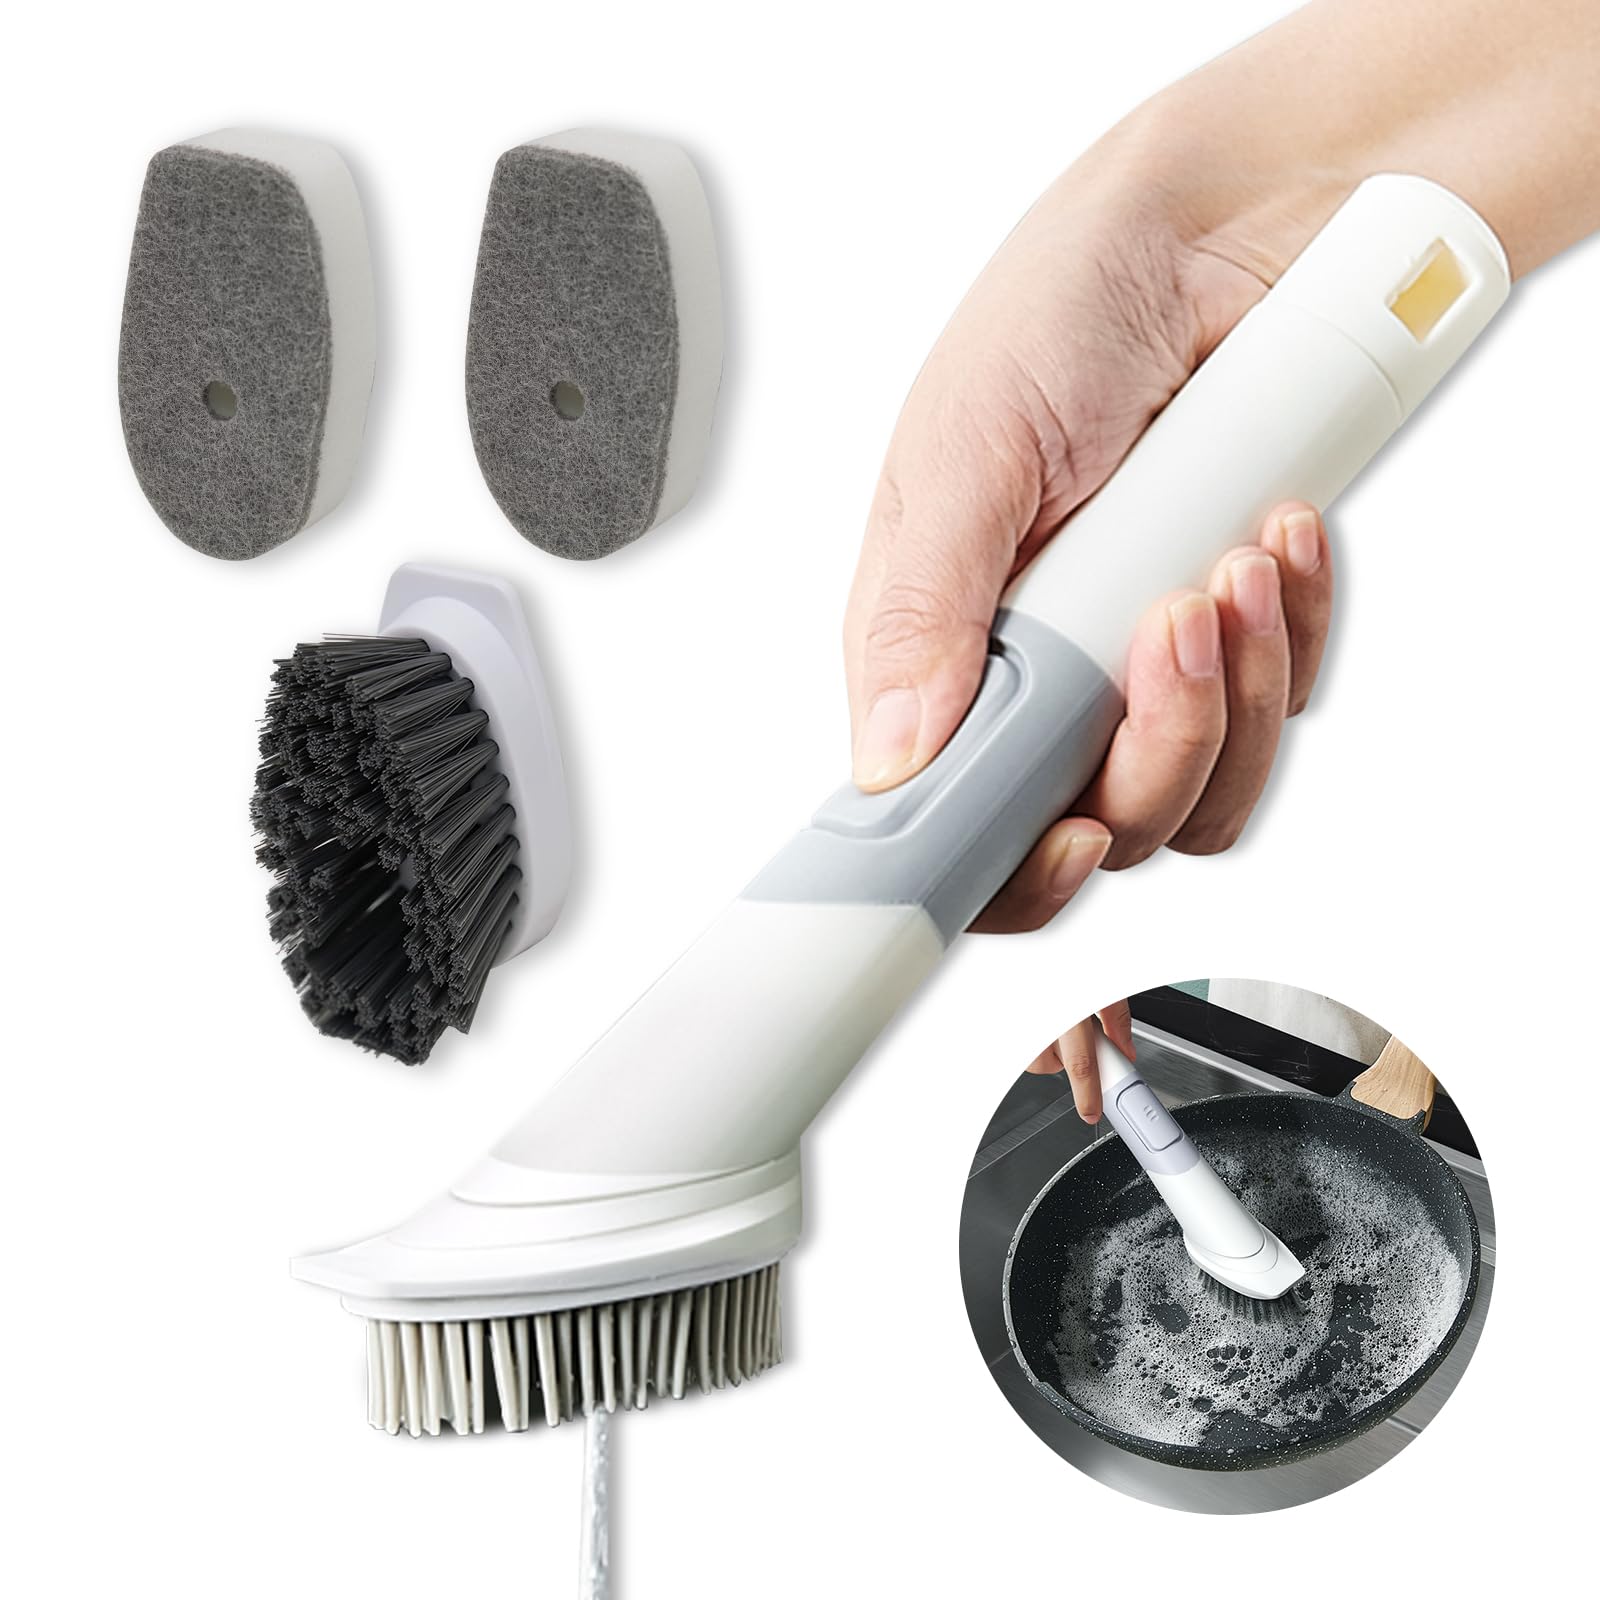
Credit: www.amazon.com
Drying And Storing Tips
Keeping your kitchen dish scrub brush clean is important. After you clean kitchen dish scrub brush, drying and storing it properly prevents germs from growing. This helps your brush last longer and stay safe to use.
Follow these simple tips for drying and storing your scrub brush to keep it fresh and ready for the next use.
Dry The Brush Thoroughly
Moisture can cause bacteria to grow on your scrub brush. To avoid this, dry the brush well after washing. Shake off excess water and let air dry completely.
- Shake the brush to remove water drops.
- Place the brush bristle side down to let water drip out.
- Use a clean towel to pat dry if needed.
- Keep it in a well-ventilated area to speed drying.
Store In A Dry Spot
Store your scrub brush where air can circulate. Avoid closed containers or damp places. This helps prevent mold and bad smells.
| Storage Location | Why It Works |
|---|---|
| Open holder near the sink | Allows air flow and quick drying |
| Wall-mounted rack | Keeps brush off surfaces and dry |
| Dish rack with drainage | Water drains away, reducing moisture |
| Not in a closed drawer or container | Prevents trapped moisture and smells |
Replace The Brush Regularly
Even with good drying and storage, brushes wear out. Change your dish scrub brush every few months. This keeps your kitchen clean and your dishes safe.
How Often To Replace Your Brush
Keeping your kitchen dish scrub brush clean is important. But knowing when to replace it is just as key. Even if you regularly clean kitchen dish scrub brush, a worn-out brush can harbor bacteria and reduce cleaning power.
This guide explains how often you should replace your kitchen dish scrub brush to keep your dishes safe and clean.
Signs Your Brush Needs Replacement
Look for these signs to know if your dish scrub brush should be replaced:
- Bristles are frayed, bent, or missing
- Brush has a bad or musty smell
- Brush feels sticky or slimy even after cleaning
- Brush has visible mold or mildew
- Brush does not clean dishes effectively
Recommended Replacement Frequency
Replacing your brush regularly helps avoid bacteria buildup. Use this table as a guide for how often to swap out your brush.
| Usage Level | Replacement Time |
| Light (1–2 times per week) | Every 3 months |
| Moderate (3–5 times per week) | Every 1–2 months |
| Heavy (daily use) | Every 2–4 weeks |
Factors Affecting Replacement Time
Different factors can change how often you should replace your brush. Consider these points:
- Type of brush material
- How often you clean the brush
- Exposure to moisture and heat
- Type of food residue it cleans
- Storage conditions between uses
Tips To Extend Brush Life
Follow these tips to keep your scrub brush cleaner longer:
- Rinse the brush well after each use to remove food particles.
- Dry the brush completely before storing it.
- Disinfect the brush weekly with vinegar or bleach solution.
- Store the brush in a dry, well-ventilated place.
- Avoid leaving the brush soaking in water.
Frequently Asked Questions
How Often Should I Clean My Kitchen Dish Scrub Brush?
Clean your kitchen dish scrub brush weekly to prevent bacteria buildup. Regular cleaning keeps it hygienic and extends its lifespan. Rinse thoroughly after each use and deep clean with soap or vinegar once a week.
What Is The Best Way To Disinfect A Dish Scrub Brush?
Disinfect your dish scrub brush by soaking it in a mixture of vinegar and water for 15 minutes. Alternatively, use a mild bleach solution or microwave it wet for 1-2 minutes to kill germs effectively.
Can I Clean My Dish Scrub Brush In The Dishwasher?
Yes, most dish scrub brushes can be cleaned in the dishwasher. Place it on the top rack and run a hot cycle to sanitize and remove residue safely and efficiently.
How Do I Remove Odors From A Kitchen Dish Scrub Brush?
To remove odors, soak your dish scrub brush in baking soda and warm water for 30 minutes. Rinse thoroughly and let it air dry to eliminate unpleasant smells.
Conclusion
Keeping your kitchen dish scrub brush clean is essential. A clean brush prevents germs and extends its life. Rinse it thoroughly after each use, and use warm, soapy water for a deeper clean weekly. You can also disinfect with a vinegar or bleach solution to clean kitchen dish scrub brush effectively.
Let it air dry completely, and replace your brush every few months. A fresh, clean brush makes dishwashing easier and safer. Following these tips keeps your kitchen hygienic and your dishes spotless. Regularly caring for your scrub brush leads to a healthier home.
Happy cleaning!


