
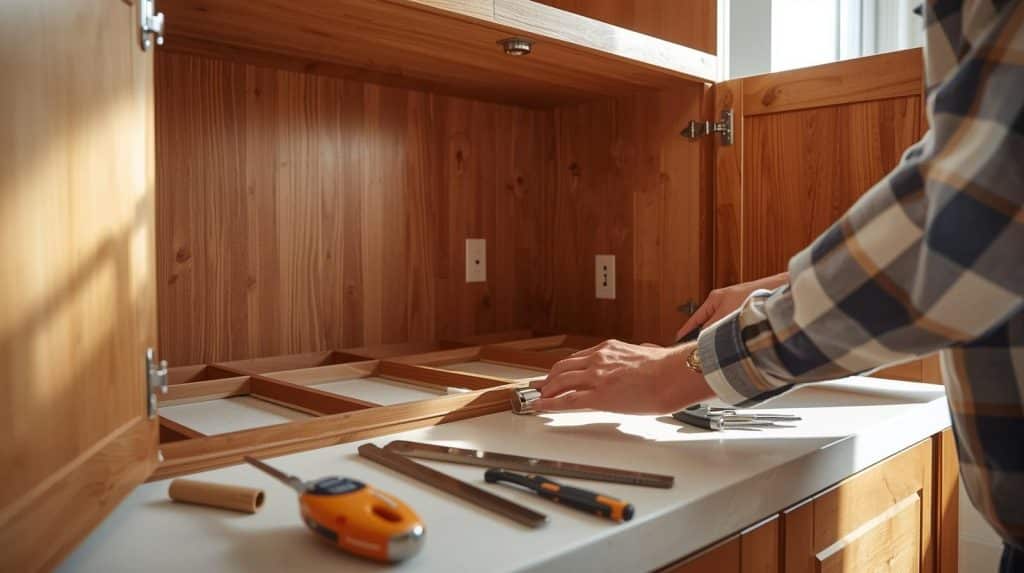
Build a Wine Rack to transform your kitchen cabinet into a stunning display for your favorite bottles. Imagine opening your kitchen cabinet to reveal a custom wine rack that’s not just a storage solution, but a statement of style and sophistication.
You don’t need to be a master carpenter to build one. With a few tools and a bit of creativity, you can transform an ordinary cabinet into a wine lover’s dream. This guide will walk you through each step, ensuring you create a beautiful and functional centerpiece for your kitchen.
Ready to add a personal touch to your home and impress your guests? Let’s get started!

Credit: www.decorpad.com
Choosing The Right Cabinet
Building a wine rack inside a kitchen cabinet needs careful planning. Choosing the right cabinet helps keep your wine bottles safe and easy to access.
This guide covers how to measure your space and pick the best materials for your wine rack project.
Measuring Space Accurately
Start by checking the cabinet where you want to build the wine rack. Measure its height, width, and depth carefully. Use a tape measure for precise numbers.
- Measure the inside width of the cabinet.
- Measure the inside height from bottom to top.
- Measure the inside depth from front to back.
- Note any shelves or doors that may affect space.
- Check if the cabinet has enough room for bottle storage.
Selecting Suitable Materials
Choose materials that hold wine bottles well and last long. Wood is a popular choice for wine racks because it is strong and looks good.
| Material | Advantages | Disadvantages |
| Solid Wood | Durable, classic look | May be costly |
| Plywood | Stable, less expensive | Edges may need finishing |
| MDF | Smooth surface, affordable | Less moisture resistant |
| Metal | Strong, modern style | Can scratch bottles |
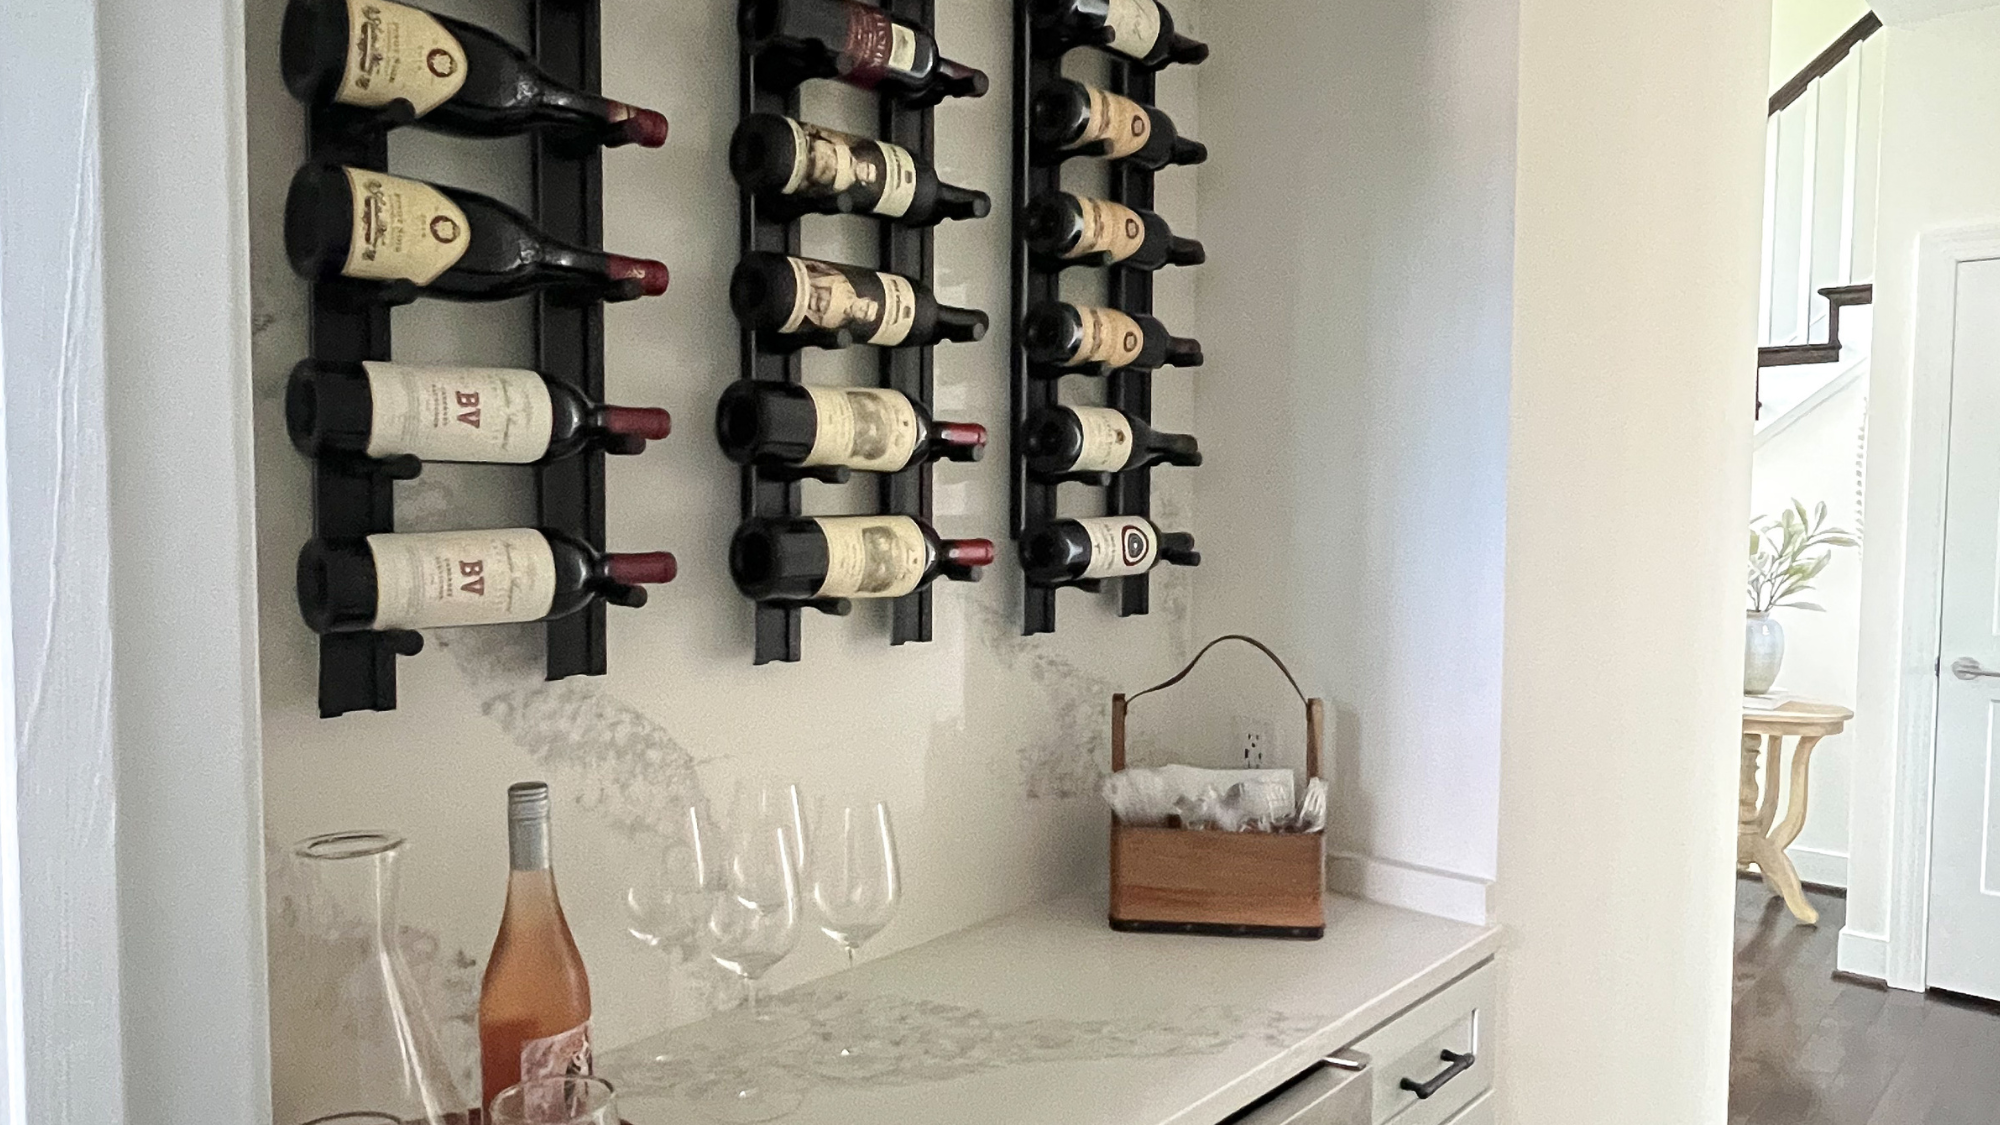
Credit: vintageview.com
Gathering Tools And Materials
Building a wine rack inside a kitchen cabinet needs the right tools and materials. You will save time and effort by preparing everything before starting.
This guide lists the essential tools and recommended materials for a sturdy and neat wine rack project.
Essential Tools List
Use the following tools to make sure your wine rack is built correctly and safely.
- Measuring tape to get exact cabinet dimensions
- Pencil for marking cuts and drill spots
- Power drill with drill bits for making holes
- Screwdriver or drill driver for screws
- Hand saw or circular saw to cut wood pieces
- Clamps to hold pieces steady while working
- Sandpaper or electric sander to smooth wood surfaces
- Level to check horizontal and vertical alignment
Recommended Materials
Choose materials that are strong and fit well inside your kitchen cabinet. This table shows common materials and their uses.
| Material | Description | Use |
| Plywood | Strong wood panel with smooth surfaces | Main structure of the wine rack |
| Wooden dowels | Round wooden rods | Supports for holding wine bottles |
| Screws | Metal fasteners | Joining wood pieces securely |
| Wood glue | Strong adhesive for wood | Extra support at joints |
| Wood stain or paint | Finish for wood surfaces | Protect and decorate the rack |
Designing Your Wine Rack
Building a wine rack inside a kitchen cabinet can save space and keep bottles organized. Good design helps fit your bottles safely and looks nice.
Before starting, think about how many bottles to store and how the rack will fit in the cabinet space. Planning is key.
Deciding On Capacity
First, decide how many wine bottles you want to store. This depends on your collection size and how often you buy wine.
Think about future needs. Choose a capacity that can grow if you plan to add more bottles later.
- Count your current bottles
- Estimate how many new bottles you will buy
- Allow extra space for gifts or special wines
Planning The Layout
Plan how the wine rack will fit inside the cabinet. Check the cabinet’s height, width, and depth carefully.
Decide if you want horizontal slots, angled shelves, or individual cubbies. Each style holds bottles differently.
- Horizontal racks keep bottles stable
- Angled shelves make labels easy to read
- Cubbies separate each bottle for safety
- Measure space to avoid wasted room

Credit: www.reddit.com
Preparing The Cabinet
Building a wine rack inside a kitchen cabinet needs good preparation. You must clean and clear the space first. Then, mark measurements carefully to fit the rack perfectly.
Cleaning And Clearing Space
Remove all items from the cabinet before you start. Clean the inside walls and shelves well. This helps the wine rack fit neatly and keeps it free of dust and dirt.
- Take out dishes, food, or other stored items
- Use a damp cloth to wipe down all surfaces
- Check for any damage or loose parts inside the cabinet
- Fix any issues to make the space safe and stable
Marking Measurements
Measure the cabinet’s height, width, and depth carefully. Mark these sizes on the inside walls with a pencil. Marking helps you build a wine rack that fits well.
| Measurement | How to Measure | Notes |
|---|---|---|
| Height | From bottom to top inside the cabinet | Include space for wine bottle height |
| Width | Side to side inside the cabinet | Allow room for rack supports |
| Depth | From front edge to back wall inside the cabinet | Make sure bottles will not stick out |
Cutting And Assembling Components
Building a wine rack inside a kitchen cabinet requires careful cutting and assembling of wood pieces. This guide focuses on those two essential tasks to ensure a sturdy and functional rack.
Follow the steps below to cut the wood accurately and assemble the frame securely for your wine rack project.
Cutting Wood Pieces
Start by measuring the cabinet space where the wine rack will fit. Cut the wood pieces according to these dimensions for a perfect fit.
- Measure the height, width, and depth of the cabinet space.
- Mark the wood boards with a pencil using these measurements.
- Use a saw to cut the wood pieces precisely along the marks.
- Sand the edges to remove splinters and rough spots.
- Double-check each piece for correct length before assembly.
Assembling The Frame
After cutting the pieces, assemble the frame by joining the parts together. Use screws and wood glue for strong connections.
| Component | Quantity | Assembly Tip |
| Side Panels | 2 | Attach vertically for support |
| Top and Bottom Rails | 2 | Connect sides at top and bottom |
| Wine Slots | Multiple | Space evenly for bottle fit |
| Screws | As needed | Use pilot holes to avoid splitting |
| Wood Glue | As needed | Apply on joints for strength |
Installing The Wine Rack
Installing a wine rack inside your kitchen cabinet adds storage and style. It keeps bottles organized and easy to reach.
This guide explains how to secure the rack and add finishing touches for a neat look.
Securing The Rack Inside Cabinet
Place the wine rack inside the cabinet to check the fit. Make sure it sits flat and aligns with cabinet walls.
Use screws or brackets to hold the rack firmly. Attach supports to the cabinet sides or bottom for stability.
- Mark screw positions on cabinet walls
- Pre-drill holes to avoid wood splitting
- Screw the rack securely in place
- Check for wobbling and adjust if needed
Adding Finishing Touches
Fill gaps between the rack and cabinet with wood filler or caulk. This makes the installation look clean.
Sand any rough edges and paint or stain the rack to match the cabinet. This protects the wood and improves appearance.
- Use wood filler for small gaps
- Sand smooth after filler dries
- Apply paint or stain evenly
- Let finish dry completely before use
Maintaining Your Wine Rack
Keeping your wine rack clean and safe helps your bottles last longer. A well-maintained rack also looks great in your kitchen.
Here are simple ways to clean and protect your wine rack inside the kitchen cabinet.
Cleaning Tips
Clean your wine rack regularly to avoid dust and spills. Use soft cloths and mild cleaners to protect the wood or metal.
- Dust the rack every week with a dry cloth.
- Wipe spills immediately with a damp cloth.
- Use a mild soap solution for deeper cleaning once a month.
- Dry the rack fully after cleaning to avoid moisture damage.
- Avoid harsh chemicals that can harm the finish.
Preventing Damage
Protect your wine rack from damage by controlling the environment and handling it carefully.
| Cause | Prevention |
|---|---|
| Excess moisture | Keep the cabinet dry and use a dehumidifier if needed. |
| Direct sunlight | Install the rack away from windows or use curtains. |
| Heavy bottles | Place bottles evenly to avoid strain on the rack. |
| Rough handling | Lift bottles carefully and avoid dropping them. |
| Temperature swings | Keep the kitchen temperature stable to protect the rack and wine. |
Frequently Asked Questions
How Do I Measure My Cabinet For A Wine Rack?
Measure the cabinet’s width, height, and depth carefully. Ensure the rack fits without obstructing cabinet doors or shelves. Accurate measurements guarantee a custom fit and efficient use of space.
What Materials Are Best For Building A Kitchen Wine Rack?
Choose sturdy woods like pine, oak, or plywood. These materials are durable, easy to cut, and provide a polished look. Avoid soft or brittle materials for safety and longevity.
How Many Wine Bottles Can A Typical Cabinet Rack Hold?
Most kitchen cabinet racks hold 6 to 12 bottles. Capacity depends on rack size and bottle dimensions. Plan based on your wine collection and available cabinet space.
Can I Build A Wine Rack Without Power Tools?
Yes, simple racks can be built using hand tools like a saw and hammer. Power tools speed up the process but aren’t mandatory for small projects.
Conclusion
Building a wine rack in your kitchen cabinet adds style and saves space. It keeps bottles organized and easy to reach. The steps are simple and tools are easy to find. You can customize the rack to fit your needs and kitchen size.
This small project makes your kitchen look neat and inviting. Try it yourself and enjoy a tidy wine display every day.


