

Imagine opening your kitchen cabinet to find a beautifully organized wine rack, showcasing your favorite bottles like a gallery of fine art. It’s not just a dream; you can make it a reality with a few tools and a little creativity.
Whether you’re a wine connoisseur or simply enjoy the occasional glass, having a dedicated space for your wine can bring a touch of elegance and functionality to your kitchen. Building a wine rack in your kitchen cabinet might seem like a daunting task, but it’s easier than you think.
This guide will walk you through the process, step by step, ensuring you have a stylish and practical wine storage solution. Ready to transform your kitchen? Let’s dive in and get started on this exciting DIY project!

Credit: www.reddit.com
Choosing The Right Cabinet
Building a wine rack in your kitchen cabinet starts with choosing the right cabinet. The right cabinet will hold your bottles safely and fit your kitchen space well.
Consider the space, materials, and access before starting. These choices help make a practical and attractive wine rack.
Assessing Space And Dimensions
Measure the cabinet space carefully. Know the height, width, and depth available for your wine rack.
Think about how many bottles you want to store. Make sure the space fits your collection comfortably.
- Measure the cabinet opening and interior
- Allow extra space for bottle necks
- Consider adding space for future bottles
Selecting Cabinet Materials
Choose materials that match your kitchen style and are strong enough to hold bottles. Wood and metal are common choices.
Wood offers a classic look and good support. Metal can add modern style and durability.
- Solid wood for sturdy and warm design
- Plywood for a budget-friendly option
- Metal for a sleek, modern feel
- Check for moisture resistance
Considering Accessibility
Think about how easy it is to reach your wine bottles. Choose a cabinet location that is convenient to use.
Sliding shelves or pull-out racks improve access. Make sure you can see and grab bottles without trouble.
- Place cabinet near dining or prep area
- Choose shelves that slide or pull out
- Leave space for opening doors fully
- Keep bottles at a comfortable height
Gathering Materials And Tools
Building a wine rack in your kitchen cabinet needs the right materials and tools. This helps make the project easier and safer.
Prepare everything before you start. This guide will help you gather all you need to create a great wine rack.
Essential Tools List
You need a few basic tools for this project. These tools help you measure, cut, and assemble your wine rack.
- Measuring tape
- Pencil
- Hand saw or circular saw
- Drill with drill bits
- Screwdriver
- Wood clamps
- Sandpaper or electric sander
- Level
- Safety goggles
Choosing Wood And Hardware
Pick wood that is strong and looks good in your kitchen. Choose hardware that fits well and holds the rack firmly.
Popular wood choices include pine, oak, and maple. Use screws and brackets that match the wood type for best results.
- Pine: affordable and easy to work with
- Oak: very strong and durable
- Maple: smooth finish and hard surface
- Brass or stainless steel screws for durability
- Wood glue for extra strength
Safety Equipment
Safety is important when working with tools and wood. Use the right safety gear to protect yourself.
- Safety goggles to protect your eyes
- Work gloves to protect your hands
- Dust mask to avoid inhaling wood dust
- Ear protection if you use loud power tools
- Proper clothing that fits well and covers your skin
Designing The Wine Rack
Building a wine rack inside a kitchen cabinet needs good planning. This helps to make sure it fits well and holds the right number of bottles.
We will look at how to decide bottle capacity, sketch the layout, and pick a rack style. These steps help create a useful and neat wine rack.
Determining Bottle Capacity
First, find out how many bottles you want to store. This depends on your wine drinking habits and space available in the cabinet.
- Count the bottles you usually keep
- Think about future wine collection growth
- Measure the cabinet’s internal size
- Allow space for easy bottle access
Sketching The Layout
Draw a simple plan of the cabinet’s inside. Mark where each bottle will rest. This shows how the rack will look and fit.
Use this table to plan bottle rows and columns:
| Bottle Rows | Bottle Columns | Total Capacity |
|---|---|---|
| 3 | 4 | 12 |
| 4 | 5 | 20 |
| 5 | 6 | 30 |
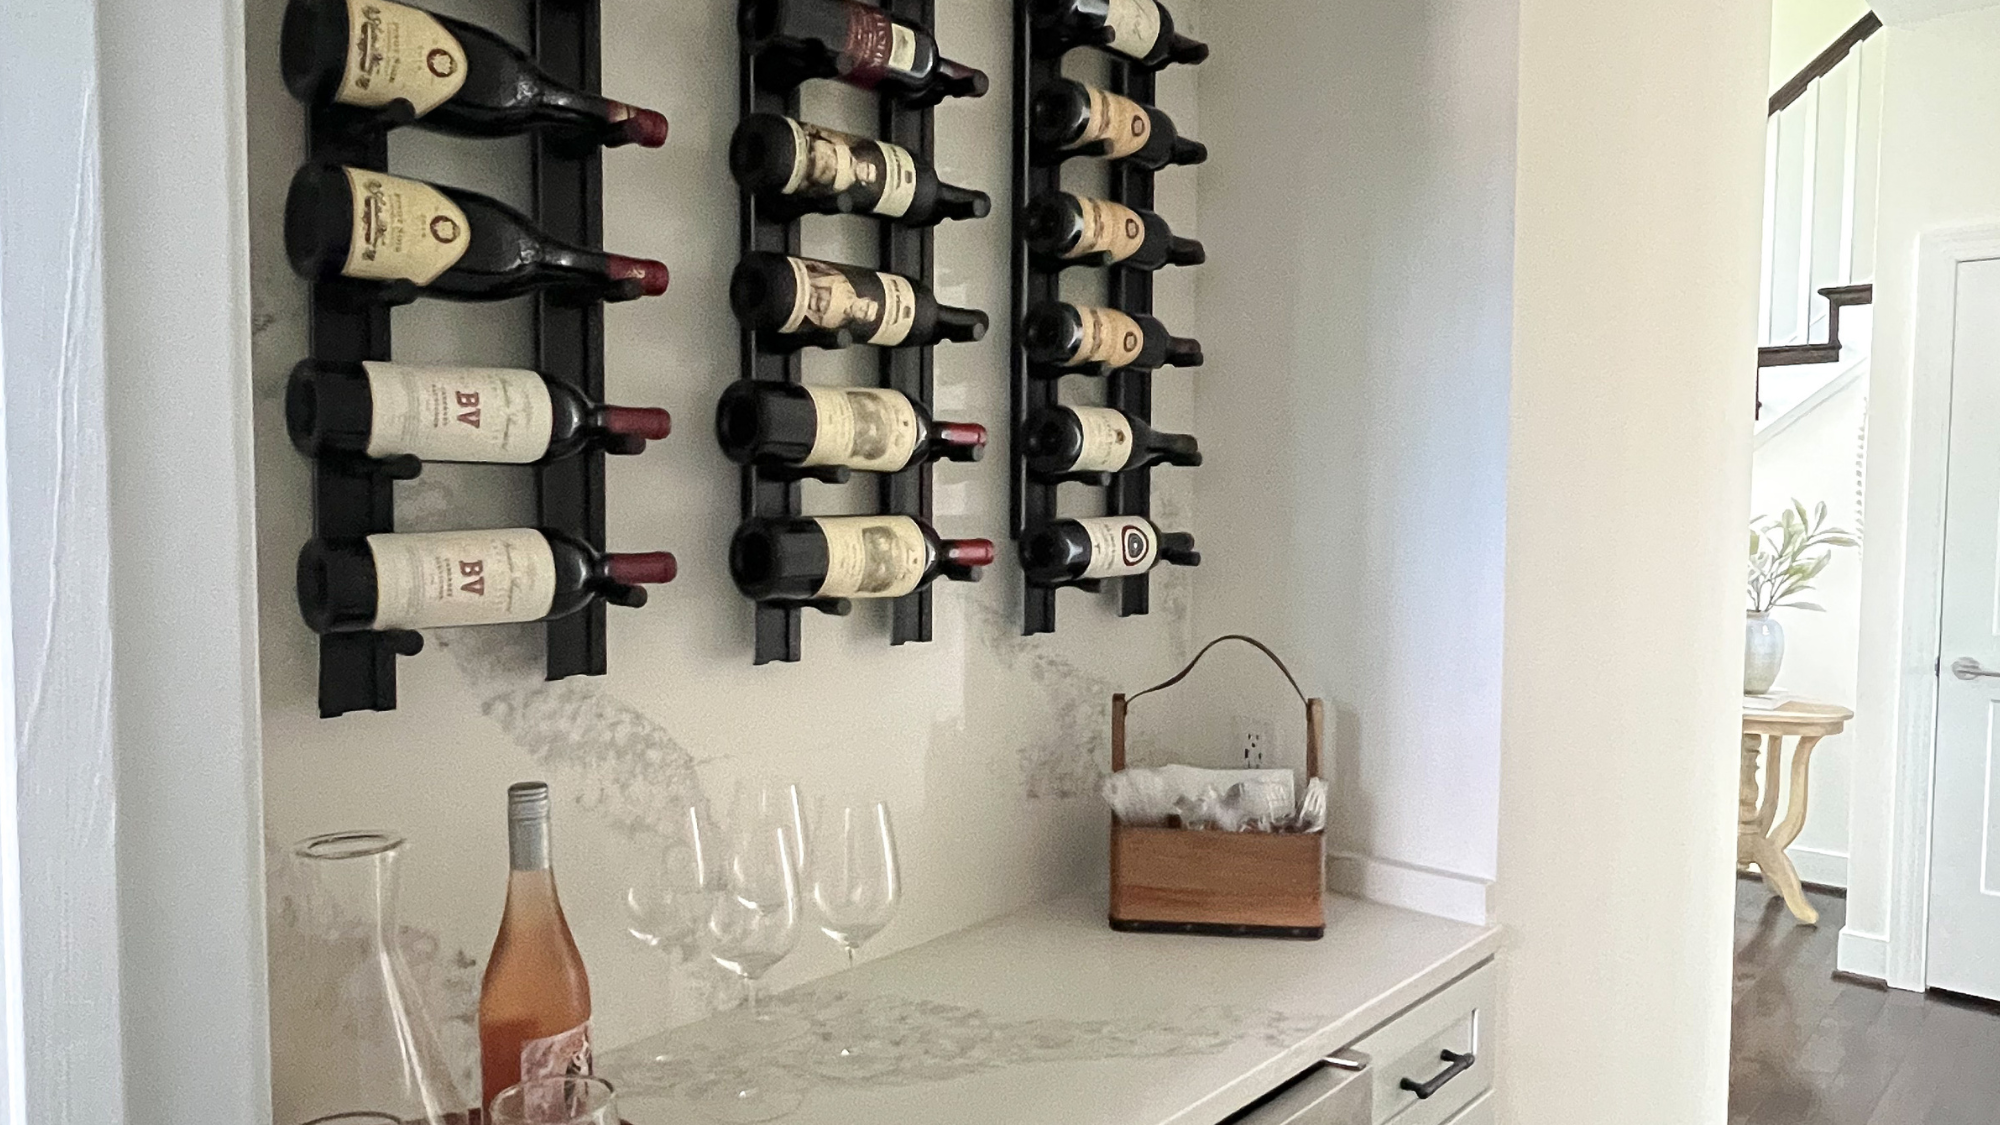
Deciding On Rack Style
Choose a style that fits your kitchen and wine needs. The style affects the rack’s shape and how bottles are stored.
- Horizontal racks hold bottles lying down
- Diamond bins store bottles in a grouped shape
- Individual slots keep bottles separate and secure
- Wall-mounted racks save floor space
Credit: vintageview.com
Preparing The Cabinet
Building a wine rack inside a kitchen cabinet needs good preparation. This step makes sure the rack fits well and looks neat.
Start by getting the cabinet ready. Clean it and check its size. Remove anything that may block the installation.
Emptying And Cleaning
Take everything out of the cabinet. Remove shelves and items inside. This clears the space for the wine rack.
Wipe the cabinet clean with a damp cloth. Remove dust and grease for better work and adhesion.
Measuring And Marking
Measure the height, width, and depth of the cabinet. Write down these numbers to plan the rack size.
Mark the spots inside the cabinet where the rack will go. Use a pencil to draw lines for guidance.
- Measure the cabinet’s inside width
- Check the height and depth carefully
- Mark the rack’s position on the cabinet walls
Removing Obstacles
Check for nails, screws, or brackets inside the cabinet. These can block the rack or cause damage.
Remove or adjust any parts that get in the way. Make sure the space is clear for the rack installation.
Cutting And Assembling Components
Building a wine rack inside a kitchen cabinet needs careful cutting and assembly. Accurate measurements and neat joins make the rack strong and neat.
This guide covers cutting wood pieces, assembling the frame, and adding supports and dividers to fit your wine bottles perfectly.
Cutting Wood Pieces
Start by measuring the cabinet space to decide the size of each wood piece. Use quality wood like pine or oak for durability.
- Measure height, width, and depth of the cabinet.
- Cut two side panels to match the cabinet height.
- Cut a top and bottom panel to match the width and depth.
- Cut horizontal slats for bottle supports and vertical dividers.
- Sand edges to remove splinters and ensure smooth surfaces.
Assembling The Frame
Join the cut wood pieces to form the main frame of the wine rack. Use wood glue and screws for strong bonds.
| Part | Assembly Tip |
|---|---|
| Side Panels | Attach vertically with clamps for stability. |
| Top and Bottom Panels | Fit between side panels; use wood glue and screws. |
| Pre-drill Holes | Prevent wood from splitting during screwing. |
| Check Squareness | Use a carpenter’s square before tightening screws. |
Adding Supports And Dividers
Place horizontal supports to hold bottles and vertical dividers to keep them separated. This keeps bottles safe and organized.
- Space horizontal slats about 4 inches apart for bottle neck support.
- Install vertical dividers every 6 to 8 inches to fit bottle width.
- Secure supports with small nails or screws for durability.
- Use wood glue on all joints to avoid looseness.

Credit: www.decorpad.com
Installing The Wine Rack
Installing a wine rack in your kitchen cabinet adds storage and style. It keeps bottles organized and easy to access.
Follow simple steps to secure the rack, keep it stable, and finish the installation neatly.
Securing The Rack Inside Cabinet
Place the wine rack inside the cabinet where you want it. Check that it fits well with space around it.
Use screws or brackets to attach the rack to the cabinet walls. This keeps it from moving or falling out.
- Find studs or solid wood inside the cabinet for strong support
- Mark screw holes on the cabinet walls through the rack holes
- Drill pilot holes to avoid splitting the wood
- Screw the rack firmly into place
Ensuring Stability And Level
Check if the wine rack sits level inside the cabinet. Use a spirit level for accuracy.
Add small shims or pads under the rack if it tilts or wobbles. This keeps bottles safe and stable.
- Place the level on the top edge of the rack
- Adjust by adding shims under corners or sides
- Press firmly to keep the rack steady
- Double-check stability by gently pressing the rack
Finishing Touches
Fill any screw holes with wood filler to hide them. Sand smooth once dry for a clean look.
Apply a coat of paint or varnish inside the cabinet to match the kitchen style. This protects the wood and looks neat.
- Use wood filler to cover screws and gaps
- Sand the filled spots until smooth
- Paint or varnish the rack and cabinet interior
- Let everything dry before placing wine bottles
Maintaining Your Wine Rack
Keeping your wine rack clean and safe helps your wine stay fresh. Good care also makes your rack last longer.
Regular checks and proper storage keep your wines in the best condition.
Cleaning Tips
Clean your wine rack often to stop dust and dirt build-up. Use a soft cloth to wipe all surfaces gently.
Avoid harsh chemicals that can damage wood or metal. Mild soap and water work well for most racks.
- Dust weekly with a dry cloth
- Use mild soap and water for stains
- Dry rack completely after cleaning
- Check for sticky spots and clean immediately
Inspecting For Damage
Look over your wine rack regularly for cracks or loose parts. Fix problems quickly to avoid bigger damage.
Check screws and joints to make sure the rack is strong and safe to hold bottles.
- Look for cracks in wood or metal
- Test stability by gently shaking the rack
- Tighten loose screws or bolts
- Replace any broken or worn parts
Optimizing Storage Conditions
Keep your wine rack in a cool, dark place to protect your bottles. Avoid heat and bright light that harm wine quality.
Control humidity to stop corks from drying out. Aim for a steady temperature to keep wine fresh longer.
- Place rack away from direct sunlight
- Keep room temperature between 45-65°F (7-18°C)
- Maintain humidity near 50-70%
- Avoid storing near heat sources or appliances
Frequently Asked Questions
How Do I Measure Space For A Kitchen Cabinet Wine Rack?
Measure the cabinet’s interior width, height, and depth precisely. Leave extra space for wine bottle clearance and easy access.
What Materials Are Best For Building A Wine Rack?
Use sturdy wood like pine or oak for durability. Plywood is also a good option for cost-efficiency and strength.
How Can I Secure Wine Bottles Safely In A Rack?
Design slots or dividers to hold bottles snugly. Ensure each bottle rests horizontally to keep corks moist.
Can I Customize A Wine Rack For Different Bottle Sizes?
Yes, adjust slot width and height for larger or smaller bottles. Custom spacing maximizes storage and bottle protection.
Conclusion
Building a wine rack inside your kitchen cabinet saves space and looks neat. You can store bottles safely and reach them easily. The project does not need many tools or much time. Following simple steps helps you create a sturdy rack.
Enjoy your organized kitchen and well-kept wine collection. Try this idea to improve your kitchen’s style and function. Small changes like this make a big difference. Start today and see how easy it is to build your own wine rack.


