

How to Cook Porterhouse Steak in a Frying Pan
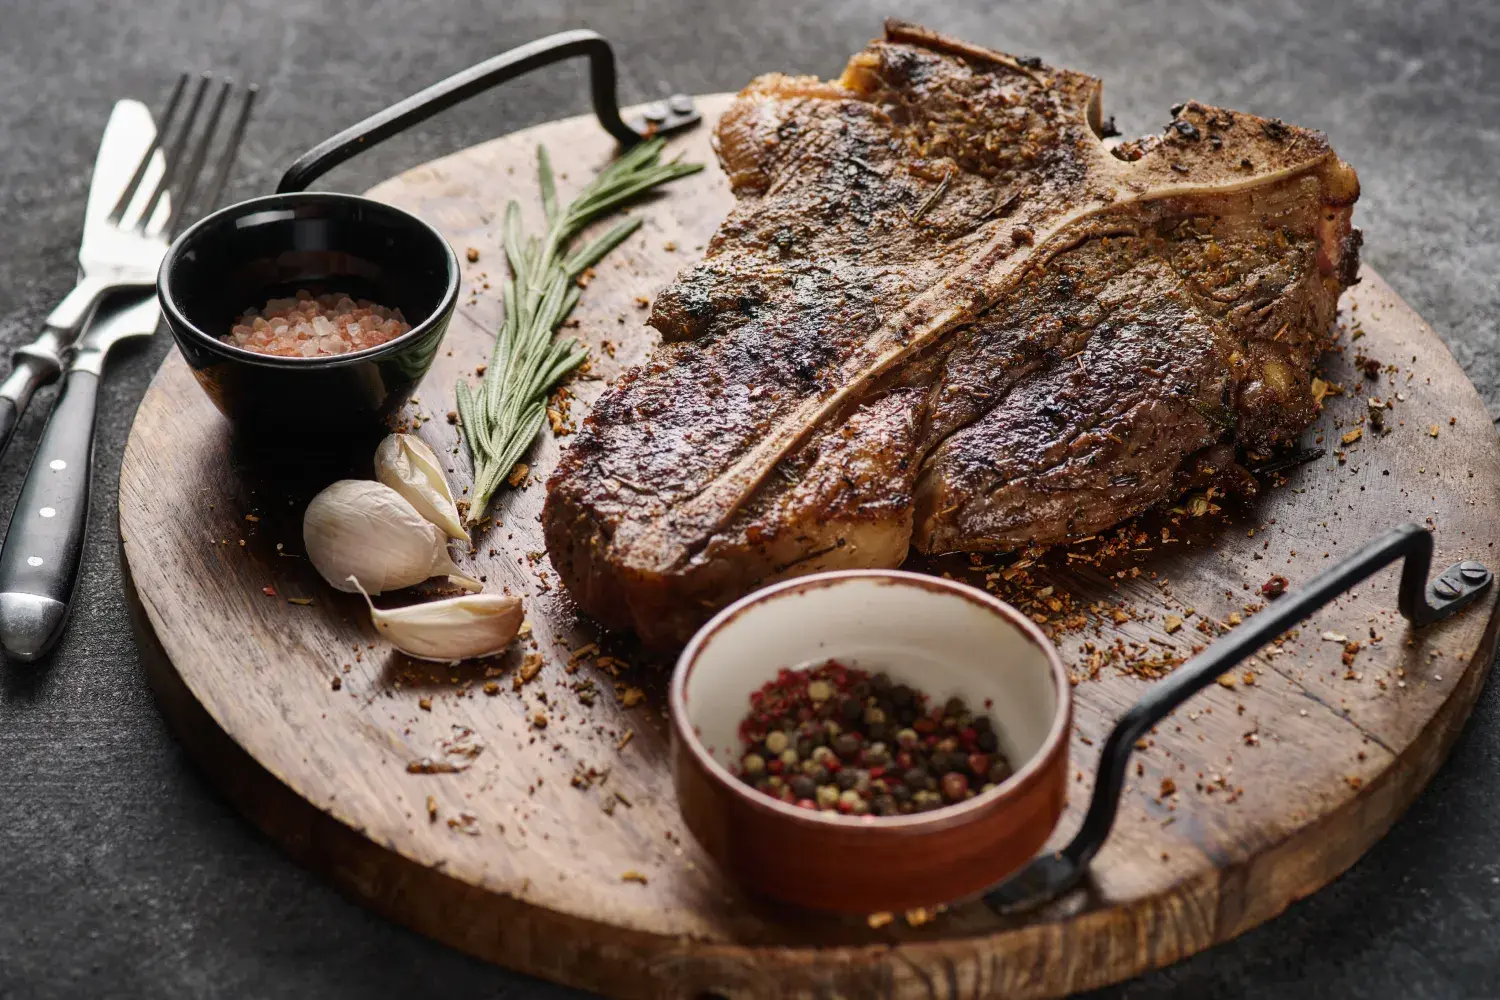
Want a juicy, cooked porterhouse steak now? Do not want to fire up the grill? You are in the right place to learn. Cooking this steak in a frying pan is simple. The results are truly mouthwatering and delicious. Imagine a beautifully seared crust on your steak. It locks in all the rich, savory juices inside. This happens right here in your kitchen. This guide walks through every step. We ensure you get great results every time. Ready to impress your taste buds and your guests? Let us learn how to cook this steak perfectly now.
Choosing The Right Porterhouse
Picking a good porterhouse is the first step to a tasty meal. The quality of meat affects the flavor and tenderness. Learn how to select the best porterhouse. Check its quality, thickness, and marbling.
Selecting Quality Meat
Look for bright red porterhouse steaks. Never buy meat that looks dark or brown. Fresh meat should smell clean, not sour. Choose steaks that have a firm texture. Check the package for any liquid pooling. Buy meat from trusted stores or butchers. Look for USDA or local quality grades there.
Checking Thickness And Marbling
Thickness changes cook time and how juicy the steak is. Marbling is the small fat lines inside the meat. Good marbling adds flavor and keeps the steak moist.
| Thickness | Ideal Size | Reason |
| Thin (under 1 inch) | Less than 2.5 cm | Dries out quickly |
| Medium (1 to 1.5 inches) | 2.5 to 3.8 cm | Even cooking and juicy |
| Thick (over 1.5 inches) | More than 3.8 cm | Best for searing and tenderness |
Credit: www.carawayhome.com
Preparing The Steak
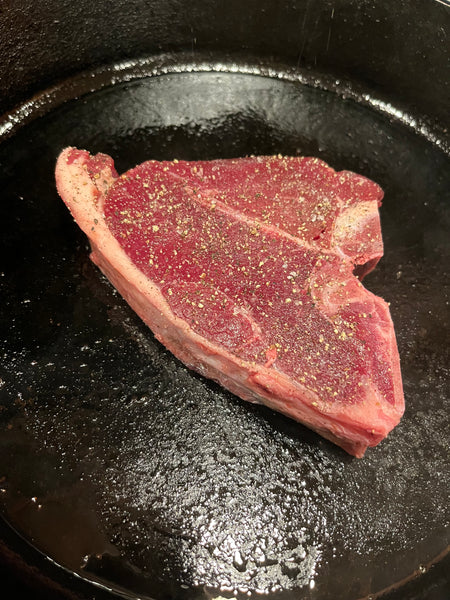
Getting a porterhouse ready makes a big taste difference. Start by getting the steak prepped before cooking. This helps the steak cook evenly. The steak will also taste much better. This guide covers two key steps for you. Bring the steak to room temperature. Season the meat very well.
Bringing Steak To Room Temperature
Take the steak out of your fridge before cooking it. Let it rest on the counter for 30 to 60 minutes. This helps the steak cook evenly inside. Remove the steak from its package first. Place it onto a plate or a tray. Leave it out for 30 to 60 minutes only. Do not leave it out longer than 2 hours for safety.
Seasoning Techniques
Seasoning adds flavor to the steak. It also creates a nice crust. Use simple ingredients for the best taste here.
| Seasoning | Purpose | Tips |
| Salt | Enhances natural flavor | Use coarse salt, apply evenly |
| Black Pepper | Adds mild heat and aroma | Grind fresh for best taste |
| Garlic Powder | Gives a subtle garlic flavor | Use sparingly to avoid bitterness |
| Herbs (optional) | Adds extra aroma | Use rosemary or thyme fresh or dried |
Selecting The Best Frying Pan
You need the right pan to cook porterhouse steak. The pan changes the heat and how the steak cooks. The best frying pan gives a nice crust and juicy inside. Learn exactly what to look for now.
Cast Iron Vs Stainless Steel
Cast iron pans hold heat well. They cook steaks very evenly. They give a great sear and stay hot for long. Stainless steel pans heat fast and are lighter. They do not hold heat as long. They are easier to clean and handle.
-
Cast iron: heavy, heats evenly, great sear.
-
Stainless steel: lighter, heats fast, easy to clean.
Pan Size And Heat Distribution
Pick a pan big enough for the steak to fit well. Crowding lowers pan heat and changes cooking results. Good pans spread the heat evenly inside. This helps the steak cook the same on all sides. It also avoids any hot spots. Use a pan at least 10–12 inches wide. A thick bottom helps spread the heat. Even heat stops burning in certain spots.
.png?v=1717620073076&options=w_870,h_700)
Credit: www.greenpan.us
Cooking Process
Cooking this steak in a pan needs us to pay attention. This guide covers key steps for a great sear and taste. Follow each part closely to get a juicy, flavorful steak. Control the heat and timing for the best results.
Preheating The Pan
Start by heating your frying pan over medium-high heat. A hot pan ensures a good sear and locks in juices.
- Choose a heavy pan like cast iron for even heat.
- Heat the pan for about 5 minutes before adding oil.
- Add a small amount of oil with a high smoke point.
- Wait until the oil shimmers but does not smoke.
- Food science experts advise on the ideal surface temperature for searing: “For a truly perfect, deep-brown crust (the Maillard reaction), the surface of your pan must reach at least 350°F (175°C). The easiest and most effective way to guarantee this is to let the pan heat for 5 minutes, add your oil, and wait until the oil is shimmering and just barely starting to smoke. Then, to prevent the temperature from dropping, gently add one extra teaspoon of butter just seconds before the steak goes in. The butter’s sizzle ensures the surface is optimally hot for an instant, deep sear.”
Searing Both Sides
Gently place the steak into the hot pan. Let it cook still for a great crust to form.
| Side | Cooking Time | Tip |
| First Side | 3–4 minutes | Check for golden-brown crust |
| Second Side | 3–4 minutes | Use tongs to flip carefully |
Managing Heat Levels
Change the heat to avoid burning the steak. Lower heat after searing both sides to finish. Start on medium-high heat to sear the meat. Reduce to medium or medium-low to cook inside. Use a meat thermometer to check doneness. Rest the steak for 5 minutes before cutting it.
Using Butter And Aromatics
Cooking this steak in a pan gives us rich flavors. Using butter and aromatics makes the steak taste better. Butter adds a creamy, rich taste. Garlic and herbs give fresh, strong aromas. These items help create a great crust and a juicy middle.
Adding Flavor With Butter
Butter melts fast and helps to brown the steak. It gives a nutty flavor. It also keeps the meat moist. Add butter near the end of cooking for best results. Use unsalted butter to control all salt levels. Add 2 tablespoons of butter to the hot pan. Spoon melted butter over the steak as it cooks. Remove the butter if it starts to burn. The butter helps create a rich, golden crust.
Incorporating Garlic And Herbs
Garlic and herbs give a fresh, earthy smell. They mix well with butter for deep steak flavor. Use fresh herbs and whole garlic cloves for best taste.
| Ingredient | Purpose |
| Garlic cloves (crushed) | Adds strong, savory aroma |
| Rosemary sprigs | Gives pine-like fresh flavor |
| Thyme sprigs | Offers subtle lemony notes |
| Butter | Carries the flavors and browns the steak |
Checking Doneness
Cooking this steak needs careful attention from us. Checking doneness ensures your steak is just right. You can check doneness with tools or use your touch. Both methods help you avoid undercooking or drying it.
Using A Meat Thermometer
A meat thermometer gives a clear reading of the steak’s temperature. Insert it into the thickest part, avoiding bones.
Here are the temperature ranges for doneness:
- Rare: 120°F to 125°F (49°C to 52°C)
- Medium Rare: 130°F to 135°F (54°C to 57°C)
- Medium: 140°F to 145°F (60°C to 63°C)
- Medium Well: 150°F to 155°F (65°C to 68°C)
- Well Done: 160°F and above (71°C+)
Remove the steak from the pan a few degrees before the target temperature. It will keep cooking as it rests.
Touch Test Method
The touch test checks doneness without any tools. It compares the steak’s firmness to parts of your hand. Rare feels soft like the fleshy part below your thumb when relaxed. Medium rare feels firmer. It is like touching your thumb to your index finger. Medium feels firmer. It is like touching your thumb to your middle finger. Well done feels very firm. It is like touching your thumb to your pinky finger. Press the steak gently to feel the firmness. This method works well, but it needs practice.
Resting The Steak
Resting the steak after cooking is important. Resting lets all the juices settle inside the meat. If you cut the steak too quickly, the juices will spill. This makes the steak dry and less tasty to eat.
Why Resting Matters
Resting helps the steak stay tender and moist. The meat fibers relax, and juices spread evenly. This improves both the flavor and the texture.
-
Prevents juice loss when cutting
-
Makes the meat more tender
-
Enhances flavor by keeping moisture
-
Allows even heat distribution inside the steak
Ideal Resting Time
Resting time depends on your steak’s thickness. Thicker steaks always need more time to rest.
| Steak Thickness | Resting Time |
| 1 inch (2.5 cm) | 5 minutes |
| 1.5 inches (3.8 cm) | 7–8 minutes |
| 2 inches (5 cm) or more | 10 minutes |
Serving Suggestions
Cooking this steak in a pan is simple and tasty. Serving it well makes the meal much better. Choosing the right sauces, sides, and toppings is key. They add flavor and balance to the dish. Here are easy ideas for a full meal with your steak.
Simple Sides To Pair
Porterhouse steak goes well with simple sides. These sides bring out the meat’s rich taste. Pick easy-to-prep vegetables, starches, or salads.
-
Steamed green beans or asparagus
-
Garlic mashed potatoes
-
Roasted sweet potatoes
-
Fresh garden salad with light dressing
-
Sautéed onions or mushrooms
Sauces And Toppings
Adding toppings or sauces improves the steak’s flavor. Choose simple options that do not overpower the meat.
-
Classic garlic butter melted on top
-
Chimichurri sauce for a fresh taste
-
Blue cheese crumbles for a sharp touch
-
Grilled onions or peppers for sweetness
-
Horseradish cream for a spicy kick
Common Mistakes To Avoid
Cooking this steak can be very simple for us. Still, some mistakes spoil the taste and texture. Avoiding these errors helps you get a very juicy steak. Read these tips now to learn common mistakes. Learn how to prevent these problems. This improves your cooking results every time.
Overcrowding The Pan
Putting too many steaks in the pan lowers the heat. This stops the meat from searing well. It makes the steak steam and lose flavor. Cook one or two steaks at a time for best heat control. Use a large pan to give each steak space. Leave space between steaks for air to move. Cook more steaks in batches to keep them warm.
Cutting Too Soon
Cutting the steak right after cooking lets the juices escape. This makes the meat dry and less tasty. Wait a few minutes before slicing it.
| When to Cut | Effect on Steak |
| Right after cooking | Juices run out, steak becomes dry |
| After resting 5–10 minutes | Juices stay inside, steak stays juicy |
Credit: frontierenaturalmeats.com
Frequently Asked Questions
How Long To Cook Porterhouse Steak In A Frying Pan?
Cook the porterhouse steak 4–5 minutes per side. Use high heat for this time. Adjust time for thickness and desired doneness. Use a meat thermometer for precision.
What’s The Best Oil For Frying Porterhouse Steak?
Use high smoke point oils. Try canola, avocado, or grapeseed oil. These oils stop burning. They help you get a perfect sear.
Should Porterhouse Steak Be Rested After Frying?
Yes, rest the steak for 5–10 minutes after cooking. This lets juices move, making the steak tender and flavorful.
How To Tell When Porterhouse Steak Is Perfectly Cooked?
Use a meat thermometer: 130°F for medium-rare, 140°F for medium. The steak should have a brown crust. It should feel firm yet springy.
Conclusion
Cooking this steak in a pan is simple and fast. You only need a few steps for a tasty result. Use high heat for a good sear. Cook it to the way you like it best. Let the steak rest before cutting. This keeps the meat juicy. With practice, you enjoy a delicious steak anytime. Try this method for a classic meal without a grill. It is perfect for any day or special occasion.
To see a visual, slow-motion guide on the critical butter-basting technique—which keeps the steak moist and builds a rich, savory crust—watch this easy tutorial:


