

Bake Amazing Loaf Pan Bread
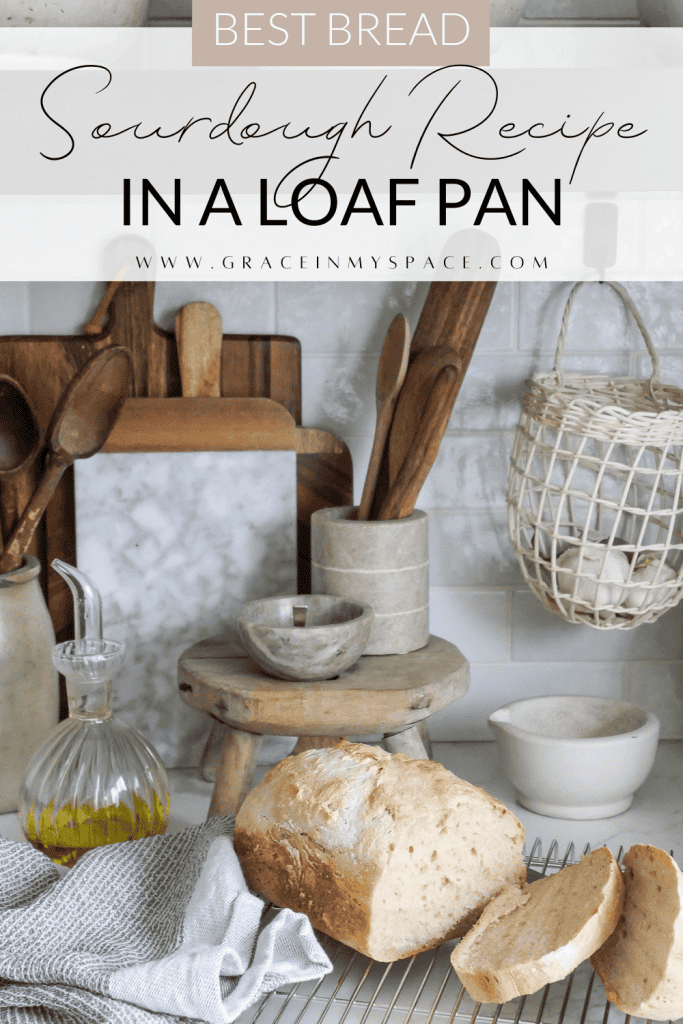
Imagine warm, freshly baked bread in your kitchen. The crust is golden, and the inside is wonderfully soft. The best part? We did not even need to knead it.
You are probably asking, “Can I Bake No Knead Bread in a Loaf Pan?” You are right to ask. Many home bakers wonder about this simple way. It promises delicious bread with very little work — and yes, it’s possible with the right tips and timing.
I will show you all about baking this bread in a loaf pan. You can make bakery-quality bread at home. Get ready to find the tips that will improve your baking. Your kitchen will smell like heaven.
Credit: graceinmyspace.com
Basics of No-Knead Bread
No-knead bread is an easy way to bake fresh bread. It uses a long, slow rest time. This method needs minimal effort. No heavy mixing is required.
You can bake no-knead bread in two ways. Use a loaf pan or a baking stone. The pan choice changes the loaf’s shape and crust.
What Makes It No-Knead?
This bread uses time instead of hard kneading. This develops the gluten. The dough is very wet and sticky. This helps the gluten form naturally. A long rest lets the yeast work slowly. The dough gains flavor without kneading.
-
Mix ingredients quickly until just combined.
-
Let the dough rest for 12 to 18 hours.
-
Bake in a hot oven. Covering it traps steam.
The dough rises slowly. It gets great flavor.
Key Ingredients and Their Job
| Ingredient | Job in No-Knead Bread |
| Flour | Gives the bread its main shape and gluten. |
| Water | Hydrates the flour and starts the yeast. |
| Yeast | Helps the dough rise. It creates flavor. |
| Salt | Controls how fast the yeast grows. It adds taste. |

Credit: www.youtube.com
Baking No-Knead Bread In A Loaf Pan
Baking in a loaf pan makes a classic shape. This pan helps the bread hold its form. It also helps it bake evenly.
This method is great for soft crust bread. It makes uniform, neat slices. Let’s review how to pick the pan. We also need to prepare the dough and pan.
Choosing The Right Loaf Pan
Pick a pan that fits your dough amount. Common sizes are 8×4 inches or 9×5 inches.
-
A metal pan spreads heat evenly.
-
Non-stick pans help bread come out easily.
-
Glass pans let you see the crust color.
-
High sides help the dough rise straight up.
Adjusting The Dough For The Pan
You must change the dough to fit your pan size. Too much dough spills over the sides. Too little dough creates a flat loaf.
| Dough Weight | Pan Size |
| 600 grams | 8×4 inches |
| 700 grams | 9×5 inches |
| 800 grams | 10×5 inches |
Shape the dough gently. Place it in the pan. Do not press too hard. This saves the air bubbles.
Preparing The Pan For Baking
Proper pan prep stops the bread from sticking. Lightly grease the pan. Or use parchment paper.
Try this easy prep method:
-
Brush the pan with butter or oil.
-
Cut parchment paper to fit the pan.
-
Let the paper edges hang over the sides.
-
Grease the paper lightly. The loaf will lift out.
Step-by-step Baking Process
Baking no-knead bread in a pan is simple. This method shapes the bread well. It makes slicing easy.
This guide shows you every step. Mix, rise, shape, and bake your bread easily.
Mixing And First Rise
Start by mixing flour, water, yeast, and salt. Use a large bowl for this. Stir until a rough ball forms. No kneading is necessary.
Cover the bowl well. Use plastic wrap or a damp towel. Let the dough rest for 12 to 18 hours. It will rise. The surface will become bubbly.
-
Water should be room temperature 70°f
-
Mix until no dry flour spots remain.
-
Cover tightly. This stops the dough from drying out.
-
The dough should double and be bubbly.
Shaping And Second Rise In Pan
Lightly flour your hands and work surface. Gently take the dough out of the bowl. Shape it into a loaf. Fold the edges underneath.
Place the dough into the greased loaf pan. Cover the pan again. Let it rise for 1 to 2 hours. The dough should puff up and fill the pan.
-
Use flour on your hands to prevent sticking.
-
Handle the dough gently. Keep the air bubbles inside.
-
Grease the loaf pan very well.
-
Second rise time depends on your kitchen temperature.
Baking Time And Temperature Tips
Preheat your oven to 375°F = 190°C. Bake the bread for 35 to 45 minutes. The crust should look golden brown.
Tap the bottom of the loaf to check if it is done. It should make a hollow sound. Let the bread cool before slicing. This gives the best texture.
-
Preheat the oven completely before you start.
-
Use an oven thermometer for accuracy.
-
Bake until the crust is firm and golden.
-
Cool the bread on a rack for a full hour.
- Executive pastry chefs view the cooling step as part of the baking process: “A loaf of bread is not technically ‘done’ when it leaves the oven; it’s still cooking as it cools. When you slice a hot loaf, the trapped steam turns the starches into a sticky, gummy texture. The golden rule is: You must let the internal temperature drop below 130°F (54°C) before slicing. An easy way to ensure this is to remove the loaf from the pan after 5 minutes and place it on a wire rack until the sides of the loaf feel cool to the touch.“
Common Challenges and Fixes
Baking this bread can have small issues. Sometimes the loaf is flat or dense. The crust might not be what you wanted. Also, sticking is a very common problem.
This guide helps you fix these problems. Use these tips to improve your bread. Get a better crust and texture. Remove the loaf from the pan easily.
Avoiding Dense Or Flat Loaves
Dense or flat bread happens for a few reasons. The dough may not be ready. Or maybe the baking was wrong. The yeast might not work well. Too much water is also a cause.
-
Check the yeast date. Ensure it is fresh for a good rise.
-
Use the correct flour amount. Too much or too little changes the texture.
-
Let the dough rise long enough at room temperature.
-
Do not open the oven door too soon when baking.
-
Be sure the pan size matches the dough amount.
Dealing With Crust Texture
The crust can be too soft, hard, or uneven. Oven heat, steam, and baking time cause this.
| Problem | Cause | Fix |
| Hard crust | Oven heat is too high. | Lower the temperature by $25^\circ \text{F}$. |
| Soft crust | Not enough time baking. | Bake for a few more minutes. |
| Uneven crust | No steam in the oven. | Place a pan of water in the oven. |
Preventing Sticking To The Pan
Sticking ruins the bread shape. Proper pan prep prevents this issue.
Try these steps to stop sticking:
-
Grease the loaf pan thoroughly with oil or butter.
-
Dust the pan with flour after greasing it.
-
Always let the bread cool completely before removal.
Enhancing Flavor And Texture
Baking in a loaf pan gives a good shape. It also lets you add flavor. You can boost the bread’s texture.
Use different ingredients. Try various toppings. This makes your bread more interesting.
Adding Seeds And Grains
Seeds and grains add crunch. They give a nutty flavor to the bread. Mix them into the dough. Or sprinkle them on top before baking.
-
Sunflower seeds add a light nutty taste.
-
Flaxseeds give a small crunch and healthy fats.
-
Pumpkin seeds give an earthy, sweet flavor.
-
Oats create a rustic look and a chewy feel.
Using Different Flours
Flours change the bread’s taste and inside structure. Mixing flours gives a unique flavor. It also creates a better texture.
| Flour Type | Flavor | Texture |
| Whole Wheat | Nutty and rich. | Hearty and dense. |
| Rye | Slightly earthy and sour. | Moist and chewy. |
| Spelt | Mildly sweet and nutty. | Light and tender. |
| All-Purpose | Neutral. | Soft and airy. |
Flavor Boosters And Toppings
Adding spices, herbs, or toppings makes the flavor better. It makes the loaf look very appealing.
Try these simple ideas:
-
Mix rosemary or thyme into the dough.
-
Use garlic powder for a savory taste.
-
Sprinkle coarse sea salt on the top.
-
Drizzle olive oil before baking for a crisp crust.
Credit: glorifiedhobby.com
Storing And Serving Tips
The loaf pan shape changes storage slightly. Good care keeps the bread fresh for a long time. These easy tips help you enjoy your bread for days.
Proper storage and reheating keeps it soft. Avoid mistakes that dry the bread.
Best Practices For Freshness
Let the bread cool fully before you store it. Warm bread traps wet air. This makes the inside soggy.
Store bread in a paper bag. Or wrap it loosely in a towel. This lets the bread breathe. It keeps the crust from softening.
-
Never store bread in plastic bags for too long.
-
Keep bread at room temperature. Store it away from light.
-
For long storage, slice and freeze it. Use an airtight bag.
Reheating Without Drying
Reheat the bread slowly. This keeps the inside soft. It keeps the outside crisp. Do not microwave it alone. This dries the bread quickly.
Use your oven or toaster oven. Wrap the bread in foil. This holds the moisture during warming.
-
Preheat your oven to 350°F = 175°C
-
Wrap the bread in foil to trap moisture.
-
Heat it for about 10 to 15 minutes.
-
Remove the foil for the last few minutes if you want a crisp crust.
Frequently Asked Questions
Can No-Knead Bread Be Baked In A Loaf Pan?
Yes, no-knead bread works well in a loaf pan. The pan gives it a good, uniform shape. You may need to change the baking time slightly. This ensures the inside cooks fully.
How Does Baking In A Loaf Pan Affect Crust?
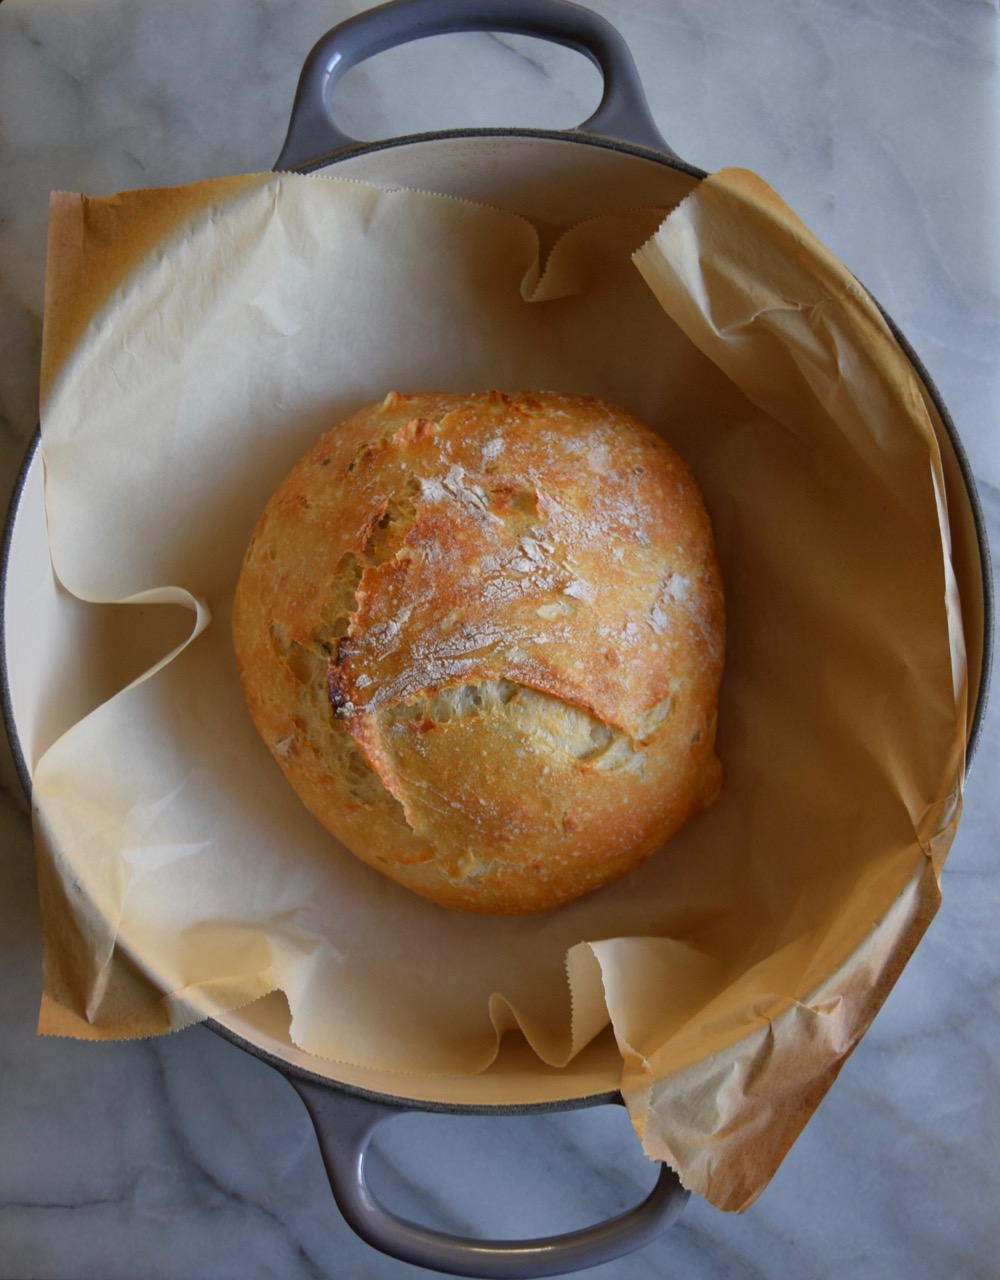
Baking in a pan gives you a softer crust. The pan traps moisture around the dough. For a crunchier crust, bake it uncovered. You could also use a Dutch oven.
Should I Adjust Baking Time For Loaf Pan Bread?
Yes, you might need to change the time a little. Loaf pans can slow down the cooking inside. Tap the bottom to check for a hollow sound. Or use a cooking thermometer.
What Size Loaf Pan Is Ideal For No-Knead Bread?
An 8×4 or 9×5 inch pan is best. These sizes let the dough rise correctly. Do not use pans that are too big or too small.
Conclusion
Baking no-knead bread in a loaf pan is easy. It works very well. It gives the bread a nice shape. It also stops the dough from spreading out. The crust is softer than a round loaf. The great taste remains the same.
You need patience and a little time for great results. Try this method. Enjoy fresh, homemade bread with less effort. This baking style fits busy lives and small kitchens. We believe in you! Give it a try. See how easy baking can be.



