
How to Clean Kitchen Aid Oven Racks: Complete Step-by-Step Guide
Are your Kitchen Aid oven racks looking a little worse for wear? Over time, those shiny racks can become coated with stubborn grease, grime, and baked-on food.
But don’t worry, getting them back to their gleaming best is easier than you might think. How to Clean Kitchen Aid Oven Racks is a common question, and the good news is that the process is simple. Imagine the satisfaction of sliding a perfectly clean rack into your oven, knowing that your next meal will taste even better. In this guide, you’ll discover simple, effective techniques to clean your Kitchen Aid oven racks without breaking a sweat.
Say goodbye to the hassle and hello to a spotless kitchen experience. Read on to learn how you can make your oven racks shine like new again.
Tools And Materials Needed
Cleaning your Kitchen Aid oven racks is easier with the right tools. Having proper materials helps remove grease and grime efficiently.
Prepare all supplies before starting to save time and avoid interruptions.
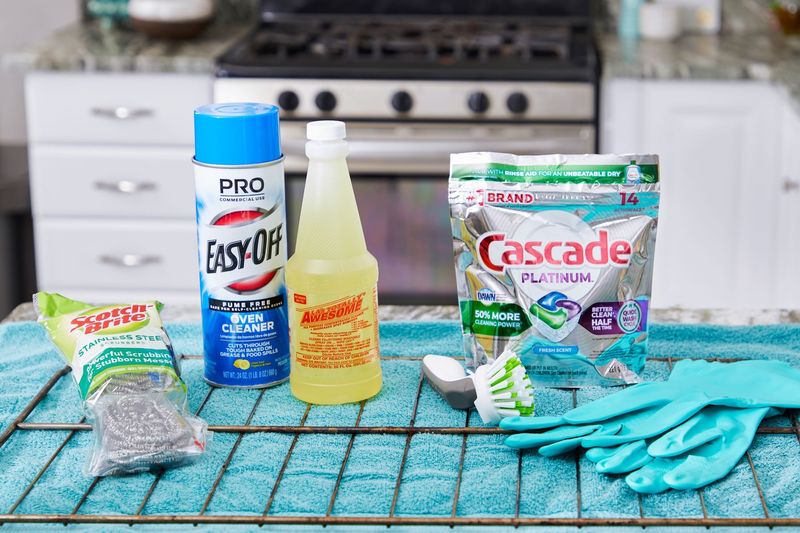
Essential Cleaning Supplies
You need a few basic supplies to clean oven racks well. These items remove dirt and protect the racks.
- Dish soap – breaks down grease
- Baking soda – acts as a gentle abrasive
- White vinegar – helps dissolve grime
- Non-abrasive scrub brush or sponge
- Large plastic bag or bathtub for soaking
- Old towels or cloths for drying
Safety Gear To Use
Wear safety gear to protect your skin and eyes from cleaning agents and dirt.
| Gear | Purpose |
| Rubber gloves | Protect hands from chemicals and grime |
| Safety goggles | Prevent splashes from reaching eyes |
| Old clothes or apron | Keep clothes clean from spills |
Credit: decorhint.com
Preparing Oven Racks For Cleaning
Cleaning your Kitchen Aid oven racks starts with proper preparation. Getting the racks ready helps remove tough grease and dirt easily.
Taking time to prepare the racks makes the cleaning process faster and more effective. Follow simple steps before washing.
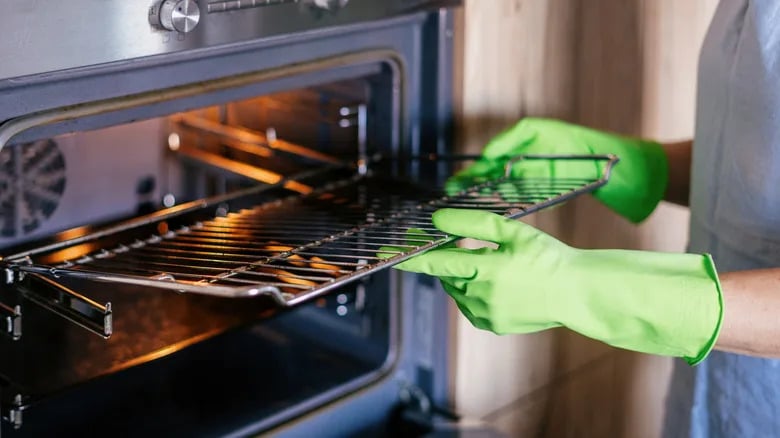
Removing The Racks Safely
Always make sure the oven is cool before removing the racks. Hot racks can cause burns or damage to your hands.
Use both hands to pull the racks out slowly. Avoid forcing them to prevent bending or scratching the oven walls.
- Turn off the oven and wait until it cools completely
- Open the oven door fully to access racks
- Hold each side of the rack firmly with both hands
- Pull the rack straight out without twisting
- Place the racks on a flat, stable surface for cleaning
Initial Dirt And Debris Removal
Before deep cleaning, remove loose dirt and crumbs from the racks. This helps the cleaning solution work better.
Use a dry cloth or a soft brush to wipe off food particles. Avoid using sharp tools that might scratch the racks.
- Shake the racks gently to dislodge loose crumbs
- Use a soft brush to sweep away stuck-on debris
- Wipe the racks with a dry cloth to remove dust
- Check for any stuck food and soften it with warm water if needed
Cleaning Methods To Try
Kitchen Aid oven racks can get greasy and dirty over time. Regular cleaning keeps them looking good and working well.
There are several ways to clean these racks. Some use simple home ingredients, while others need special cleaners.
Soaking In Warm Soapy Water
Fill a large basin or your bathtub with warm water and dish soap. Soak the oven racks for a few hours to loosen grime.
After soaking, scrub the racks gently with a sponge or brush. Rinse with clean water and dry before placing back in the oven.
Using Baking Soda And Vinegar
Baking soda and vinegar create a natural cleaning solution. It helps remove tough stains and grease.
- Sprinkle baking soda over the oven racks.
- Spray or pour vinegar onto the baking soda.
- Wait for the mixture to bubble and sit for 15 minutes.
- Scrub the racks with a brush or sponge.
- Rinse with warm water and dry.
Applying Commercial Oven Cleaner
Commercial oven cleaners are strong and remove heavy buildup quickly. Follow the instructions on the label carefully.
Wear gloves and work in a well-ventilated area. Apply cleaner, wait as directed, then scrub and rinse the racks thoroughly.
Alternative Natural Solutions
| Natural Cleaner | How to Use | Best For |
|---|---|---|
| Lemon Juice | Apply lemon juice and let sit for 10 minutes, then scrub. | Light stains and odors |
| Salt and Water Paste | Mix salt with water to form paste, scrub racks gently. | Removing rust and stuck-on grime |
| Hydrogen Peroxide | Spray on racks, wait 20 minutes, then scrub and rinse. | Disinfecting and stain removal |

Credit: www.amazon.ca
Scrubbing And Rinsing Techniques
Cleaning Kitchen Aid oven racks needs careful scrubbing and rinsing. Using the right tools helps remove grease and dirt well.
Good scrubbing and rinsing keep your racks shiny and safe to use. Learn easy methods to clean them properly.
Choosing The Right Scrubbing Tools
Selecting the right tools makes cleaning faster and protects your oven racks. Use soft but strong scrubbers to avoid damage.
- Non-abrasive scrub brushes
- Soft steel wool pads
- Sponges with scrub sides
- Old toothbrushes for corners
- Rubber gloves to protect hands
Effective Scrubbing Tips
Scrubbing well removes stuck-on food and grease. Soak racks in warm, soapy water before scrubbing to soften grime.
- Apply dish soap or baking soda paste
- Scrub gently in circular motions
- Pay close attention to corners and joints
- Rinse scrubber often to avoid spreading dirt
- Use a toothbrush for tight spots
Thorough Rinsing Process
Rinsing removes soap and loosened grime to leave racks clean. Rinse racks well under warm running water.
| Rinsing Step | Details |
|---|---|
| Initial rinse | Use warm water to wash off soap and debris |
| Inspect | Check for any spots missed during scrubbing |
| Final rinse | Use clean water to clear all residues |
| Drying | Air dry or wipe with a clean cloth to prevent rust |
Drying And Reinstalling Racks
Cleaning your Kitchen Aid oven racks is only half the job. Drying them properly and putting them back correctly helps keep your oven safe and working well.
Wet racks can cause rust or damage to your oven. Installing racks in the right order keeps your food cooking evenly.
Best Practices For Drying
After washing your oven racks, dry them completely before reinstalling. Use a clean towel or let them air dry in a dry area.
- Use a microfiber or cotton towel to wipe off water.
- Place racks on a drying rack or clean surface to air dry.
- Make sure no moisture remains in corners or joints.
- Allow at least one hour for air drying if not towel dried.
Properly Placing Racks Back
Put the racks back into the oven carefully. Each rack has a correct height and position for even cooking and safety.
| Rack Position | Purpose |
| Bottom Rack | Best for slow cooking and roasting |
| Middle Rack | Ideal for baking and even heat |
| Top Rack | Used for broiling or quick cooking |
Slide racks into the oven grooves straight and level. Avoid forcing the racks to prevent bending or damage.
Maintenance Tips For Lasting Cleanliness
Keeping your Kitchen Aid oven racks clean helps your oven work better. Good care stops stains and grime from building up. Clean racks also make cooking safer and more enjoyable.
Use simple steps to keep your oven racks in top shape. Regular cleaning and quick wipe downs save time and effort. Follow these tips to keep your racks shiny and long-lasting.
Regular Cleaning Schedule
Set a cleaning routine for your oven racks. Clean them deeply every few weeks. This stops grease and food bits from hardening on the racks.
- Remove racks from the oven once a month.
- Soak racks in warm, soapy water for 30 minutes.
- Scrub with a soft brush or sponge to remove dirt.
- Rinse with clean water and dry fully before placing back.
Preventing Build-up
Stop build-up by protecting your oven racks during cooking. Use trays or liners to catch spills. Avoid letting food drip directly on the racks.
| Tip | How It Helps |
| Use oven liners | Catches spills before they harden |
| Place baking sheets under dishes | Prevents grease from reaching racks |
| Clean spills right away | Stops stains from setting |
Quick Daily Wipe Downs
Wipe your oven racks each day after use. This keeps dirt from piling up. Use a damp cloth and mild cleaner for best results.
- Wait for racks to cool before wiping.
- Use a soft cloth or sponge with warm water.
- Dry racks with a clean towel to avoid rust.
- Do not use harsh chemicals that can damage the finish.

Credit: www.kitchenaid.ca
Frequently Asked Questions
How Do I Remove Kitchen Aid Oven Racks Safely?
To remove Kitchen Aid oven racks, first ensure the oven is cool. Pull the rack gently towards you, lifting slightly if needed. Avoid forcing it to prevent damage. Always handle racks with care to maintain their shape and functionality.
What Is The Best Cleaner For Kitchen Aid Oven Racks?
Use a mild dish soap mixed with warm water for routine cleaning. For tough stains, a baking soda paste or commercial oven rack cleaner works well. Avoid harsh chemicals that can damage the rack’s finish or leave harmful residues.
Can I Clean Kitchen Aid Oven Racks In The Dishwasher?
Most Kitchen Aid oven racks are dishwasher safe. Place them on the bottom rack to avoid damage. Check your oven’s manual to confirm. Hand washing is recommended for heavily soiled racks to ensure thorough cleaning.
How Often Should I Clean My Kitchen Aid Oven Racks?
Clean oven racks every 3 to 6 months or as needed. Frequent cooking with spills or grease buildup requires more regular cleaning. Keeping racks clean improves oven performance and prevents smoke or odors during baking.
Conclusion
Cleaning Kitchen Aid oven racks does not have to be hard. Use gentle cleaners and warm water for best results. Soak racks to remove tough grime easily. Scrub carefully to avoid scratching the metal. Dry racks well before placing them back in the oven.
Regular cleaning keeps your oven racks shiny and working well. A clean oven rack helps your food cook evenly. Small efforts bring big results in kitchen care. Keep your racks clean for a fresher cooking space. Simple steps make cleaning quick and stress-free.


