
If you love cooking with your cast iron Dutch oven, keeping it in top shape is a must. Over time, the seasoning on your Dutch oven can wear off, causing food to stick and flavors to change.
But don’t worry—reseasoning your cast iron is easier than you think. You’ll discover simple steps to bring back that smooth, non-stick surface you love. By the end, your Dutch oven will be ready to cook like new again. Keep reading to learn how to give your cast iron the care it deserves.
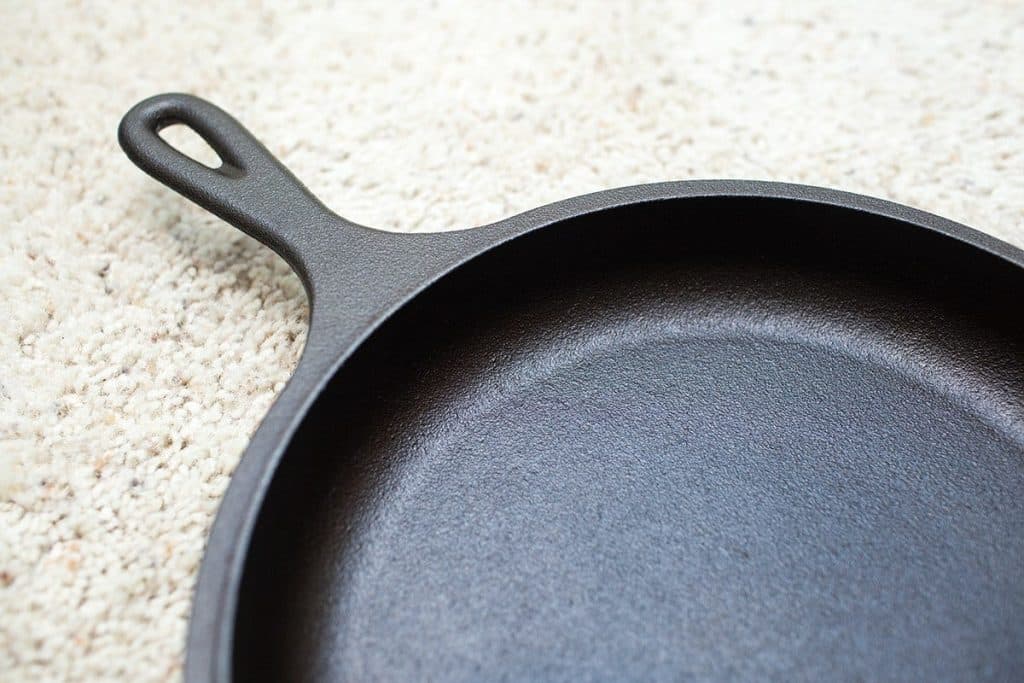
Credit: www.martieduncan.com
Why Reseason Cast Iron
Cast iron cookware needs care to last long. Reseasoning keeps the surface non-stick and rust-free.
Without reseasoning, your Dutch oven can lose its cooking quality. It may also develop rust.
Benefits Of A Well-seasoned Dutch Oven
A good seasoning layer protects your Dutch oven and improves cooking. It makes cleaning easier and adds flavor to food.
- Prevents rust and corrosion
- Creates a natural non-stick surface
- Enhances heat retention and even cooking
- Reduces the need for oil when cooking
- Improves flavor by building layers over time
Signs Your Dutch Oven Needs Reseasoning
Knowing when to reseason helps keep your cast iron in top shape. Look for changes in color and texture.
| Sign | What It Means |
| Dull or gray surface | Seasoning has worn off |
| Sticky or gummy residue | Old oil not fully polymerized |
| Rust spots | Protective layer is damaged |
| Food sticks more than usual | Non-stick layer is gone |
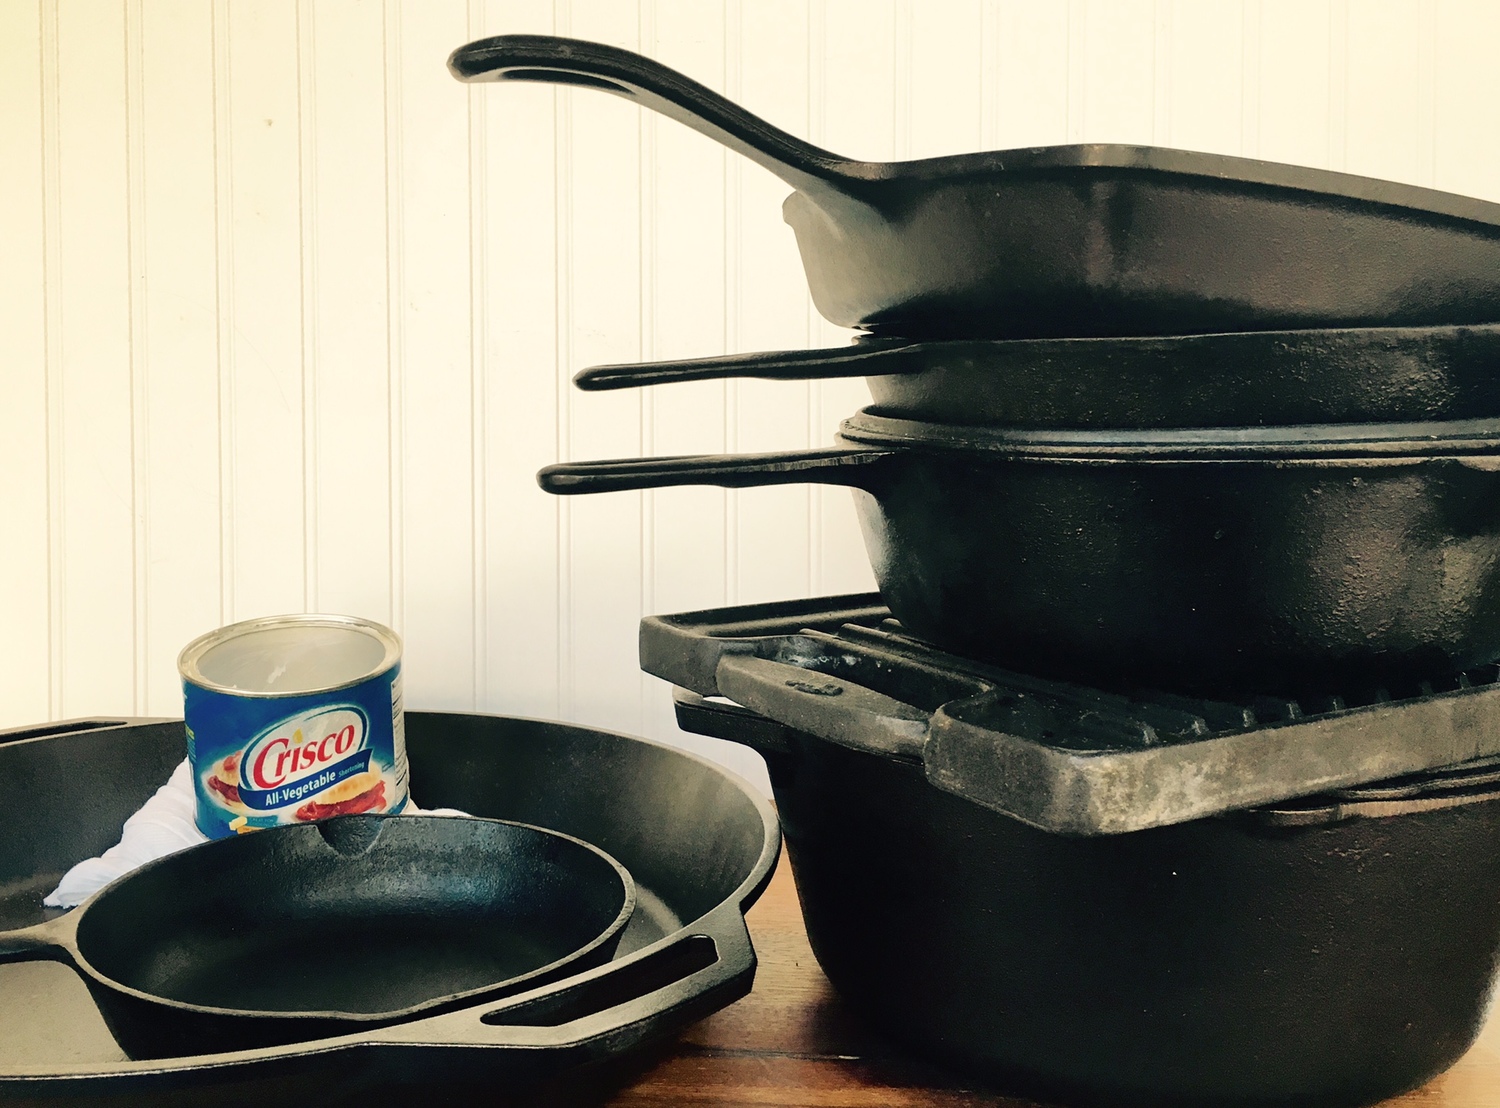
Gathering Supplies
Reseasoning a cast iron Dutch oven needs the right supplies. This helps protect the pot and keep it cooking well.
Collecting everything before you start makes the process smooth and easy.
Essential Tools And Ingredients
You need a few tools and ingredients to reseason your Dutch oven. These items help clean and coat the pot evenly.
- Cast iron Dutch oven
- Non-metal scrubber or stiff brush
- Dish soap (for initial cleaning only)
- Lint-free cloth or paper towels
- Oven or heat source
- Oven mitts or heat-resistant gloves
Choosing The Right Oil For Seasoning
Picking the right oil is key to a strong, non-stick layer. Different oils have different smoke points and flavors.
| Oil Type | Smoke Point | Notes |
|---|---|---|
| Flaxseed Oil | 225°F (107°C) | Creates a hard, durable layer but can be costly |
| Vegetable Oil | 400°F (204°C) | Common and affordable, good for general use |
| Canola Oil | 400°F (204°C) | Neutral flavor, widely available |
| Grapeseed Oil | 420°F (216°C) | High smoke point, good for high heat |
| Avocado Oil | 520°F (271°C) | Very high smoke point, mild flavor |
Cleaning Your Dutch Oven
Cleaning your cast iron Dutch oven is an important step before reseasoning. Proper cleaning removes dirt, rust, and old seasoning that can affect the new layer.
Use gentle but effective methods to keep your Dutch oven in good shape for cooking.
Removing Rust And Old Seasoning
Rust and old seasoning can build up on your Dutch oven over time. Removing these helps create a smooth surface for reseasoning.
Use steel wool or a stiff brush to scrub away rust and old layers. You can also use a mixture of vinegar and water to help dissolve rust.
- Scrub with steel wool or a stiff brush
- Soak in a 1:1 vinegar and water solution for up to one hour
- Rinse thoroughly with water after soaking
- Repeat scrubbing if rust remains
Washing And Drying Techniques
After removing rust and old seasoning, wash your Dutch oven with warm water. Avoid soap if possible, as it can remove seasoning.
Dry your Dutch oven completely to stop rust from forming again. Use a towel or heat it on the stove to evaporate moisture.
- Rinse with warm water only
- Use a soft brush or sponge to clean
- Dry with a clean towel immediately
- Heat on low stove burner for 5-10 minutes
- Apply a thin layer of oil after drying
Applying Oil Properly
Reseasoning your cast iron Dutch oven keeps it non-stick and rust-free. Applying oil the right way is key to a strong seasoning layer.
Using too much or too little oil can cause problems. Learn how to apply oil evenly and avoid sticky spots for the best results.
Coating The Surface Evenly
Use a clean cloth or paper towel to spread a thin layer of oil. Make sure every part of the Dutch oven is covered.
Pay close attention to the inside, outside, lid, and handles. An even coat builds a smooth, protective surface.
- Apply a small amount of oil to avoid pooling.
- Rub the oil in circular motions for full coverage.
- Check corners and seams for missed spots.
- Wipe off excess oil after coating.
Tips For Avoiding Sticky Residue
Sticky residue happens when too much oil stays on the surface. This can make your Dutch oven sticky and uneven.
To stop this, wipe off extra oil before heating. Thin layers bake better and last longer.
- Use less oil than you think you need.
- Wipe the Dutch oven with a clean cloth after applying oil.
- Heat the oven slowly to cure the oil properly.
- If sticky spots appear, scrub gently and reseason.
Baking For Seasoning
Reseasoning a cast iron Dutch oven helps keep it non-stick and rust-free. Baking is a common way to add a protective layer to the surface.
This process uses heat to bond oil to the metal. It creates a smooth, durable coating for better cooking.
Setting The Oven Temperature
Choose a temperature between 350°F and 450°F for seasoning. This range is hot enough to bake the oil onto the cast iron.
Too low, and the oil won’t bond well. Too high, and the oil might burn and cause a sticky surface.
- Preheat your oven to 400°F for best results
- Avoid temperatures above 450°F
- Use an oven thermometer to check accuracy
Optimal Baking Duration
Bake your Dutch oven for about one hour to create a good seasoning layer. This gives enough time for the oil to polymerize on the surface.
Longer baking can build stronger layers, but avoid baking too long. Overdoing it may cause flaking or uneven seasoning.
- One hour is the ideal baking time
- Do not exceed two hours to prevent damage
- Repeat seasoning if needed for a thicker coat
Cooling Down Safely
Let the Dutch oven cool down inside the oven after baking. This helps the seasoning set slowly and prevents cracks.
Removing it while hot can cause sudden temperature changes. These changes might harm the cast iron or the seasoning layer.
- Turn off the oven and leave the Dutch oven inside
- Wait until it reaches room temperature before handling
- Wipe off any excess oil after cooling
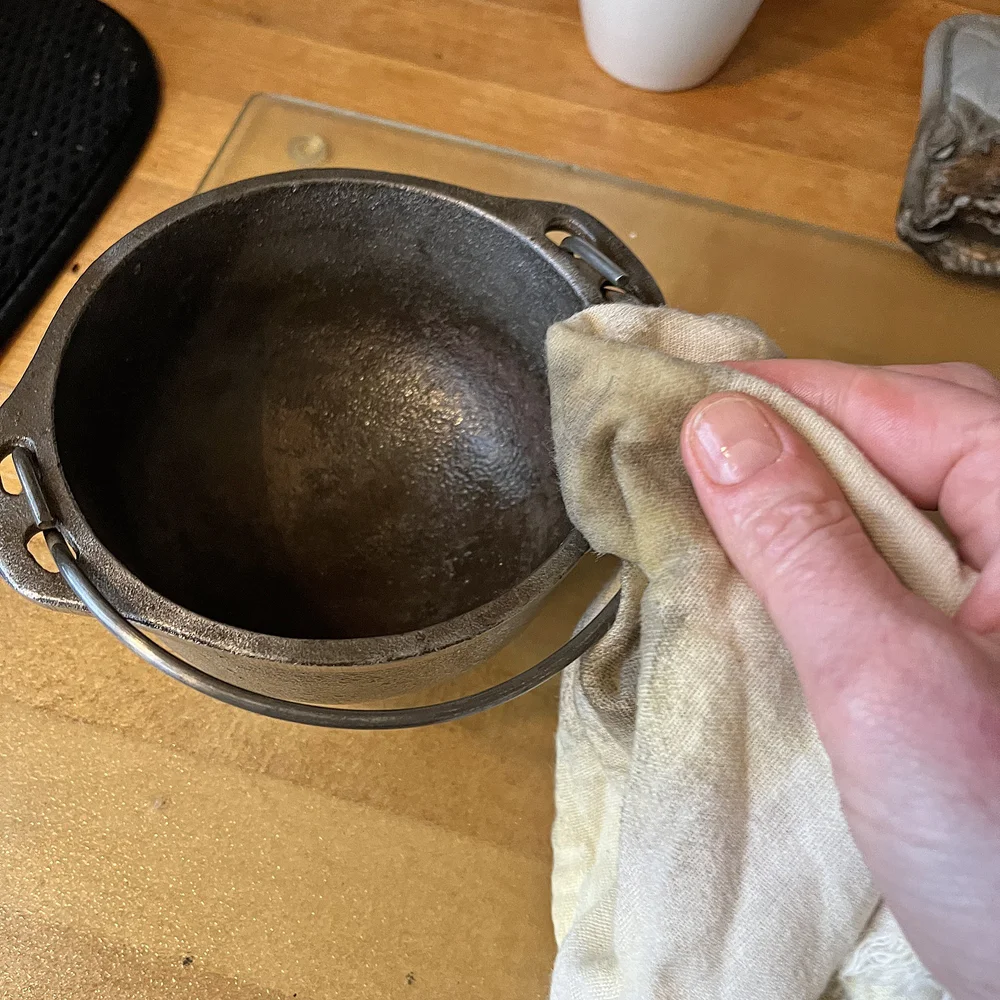
Credit: www.greenwitchvintage.com
Maintaining Seasoning Over Time
Seasoning keeps your cast iron Dutch oven non-stick and rust-free. It needs care after each use to last long.
Follow simple steps to clean, touch up, and store your Dutch oven. These habits keep the seasoning strong.
Cleaning After Each Use
Clean your Dutch oven with warm water and a soft sponge. Avoid soap or harsh scrubbers that remove seasoning.
- Use hot water to loosen food bits
- Gently scrub with a brush or sponge
- Dry completely with a towel
- Apply a thin layer of oil to protect the surface
Periodic Touch-up Seasoning
Touch up seasoning every few months or if food starts sticking. This keeps the surface smooth and shiny.
| What to Do | How to Do It |
| Clean Dutch oven | Use warm water, dry fully |
| Apply oil | Rub a thin layer of vegetable oil inside and out |
| Heat oven | Preheat oven to 350°F (175°C) |
| Bake Dutch oven | Place upside down for 1 hour, then cool |
Storing Your Dutch Oven Correctly
Store your Dutch oven in a dry place with the lid off or slightly ajar. This stops moisture build-up and rust.
Tips for storage:
- Keep it in a cool, dry cabinet
- Place a paper towel inside to absorb moisture
- Do not stack heavy items on top
Troubleshooting Common Issues
Reseasoning a cast iron Dutch oven is simple, but some problems can happen. Knowing how to fix them helps keep your cookware in great shape.
Rust spots and sticky or flaky surfaces are common issues. Fixing these problems makes your Dutch oven last longer and cook better.
Handling Rust Spots
Rust spots appear when moisture stays on the cast iron too long. You can remove rust without damaging the pot’s seasoning.
Start by scrubbing the rust gently with steel wool or a stiff brush. Rinse and dry the Dutch oven well to stop more rust from forming.
- Use mild soap if needed to clean rust
- Dry completely with a towel or heat on low stove
- Apply a thin layer of oil after cleaning
- Heat the pot in the oven to seal the oil
Fixing Sticky Or Flaky Surfaces
A sticky or flaky surface means the seasoning layer did not set right. This often happens if too much oil was used or the oven temperature was too low.
To fix this, remove the bad seasoning by scrubbing with hot water and a brush. Avoid soap if possible. Dry the pot fully before reseasoning.
- Use a thin coat of oil to avoid stickiness
- Heat the Dutch oven at 400°F (200°C) for one hour
- Let it cool slowly in the oven to finish seasoning
- Repeat seasoning if needed for a smooth surface

Credit: medium.com
Frequently Asked Questions
How Often Should I Reseason A Cast Iron Dutch Oven?
Reseason your Dutch oven when food sticks or rust appears. Typically, reseason every 6 months with regular use. Proper care extends its non-stick surface and prevents damage.
What Oil Is Best For Reseasoning Cast Iron?
Use flaxseed, vegetable, or canola oil for reseasoning. These oils polymerize well, creating a durable, non-stick coating. Avoid olive oil as it may not season properly.
Can I Reseason A Dutch Oven In A Regular Oven?
Yes, preheat your oven to 450°F (232°C). Coat the Dutch oven with oil and bake upside down for one hour. This process builds a strong seasoning layer.
Is Reseasoning Necessary After Cleaning With Soap?
Yes, soap can strip the seasoning. Always reseason after soap cleaning to maintain the protective, non-stick surface and prevent rust on your Dutch oven.
Conclusion
Reseasoning a cast iron Dutch oven is easy and rewarding. Regular care extends its life and improves cooking. Start with clean, dry cookware. Apply a thin oil layer evenly. Heat it until it smokes. Let it cool before storing. This process maintains a non-stick surface.
Also protects against rust. Use your Dutch oven for diverse dishes. Soups, stews, and baking become effortless. Enjoy cooking with your well-cared-for Dutch oven. It’s a kitchen essential that lasts generations. Keep seasoning simple and routine. Your meals will thank you.


