
Replacing a kitchen drawer might seem like a daunting task, but it doesn’t have to be. Imagine the satisfaction of smoothly sliding open a drawer that you installed yourself.
Whether you’re dealing with a broken drawer or just want to upgrade, doing it yourself can save you money and give you a sense of accomplishment. You don’t need to be a professional carpenter to tackle this project. With a few tools and the right steps, you can have a new, functional drawer in no time.
Intrigued? Stick around to discover the simple steps that will guide you through replacing your kitchen drawer with ease. Your kitchen deserves a refresh, and it starts here.
Tools And Materials Needed
Replacing a kitchen drawer requires some basic tools and materials. Having the right items makes the job easier and faster.
This guide lists the essential tools and materials you need for a smooth drawer replacement process.
Screwdriver Set
A screwdriver set is important to remove and attach screws on the drawer and cabinet. Use the correct type and size to avoid damage.
- Phillips head screwdriver
- Flat head screwdriver
- Optional: electric screwdriver for speed
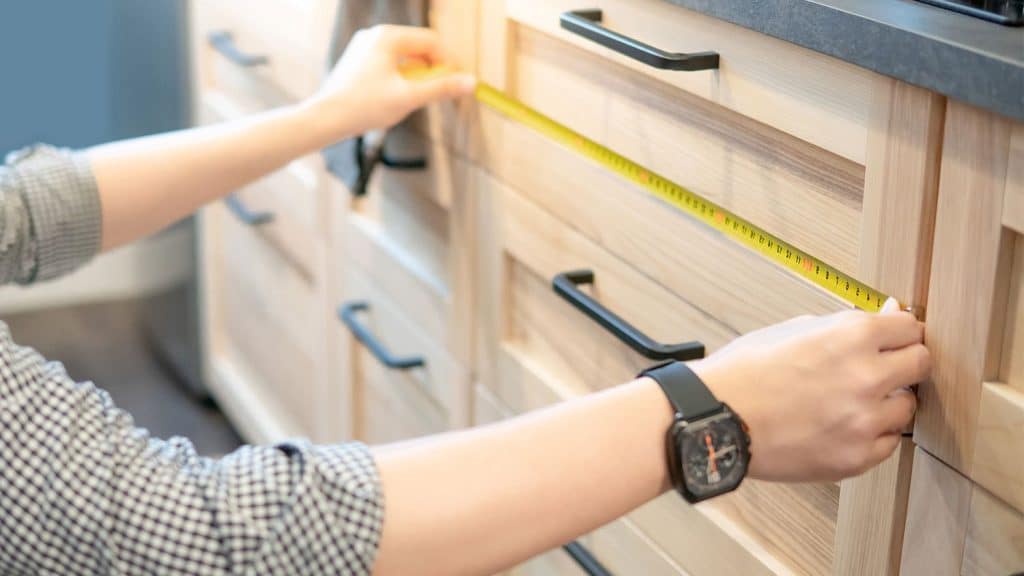
Measuring Tape
Measure the drawer and cabinet space carefully. This helps you choose the right replacement drawer size.
Accurate measurements prevent fitting problems later on.
Replacement Drawer
Choose a replacement drawer that fits your kitchen cabinet. Match the style and material for a consistent look.
Check if the drawer comes with slides or if you need to buy them separately.
Drawer Slides
Drawer slides allow the drawer to open and close smoothly. Select slides that match the drawer size and weight.
- Side-mount slides
- Under-mount slides
- Center-mount slides
Drill And Drill Bits
A drill helps you make holes for screws quickly and accurately. Use drill bits sized for your screws.
Drilling pilot holes prevents wood from splitting when installing the drawer slides.
Level Tool
A level tool ensures the drawer slides and drawer are installed straight. This helps the drawer work properly.
Check both horizontal and vertical alignment during installation.
Pencil
Use a pencil to mark where screws and slides will go. Clear markings make installation easier and more precise.
Safety Gear
Wear safety glasses to protect your eyes from dust and wood chips. Gloves can protect your hands during work.

Credit: www.familyhandyman.com
Remove The Old Drawer
Removing an old kitchen drawer is the first step to replacing it. You must take care to avoid damage to the cabinet or drawer parts.
Follow simple actions to safely remove the drawer before installing a new one.
Empty The Drawer
Start by removing everything inside the drawer. Empty drawers are lighter and easier to handle.
Remove all utensils, kitchen tools, or any stored items before you pull the drawer out.
Detach Drawer Slides
Locate the drawer slides on each side of the drawer. These help the drawer open and close smoothly.
Press or lift the release levers on the slides. This action frees the drawer from the cabinet.
- Find the small lever or tab on each slide
- Press or lift both levers at the same time
- Pull the drawer gently towards you
Take Out The Drawer Box
After detaching the slides, carefully pull the drawer box out of the cabinet. Support the bottom to avoid dropping it.
Place the drawer box on a flat surface. Inspect it for damage before installing a new drawer.
Measure For The New Drawer
Replacing a kitchen drawer needs exact measurements. Measure carefully to fit the new drawer well.
Check the drawer size and parts before buying a replacement. This saves time and effort.
Measure Width And Height
Start by measuring the drawer’s width. Use a tape measure for accuracy.
Measure inside the cabinet where the drawer fits. This ensures the drawer slides smoothly.
- Width: Measure left to right inside the cabinet.
- Height: Measure top to bottom inside the cabinet space.
- Note: Do not include the drawer slides in these measurements.
Check Drawer Slide Compatibility
Check the type of drawer slides you have. Different slides need different drawer sizes.
Look at the slide length and mounting style. Match these with the new drawer parts.
- Side-mount slides attach to drawer sides and cabinet.
- Under-mount slides fix under the drawer bottom.
- Center-mount slides attach under the drawer center.
- Measure slide length to match drawer depth.
Choose The Replacement Drawer
Replacing a kitchen drawer needs careful choice to match your cabinet. Picking the right drawer makes your kitchen look better and work well.
Focus on the material and style first. Then, get the right drawer slides to fit and function smoothly.
Select Material And Style
Choose a drawer material that suits your kitchen’s look and use. Wood is common for its classic style. Metal fits modern kitchens and lasts long. Plastic works for light use or budget options.
- Wood: strong and classic
- Metal: durable and modern
- Plastic: lightweight and affordable
For style, match the drawer front to your cabinet doors. Consider the color, finish, and handle type. This keeps your kitchen’s design consistent.
Purchase Drawer Slides
Drawer slides let your drawer open and close smoothly. Choose slides that fit the drawer size and weight. There are side-mount, under-mount, and center-mount types.
| Slide Type | Position | Features |
| Side-mount | On drawer sides | Easy to install, visible when open |
| Under-mount | Under drawer | Hidden, smooth movement |
| Center-mount | Under middle | Supports weight, simple design |
Install The New Drawer Slides
Installing new drawer slides helps your kitchen drawers open and close smoothly. You need to attach slides to both the cabinet and the drawer carefully.
Follow clear steps to fit the slides properly. This will make your drawer work like new.
Attach Slides To Cabinet
First, find the right spot inside the cabinet to attach the drawer slides. Make sure the slides are level and aligned with each other.
Use screws to secure the slides to the cabinet walls. Check that the slides are straight before tightening the screws fully.
- Measure the height and depth inside the cabinet
- Mark screw holes on the cabinet side walls
- Place the slide with the wheel or ball bearing facing out
- Screw the slide in place using a drill or screwdriver
- Repeat for the other side, ensuring both slides are level
Attach Slides To Drawer
Next, attach the matching part of the slides to the sides of the drawer. Align the slides so the drawer fits well inside the cabinet slides.
Secure the slides with screws. Make sure the slides are flush with the drawer edges for smooth movement.
- Position the slide on each drawer side, near the bottom edge
- Mark the screw holes on the drawer sides
- Attach the slides using screws and a screwdriver
- Check that the slides are straight and secure
- Test the drawer by sliding it into the cabinet slides
Fit The New Drawer
Replacing a kitchen drawer needs careful fitting. A good fit keeps the drawer working well and looking neat.
Follow simple steps to place the new drawer correctly in the cabinet.
Align Drawer With Slides
Start by lining up the drawer sides with the cabinet slides. The slides help the drawer move smoothly.
Check that the drawer fits evenly on both sides. Misalignment can cause the drawer to stick or fall off.
- Hold the drawer level with the slides
- Push the drawer gently into the cabinet
- Make sure both sides click or lock into place
- If slides have stops, ensure the drawer reaches them
Test Smooth Operation
After fitting, open and close the drawer several times. It should move without sticking or noise.
If the drawer does not slide smoothly, check the alignment and adjust as needed. Tighten any loose screws.
- Open the drawer fully and close it gently
- Listen for any scraping or rubbing sounds
- Feel for resistance or uneven movement
- Adjust slides or reposition the drawer if needed
Adjust And Secure
Replacing a kitchen drawer needs careful adjustments. You want it to fit well and work smoothly.
After fitting the drawer, you must secure it firmly. This stops it from moving or falling out.
Make Alignment Adjustments
Check if the drawer slides evenly on both sides. Uneven slides cause it to stick or tilt.
Move the drawer back and forth. Notice if it rubs or jams anywhere. Small changes in placement help.
- Adjust the rails to be level and straight
- Ensure the drawer front is flush with the cabinet
- Use a level tool to check horizontal alignment
Tighten Screws And Fasteners
Loose screws make drawers wobbly or fall apart. Tighten all screws firmly but do not strip them.
Check screws on rails, sides, and the drawer front. Use a screwdriver or drill with the right bit size.
- Tighten screws on drawer slides
- Secure screws holding the drawer box
- Check the drawer handle screws
Credit: hanashappyhome.com
Upgrade Tips And Tricks
Replacing a kitchen drawer can improve both looks and function. Simple upgrades can make your kitchen easier to use.
Try adding new features to your drawers for a better experience. Small changes can have a big effect.
Add Soft-close Mechanisms
Soft-close mechanisms stop drawers from slamming shut. This protects your drawers and cabinets.
These mechanisms are easy to install and work quietly. They also make your kitchen feel more modern.
- Prevents noise from closing drawers
- Reduces wear and tear on furniture
- Easy to add to most drawer types
- Improves safety by avoiding pinched fingers
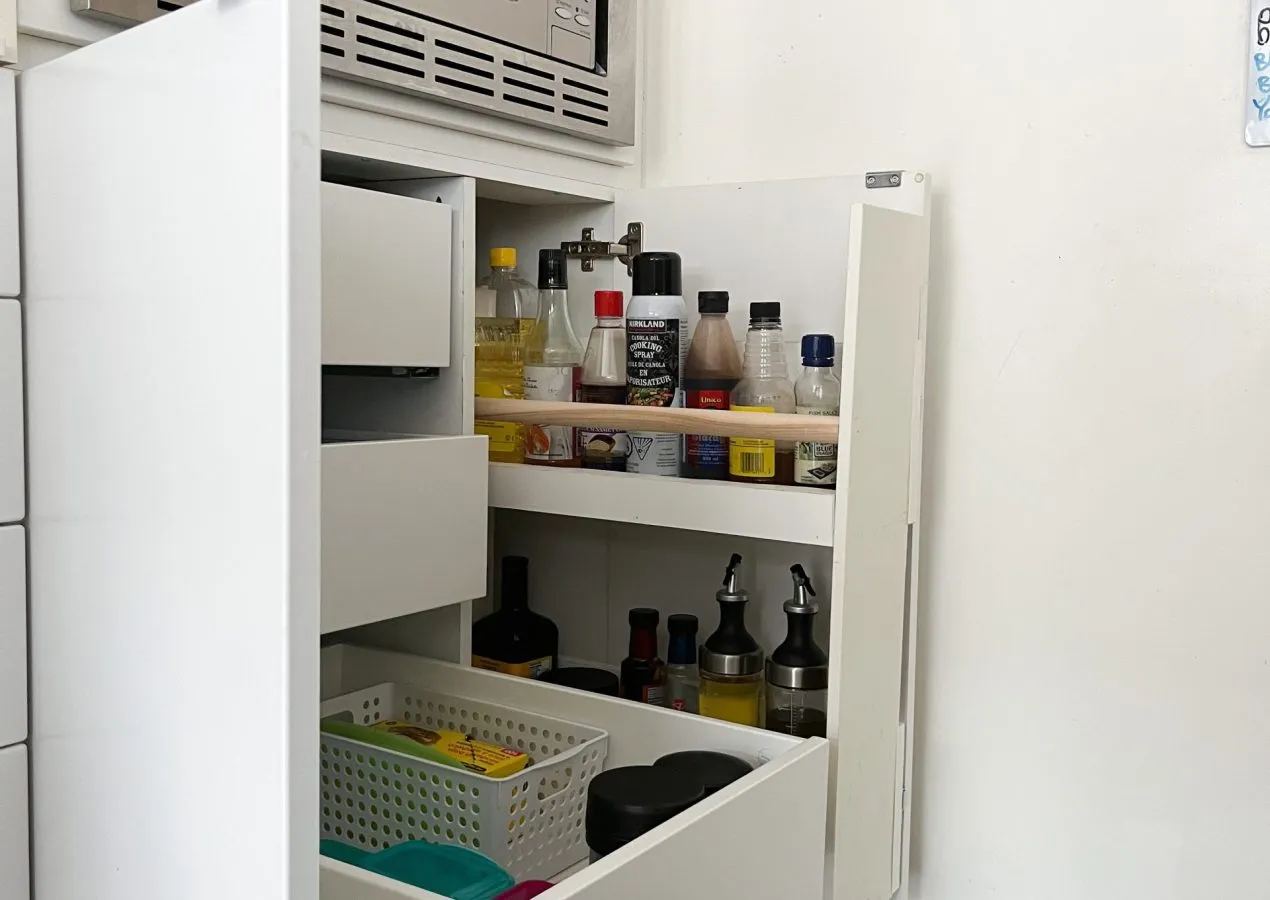
Improve Drawer Organization
Good organization keeps your kitchen tidy and tools easy to find. Use organizers to divide space inside drawers.
Custom inserts fit your needs and keep items in place. This saves time and reduces mess.
- Use trays or dividers for utensils and tools
- Label sections to find items fast
- Choose adjustable inserts for different drawer sizes
- Keep similar items grouped together

Credit: www.youtube.com
Frequently Asked Questions
How Do I Remove An Old Kitchen Drawer Safely?
First, empty the drawer completely. Then, unlock or unscrew the drawer slides. Gently pull the drawer out, avoiding damage to the cabinet. If stuck, check for hidden screws or nails.
What Tools Are Needed To Replace A Kitchen Drawer?
You typically need a screwdriver, drill, measuring tape, and new drawer slides. A hammer and wood glue may help. Having a level ensures proper alignment during installation.
How Do I Measure For A Replacement Kitchen Drawer?
Measure the drawer’s width, height, and depth accurately. Include the thickness of the drawer front and sides. Use a tape measure and record all dimensions before purchasing a replacement.
Can I Upgrade To Soft-close Kitchen Drawer Slides?
Yes, soft-close slides are easy to install and improve functionality. Remove old slides and attach new ones to the cabinet and drawer. Ensure the slides match your drawer’s size and weight capacity.
Conclusion
Replacing a kitchen drawer can be simple and quick. Follow each step with care and patience. Use the right tools to avoid damage or mistakes. Take your time to measure and align parts correctly. A well-fitted drawer improves your kitchen’s look and function.
This small project saves money and boosts confidence in DIY tasks. Try it yourself and enjoy the satisfaction of fixing something. Keep practicing to handle more home repairs in the future. Small efforts bring big changes to your living space.


