
Are your kitchen cabinet drawers sticking, wobbling, or not sliding smoothly? If so, it’s time to replace the drawer slides.
You might think this is a complicated job, but with the right steps, you can fix it yourself quickly and easily. Imagine opening your drawers without any hassle or noise—that’s exactly what you’ll get after replacing those worn-out slides. Keep reading, and you’ll discover simple tips and clear instructions that will help you restore your kitchen’s functionality and make your drawers glide like new again.
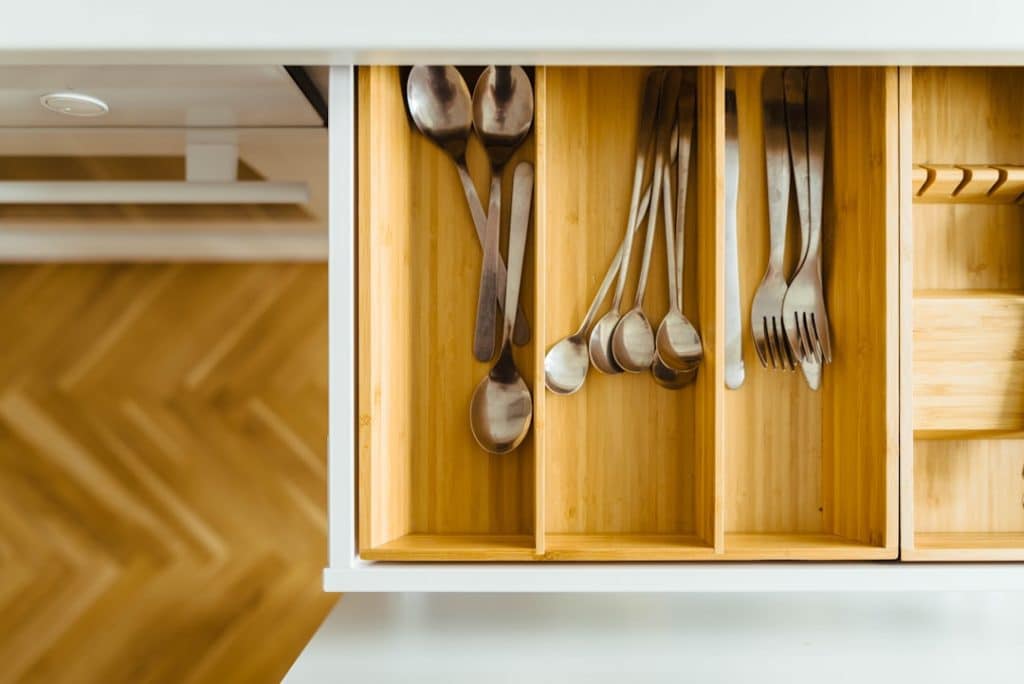
Credit: hanashappyhome.com
Tools And Materials Needed
Replacing kitchen cabinet drawer slides requires some basic tools and materials. Getting them ready will make the job easier and faster.
Below are the key tools and materials you need to replace drawer slides safely and correctly.
Screwdriver
A screwdriver is necessary to remove and install screws holding the drawer slides. Both flat-head and Phillips-head screwdrivers are useful.
- Use a Phillips screwdriver for most slide screws
- A flat-head screwdriver helps to pry off old slides
Tape Measure
Measuring the drawer and cabinet space is important to get the right size slides. A tape measure helps you take accurate measurements.
- Measure length of the existing slides
- Check drawer depth and width
Replacement Drawer Slides
Choose new drawer slides that fit your drawer size and weight needs. Slides come in different types like ball bearing or roller types.
- Pick slides with the correct length
- Choose slides that support your drawer’s weight
Power Drill
A power drill speeds up screw removal and installation. Use it with the right drill bits for your screws.
- Use drill bits matching screw heads
- Use low speed to avoid damaging wood
Level
A level helps to install the slides evenly. This keeps drawers sliding smoothly and prevents sticking.
- Check the slide is horizontal
- Adjust if needed before tightening screws
Pencil
Use a pencil to mark drill points and slide positions on the cabinet and drawer. This helps with precise placement.
Wood Screws
Wood screws secure the drawer slides to the cabinet and drawer. Use screws that fit the slide holes and the wood thickness.
- Use screws included with the slides if possible
- Choose screws that do not go through the wood
Safety Glasses
Wear safety glasses to protect your eyes from dust and wood chips while drilling or removing slides.
Putty Knife (optional)
A putty knife can help pry off old or stuck drawer slides without damaging the wood.
Choosing The Right Drawer Slides
Replacing kitchen cabinet drawer slides can make drawers work better. Choosing the right slides is important for smooth opening and closing.
There are many types of drawer slides. Picking the right one depends on your drawer size and how you use it.
Types Of Drawer Slides
Drawer slides come in different styles. Each style fits different needs and drawer designs.
- Side-Mounted Slides: Attach to the sides of the drawer and cabinet.
- Under-Mounted Slides: Fixed under the drawer, hidden from view.
- Center-Mounted Slides: Attach under the middle of the drawer bottom.
- Ball-Bearing Slides: Use ball bearings for smooth movement.
- Roller Slides: Use plastic or metal rollers for sliding.
Side-mounted and under-mounted slides are the most common choices for kitchen drawers.
Measuring For Accuracy
Measure your drawer and cabinet carefully. Accurate measurements help you buy slides that fit perfectly.
Measure the length of the drawer slide you need. Also, note the drawer width and height for proper fit.
- Measure the full length inside the cabinet where the slide will go.
- Measure the drawer width to pick the right slide width.
- Check the slide weight rating to support the drawer load.
- Measure drawer height for clearance with under-mounted slides.
Removing Old Drawer Slides
Replacing kitchen cabinet drawer slides starts with removing the old ones. This process keeps your workspace safe and ready for new slides.
Careful handling prevents damage to the drawers and cabinet frame. Follow the steps below to remove the old slides correctly.
Emptying And Removing Drawers
First, clear out everything inside the drawer. Empty drawers are lighter and easier to handle during removal.
- Open the drawer fully to see the slides clearly.
- Check if there are any locking mechanisms on the slides.
- If locks exist, release them to free the drawer.
- Pull the drawer straight out with steady force.
- If the drawer sticks, wiggle it gently while pulling.
Unscrewing Old Slides
After removing the drawer, unscrew the old slides from both the drawer and cabinet sides. Use the right screwdriver to avoid stripping screws.
| Tool | Purpose |
| Phillips screwdriver | Remove cross-head screws |
| Flathead screwdriver | Release locking tabs if present |
| Power drill (optional) | Speed up screw removal |
Keep screws if you plan to reuse them. Dispose of damaged slides safely to avoid injury.

Credit: www.youtube.com
Preparing For Installation
Replacing kitchen cabinet drawer slides starts with good preparation. This helps the process go smoothly.
Two important tasks before installation are cleaning and inspecting the cabinet and marking drill holes.
Cleaning And Inspecting Cabinet
Clean the inside of the cabinet to remove dirt and dust. Check the cabinet walls for damage.
- Use a damp cloth to wipe surfaces.
- Look for cracks or loose screws.
- Ensure the cabinet is dry before installing slides.
- Fix any damage before continuing.
Marking Drill Holes
Mark where you will drill holes for the new drawer slides. Accurate marks keep slides straight.
| Tool | Use | Tip |
| Measuring Tape | Measure slide length | Measure twice for accuracy |
| Pencil | Mark drill spots | Use light marks to adjust if needed |
| Level | Check horizontal alignment | Keep slides even on both sides |
Installing New Drawer Slides
Replacing kitchen cabinet drawer slides can make your drawers work smoothly. New slides help drawers open and close with ease.
Installing new slides requires careful measuring and fixing. You need to attach slides to the cabinet and the drawer properly.
Attaching Slides To Cabinet
First, remove the old slides from the cabinet sides. Clean the area to ensure a flat surface for the new slides.
Place the new cabinet slides inside the cabinet. Align them so they are straight and level. Use a pencil to mark the screw holes.
- Hold the slide about 1/2 inch from the bottom front edge
- Check that the slide is straight using a level
- Mark screw holes with a pencil
- Drill small pilot holes to avoid splitting wood
- Screw the slides securely into place
Mounting Slides On Drawer
Remove the old slides from the drawer sides. Clean the drawer edges before installing the new slides.
Attach the drawer slides on the sides of the drawer. Align them with the front edge and keep them level. Mark the screw holes with a pencil.
- Position the slide flush with the drawer front
- Keep the slide straight and level
- Mark screw spots with a pencil
- Drill pilot holes for the screws
- Screw the slides firmly into place

Credit: www.familyhandyman.com
Reinstalling Drawers And Testing
After replacing kitchen cabinet drawer slides, it is time to reinstall the drawers. Proper reinstalling ensures the drawers work smoothly.
Testing the drawers helps find any problems. This step makes sure the slides function well before finishing.
Reinstalling The Drawers
Carefully slide the drawer back into the cabinet. Align the drawer slides with the cabinet slides to avoid damage.
Push the drawer in slowly until it clicks or fits fully inside. Check that the drawer sits level and straight in the cabinet.
- Hold the drawer firmly to guide it in
- Align both sides evenly
- Slide in gently without forcing
- Stop when drawer is fully seated
Testing The Drawer Operation
Open and close the drawer several times. The drawer should move smoothly without sticking or wobbling.
Listen for noises like grinding or scraping. These sounds may mean the slides are not installed correctly.
- Check for easy opening and closing
- Make sure the drawer does not tilt or wobble
- Listen for unusual sounds
- Adjust slides if needed for better fit
Troubleshooting Common Issues
Replacing kitchen cabinet drawer slides can fix many problems. Some common issues cause drawers to work poorly or not at all.
This guide helps you spot and fix two main problems. You will learn how to handle misalignment and drawer sticking.
Misalignment Problems
Misalignment happens when slides are not straight or not level. This can cause the drawer to be hard to open or close.
- Check if the slides are mounted evenly on both sides.
- Use a level tool to ensure slides run straight.
- Tighten loose screws that may let slides shift.
- Remove and reinstall slides if they are crooked.
- Make sure the drawer fits well inside the cabinet frame.
Drawer Sticking Or Jamming
Drawers that stick or jam can stop you from opening or closing them smoothly. Dirt, damage, or worn parts cause this.
| Cause | Solution |
|---|---|
| Dirt or debris on slides | Clean slides with a cloth and mild cleaner |
| Damaged or bent slides | Replace the damaged slide parts |
| Worn rollers or bearings | Install new rollers or bearings |
| Too much weight in the drawer | Reduce contents or distribute weight evenly |
Maintenance Tips For Drawer Slides
Keeping drawer slides in good shape helps drawers open smoothly. Regular care stops damage and noise.
These tips help you maintain your kitchen cabinet drawer slides easily and effectively.
Clean Drawer Slides Regularly
Dirt and dust make drawer slides sticky or hard to move. Clean slides often for smooth use.
Use a soft cloth or a vacuum with a brush to remove dirt from the slides.
- Pull out the drawer carefully
- Wipe slides with a dry cloth
- Use a brush to clean small gaps
- Remove stubborn dirt with mild soap and water
- Dry slides completely before use
Lubricate Drawer Slides
Lubrication helps slides move quietly and easily. Use the right lubricant to avoid damage.
Apply a small amount of silicone spray or a dry lubricant for best results.
- Do not use oil-based lubricants; they attract dust
- Spray lubricant on the moving parts of the slides
- Move the drawer back and forth to spread lubricant
- Wipe off extra lubricant to prevent buildup
Check For Loose Screws
Loose screws cause slides to misalign and break. Tighten screws regularly for safety.
Inspect all screws on the slides and inside the cabinet. Use a screwdriver to secure loose screws.
- Open the drawer fully to see screws clearly
- Tighten screws but do not overtighten
- Replace missing screws with the correct size
- Check screws every few months for safety
Avoid Overloading Drawers
Heavy loads strain the drawer slides and cause wear. Keep weight within the slide’s limit.
Distribute items evenly inside the drawer to reduce stress on slides.
- Check the weight limit of your drawer slides
- Do not store very heavy items in one drawer
- Organize items to spread the load evenly
- Remove unnecessary items to lighten the drawer
Inspect Slides For Damage
Look for bent or broken parts on the slides. Damaged slides need repair or replacement.
Check slides every few months or if the drawer feels rough when opening or closing.
- Look for cracks or bends in metal parts
- Check if slides move smoothly without catching
- Replace slides that show signs of wear or damage
- Use matching slides for replacements
Frequently Asked Questions
How Do I Remove Old Drawer Slides Safely?
First, open the drawer fully and unscrew the existing slides. Use a screwdriver to remove all screws carefully. Avoid forcing the slides to prevent damage. Gently pull out the slides once all screws are removed. Keep screws for reinstallation or replacement.
What Tools Are Needed To Replace Drawer Slides?
You will need a screwdriver, tape measure, pencil, drill, and new drawer slides. A level can help ensure proper alignment. These tools help you remove old slides and install new ones securely. Using the right tools makes the process easier and accurate.
How Do I Measure For New Cabinet Drawer Slides?
Measure the length of the drawer from front to back. Also, note the drawer’s width and height for fitting slides. Choose slides matching the drawer length for smooth operation. Accurate measurement ensures the new slides fit perfectly without issues.
How To Align New Drawer Slides Correctly?
Install the slides parallel to the drawer sides using a level. Mark screw holes before drilling to ensure precision. Tighten screws securely but avoid over-tightening to prevent damage. Proper alignment helps the drawer open and close smoothly.
Conclusion
Replacing kitchen cabinet drawer slides is simpler than it seems. With the right tools, anyone can do it. Start by removing the old slides carefully. Then, install the new ones following the instructions. Always ensure the slides are level and secure.
This prevents future issues. Test the drawer after installation. It should glide smoothly. If not, adjust slightly for perfection. This simple task can refresh your kitchen’s look. Plus, it improves function. Now, enjoy the ease of opening and closing your drawers.
Happy renovating!


