
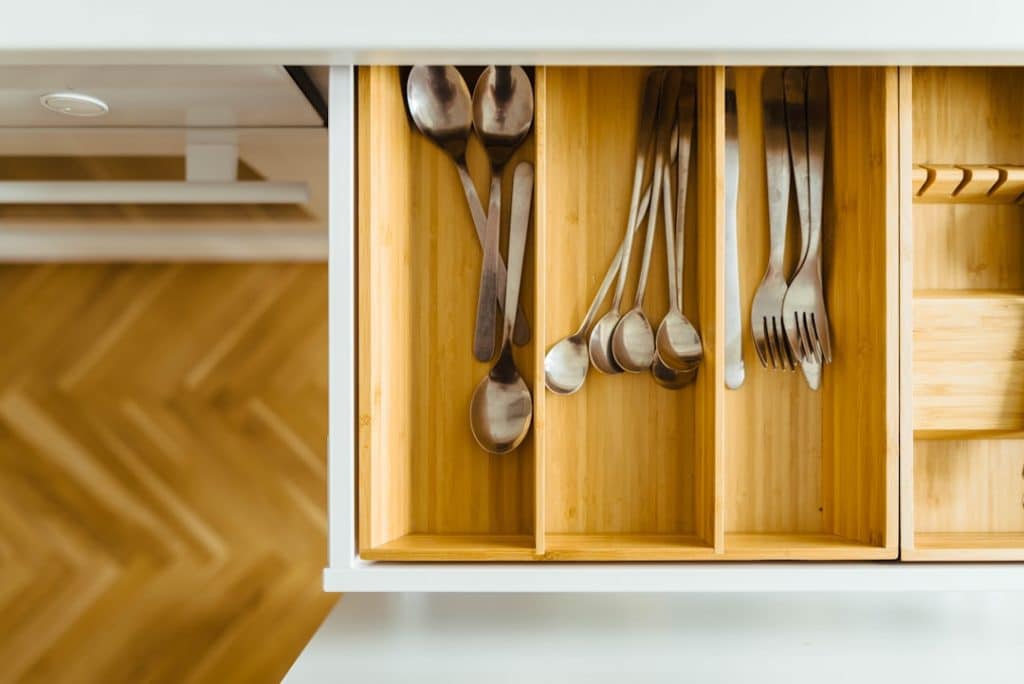
Is the constant sticking or jamming of your kitchen drawers driving you up the wall? Imagine the frustration of trying to reach for a utensil, only to be thwarted by a drawer that won’t budge.
But here’s the good news: you can solve this problem yourself by learning how to replace drawer slides in your kitchen. Picture the satisfaction of smooth, effortless glides every time you open a drawer. With just a little guidance and a few tools, you can transform your kitchen into a more functional and enjoyable space.
Ready to tackle this DIY project and reclaim your kitchen’s convenience? Let’s dive in and get your drawers sliding perfectly again.
Tools And Materials Needed
Replacing drawer slides in your kitchen makes drawers work smoothly again. You need the right tools and materials for the job. This guide covers what to prepare before starting.
Gathering all tools helps finish the work faster. Choose drawer slides that fit your kitchen drawers well. Below are details on essential tools and how to pick the right slides.
Essential Tools
Use these tools to remove old slides and install new ones safely and accurately.
- Screwdriver set (flathead and Phillips)
- Measuring tape
- Power drill with drill bits
- Level tool
- Pencil for marking
- Replacement drawer slides
- Safety gloves
- Clamps (optional but helpful)
Choosing The Right Drawer Slides
Drawer slides come in many types. Pick the right one based on your drawer size and weight. Here is a simple table to help you decide.
| Slide Type | Best For | Load Capacity |
| Side-mount | Standard drawers | Up to 100 lbs |
| Under-mount | Hidden slides, smooth look | Up to 75 lbs |
| Center-mount | Lightweight drawers | Up to 50 lbs |
| Ball-bearing | Heavy drawers, smooth glide | Up to 150 lbs |
Credit: hanashappyhome.com
Removing Old Drawer Slides
Replacing drawer slides can improve the function of your kitchen drawers. The first step is to remove the old slides carefully. This guide will help you remove them safely.
Focus on two main tasks: emptying and removing drawers, and unscrewing the existing slides. Follow these steps to prepare for installing new slides.
Emptying And Removing Drawers
Start by clearing everything out of the drawers. This makes the drawer lighter and easier to handle. After emptying, you need to remove the drawer from the cabinet.
- Pull the drawer out as far as it will go.
- Look for clips or levers on the sides of the drawer slides.
- Press or lift the clips to release the drawer.
- Gently pull the drawer completely out of the cabinet.
- Place the drawer on a flat surface to avoid damage.
Unscrewing Existing Slides
After removing the drawer, unscrew the old slides from both the drawer and the cabinet. Use the right tools to avoid stripping screws or damaging surfaces.
| Tool | Purpose |
| Phillips screwdriver | Remove screws from most drawer slides |
| Flathead screwdriver | Pry clips or covers gently if needed |
| Drill with screwdriver bit | Speed up screw removal on stubborn screws |
Keep the screws in a safe place if you plan to reuse them. Check the cabinet and drawer for any damage before installing new slides.
Measuring And Selecting New Slides
Replacing drawer slides in your kitchen needs careful measurement. Choosing the right slides ensures smooth operation and fits well.
This guide helps you measure your drawer and cabinet. It also explains how to match the correct slide size and type.
Measuring Drawer And Cabinet
Start by removing the drawer from the cabinet. Measure the drawer’s length, width, and height with a tape measure. Note these numbers carefully.
- Measure the drawer length from front to back inside the drawer box.
- Measure the drawer width between the inside walls.
- Measure the drawer height from bottom to top inside the box.
- Measure the cabinet opening width and height where the drawer fits.
- Check the space inside the cabinet for slide installation.
Matching Slide Size And Type
Select new slides that match your measurements. Slide types vary by design and weight capacity. Choose the type that fits your drawer style and use.
| Slide Type | Description | Best For |
| Side-Mount | Attached to drawer sides and cabinet sides. | Most common; sturdy for heavy drawers. |
| Under-Mount | Mounted below the drawer, hidden from view. | Clean look; smooth closing. |
| Center-Mount | Fixed under the center of the drawer. | Light to medium weight drawers. |

Credit: www.familyhandyman.com
Installing New Drawer Slides
Replacing drawer slides can make your kitchen drawers work smoothly again. New slides give better support and easier movement.
This guide helps you install new drawer slides step by step. Follow these instructions for a neat and secure fit.
Attaching Slides To Cabinet
First, remove the old slides from inside the cabinet. Clean the area to ensure a good fit for the new slides.
Hold the new slide against the cabinet side. Align it so the front edge matches the cabinet front.
- Use a pencil to mark screw holes on the cabinet wall
- Drill small pilot holes where you marked
- Screw the slide in place using the correct screws
- Make sure the slide is straight and secure
Mounting Slides On Drawer
Take the drawer and clean its sides where the slides will go. This helps the slides fit snugly.
Place the matching part of the slide on the drawer side. Position it so the front lines up with the drawer face.
- Mark the screw holes on the drawer side
- Drill pilot holes carefully
- Attach the slide with screws, keeping it level
- Test the drawer by sliding it into the cabinet
Reinstalling Drawers
Reinstalling drawers after replacing slides takes careful alignment. Proper placement ensures smooth movement and long-lasting function.
Follow clear steps to align and insert drawers correctly. Then test the slides to confirm they work well.
Aligning And Inserting Drawers
Start by holding the drawer close to the cabinet. Line the slides on the drawer with the slides inside the cabinet.
- Lift the drawer slightly to match the slide height.
- Push the drawer straight into the cabinet slowly.
- Listen for clicks or feel resistance as slides lock.
- Make sure both sides connect evenly to avoid jamming.
Testing Slide Movement
After inserting, test the drawer’s movement by opening and closing it several times.
| Check Point | What to Look For |
| Drawer Alignment | Drawer sits flush with cabinet front |
| Smooth Sliding | Drawer moves without sticking or noise |
| Slide Lock | Slides lock securely in place when closed |
| Weight Support | Drawer holds weight without sagging |
Troubleshooting Common Issues
Kitchen drawer slides can cause problems like sticking or uneven movement. Fixing these issues helps your drawers open smoothly and last longer.
This guide covers common problems with drawer slides and shows how to fix them step-by-step.
Fixing Misalignment
Misaligned drawer slides make drawers hard to open or close. Check if the slides are crooked or loose before adjusting.
- Remove the drawer from the cabinet.
- Inspect the slides on both drawer and cabinet sides.
- Loosen the screws holding the slides.
- Align the slides so they are straight and parallel.
- Tighten the screws firmly but do not overtighten.
- Reinsert the drawer and test the movement.
Repeat the process if the drawer still sticks or does not close fully. Proper alignment prevents damage to both slides and drawers.
Adjusting Slide Tension
Slide tension controls how smoothly the drawer opens and closes. Too much tension causes stiffness; too little makes the drawer loose.
| Problem | Cause | Solution |
| Drawer hard to open | High slide tension | Loosen tension screws or springs |
| Drawer falls open too fast | Low slide tension | Tighten tension screws or springs |
| Drawer sticks midway | Uneven tension or dirt | Clean slides and adjust tension evenly |
Adjust tension screws carefully. Test the drawer after each change to find the right balance.
Maintenance Tips For Drawer Slides
Keeping your kitchen drawer slides in good condition helps them work smoothly. Regular care prevents damage and noisy drawers.
This guide shows how to clean, lubricate, and inspect drawer slides for long life.
Cleaning And Lubricating
Clean drawer slides to remove dirt and dust. Dirt can cause the slides to stick or wear out faster. Use a soft cloth to wipe the slides gently.
- Remove the drawer from the cabinet before cleaning.
- Wipe slides with a dry or slightly damp cloth.
- Use a mild soap solution for tough grime, then dry well.
- Apply a lubricant like silicone spray or a light oil.
- Do not use heavy grease; it attracts more dirt.
- Move the drawer back and forth to spread lubricant evenly.
Regular Inspection
Check your drawer slides often to spot problems early. Look for signs of wear, damage, or loose screws. Tighten any loose parts to keep slides stable.
| Inspection Item | What to Check | Action Needed |
| Slide Movement | Is the drawer smooth or sticky? | Clean and lubricate if sticky. |
| Physical Damage | Any bent or broken parts? | Replace damaged slides. |
| Screws and Fasteners | Are all screws tight? | Tighten any loose screws. |
| Alignment | Does the drawer close evenly? | Adjust slides or mounts if misaligned. |

Credit: www.angi.com
Frequently Asked Questions
How Do I Remove Old Drawer Slides Safely?
First, empty the drawer and pull it out completely. Use a screwdriver to remove screws holding the slides. Gently detach the slides from the drawer and cabinet. Keep screws for reuse if possible. Always wear gloves to protect your hands during removal.
What Tools Are Needed To Replace Kitchen Drawer Slides?
You will need a screwdriver, tape measure, pencil, drill, and new drawer slides. A level can help align slides perfectly. Having a utility knife and clamps can also be useful. Proper tools make the replacement process easier and more precise.
How Do I Choose The Right Drawer Slides?
Measure your drawer length and weight capacity needed. Choose between side-mount, under-mount, or center-mount slides based on drawer type. Consider soft-close features for smooth operation. Check slide material for durability. Matching the right slides ensures long-lasting performance.
Can I Replace Drawer Slides Without Removing The Drawer?
Yes, but it is easier to remove the drawer first. Removing the drawer gives better access for accurate slide installation. If you must work with the drawer in place, be careful and patient to avoid damage.
Conclusion
Replacing drawer slides in your kitchen is a simple task anyone can do. Take your time to measure and choose the right slides. Follow each step carefully for a smooth fit. Your drawers will open and close easily again. This small fix improves your kitchen’s function and feel.
Give your drawers a fresh start today.


