
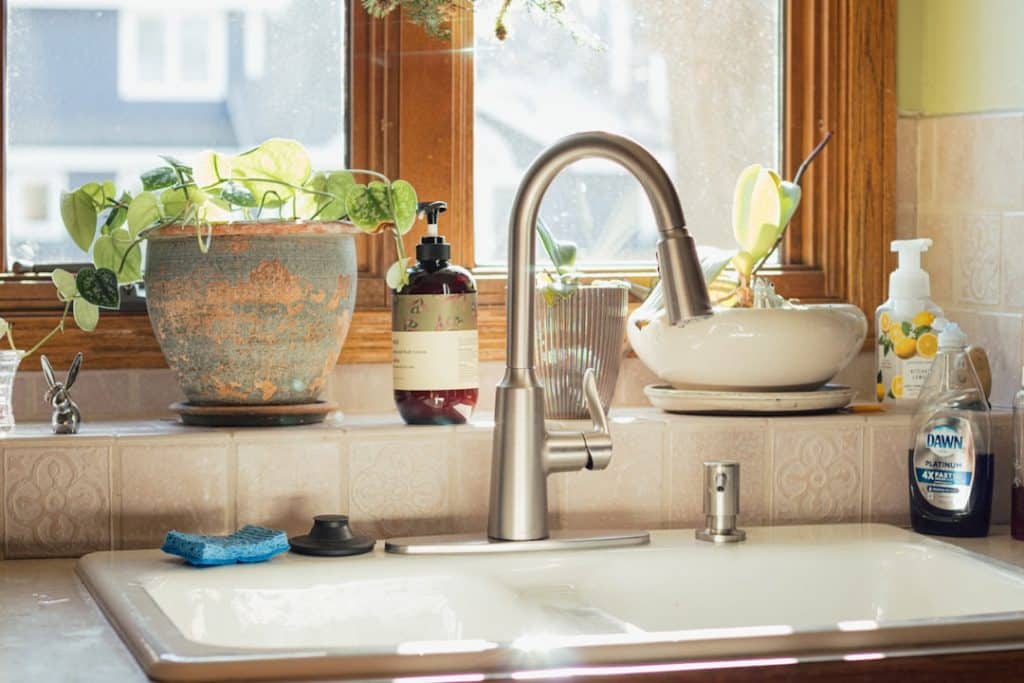
Are you tired of dealing with a leaky kitchen sink? A faulty basket strainer might be the culprit.
Replacing it yourself can save you both time and money, and it’s easier than you might think. Imagine the satisfaction of solving this pesky problem on your own, leaving you with a smoothly functioning sink. In this guide, you’ll discover step-by-step instructions that make the process simple and stress-free.
So grab your tools, roll up your sleeves, and let’s dive into how you can replace that basket strainer in your kitchen sink. Keep reading to learn how to tackle this home improvement task with confidence!

Credit: www.youtube.com
Tools And Materials Needed
Replacing a basket strainer in your kitchen sink needs the right tools and parts. Having them ready makes the job easier and faster.
This guide lists the essential tools and replacement parts you need before starting.
Essential Tools
Gather these tools to remove the old basket strainer and install the new one properly.
- Adjustable wrench
- Pipe wrench
- Slip-joint pliers
- Basin wrench
- Flathead screwdriver
- Plumber’s putty or silicone sealant
- Bucket or container for water drainage
- Rags or towels
Replacement Parts
Make sure you have all necessary parts to replace the basket strainer without delays.
| Part | Description |
| New basket strainer | Fits the sink drain opening size |
| Rubber gasket | Creates a watertight seal |
| Locknut | Secures the strainer to the sink |
| Tailpiece | Connects strainer to drain pipe |
| Plumber’s putty or sealant | Seals around the strainer flange |

Credit: www.youtube.com
Preparing The Workspace
Replacing a basket strainer in your kitchen sink needs a clean and ready workspace. Preparing the area helps you work safely and fast.
Before you start, make sure everything you need is nearby. This saves time and keeps the process smooth.
Clearing The Area
Remove all items from under the sink. This gives you enough space to move and work comfortably.
Clear the countertop around the sink too. This prevents tools or parts from falling or getting lost.
- Take out cleaning supplies
- Move trash bins away
- Keep a bucket or towel handy
Turning Off Water Supply
Find the water valves under the sink and turn them off. This stops water flow to the sink while you work.
Open the faucet to release any water left in the pipes. This prevents spills and keeps the area dry.
- Locate hot and cold water valves
- Turn both valves clockwise to close
- Open faucet to drain water
Removing The Old Basket Strainer
Replacing a basket strainer in a kitchen sink starts with removing the old one. This process involves disconnecting the drain pipe, loosening the locknut, and taking out the strainer itself.
Follow each step carefully to avoid damage to your sink or plumbing. Use the right tools to make the job easier.
Disconnecting The Drain Pipe
First, place a bucket under the sink to catch any water. Then, use a wrench to loosen the slip nuts on the drain pipe connected to the basket strainer.
Remove the drain pipe carefully. If water spills, wipe it up quickly to keep the area dry and safe.
Loosening The Strainer Locknut
Look under the sink to find the locknut holding the basket strainer in place. Use a large adjustable wrench or a strainer wrench to turn the locknut counterclockwise.
The locknut may be tight or stuck. Apply steady pressure to loosen it without damaging the sink or pipes.
Removing The Strainer
After loosening the locknut, push the basket strainer up from under the sink. You may need to wiggle it gently to free it from the sink drain hole.
Check the sink surface for old plumber’s putty or sealant. Clean the area before installing a new basket strainer.
Cleaning The Sink Drain
Cleaning the sink drain is important before replacing the basket strainer. It helps remove clogs and keeps water flowing smoothly.
A clean drain makes the new basket strainer work better and last longer. Take time to clear out any dirt or buildup.
Removing Debris
Start by removing any visible debris from the drain opening. This includes food scraps, hair, and soap scum.
Use a flashlight to look inside the drain. Clear out anything blocking the way with a pair of gloves or tweezers.
- Wear rubber gloves to protect your hands
- Use a flashlight to see inside the drain
- Remove all visible debris carefully
- Flush the drain with hot water to clear small particles
Checking For Damage
After cleaning, check the drain for any signs of damage. Look for cracks, rust, or worn-out parts.
Damaged parts can cause leaks or blockages. Replace or repair any broken pieces before installing the new strainer.
- Inspect the drain pipe for cracks or holes
- Check metal parts for rust or corrosion
- Look for loose or missing screws
- Ensure the drain flange is not bent or damaged
Installing The New Basket Strainer
Installing a new basket strainer in your kitchen sink can help stop leaks and improve drainage. This process includes applying plumber’s putty, placing the strainer correctly, and securing it tightly.
Follow the steps carefully to ensure a watertight seal and proper fit. Use basic tools and materials you likely have on hand.
Applying Plumber’s Putty
Plumber’s putty creates a seal between the sink and the basket strainer flange. This prevents water from leaking under the sink.
- Take a small amount of plumber’s putty and roll it into a rope about the size of a pencil.
- Place the putty rope around the underside edge of the new basket strainer flange.
- Press the putty firmly to create an even seal all around the strainer.
Positioning The New Strainer
Set the basket strainer into the sink drain hole carefully. Make sure the plumber’s putty stays in place and forms a tight seal.
| Action | Tip |
|---|---|
| Insert Strainer | Hold straight and avoid tilting for a proper fit. |
| Check Putty | Ensure it spreads evenly under the flange. |
| Clean Excess | Wipe away any putty squeezed out after securing. |
Securing The Locknut
Attach the locknut underneath the sink to hold the basket strainer in place. Tightening it prevents leaks and keeps the strainer stable.
- Thread the locknut onto the strainer’s tailpiece from under the sink.
- Hand-tighten the locknut until snug against the sink bottom.
- Use a wrench to turn the locknut another half to one full turn.
- Check that the strainer does not move and the putty seals well.
Reconnecting The Drain Pipe
After removing the old basket strainer, reconnecting the drain pipe is key. Proper connection prevents leaks and keeps water flowing well.
This guide covers tightening the connections and making sure the parts align properly for a secure fit.
Tightening Connections
Start by hand-tightening the slip nuts on the drain pipe. Use adjustable pliers or a pipe wrench to finish tightening, but avoid over-tightening.
- Hand-tighten all slip nuts first
- Use pliers to snug them up
- Do not force the nuts too hard
- Check for any gaps or looseness
- Tighten until snug and secure
Ensuring Proper Alignment
| Part | Alignment Tip |
|---|---|
| Drain Pipe | Ensure it lines up straight with the basket strainer outlet |
| Slip Joint Washer | Place washer fully inside the slip joint to prevent leaks |
| Pipe Sections | Adjust lengths so no strain occurs on connections |
| Trap | Check that the trap sits level and connects without gaps |
Double-check each connection after tightening. Proper alignment avoids stress on pipes and helps keep your kitchen sink leak-free.
Testing For Leaks
After replacing the basket strainer, check for leaks to avoid water damage.
Careful testing helps ensure all connections are tight and secure.
Turning On Water
Slowly turn on the water supply to the sink. Watch for any signs of dripping around the new basket strainer.
- Open the hot water valve gently.
- Open the cold water valve slowly.
- Let the water run for a few minutes.
- Observe any water pooling under the sink.
- Turn off the water after inspection.
Inspecting Joints
Look closely at all joints around the basket strainer. Tighten any loose nuts by hand or with a wrench.
| Joint Location | What to Check | Action if Leak Found |
| Strainer to sink | Water seepage or drips | Tighten nut or add plumber’s putty |
| Strainer to drain pipe | Loose connection or water drops | Re-tighten slip nut |
| Drain pipe joints | Signs of moisture | Check washers and tighten fittings |

Credit: www.familyhandyman.com
Tips For Maintenance
Keeping your kitchen sink basket strainer in good shape helps prevent leaks and clogs. Regular care makes it last longer and works better.
Simple habits can keep your strainer clean and free from buildup. This saves you time and money on repairs.
Regular Cleaning
Clean your basket strainer often to stop food and grease from building up. This keeps water flowing smoothly.
Remove the strainer and wash it with warm soapy water. Use a brush to scrub away stuck bits.
- Take out the strainer carefully
- Rinse with warm water
- Scrub with a soft brush and soap
- Dry it fully before putting it back
Preventing Clogs
Stop clogs by not letting large food pieces go down the drain. Use the strainer to catch scraps.
Flush the drain with hot water weekly. This helps clear grease and small debris before they block pipes.
- Scrape plates before washing
- Empty the strainer after each use
- Pour hot water down the drain once a week
- Avoid pouring grease or oil into the sink
Frequently Asked Questions
What Tools Do I Need To Replace A Basket Strainer?
You need a wrench, plumber’s putty, a screwdriver, and a bucket. These tools help remove the old strainer and install the new one securely.
How Long Does It Take To Replace A Kitchen Sink Strainer?
Replacing a basket strainer usually takes 30 to 45 minutes. It depends on your experience and the sink’s plumbing condition.
Can I Replace The Strainer Without Turning Off Water?
No, always turn off the water supply before starting. This prevents leaks and water damage during the replacement process.
How Do I Prevent Leaks After Installing A New Basket Strainer?
Apply plumber’s putty around the strainer flange and tighten connections firmly. Check for leaks by running water after installation.
Conclusion
Replacing a basket strainer in your kitchen sink is simple and quick. With basic tools, you can do it yourself. This helps avoid costly plumber visits. Clean and fit the new strainer carefully. Test for leaks to ensure a tight seal.
Regular maintenance keeps your sink working well. A new strainer improves water flow and stops clogs. Now, your kitchen sink is ready for daily use. Easy, affordable, and effective. Give your sink the care it needs today.



