
Imagine turning on your kitchen tap and knowing that every drop of water flowing out is fresh, clean, and free of impurities. Sounds like a dream, right?
Well, it doesn’t have to be. Installing a water filter in your kitchen sink is a straightforward task that can transform your daily water consumption. Not only does it enhance the taste and quality of your drinking water, but it also protects you and your family from potential contaminants.
Are you ready to discover how simple it is to achieve this peace of mind? In this guide, we’ll walk you through each step of the installation process. You’ll be surprised at how quickly you can enjoy filtered water right from your kitchen sink. Whether you’re a DIY enthusiast or a complete novice, this article will equip you with everything you need to know. Stick around, and let’s make your kitchen water healthier together!

Credit: www.apecwater.com
Choose The Right Water Filter
Installing a water filter in your kitchen sink can improve water quality and taste. Choosing the right filter helps protect your family from impurities.
There are many types of filters and factors to consider before buying. Learning about these helps you pick the best option.
Types Of Kitchen Water Filters
Kitchen water filters come in different types. Each type removes specific impurities and fits different needs.
- Activated Carbon Filters:These remove chlorine, bad tastes, and odors.
- Reverse Osmosis Filters:These filter out heavy metals and dissolved solids.
- Ultraviolet (UV) Filters:These kill bacteria and viruses using UV light.
- Ceramic Filters:These block bacteria and sediments with a porous ceramic shell.
- Ion Exchange Filters:These soften water by removing calcium and magnesium.
Factors To Consider Before Buying
| Factor | Description |
| Water Quality | Test your water to know what impurities to remove. |
| Filter Capacity | Check how much water the filter can clean before replacement. |
| Installation Type | Choose between under-sink, countertop, or faucet-mounted filters. |
| Maintenance | Consider how often you must replace or clean the filter. |
| Cost | Look at initial price and ongoing filter replacement costs. |
Gather Necessary Tools And Materials
Installing a water filter under your kitchen sink needs the right tools and supplies. Getting everything ready makes the job easier and faster.
This guide will help you know what common tools and extra supplies you need for a smooth installation.
Common Tools Needed
You will use some basic tools that most people have at home. These tools help you disconnect pipes and tighten fittings safely.
- Adjustable wrench
- Screwdriver (flathead and Phillips)
- Pipe wrench or pliers
- Teflon tape (plumber’s tape)
- Utility knife
- Bucket or bowl to catch water
Additional Supplies For Installation
Besides tools, you need special parts that come with the water filter or you must buy. These supplies connect the filter to your kitchen water line.
- Water filter system kit
- Flexible water supply lines
- Mounting bracket and screws
- Tubing cutter (if not included)
- Plastic tubing for water flow
- Shut-off valve (if not already installed)
Prepare The Kitchen Sink Area
Installing a water filter in your kitchen sink needs a clean and ready space. This makes the process easier and safer.
Start by preparing the area under your kitchen sink. This helps you work without any trouble or mess.
Turn Off Water Supply
Before installation, you must turn off the water supply to avoid leaks. Find the shut-off valves under the sink.
- Locate the cold and hot water valves under the sink.
- Turn both valves clockwise until they stop.
- Open the faucet to drain any remaining water.
- Check that no water flows from the tap.
Clear The Space Under The Sink
Remove all items from under the sink. This space needs to be free for the filter and tools.
| Items to Remove | Reason |
|---|---|
| Cleaning supplies | Prevent spills and allow room for installation |
| Trash bins | Clear space to access pipes and valves |
| Storage boxes | Make room for tools and filter parts |
Remove Existing Faucet Or Components
Removing your old faucet or sink components is the first step to install a new water filter. You need to handle everything carefully to avoid damage. Always turn off the water supply before starting.
This guide will help you detach the old fixtures safely and check for leaks or damage before installing the new filter.
Detach Old Fixtures Safely
Start by disconnecting the water supply lines from the faucet. Use the correct tools to loosen nuts and bolts without forcing them. Keep track of all parts you remove.
- Turn off the main water valve under the sink.
- Open the faucet to drain any remaining water.
- Use a wrench to loosen the mounting nuts under the sink.
- Carefully lift the faucet away from the sink.
- Remove any old seals or gaskets left behind.
Check For Leaks Or Damage
After removing the old faucet, inspect the plumbing and sink area. Look for water damage, corrosion, or worn-out parts that need fixing before installing the new filter.
| Area | What to Check | Action If Found |
|---|---|---|
| Water Supply Lines | Cracks or leaks | Replace with new lines |
| Sink Holes | Rust or corrosion | Clean or repair surface |
| Mounting Hardware | Broken or loose parts | Replace nuts and washers |
| Under Sink Cabinet | Water stains or mold | Dry and treat affected area |
Install The Water Filter Unit
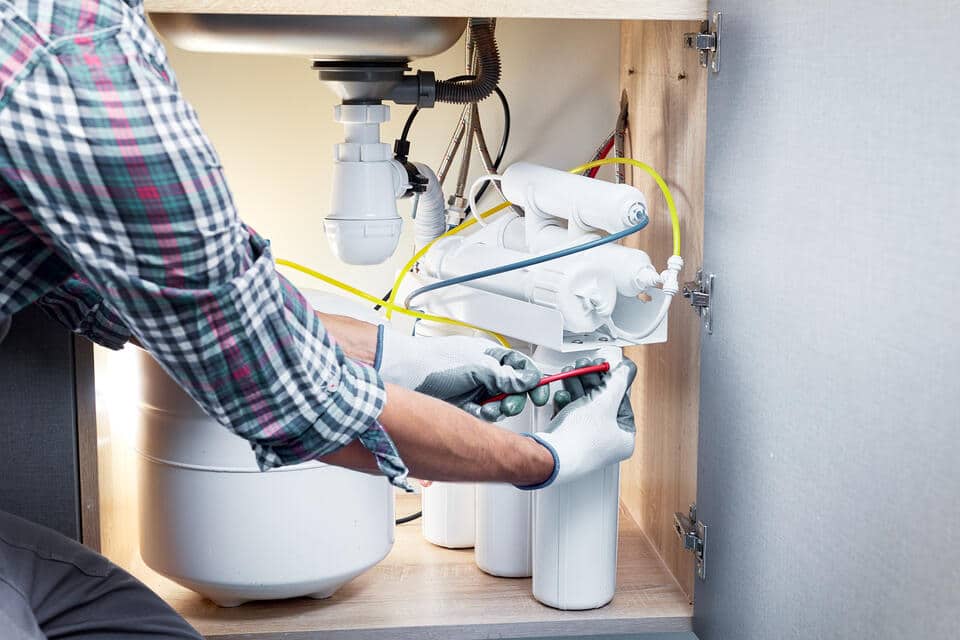
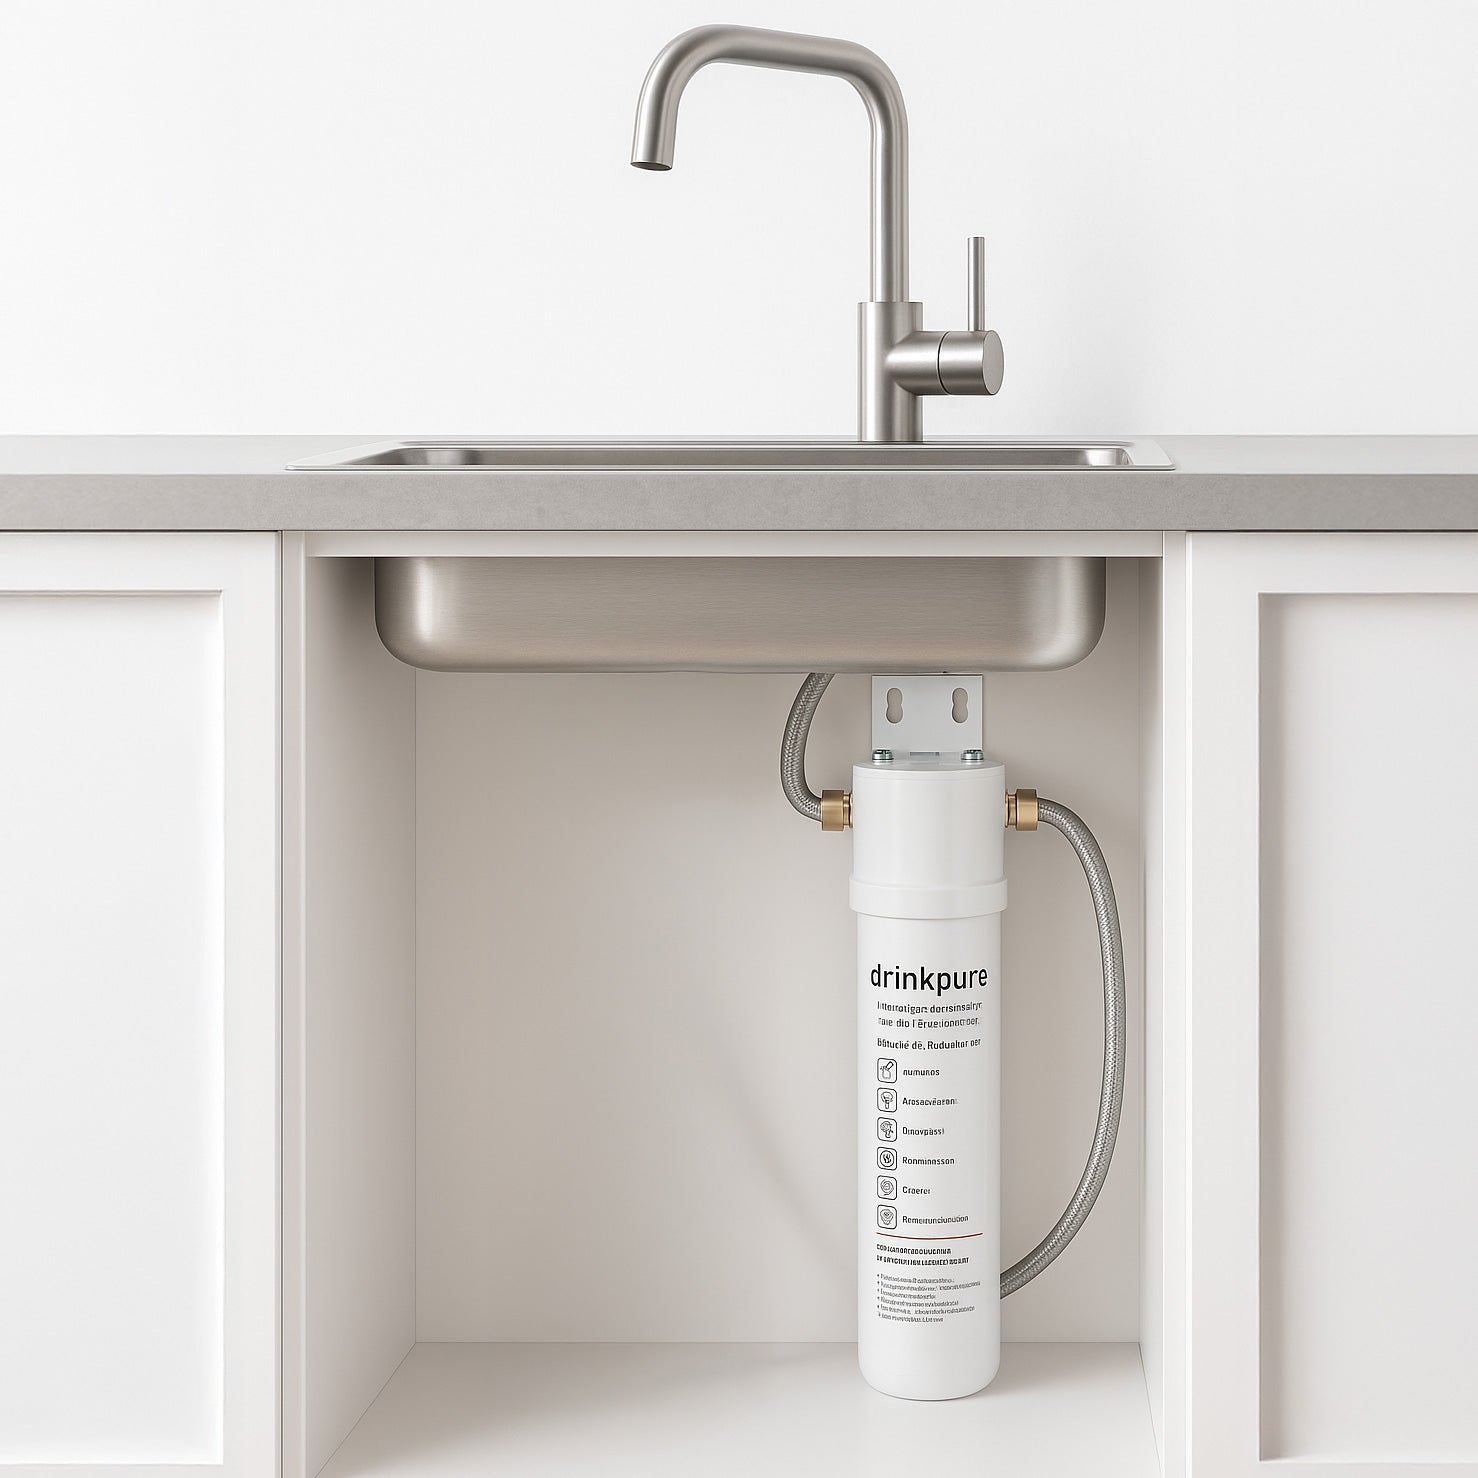
Installing a water filter under your kitchen sink helps improve water quality. This guide shows how to set up the filter unit properly.
Follow these steps carefully to mount the filter and connect it to your water supply. Make sure to have all tools ready before starting.
Mounting The Filter Under The Sink
Find a clear space under your sink to mount the filter. The area should be dry and easy to reach for future maintenance.
Use the mounting bracket that comes with the filter unit. Attach it firmly to the cabinet wall using screws.
- Mark the spots for screws using the bracket as a guide
- Drill small pilot holes to avoid splitting the wood
- Secure the bracket with screws until it feels tight
- Hang the filter unit on the bracket carefully
Connecting Filter To Water Supply
Turn off the main water supply before connecting the filter. This prevents leaks and water damage.
Attach the inlet tube from the filter to the cold water line. Use a wrench to tighten the connection but avoid over-tightening.
- Use Teflon tape on threaded parts for a better seal
- Connect the outlet tube from the filter to the faucet line
- Check all connections for any loose fittings
- Turn on the water and inspect for leaks
Attach Filtered Water Faucet
Attaching a filtered water faucet to your kitchen sink helps you get clean water easily. It is a simple process that anyone can do.
This guide will show you how to attach the faucet properly for good use and safety.
Drilling Hole If Needed
Some sinks do not have a hole for the filtered water faucet. You may need to drill a hole in the sink or countertop.
Check the faucet size before drilling. Use a drill bit that matches the faucet base size.
- Mark the spot for the hole
- Use a drill with the correct bit
- Drill slowly to avoid damage
- Clean the area after drilling
Securing The Faucet In Place
After placing the faucet in the hole, secure it tightly. This keeps the faucet steady and prevents leaks.
Use the mounting hardware that comes with the faucet. Tighten nuts under the sink with a wrench or by hand.
- Insert faucet into the hole
- Place rubber gasket or seal
- Attach mounting nut underneath
- Tighten nut firmly but do not overtighten
- Check faucet stability
Test The Water Filter System
After installing the water filter, you need to test it. Testing ensures it works well and is safe to use.
Check the system carefully to find any issues early. This helps keep your water clean and fresh.
Turn On Water Supply
Slowly open the water valve under the sink. This allows water to flow into the filter system.
Listen for any unusual sounds and watch the filter for water movement. The water should flow smoothly.
Check For Leaks And Flow
Look closely at all connections and joints. Watch for water drops or wet spots that show leaks.
Test the water flow by running water from the faucet. The flow should be steady and not weak.
- Check every connection point for leaks
- Ensure water flows without interruption
- Fix leaks immediately to avoid damage
- Replace parts if flow is too slow
Credit: www.drinkpure-waterfilter.com
Maintain Your Water Filter
Keeping your water filter clean is important for good water quality. Regular care helps your filter last longer.
Follow simple steps to maintain your water filter and enjoy fresh water every day.
Regular Cartridge Replacement
Replace the filter cartridge as the manufacturer suggests. A worn cartridge reduces water flow and quality.
Check the cartridge every 3 to 6 months. Change it sooner if water tastes or smells different.
- Turn off water before replacing the cartridge
- Remove the old cartridge carefully
- Insert the new cartridge firmly
- Flush the system for a few minutes
Cleaning Tips For Longevity
Clean the water filter housing regularly to avoid dirt buildup. This keeps your filter working well.
Use mild soap and warm water. Avoid harsh chemicals that can damage the filter parts.
- Turn off the water supply before cleaning
- Disassemble the filter housing carefully
- Wash the housing with mild soap and warm water
- Rinse all parts well before reassembly
- Dry the parts before putting them back

Credit: www.familyhandyman.com
Frequently Asked Questions
How Do I Install A Water Filter Under My Kitchen Sink?
Start by turning off the water supply. Attach the filter to the cold water line. Connect the filter’s output to the faucet. Secure all fittings tightly to prevent leaks. Follow the manufacturer’s instructions for specific details.
What Tools Are Needed To Install A Kitchen Sink Filter?
You typically need an adjustable wrench, screwdriver, drill, and plumber’s tape. These tools help disconnect water lines, mount the filter, and ensure tight connections. Having a bucket handy for water spills is also useful.
How Often Should I Replace The Kitchen Sink Water Filter?
Replace the filter every 6 to 12 months, depending on usage and water quality. Check the manufacturer’s guidelines. Regular replacement ensures optimal filtration and clean, safe drinking water.
Can I Install A Water Filter Without A Plumber?
Yes, many water filters are designed for DIY installation. Follow the instructions carefully. Basic plumbing skills and common tools are usually sufficient for most models.
Conclusion
Installing a water filter under your kitchen sink is simple and practical. Clean water helps protect your health and improves taste. Follow the steps carefully to avoid mistakes. Check for leaks after installation to keep your sink safe. Regularly change the filter for the best results.
This small task brings big benefits to your home. Enjoy fresh, clear water every day without hassle. You now have the knowledge to install your filter confidently.



