
How to Install a Kitchen Aid Dish washer Step by Stepz
Are you ready to transform your kitchen with the convenience of a KitchenAid dishwasher? Imagine never having to face a towering pile of dirty dishes again.
Installing a KitchenAid dishwasher can be a game-changer for your daily routine, saving you time and effort. But where do you start? Don’t worry. You don’t need to be a professional to install it yourself. In this guide, we’ll walk you through each step of the installation process with clear, easy-to-follow instructions.
By the end, you’ll not only have a fully functioning dishwasher but also the satisfaction of knowing you did it yourself. Ready to dive in and make kitchen clean-up a breeze? Let’s get started!
Preparing For Installation
Installing a Kitchen Aid dishwasher needs some planning first. Preparing well helps the process go smoothly.
This guide covers what you need before starting the installation. It helps you get ready step by step.
Gathering Tools And Materials
You need certain tools and materials to install the dishwasher correctly. Getting them before you start saves time.
- Adjustable wrench
- Phillips screwdriver
- Flat-head screwdriver
- Plumber’s tape
- Bucket or bowl (to catch water)
- Dishwasher installation kit (includes hose and fittings)
- Level tool to check alignment
Choosing The Right Location
Pick a spot near your kitchen sink and power source. The dishwasher needs water and electricity to work.
Make sure the space is wide enough and has room for the door to open fully. Check if the floor is even.
- Near existing plumbing lines
- Close to an electrical outlet
- Space at least 24 inches wide
- Level floor to avoid leaks or noise
Shutting Off Power And Water
Before starting, turn off the water supply to the kitchen. This stops leaks during installation.
Also, switch off the power at the circuit breaker to avoid electrical shocks. Safety is very important.
- Locate the water shut-off valve under the sink
- Turn the valve clockwise to close it
- Find the correct circuit breaker for the kitchen
- Switch off the breaker to cut power

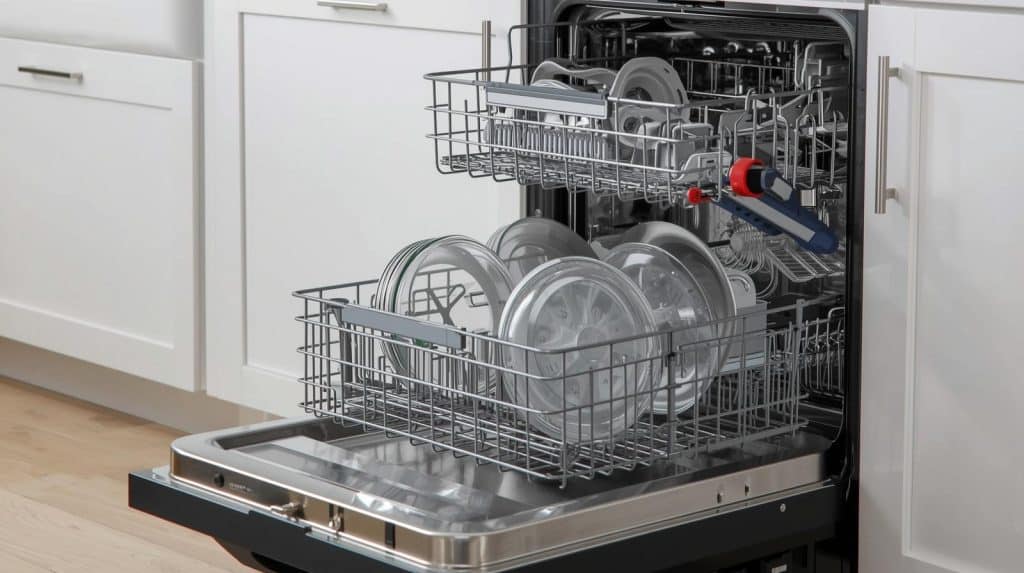
Credit: www.kitchenaid.com
Removing The Old Dishwasher
Removing your old Kitchen Aid dishwasher is the first step before installing a new one. This process requires care to avoid damage to your kitchen or plumbing.
Follow these guidelines to safely disconnect and remove the old unit and clear the space for the new dishwasher.
Disconnecting Power And Water Lines
First, turn off the power supply to the dishwasher at the circuit breaker. This stops any electrical current and keeps you safe.
Next, shut off the water supply valve under the sink. Disconnect the water line that feeds the dishwasher. Be prepared with a towel to catch any water drips.
- Switch off the electrical breaker for the dishwasher
- Close the water supply valve
- Use a wrench to disconnect the water line
- Have a towel ready to absorb water
- Remove the drain hose from the sink drain or garbage disposal
Detaching The Dishwasher
After disconnecting power and water, remove the screws holding the dishwasher to the cabinet. These screws are usually found on the top or sides of the dishwasher frame.
Carefully slide the dishwasher out from under the counter. You may need a helper to avoid scratching floors or damaging cabinets.
| Task | Details |
| Remove mounting screws | Check top and sides of the dishwasher |
| Pull out dishwasher | Slide straight out slowly and carefully |
| Ask for help | Use a second person to guide and lift |
Clearing The Space
Once the dishwasher is out, clear the space by removing any debris or leftover water. Check the floor and cabinet area for damage or mold.
Make sure the area is dry and clean before installing the new dishwasher. This helps ensure a good fit and prevents problems later.
Setting Up The New Dishwasher
Installing a Kitchen Aid dishwasher needs careful setup. This guide covers key steps for correct installation.
Focus on placing the dishwasher, connecting water, and wiring electrical parts safely.
Positioning The Dishwasher
Place the dishwasher close to the sink for easy water connection. Ensure enough space for the door to open fully.
- Check floor is level to avoid vibrations
- Leave gap behind for water and electrical lines
- Align front with cabinet edges for a neat look
- Use the adjustable feet to balance the unit
Connecting Water Supply
Connect the dishwasher to a cold water supply line. Use a flexible water hose to avoid leaks.
| Connection Part | Details |
|---|---|
| Water Inlet Valve | Attach hose securely to valve |
| Shut-off Valve | Install nearby for emergency water off |
| Hose Clamp | Use clamp to prevent hose slipping |
| Leak Check | Turn water on and watch for drips |
Wiring The Electrical Connections
Always turn off power at the breaker before starting electrical work. Follow local codes for wiring.
- Connect the dishwasher wires to house wiring using wire nuts
- Match colors: black to black, white to white, green to ground
- Secure wires in the junction box to avoid loose connections
- Test the connection by turning power on and running a cycle
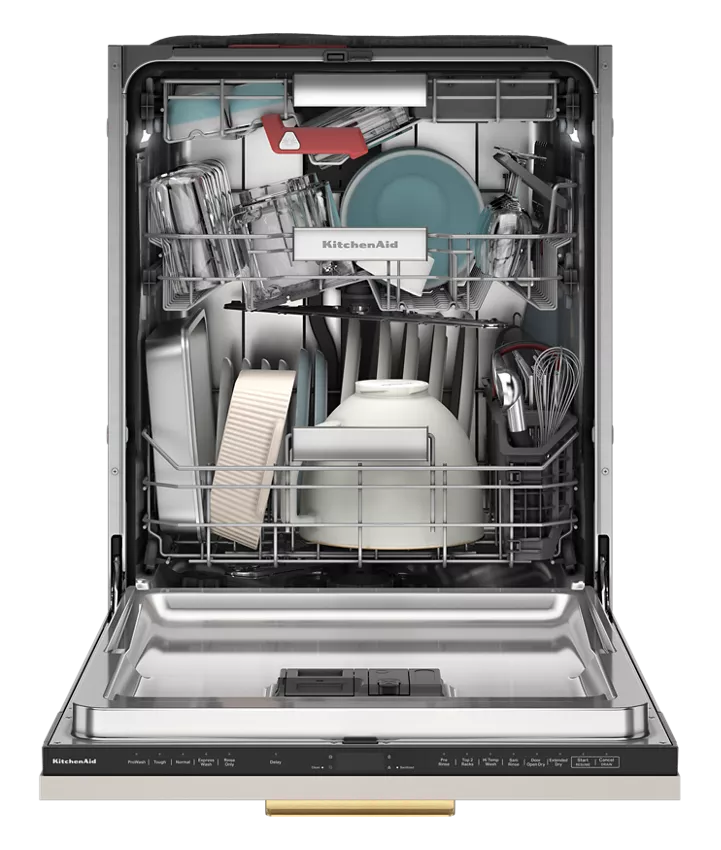
Credit: www.kitchenaid.com
Securing And Testing
After installing your Kitchen Aid dishwasher, securing it properly is key to safe use. Testing the unit ensures it works well and has no leaks.
This guide will cover leveling the dishwasher, attaching mounting brackets, and running a test cycle for best results.
Leveling The Dishwasher
Start by adjusting the dishwasher’s feet. The appliance must sit flat for proper drainage and door alignment.
- Use a level tool on the top edge of the dishwasher.
- Turn the front and rear feet to raise or lower the unit.
- Check the level side to side and front to back.
- Adjust until the dishwasher is perfectly level.
Attaching Mounting Brackets
Mounting brackets secure the dishwasher under the countertop or to the cabinet. This prevents movement during cycles.
| Bracket Type | Attachment Point | Tools Needed |
|---|---|---|
| Countertop Brackets | Bottom of countertop | Screwdriver, screws |
| Side Mount Brackets | Cabinet side walls | Drill, screws |
| Floor Mount Brackets | Floor under dishwasher | Drill, screws |
Attach brackets firmly but avoid over-tightening screws to prevent damage.
Running A Test Cycle
Run a test cycle to check for leaks, noises, and proper cleaning. Use the shortest cycle available.
- Check all water connections before starting.
- Observe the dishwasher for leaks during the cycle.
- Listen for unusual sounds indicating installation issues.
- After the cycle, inspect the inside for cleanliness and drainage.
Troubleshooting Common Issues
Installing a Kitchen Aid dishwasher usually goes smoothly. Some common problems can still appear after installation.
This guide covers how to find and fix three typical issues. These include water leaks, electrical problems, and drainage issues.
Water Leaks
Water leaks can damage your kitchen floor and waste water. Check the door seal and hoses for cracks or loose fittings.
- Inspect the door gasket for tears or dirt.
- Ensure the water supply hose is tight and not cracked.
- Look under the dishwasher for any dripping water.
- Check the drain hose connection to the sink drain or garbage disposal.
Electrical Problems
If the dishwasher does not start, the power supply may be the issue. Test the outlet and the dishwasher’s power cord.
| Problem | Possible Cause | Solution |
| Dishwasher won’t start | No power | Check outlet and plug |
| Dishwasher stops mid-cycle | Tripped circuit breaker | Reset breaker |
| Control panel unresponsive | Faulty wiring | Inspect wiring or call a technician |
Drainage Issues
Water that does not drain can cause bad smells and dirty dishes. Check the drain hose and filter for blockages.
Follow these tips to fix drainage problems:
- Remove and clean the dishwasher filter.
- Make sure the drain hose is not kinked or clogged.
- Check the garbage disposal if connected; clear any blockages.
- Run the dishwasher empty with a cup of vinegar to clean internal parts.

Credit: www.kitchenaid.com
Frequently Asked Questions
How Do I Prepare For Kitchen Aid Dishwasher Installation?
Start by turning off power and water supply. Remove old dishwasher carefully. Measure space for a proper fit. Gather necessary tools like screwdriver and wrench. Read the Kitchen Aid installation manual before starting.
What Tools Are Needed To Install A Kitchen Aid Dishwasher?
You need a screwdriver, adjustable wrench, pliers, drill, and a level. Also, have Teflon tape and wire nuts handy for connections. These tools help ensure a secure and professional installation.
How To Connect Water Supply For Kitchen Aid Dishwasher?
Attach the water supply line to the dishwasher’s inlet valve. Use a wrench to tighten connections. Turn on the water supply slowly to check for leaks. Ensure the hose is not kinked or bent.
How Do I Secure The Dishwasher In Place?
Slide the dishwasher into the cabinet space. Use mounting brackets to attach it to the countertop or sides. Tighten screws to prevent movement. Check alignment and adjust if necessary before finalizing.
Conclusion
Installing a Kitchen Aid dishwasher can save you time and effort. Follow the steps carefully and take your time. Check all connections to avoid leaks or problems later. Use basic tools you already have at home. Testing the dishwasher before closing the cabinet is important.
A well-installed dishwasher works quietly and cleans dishes well. Enjoy the convenience of your new appliance every day. Trust yourself—you can do this without professional help. Keep the manual handy for future reference or troubleshooting. A little patience goes a long way in installation success.


