
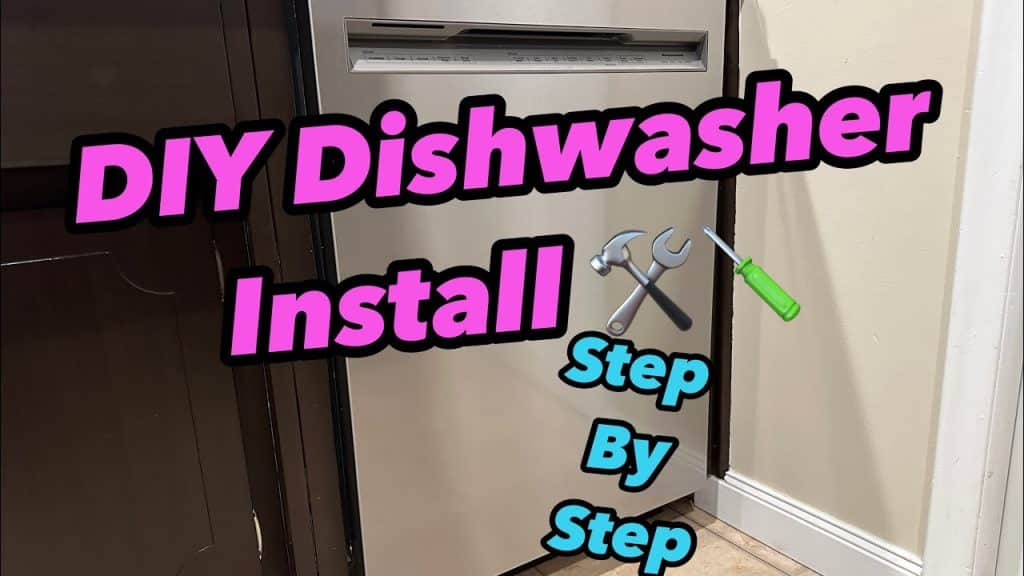
Installing a Kitchen Aid dishwasher can seem like a daunting task. But what if there was a way to make the process simple and stress-free?
You’ve come to the right place! With the right guidance, you can have your new appliance up and running in no time. Imagine the satisfaction of tackling this project yourself and the convenience of a dishwasher that works perfectly. In this guide, we’ll walk you through each step with clear instructions and helpful tips, making sure you feel confident and capable.
You deserve a kitchen that functions smoothly and efficiently, and by following this guide, you’re one step closer to achieving just that. Dive in, and let’s get started on transforming your kitchen setup today!
Tools And Materials Needed
Installing a Kitchen Aid dishwasher U tube needs the right tools and materials. Having these ready makes the job easier and faster.
This guide lists everything you need before starting the installation process.
Adjustable Wrench
An adjustable wrench helps tighten and loosen nuts and bolts. It fits different sizes, so you only need one tool.
This tool is important to connect the U tube securely to your dishwasher and plumbing.
Screwdrivers
You need both flathead and Phillips screwdrivers. They help remove or attach screws on the dishwasher or mounting brackets.
Having both types ensures you can handle all screws during installation.
Teflon Tape
Teflon tape seals pipe threads to stop leaks. Wrap it around threads before connecting parts.
It creates a tight, water-proof seal on the U tube connections.
Dishwasher U Tube
The U tube is a curved pipe that connects the dishwasher drain to the plumbing. Make sure you have the right size and model.
Using the correct U tube prevents leaks and ensures proper drainage.
Bucket Or Container
A bucket catches any water that may spill during the installation. It helps keep your floor dry and clean.
Place the bucket under the dishwasher drain before removing old parts.
Cleaning Cloth Or Towels
Keep cloths or towels nearby to wipe up any water or mess. They help keep the work area clean.
Dry connections with a cloth before tightening to avoid slips.
Preparing The Dishwasher
Before installing the Kitchen Aid dishwasher U tube, prepare the dishwasher carefully. This helps ensure a safe and smooth installation.
Focus on disconnecting power and water first. Then, access the U tube connection to proceed.
Disconnecting Power And Water
Turn off the dishwasher’s power to avoid electric shock. Unplug the dishwasher from the wall outlet or switch off the circuit breaker.
Next, shut off the water supply to the dishwasher. Close the valve under the sink or the main water supply valve.
- Unplug dishwasher or switch off circuit breaker
- Close water supply valve under the sink
- Check that power and water are fully off before proceeding
Accessing The U Tube Connection
Move the dishwasher out from under the counter carefully. Use a helper if the dishwasher is heavy or tight.
Locate the U tube connection at the bottom or back of the dishwasher. This tube connects the dishwasher drain to the plumbing.
- Pull dishwasher out slowly to avoid damaging floor or walls
- Find the U tube near the drain area of the dishwasher
- Clear any obstacles around the U tube connection before installation
Removing The Old U Tube
Removing the old U tube from your Kitchen Aid dishwasher is important for a smooth replacement. This guide helps you take it off safely.
Follow simple steps to loosen clamps and detach the tube without damage.
Loosening The Clamps
Start by locating the clamps that hold the U tube in place. These clamps keep the tube tight and secure.
Use a screwdriver or pliers to turn or squeeze the clamps gently. This will loosen them so you can remove the tube.
- Find all clamps on the U tube connections
- Use the right tool for your clamp type
- Turn or squeeze clamps slowly to avoid breaking
- Check if clamps are loose before moving on
Detaching The Tube Safely
After loosening the clamps, gently pull the U tube from the dishwasher fittings. Do this slowly to avoid spills or damage.
If the tube feels stuck, wiggle it slightly while pulling. Avoid using too much force to prevent breaking parts.
- Hold the tube close to the connection point
- Pull gently while wiggling if needed
- Keep a towel handy for any water spills
- Inspect the fittings after tube removal

Credit: www.youtube.com
Installing The New U Tube
Installing the new U tube in your Kitchen Aid dishwasher is important for proper drainage. The U tube connects the dishwasher to the drain system.
Follow the steps carefully to position and secure the tube. This will help avoid leaks and ensure smooth operation.
Positioning The Tube Correctly
Place the U tube so it fits without bends or kinks. A smooth path helps water flow freely.
Keep the tube away from sharp edges or hot parts. This prevents damage and leaks.
- Align the tube with the dishwasher drain outlet
- Avoid twisting or stretching the tube
- Make sure the tube loops slightly to prevent backflow
- Keep the tube clear of any moving parts
Securing With Clamps
Use clamps to hold the U tube firmly in place. Clamps stop the tube from moving or slipping off.
Tighten clamps just enough to hold the tube. Too much pressure can damage the tube or fittings.
- Place clamps over the tube near connection points
- Use a screwdriver to tighten clamps securely
- Check that the tube does not move after clamping
- Inspect clamps for rust or wear and replace if needed
Reconnecting Water And Power
After installing your Kitchen Aid dishwasher U tube, you need to reconnect the water and power. This step ensures your dishwasher works correctly. Be careful and follow safety rules.
We will explain how to check for leaks and how to restore power safely. These steps help prevent damage and keep your kitchen safe.
Checking For Leaks
Turn on the water supply slowly after connecting the U tube. Look under the dishwasher for any water drops. Check the tube connections carefully.
If you see water, tighten the connections. Use a wrench if needed, but do not overtighten. Make sure the hose is not bent or cracked.
- Turn on water supply slowly
- Look under dishwasher for water drops
- Tighten any loose connections
- Check hose for bends or cracks
Restoring Power
After confirming no leaks, restore power to the dishwasher. Plug the power cord into the outlet securely. If your dishwasher is hardwired, turn on the circuit breaker.
Test the dishwasher by running a short cycle. Listen for normal sounds. If it does not start, check the power connection again or reset the breaker.
- Plug in the power cord firmly
- Turn on the circuit breaker if needed
- Run a short dishwasher cycle
- Check for normal operation and sounds
Testing The Dishwasher
After installing the Kitchen Aid dishwasher U tube, testing is important. It ensures the machine works correctly. Testing helps find leaks or connection problems early.
This guide covers running a test cycle and fixing common issues. Follow these steps to check your dishwasher’s performance.
Running A Test Cycle
Start by closing the dishwasher door tightly. Make sure the water supply is open. Plug in the dishwasher and turn on the power.
- Select a short or quick wash cycle.
- Press the start button to begin the cycle.
- Listen for unusual sounds like rattling or dripping.
- Check under the sink for any water leaks near the U tube.
- Watch for error lights or beeps on the control panel.
After the cycle ends, open the door carefully. Check if dishes are clean and dry. If water remains inside, the U tube or drain may have a problem.
Troubleshooting Common Issues
| Issue | Possible Cause | Solution |
| Water leaks under sink | Loose or damaged U tube connection | Tighten or replace the U tube fittings |
| Dishwasher won’t drain | Clogged U tube or drain hose | Clean the U tube and clear blockages |
| Unusual noises | Improper installation or loose parts | Secure all connections and check installation |
| Error lights on panel | Electrical or sensor issues | Reset power, check sensor wiring |
If problems continue, consult the dishwasher manual or contact a technician. Correct testing and troubleshooting keep your dishwasher running well.
Maintenance Tips
Keeping your Kitchen Aid dishwasher’s U tube clean and inspected helps it work well. Good care prevents leaks and clogs.
Follow these simple steps to maintain the U tube and keep your dishwasher in top shape.
Regular Cleaning
Clean the U tube regularly to stop buildup and bad smells. Dirt can block water flow and cause damage.
- Turn off the dishwasher and unplug it before cleaning.
- Remove the U tube carefully from the dishwasher.
- Use warm soapy water and a soft brush to clean inside the tube.
- Rinse the tube well to remove all soap.
- Dry the tube completely before putting it back.
- Check for cracks or damage during cleaning.
Inspecting The U Tube Periodically
Check the U tube every few months to find problems early. Look for leaks, cracks, or loose connections.
| Inspection Item | What to Check |
| Leaks | Water dripping around tube joints |
| Cracks | Visible splits or breaks in the tube |
| Connections | Tube fits tightly to dishwasher parts |
| Blockages | Any dirt or debris inside the tube |

Credit: www.espares.co.uk

Credit: www.espares.co.uk
Frequently Asked Questions
How Do I Connect The U-tube On A Kitchenaid Dishwasher?
To connect the U-tube, align it with the dishwasher drain outlet. Secure the tube with a clamp. Ensure no kinks or bends to maintain proper drainage.
What Tools Are Needed To Install A Kitchenaid Dishwasher U-tube?
You will need a screwdriver, pliers, and a clamp tool. A bucket and towel help manage water spills during installation.
Can I Install The U-tube Myself Safely?
Yes, with basic plumbing skills and following instructions, you can install it safely. Turn off power and water before starting to avoid accidents.
How Do I Prevent Leaks When Installing The U-tube?
Tighten clamps securely and check for cracks or damage on the tube. Test the connection by running a short wash cycle and inspect for leaks.
Conclusion
Installing a Kitchen Aid dishwasher U tube is simple with clear steps. Follow the instructions carefully to avoid leaks or damage. Take your time and check each connection twice. A properly installed U tube helps your dishwasher work well and last longer.
Enjoy clean dishes without worries. Remember, safety first—turn off power and water before starting. Small effort now saves big trouble later. Keep your kitchen running smoothly with this easy fix.


