If you want your baked goods to come out perfectly every time, learning how to grease a baking pan is a simple but powerful skill you need. Imagine pulling a golden cake or fluffy brownies from the oven without a single crumb sticking to the pan.
Sounds great, right? You’ll discover easy and effective ways to grease your baking pans so your treats slide out smoothly and look as good as they taste. Keep reading, and you’ll never struggle with stuck-on batter again!
Choosing The Right Grease
Greasing a baking pan stops food from sticking. It also helps baked goods cook evenly. Picking the right grease makes baking easier.
Different greases work better for certain recipes. Some add flavor, while others prevent sticking better. Learn about your options below.
Butter Vs. Oil
Butter adds a rich taste and slight crisp to baked goods. It melts quickly and spreads easily in pans. Oil is flavorless and creates a smooth, even coat.
Butter works well for cakes and cookies. Oil suits sticky or delicate batters. Both help prevent sticking but offer different textures.
- Butter gives flavor and browning
- Oil is easy to spread and neutral
- Use softened butter for easy greasing
- Use vegetable or canola oil for best results
Using Shortening
Shortening is a solid fat that melts in the oven. It creates a thick, even layer on pans. It works well for sticky or heavy batters.
Shortening is flavorless and good for nonstick purposes. It can be a better choice than butter if you want no added taste.
- Solid at room temperature
- Melts evenly during baking
- Good for sticky or dense batters
- Use a paper towel to spread it thinly
Non-stick Spray Options
Non-stick sprays are quick and easy. They coat pans evenly with little effort. Some sprays include flour to help baked goods release better.
Look for sprays made specifically for baking. They save time and reduce mess. Use them in a well-ventilated area.
- Fast and simple to apply
- Some sprays contain flour for better release
- Works well for cakes and muffins
- Use in a ventilated space

Credit: www.youtube.com
Prepping Your Pan
Greasing a baking pan helps your baked goods release easily. Proper pan preparation prevents sticking and burning.
Before greasing, clean and dry your pan well. This ensures the grease sticks evenly and works correctly.
Cleaning The Surface
Start by washing your pan with warm, soapy water. Use a sponge or cloth to remove any old grease or food bits.
- Rinse the pan thoroughly to remove soap residue.
- Check for any stuck-on food and scrub gently if needed.
- Avoid harsh abrasives that can scratch non-stick surfaces.
Drying Completely
Dry your pan fully before greasing. Moisture can cause the grease to slide off and food to stick.
| Drying Method | Details |
|---|---|
| Air Dry | Leave the pan on a rack for 10-15 minutes to air dry completely. |
| Towel Dry | Use a clean, dry towel to wipe the pan thoroughly. |
| Oven Dry | Place the pan in a warm oven for a few minutes to remove moisture. |
Greasing Techniques
Greasing a baking pan helps prevent food from sticking. It also makes cleaning easier after baking.
There are several ways to apply grease to a pan. Each method works well depending on your tools and preference.
Applying With A Paper Towel
Using a paper towel to grease a pan is quick and easy. It spreads the grease evenly without making a mess.
- Pour a small amount of oil or butter onto a folded paper towel.
- Rub the paper towel over the entire inside surface of the pan.
- Make sure to cover corners and sides evenly.
- Use a fresh towel if you need more grease.
Using A Pastry Brush
A pastry brush helps spread grease smoothly and precisely. It works well for both oil and melted butter.
| Pastry Brush Tips | Description |
| Choose Silicone Brush | Easier to clean and holds grease well. |
| Dip Brush in Grease | Use enough to cover but not drip. |
| Brush All Pan Areas | Cover bottom and sides evenly for best results. |
| Wash Brush After Use | Keep brush clean to avoid old grease buildup. |
Greasing With Your Hands
Greasing with your hands lets you feel the coverage. It is good for irregular pan shapes.
- Wash your hands well before starting.
- Take a small amount of softened butter or oil on your fingertips.
- Rub the grease over the pan’s surface, reaching corners carefully.
- Use a clean paper towel if you want a thinner, even layer.
Adding Extra Non-stick Help
Greasing a baking pan well stops food from sticking. It also helps your baked goods come out clean.
You can add extra non-stick help by using flour or parchment paper. These make sure your treats release easily.
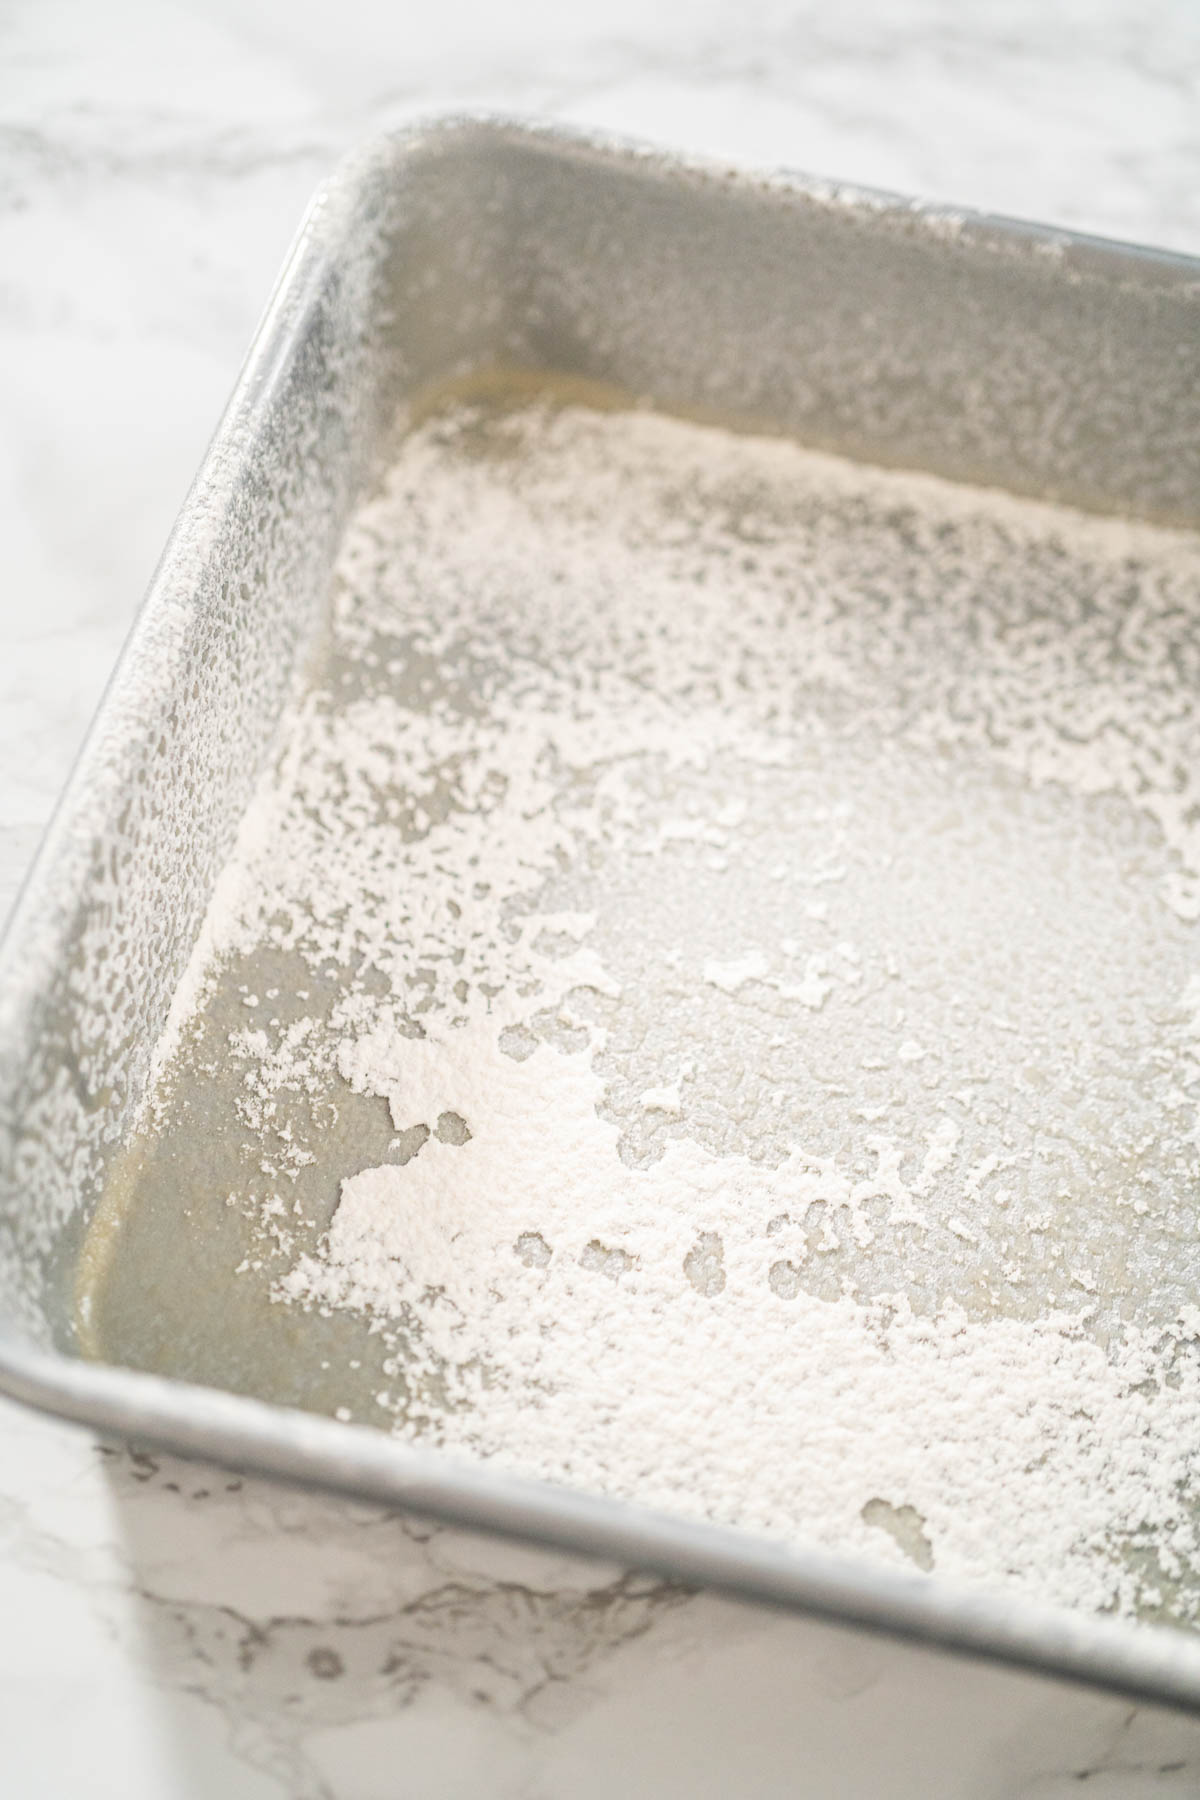
Dusting With Flour
After greasing the pan, sprinkle a small amount of flour over it. Tilt and tap the pan to spread the flour evenly.
This creates a thin layer that stops batter from sticking. It works well for cakes and bread.
- Use all-purpose flour for best results
- Tap out extra flour so only a thin layer remains
- Make sure to cover corners and sides evenly
Using Parchment Paper
Cut parchment paper to fit the bottom of your pan. Place it inside before adding any batter.
Grease the pan first, then lay the parchment paper in. This ensures easy release and keeps the pan clean.
- Grease the pan to help paper stick
- Press paper firmly to fit the pan shape
- Use strips to cover sides for extra non-stick help
Greasing Different Pan Types
Greasing a baking pan helps food release easily after baking. Different pans need different methods. Using the right greasing technique protects your baked goods.
Here are tips for greasing metal, glass, ceramic pans, and silicone molds. Follow these to keep your baked items perfect.
Metal Pans
Metal pans are common and conduct heat well. To grease them, use butter, shortening, or oil. Spread it evenly on all surfaces, including corners.
- Use a paper towel or pastry brush to spread the grease.
- For extra non-stick, dust the pan with flour after greasing.
- Be sure to cover the bottom and sides thoroughly.
Glass And Ceramic Pans
Glass and ceramic pans need gentle greasing. Use butter or oil and avoid too much flour. These pans brown food slower but keep moisture better.
| Pan Type | Grease Recommendation | Notes |
| Glass | Butter or oil | Spread evenly, avoid heavy flour dusting |
| Ceramic | Butter, oil, or non-stick spray | Cover all surfaces for even release |
Silicone Molds
Silicone molds usually do not need greasing. But sometimes a light coat helps with sticky batters. Use a small amount of oil or non-stick spray.
Tips for greasing silicone molds:
- Use a spray or brush a thin layer of oil.
- Do not use flour; it does not stick to silicone.
- Light greasing helps delicate cakes release cleanly.
Credit: arinaphotography.com
Common Mistakes To Avoid
Greasing a baking pan seems simple but can affect your baking results. Avoiding common errors helps your baked goods turn out better.
Learn about common mistakes people make when greasing pans. Fixing these will improve your baking success.
Using Too Much Grease
Adding too much grease can cause baked goods to fry or become greasy. It also makes the surface slippery and hard to handle.
- Use a light layer of butter or oil to coat the pan.
- Remove extra grease with a paper towel.
- Too much grease can change the texture of cakes and cookies.
Skipping The Grease Step
Not greasing the pan can cause baked goods to stick. This may break your cake or make it hard to remove cookies.
| Effect | Result |
|---|---|
| No grease | Sticking and breaking when removing baked goods |
| Grease applied well | Easy release and smooth edges |
| Too much grease | Greasy texture and uneven cooking |
Not Adjusting For Recipe Types
Different recipes need different greasing methods. Some need butter, others need oil or non-stick spray.
- Cakes usually require butter or shortening.
- Bread dough may need just a light oil coat.
- Sticky batters may need flour with grease.
- Use the right grease type to match the recipe.

Credit: www.yahoo.com
Frequently Asked Questions
How Do You Grease A Baking Pan Properly?
To grease a baking pan properly, use butter or cooking spray. Apply evenly to the bottom and sides. For added protection, dust with flour after greasing. This ensures easy release of baked goods and prevents sticking.
Can I Use Olive Oil To Grease A Pan?
Yes, olive oil can be used to grease a baking pan. It's a healthy alternative to butter. However, it may impart a subtle flavor. Ensure it's applied evenly for effective non-stick results.
Should I Grease A Non-stick Baking Pan?
Greasing a non-stick pan is recommended for extra assurance against sticking. It helps with easy release and cleanup. Lightly grease even if the pan is non-stick, especially for delicate baked goods.
Is Parchment Paper Better Than Greasing?
Parchment paper offers a non-stick surface and makes cleanup easier. It can be better for certain recipes. It eliminates the need for greasing and ensures even baking without sticking.
Conclusion
Greasing a baking pan helps your baked goods come out cleanly. Use the right amount of grease to avoid sticking or sogginess. Spread it evenly over the surface, reaching all corners. You can use butter, oil, or non-stick spray based on your preference.
Properly greased pans save time and keep your treats looking great. Try this simple step to improve your baking results every time. Baking becomes easier and more enjoyable with this small effort.