Are you tired of your kitchen trays getting damaged by spills and moisture? Imagine having a tray that not only looks great but also stands up to water, keeping your kitchen neat and stress-free.
This guide on How to Create a Water Resistant Kitchen Tray shows you simple, effective steps to protect your tray from everyday wear and tear. With a few easy techniques, you can make your kitchen tray last longer, stay cleaner, and maintain a fresh, polished look every day.
Your kitchen deserves this upgrade!

Credit: www.amazon.com
Materials Needed
Making a water resistant kitchen tray needs the right materials. Choosing good items helps the tray last longer and look better.
This guide covers the best wood, waterproof coatings, and extra tools to use. Each part is important for a strong tray.
Choosing The Right Wood
Pick wood that is strong and has a tight grain. Hardwoods work well because they resist water better than softwoods.
Good woods include maple, teak, and walnut. These woods hold up well in kitchen use and look nice.
- Maple – durable and smooth
- Teak – naturally water resistant
- Walnut – strong and attractive
Waterproof Coatings
To protect your tray, use a waterproof coating. It stops water from soaking into the wood.
Options include food-safe oils, varnishes, and sealants. Make sure the coating is safe for kitchen use.
- Mineral oil – easy to apply and safe
- Polyurethane varnish – strong and clear
- Beeswax – natural and water repellent
Additional Tools
You need some basic tools to make your tray. They help cut, smooth, and finish the wood properly.
Having the right tools makes your work easier and the tray better.
- Sandpaper – for smooth surfaces
- Paintbrush – to apply coatings
- Clamps – to hold pieces while drying
- Saw – to cut wood to size
- Measuring tape – for accurate cuts
Credit: primer.mn
Preparing The Tray Base
Making a water resistant kitchen tray starts with a strong base. The base needs to be smooth and well assembled.
Careful preparation helps protect the tray from water damage. This guide shows how to prepare the base.
Cutting And Sanding The Wood
Choose wood that is sturdy and smooth. Cut the wood pieces to the right size for your tray.
After cutting, sand the wood to remove rough edges. This makes the surface smooth and ready for sealing.
- Use a saw to cut wood pieces for the base.
- Sand all edges with medium-grit sandpaper first.
- Finish sanding with fine-grit sandpaper for smoothness.
- Remove dust with a clean cloth before assembling.
Assembling The Tray Frame
Build the tray frame by joining the cut wood pieces. Use strong glue and nails for better hold.
Make sure the frame is square and all corners fit tightly. This keeps the tray stable and water resistant.
- Apply wood glue on edges before joining.
- Use clamps to hold pieces while drying.
- Reinforce corners with small nails or screws.
- Check alignment with a square tool.
- Let glue dry completely before moving on.
Applying Water Resistance
Making your kitchen tray water resistant protects it from spills and stains. It helps the tray last longer and stay looking good. This guide shows you how to apply water resistance correctly.
Selecting Waterproof Sealants
Choose a sealant made for wood and moisture protection. Look for products that dry clear and are food safe. Popular sealants include polyurethane, varnish, and epoxy resin.
- Polyurethane: Durable and easy to apply
- Varnish: Offers a natural wood finish
- Epoxy Resin: Creates a thick, waterproof coat
- Shellac: Good for light moisture resistance
Step-by-step Coating Process
Follow these steps to apply the sealant evenly and effectively. Preparation and care during application are key to success.
- Clean the tray surface to remove dust and grease.
- Lightly sand the tray for better sealant grip.
- Apply the first thin coat with a brush or cloth.
- Let the coat dry before applying more layers.
- Apply 2 to 3 coats for full water resistance.
- Sand lightly between coats for a smooth finish.
Drying And Curing Times
Drying times vary by sealant type and room conditions. Proper curing ensures strong protection and prevents sticky surfaces.
| Sealant Type | Dry Time per Coat | Cure Time |
|---|---|---|
| Polyurethane | 4 to 6 hours | 24 to 48 hours |
| Varnish | 6 to 8 hours | 72 hours |
| Epoxy Resin | 12 to 24 hours | 7 days |
| Shellac | 1 hour | 24 hours |
Adding Functional Features
Creating a water resistant kitchen tray means making it useful and easy to handle. Adding features like handles and a non-slip bottom helps with both.
These features improve safety and comfort while carrying food or drinks. Let's explore how to add them.
Attaching Handles
Handles make carrying the tray easier and safer. Choose materials that resist water and stay strong.
- Use stainless steel or coated metal handles to avoid rust.
- Attach handles with waterproof glue or screws with seals.
- Make sure handles are smooth to prevent hand injuries.
- Place handles on opposite sides for balanced carrying.
Non-slip Bottom Options
A non-slip bottom stops the tray from sliding on surfaces. This feature adds safety in the kitchen.
| Material | Water Resistance | Grip Level |
| Rubber Pads | High | Strong |
| Silicone Feet | High | Very Strong |
| Cork Sheet | Medium | Moderate |
| Foam Tape | Low | Light |
Maintenance Tips
Keeping your kitchen tray water resistant needs regular care. Good maintenance helps the tray last longer.
Follow simple steps to clean and protect the tray’s surface. This keeps it safe from water damage.
Cleaning The Tray
Clean the tray often to remove dirt and stains. Use a soft cloth and mild soap with warm water.
Avoid harsh chemicals or abrasive cleaners. They can damage the water-resistant coating on the tray.
- Wipe spills immediately to prevent water damage
- Use a soft sponge or cloth for cleaning
- Rinse well and dry the tray after washing
- Do not soak the tray for long periods
Reapplying Sealant
Sealant protects the tray from water damage. Reapply it every few months or if the tray looks worn.
Clean the tray before applying the sealant. Follow the sealant instructions carefully for best results.
- Choose a sealant made for wood or the tray’s material
- Apply sealant in a well-ventilated area
- Use a brush or cloth to spread sealant evenly
- Let the sealant dry completely before use

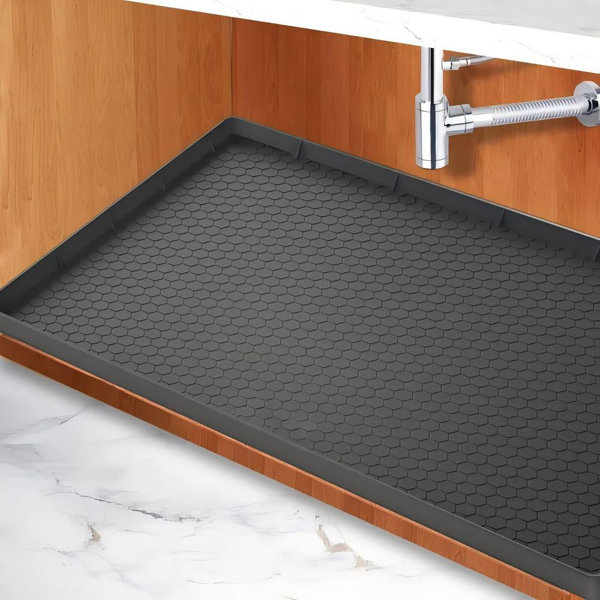
Credit: www.aol.com
Frequently Asked Questions
How Do I Make A Kitchen Tray Water Resistant?
To make a kitchen tray water resistant, apply a waterproof sealant or varnish. Use food-safe products for trays used with food. Let the tray dry completely before use to ensure durability and protection against moisture damage.
What Materials Work Best For Water Resistant Trays?
Materials like teak, bamboo, and treated wood work well for water resistant trays. These woods naturally repel water and last longer. Applying additional sealants improves water resistance and maintains the tray's appearance.
Can I Use Household Items To Waterproof A Tray?
Yes, you can use beeswax or mineral oil as natural waterproofing agents. They create a protective barrier on wooden trays. However, reapply regularly to maintain water resistance and avoid damage from spills or moisture.
How Often Should I Reseal My Kitchen Tray?
Reseal your kitchen tray every 6 to 12 months. Frequency depends on tray usage and exposure to water. Regular resealing keeps the tray protected and extends its lifespan.
Conclusion
Creating a water-resistant kitchen tray is simple and rewarding. Follow the steps for a durable and functional tray. Choose materials wisely to ensure longevity. Apply waterproof sealant for added protection. Let it dry completely before use. Enjoy the satisfaction of a self-made, practical kitchen tool.
This project is perfect for beginners and provides great utility. Plus, it adds a personal touch to your kitchen. Share your creation with friends and inspire their DIY spirit. Happy crafting!