Is your KitchenAid blender looking a little less than fresh? You’re not alone.
With all the smoothies, soups, and sauces you whip up, it's no wonder your trusty appliance needs some TLC. But fear not! Cleaning your KitchenAid blender is simpler than you might think. In just a few easy steps, you can have it sparkling like new, ready to tackle your next culinary creation.
Imagine the satisfaction of seeing your blender gleaming on the countertop, knowing it’s as clean as the day you bought it. Follow along, and discover how to make your KitchenAid blender shine effortlessly. You'll be amazed at how quick and easy it is to maintain its pristine condition!
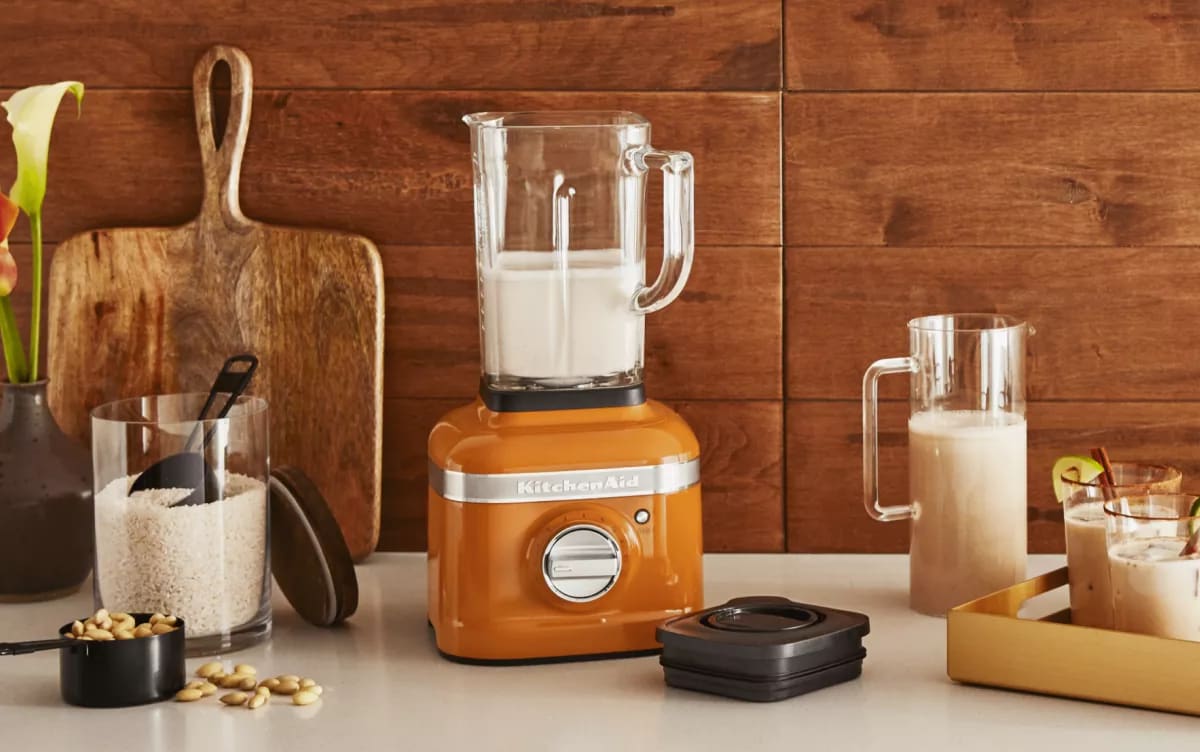
Credit: www.kitchenaid.ca
Preparing The Blender For Cleaning
Cleaning your KitchenAid blender starts with proper preparation. This helps you clean it safely and well.
Follow these steps before you begin washing the blender parts.
Unplug And Disassemble
Always unplug the blender before cleaning. This stops any risk of electric shock.
Take apart the blender carefully. Remove the jar, lid, and blade assembly from the base.
- Unplug the power cord from the outlet.
- Lift the blender jar off the motor base.
- Remove the lid from the jar.
- Unscrew the blade assembly from the jar bottom.
Remove And Rinse The Jar
Take the jar to the sink and rinse it with warm water. This helps remove loose food bits.
Use a soft sponge or cloth to clean the inside gently. Avoid harsh scrubbers that may scratch the jar.
- Hold the jar under running warm water.
- Rinse out leftover food or drink.
- Use a soft sponge to wipe the jar’s inside and outside.
- Set the jar aside to drain.
Check The Blade Assembly
Look over the blade assembly for any stuck food or damage. Clean carefully to avoid cuts.
If blades are stuck, soak the assembly in warm, soapy water for a few minutes before cleaning.
- Inspect the blades for food bits or stains.
- Soak in warm water if needed.
- Use a brush or cloth to clean around the blades.
- Dry the blade assembly before reassembling.
Cleaning The Blender Jar
Keeping your Kitchenaid blender jar clean helps it work well every time. Dirt and food bits can build up fast if you do not clean it right. Regular cleaning stops smells and keeps your blender fresh.
This guide shows easy ways to clean the blender jar. Follow these tips to keep your jar clear and safe to use.
Use Warm Soapy Water
Start by filling the blender jar halfway with warm water. Add a few drops of dish soap. Put the lid on and turn the blender on low. Let it run for 30 seconds to clean the inside.
After blending, pour out the soapy water and rinse the jar well. This method helps break down oils and food stuck inside the jar.
Clean Hard-to-reach Areas
Food can hide under the blades and around the jar base. Use a soft brush or toothbrush to scrub these spots. Be careful to avoid the sharp blades.
- Remove the jar from the base before cleaning
- Use a small brush to reach under blades
- Clean the jar lid and seal separately
- Check for leftover food bits in corners
- Wipe the outside of the jar with a damp cloth
Rinse Thoroughly
Rinse the jar well with warm water after cleaning. Make sure no soap or food bits remain. Leftover soap can cause bad taste in your drinks.
| Part | Cleaning Tip |
| Jar | Rinse twice under running water |
| Blade area | Use brush and rinse carefully |
| Lid and seal | Wash with soap and rinse fully |
Cleaning The Blade And Base
Cleaning your KitchenAid blender keeps it working well. Dirt and food can build up on the blade and base.
Regular cleaning helps keep your blender safe and fresh. Focus on the blade and base to avoid damage.
Handle Blades Safely
Blades are sharp and can cut your skin. Always hold blades by the dull edges or the plastic base.
Use a brush or sponge to clean the blades. Avoid touching the sharp parts with your bare hands.
- Unplug the blender before cleaning
- Remove the blade assembly carefully
- Use a brush to scrub the blades
- Rinse with warm water after cleaning
Wipe The Base With A Damp Cloth
The base holds the motor and controls. Clean it with a soft, damp cloth to remove spills and dust.
Do not use harsh cleaners that can damage the surface. Wipe gently to keep the buttons and screen clean.
- Unplug the blender before cleaning
- Use a soft cloth with water only
- Wipe all sides of the base
- Dry the base with a dry cloth after wiping
Avoid Water In The Motor Area
Water can damage the motor inside the base. Keep water away from the motor area to avoid problems.
Never submerge the base in water. Use a cloth to clean and avoid letting water drip inside.
- Do not rinse the base under running water
- Keep moisture away from motor vents
- Use a dry cloth to wipe if needed
- Check for leaks before using again
Deep Cleaning Tips
Keeping your KitchenAid blender clean helps it work better and last longer. Deep cleaning removes hidden dirt and smells.
Use simple ingredients and easy steps for a fresh and clean blender every time.
Use Baking Soda And Vinegar
Baking soda and vinegar are natural cleaners. They remove tough grime and neutralize odors in your blender.
Make a paste with baking soda and water. Apply it to the blender jar and let it sit for 10 minutes.
Pour some white vinegar into the jar and scrub gently with a soft brush. Rinse with warm water.
Soak Removable Parts
Remove the blender blades, lid, and gasket. Soak them in warm soapy water to loosen stuck-on food.
Let parts soak for 15 to 20 minutes. Then use a small brush to clean hard-to-reach spots.
- Use dish soap and warm water
- Soak for 15-20 minutes
- Scrub blades carefully to avoid cuts
- Rinse and dry parts before reassembling
Remove Stubborn Stains And Odors
For tough stains, fill the blender jar with warm water and add a few drops of lemon juice.
Run the blender for 30 seconds to clean inside. Let it sit for 10 minutes before rinsing.
If odors remain, mix water with a teaspoon of baking soda. Let it sit in the jar overnight.
Drying And Reassembling
After cleaning your KitchenAid blender, drying the parts properly is important. This prevents mold and keeps your blender fresh.
Once dry, you can reassemble the blender safely to be ready for the next use.
Air Dry Components
Place all blender parts on a clean towel or drying rack. Make sure the parts are spread out and not stacked.
- Invert the jar to let water drip out.
- Lay the lid and blade assembly flat.
- Keep small parts separate to dry evenly.
Check For Residual Moisture
After air drying, check each part for any leftover water. Moisture can hide in small crevices and seals.
| Component | Check Points |
| Blender Jar | Inside bottom and sides |
| Lid | Under the seal and edges |
| Blade Assembly | Base and blade joints |
| Seals and Gaskets | Inside grooves and folds |
Reassemble The Blender
Once all parts are dry, put your blender back together in the correct order. This ensures it works properly.
- Attach the blade assembly to the jar securely.
- Fit the seal or gasket in place if removed.
- Place the lid firmly on top of the jar.
- Set the jar onto the blender base.

Credit: www.housework.com
Maintenance For Long-lasting Performance
Keeping your KitchenAid blender clean helps it work better for a long time. Proper care stops dirt and food from building up. It also keeps the blender safe to use every day.
Simple cleaning and regular checks keep the blender parts in good shape. Follow easy steps to keep your blender fresh and strong.
Clean After Every Use
Wash the blender right after you use it. This stops food from drying and sticking to the blades and jar. Quick cleaning saves time and effort later.
Rinse the jar with warm water and soap. Run the blender for a few seconds with soapy water. Then rinse and dry all parts well.
- Remove the jar and lid for washing
- Use a soft sponge or cloth
- Do not put the base in water
Avoid Harsh Chemicals
Do not use strong cleaners or bleach on your blender. These chemicals can damage the plastic and metal parts. Gentle soap and water are enough for cleaning.
Harsh chemicals may also leave harmful residues. Always rinse the blender parts well after washing. Use natural or mild cleaners for safety.
- Choose mild dish soap
- Skip abrasive scrubbers
- Rinse thoroughly after washing
Regularly Inspect For Damage
Check your blender often for cracks, loose parts, or wear. Damaged blades or jars can cause leaks or poor performance. Early fixes keep the blender safe to use.
Look at the seal and blades carefully. Replace parts that look worn or broken. This keeps your blender working well for many years.
- Examine the jar for cracks
- Check blade sharpness and tightness
- Inspect the rubber seal for wear
- Replace any damaged parts promptly
Credit: www.kitchenaid.co.uk
Frequently Asked Questions
How Do I Clean My Kitchenaid Blender Quickly?
To clean your KitchenAid blender quickly, fill it halfway with warm water and a drop of dish soap. Blend on high for 30 seconds, then rinse thoroughly with clean water. This method removes most residue without disassembling parts.
Can I Put Kitchenaid Blender Parts In The Dishwasher?
Yes, most KitchenAid blender jars, lids, and blades are dishwasher-safe. Place them on the top rack to avoid damage. Always check your model's manual to confirm dishwasher compatibility for specific parts.
How Often Should I Deep Clean My Kitchenaid Blender?
Deep clean your KitchenAid blender every 1-2 weeks, depending on usage. Disassemble all removable parts and soak them in warm soapy water. Scrub blades and crevices to remove stubborn buildup and odors.
What’s The Best Way To Remove Odors From My Blender?
To remove odors, blend a mixture of baking soda and water or lemon juice and water. Let it sit for a few minutes, then rinse well. This natural method neutralizes smells effectively without harsh chemicals.
Conclusion
Cleaning your KitchenAid blender is simple and quick. Regular cleaning keeps it working well and lasts longer. Use warm water and mild soap for best results. Avoid harsh scrubbing to protect the blades and jar. Rinse thoroughly to remove all soap.
Dry all parts completely before storing. Clean your blender right after use to stop food from sticking. A clean blender makes tasty smoothies and meals every time. Keep these easy steps in mind for a fresh and ready blender.