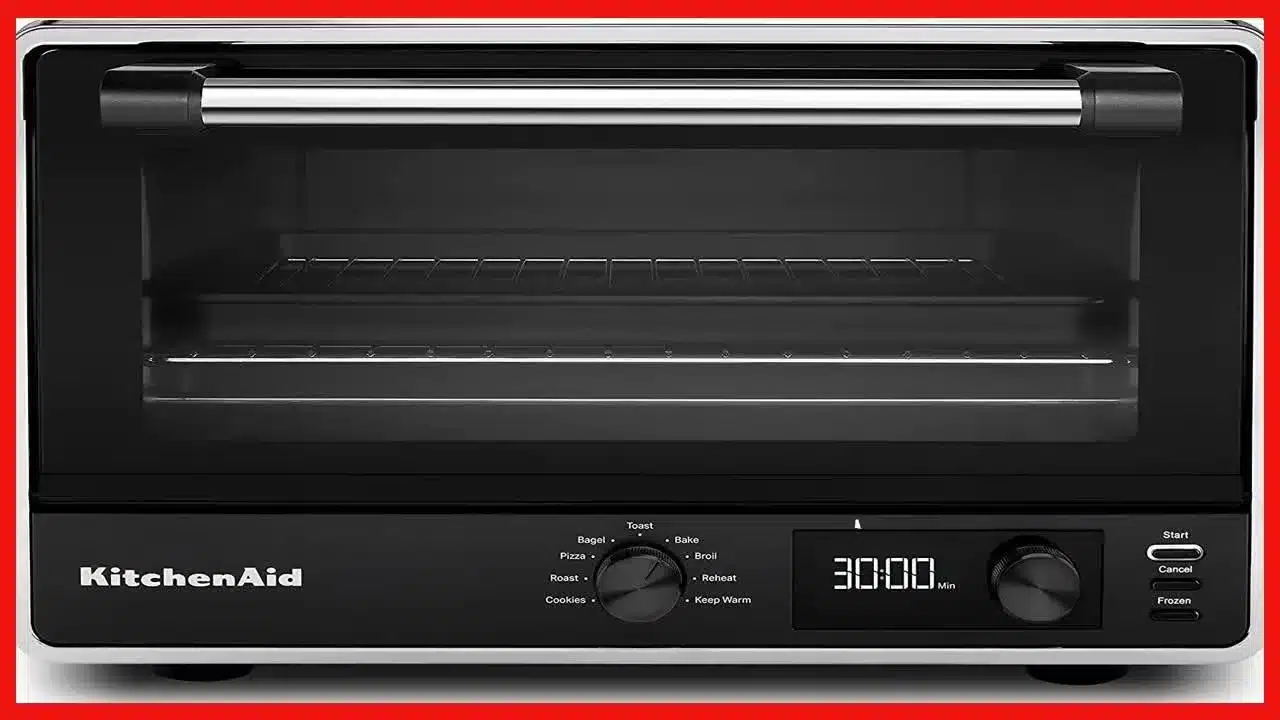
Your KitchenAid toaster oven works hard every day, so keeping it clean is key to making it last longer and cook better. But cleaning it might seem tricky or messy, right?
Don’t worry—you’re about to discover simple, effective steps that anyone can follow. By the end of this article, you’ll know exactly how to make your toaster oven spotless without stress. Ready to bring back that fresh, like-new shine? Let’s dive in!
Tools And Supplies Needed
Cleaning a Kitchenaid toaster oven requires a few basic tools and supplies. Having the right items makes the job easier and safer.
Using proper cleaning agents, scrubbing tools, and protective gear helps keep your toaster oven in good shape.
Cleaning Agents
Choose gentle cleaning agents that remove grease and food residue. Avoid harsh chemicals that can damage the surface.
- Mild dish soap
- Baking soda
- White vinegar
- Warm water
- Non-abrasive kitchen cleaner
Scrubbing Tools
Use soft and safe scrubbing tools to avoid scratching the toaster oven. These tools help remove stuck-on food without damage.
- Soft sponge or cloth
- Non-scratch scrub brush
- Old toothbrush for corners
- Microfiber towel for drying
Protective Gear
Wear protective gear to keep your hands safe from chemicals and hot surfaces. Gloves also help with grip while cleaning.
- Rubber gloves
- Apron or old clothes
- Eye protection if using strong cleaners
Preparing The Toaster Oven
Cleaning your KitchenAid toaster oven starts with proper preparation. This helps keep you safe and makes cleaning easier.
Follow these steps to get your toaster oven ready before you begin cleaning.
Unplugging And Cooling Down
Always unplug the toaster oven before cleaning. This stops any chance of electric shock.
Let the toaster oven cool down completely. Cleaning a hot oven can cause burns or damage.
- Unplug the power cord from the wall outlet.
- Wait at least 30 minutes for the oven to cool.
- Ensure the inside is no longer warm to the touch.
Removing Accessories
Take out all removable parts from the toaster oven. This includes trays, racks, and crumb trays.
Removing these parts makes cleaning easier and prevents damage to the accessories.
- Open the toaster oven door carefully.
- Remove the baking tray and wire rack.
- Take out the crumb tray from the bottom.
- Set all parts aside for separate cleaning.
Cleaning The Interior
Cleaning the inside of your KitchenAid toaster oven keeps it working well. Dirt and crumbs can build up fast. Regular cleaning helps avoid smells and smoke.
Focus on wiping crumbs, removing tough stains, and cleaning the heating parts. Use simple tools and gentle cleaners for safety.
Wiping Loose Crumbs
Start by unplugging the toaster oven. Open the door and remove the crumb tray. Empty crumbs into the trash.
- Use a soft brush to sweep crumbs from corners.
- Wipe the interior with a damp cloth.
- Dry the inside with a clean towel before using again.
Dealing With Stubborn Stains
Some stains stick to the walls and racks. Use a paste made of baking soda and water to clean them. Apply the paste and let it sit for 15 minutes.
| Cleaning Tip | Method |
| Grease stains | Apply baking soda paste, scrub gently with a sponge |
| Burnt food spots | Use vinegar spray, let sit, then wipe clean |
| Racks | Soak in warm soapy water, scrub with brush |
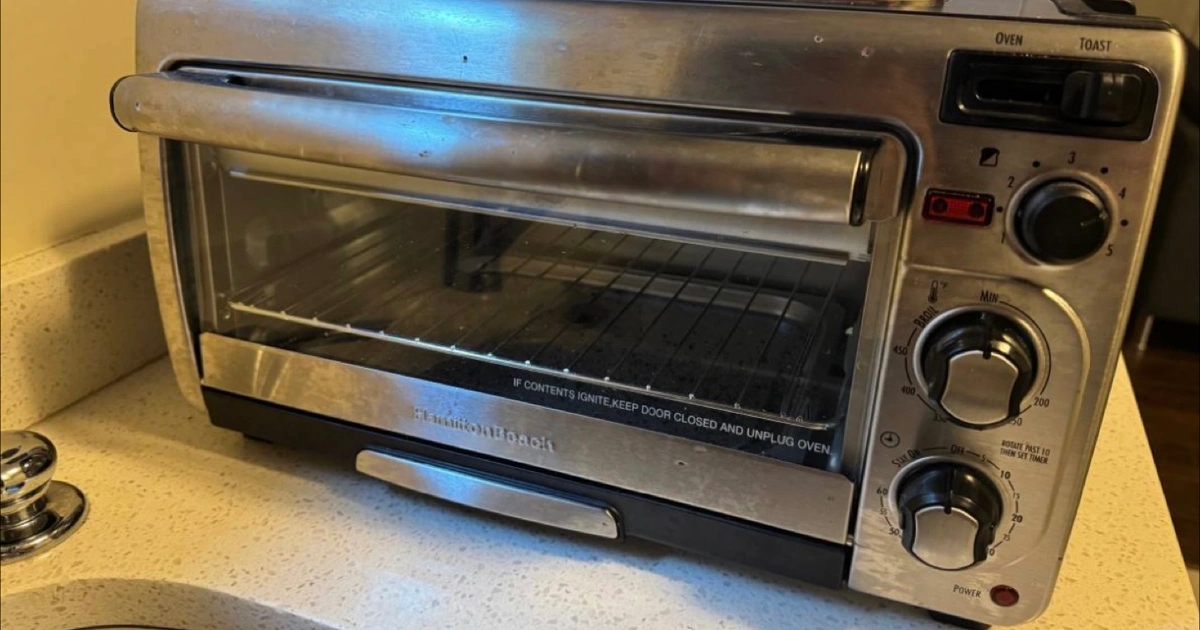
Cleaning Heating Elements
Heating elements are fragile. Do not scrub or use water directly on them. Use a dry, soft brush to remove dust and crumbs carefully.
Make sure the heating parts are completely dry before using the toaster oven again. This keeps the oven safe and working well.
Credit: www.karrotmarket.com
Cleaning The Exterior
Keeping your Kitchenaid toaster oven clean on the outside helps it look good. Dirt and stains can build up fast. Regular cleaning stops damage and keeps it safe to use.
Focus on wiping surfaces, cleaning knobs and buttons, and polishing the glass door. Use simple tools and gentle cleaners for best results.
Wiping Surfaces
Use a soft cloth to wipe the toaster’s outside. Avoid harsh cleaners that can scratch the finish. Mild soap and water work well. Dry the surface after wiping to prevent streaks.
- Unplug the toaster oven before cleaning.
- Mix warm water with a few drops of mild dish soap.
- Dampen a soft cloth in the solution and wring it out well.
- Gently wipe all outer surfaces.
- Use a dry cloth to remove moisture.
Cleaning Knobs And Buttons
Knobs and buttons collect dust and grease. Clean them carefully to avoid damage. A small brush can help reach tight spaces.
| Tool | Purpose |
| Soft cloth | Wipe surface dirt |
| Toothbrush | Clean around knobs |
| Cotton swab | Reach small gaps |
| Mild soap solution | Remove grease |
Polishing The Glass Door
Polish the glass door to keep it clear and shiny. Use a glass cleaner or a vinegar-water mix. Avoid spraying cleaner directly on the door to protect seals.
Follow these tips for polishing:
- Spray cleaner on a soft cloth, not on the glass.
- Wipe the glass in a circular motion.
- Dry with a clean cloth to avoid streaks.
- Repeat if spots remain.
Maintaining The Toaster Oven
Keeping your KitchenAid toaster oven clean helps it work better. Regular care stops buildup and bad smells.
A clean toaster oven lasts longer and cooks food evenly. Simple steps can keep it in top shape.
Regular Cleaning Schedule
Clean your toaster oven after every few uses. Wipe crumbs and spills to avoid buildup.
Set a weekly deep-clean routine. Remove racks and trays to wash them well.
- Unplug the oven before cleaning
- Use a damp cloth for inside and outside
- Soak racks and trays in warm, soapy water
- Clean crumb trays often to prevent fires
- Dry all parts completely before use
Avoiding Damage
Do not use metal tools to scrape the oven. Scratches can damage the non-stick surface.
Avoid harsh cleaners and abrasive pads. They can wear down the finish and parts.
- Use soft sponges or cloths only
- Choose mild dish soap for cleaning
- Do not immerse the main oven unit in water
- Let the oven cool before cleaning
- Check the manual for safe cleaning products
Tips For Long-lasting Performance
Use your toaster oven carefully to extend its life. Avoid overloading and overheating.
Regularly check and clean heating elements. Keep vents clear to prevent overheating.
- Preheat only as needed
- Do not block air vents during use
- Clean crumb trays weekly
- Store the oven in a dry place
- Follow the manufacturer's care instructions
Credit: www.kitchenaid.com
Credit: www.kitchenaid.com
Frequently Asked Questions
How Often Should I Clean My Kitchenaid Toaster Oven?
Clean your Kitchenaid toaster oven every 1-2 weeks. Regular cleaning prevents buildup of grease and crumbs. It keeps the appliance efficient and safe to use. Wipe spills immediately to avoid stubborn stains.
What Materials Are Safe For Cleaning Kitchenaid Toaster Ovens?
Use a soft cloth, warm water, and mild dish soap. Avoid abrasive sponges or harsh chemicals that can damage the surface. A baking soda paste helps remove tough stains gently and safely.
Can I Remove The Crumb Tray For Cleaning?
Yes, the crumb tray is removable for easy cleaning. Take it out and wash with warm, soapy water. Dry it thoroughly before placing it back to prevent mold and odors.
Is It Safe To Clean The Heating Elements?
Avoid direct contact with heating elements. Gently brush crumbs off using a soft brush or cloth. Never use water or cleaners on heating elements to prevent damage and electrical hazards.
Conclusion
Cleaning your Kitchenaid toaster oven is simple and essential. Keep it spotless for efficient cooking. Wipe surfaces after each use. Remove crumbs regularly to prevent buildup. Clean trays and racks with warm soapy water. Ensure the oven is unplugged before cleaning.
Avoid harsh chemicals to keep it safe. Regular cleaning extends your appliance’s life. Enjoy delicious meals without the mess. A clean toaster oven makes your kitchen look tidy. Follow these steps and enjoy a hassle-free experience. Happy cooking!