

Are you tired of cluttered kitchen counters and messy cabinets? Building your own kitchen plate rack can be the perfect solution.
Not only does it help organize your plates neatly, but it also adds a charming touch to your kitchen space. Imagine reaching for your favorite dish, easily accessible and beautifully displayed. In this guide, you’ll discover simple, step-by-step instructions to create a plate rack that fits your style and needs.
Ready to transform your kitchen and make your daily routine smoother? Let’s get started!
Choosing The Right Materials
Building a kitchen plate rack needs careful material choice. Good materials make your rack strong and long-lasting.
Pick materials that fit your kitchen style and handle daily use well. This helps your rack look nice and work well.
Wood Types For Durability
Choose wood that stays strong in kitchen conditions. Some woods resist moisture and wear better than others.
Hardwoods last longer and look good. Softwoods are cheaper but may dent easily.
- Oak: Very strong and water-resistant
- Maple: Hard and smooth surface
- Cherry: Durable with a warm color
- Pine: Affordable but less durable
- Cedar: Resists moisture and smells good
Essential Tools And Supplies
Using the right tools makes building easier and safer. Gather all supplies before starting your project.
Common tools help you cut, join, and finish the wood properly for a neat plate rack.
- Saw: To cut wood pieces accurately
- Drill: For making holes and fixing screws
- Sandpaper: To smooth rough edges
- Measuring tape: For correct measurements
- Screwdriver: To fasten screws securely
- Wood glue: Adds extra strength to joints
- Clamps: Hold pieces while glue dries
Credit: kimpepperblog.com
Planning Your Plate Rack Design
Building a kitchen plate rack needs good planning. A well-planned design fits your space and holds your plates safely.
Start by thinking about the size and style. This helps make a rack that looks great and works well.
Measuring Space And Plates
Measure the wall or cabinet space where you want the rack. Check the height, width, and depth carefully.
Also, measure your plates. Know their diameter and thickness. This helps decide how much space each slot needs.
- Measure wall height and width in inches or centimeters
- Check plate diameter to fit slots comfortably
- Allow extra depth for plate thickness and easy access
- Consider space between plates to avoid damage
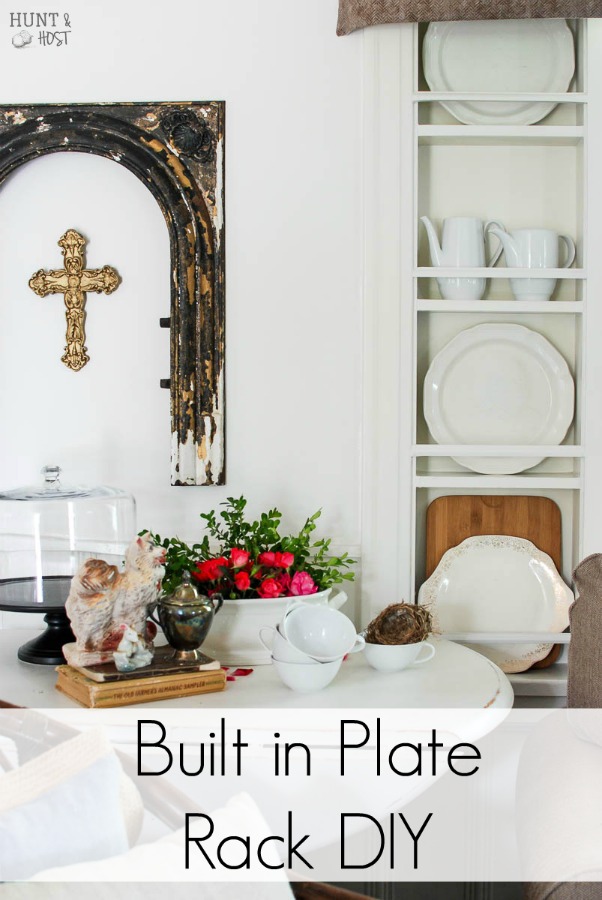
Selecting A Style
Choose a style that matches your kitchen and personal taste. Style affects both look and function.
Some styles show plates facing out, others hold plates flat or stacked. Pick what fits your space and needs.
- Open racks display plates for decoration
- Closed racks protect plates from dust
- Wall-mounted racks save counter space
- Freestanding racks can be moved as needed
Preparing The Wood Pieces
Preparing the wood pieces is an important step in building a kitchen plate rack. This process ensures the rack is sturdy and looks good. Careful preparation helps the wood last longer and fit together well.
In this section, we focus on cutting the wood to the right size and sanding and finishing it for a smooth and clean look. These steps make the building process easier and improve the final result.
Cutting To Size
Cutting the wood pieces to the correct size is the first step. Measure each part carefully before making any cuts. Use a saw that matches the wood type and thickness for clean edges.
- Measure twice to avoid mistakes
- Mark cut lines clearly on the wood
- Use a sharp saw for smooth cuts
- Cut slowly to prevent splintering
- Check each piece after cutting for accuracy
Sanding And Finishing
Sanding smooths the wood and prepares it for finishing. Use fine-grit sandpaper to remove rough spots and splinters. Sand all surfaces that will be visible or touched.
| Material | Sandpaper Grit | Purpose |
| Softwood | 120-150 | Remove roughness and prepare surface |
| Hardwood | 180-220 | Smooth surface and edges |
| Finished wood | 220-320 | Light smoothing before final coat |
After sanding, apply a finish like oil, wax, or varnish. This protects the wood from moisture and dirt. Let the finish dry completely before assembling the rack.

Credit: thistlewoodfarms.com
Assembling The Frame
Building a kitchen plate rack starts with a strong frame. The frame holds all parts together. It needs to be solid and well-made.
Focus on joining the pieces carefully. Good connections make the rack last longer. Use the right tools and materials.
Joining Techniques
Choose the best way to join wood pieces. You can use screws, nails, or wood glue. Each method has its advantages.
Screws hold pieces tightly and can be removed if needed. Nails are quick to use but less strong. Wood glue creates a strong bond but takes time to dry.
- Use wood glue on all joints for extra strength.
- Pre-drill holes before screwing to avoid wood splitting.
- Clamp pieces together while glue dries for a tight fit.
- Use corner brackets for added support if needed.
Ensuring Stability
Make sure the frame does not wobble. Stability is key for safety and function. Check all joints and connections.
Add braces or cross supports if the frame feels weak. Use a level to keep the frame even. Tighten all screws and nails securely.
- Check corners for square angles using a carpenter’s square.
- Add diagonal braces to prevent side-to-side movement.
- Use wood filler to fill gaps and smooth surfaces.
- Test the frame by gently shaking it before adding shelves.
Creating Plate Slots
Building a kitchen plate rack starts with making the plate slots. These slots hold your plates upright and keep them organized.
Good slot design stops plates from slipping or tipping over. It also helps to save space on your rack.
Spacing For Different Plate Sizes
Plate sizes vary a lot. You need to space the slots to fit small and large plates.
Measure your plates before cutting slots. Leave enough room for easy placement and removal.
- Standard dinner plates need about 1 inch of width per slot
- Salad or dessert plates require around ¾ inch
- Large platters may need 1.5 inches or more
- Slot depth should be half the plate’s diameter for good support
Adding Support Rails
Support rails keep plates steady in the slots. They stop plates from sliding forward or falling.
Attach rails at the front and back of the slots. Make sure they are strong and well fixed.
- Use wooden strips or metal bars as rails
- Place the front rail low enough to hold the plate base
- The back rail should support the plate back without blocking slot access
- Secure rails with screws or nails for durability
Mounting The Rack
Mounting your kitchen plate rack correctly keeps it stable and safe. You need to attach it firmly to the wall.
This guide covers key ways to attach your rack and important safety tips to follow.
Wall Attachment Methods
First, find studs in your wall using a stud finder. Attaching the rack to studs gives the best support.
If you cannot find studs, use strong wall anchors designed for your wall type. Avoid just screwing into drywall.
- Use a stud finder to locate wall studs.
- Drill pilot holes in the studs before screwing.
- Use heavy-duty wall anchors for drywall or plaster.
- Level the rack before drilling holes.
- Use screws long enough to hold the rack firmly.
Safety Considerations
Check that the rack can hold the weight of your plates. Overloading can cause it to fall.
Use proper tools and safety gear. Wear goggles and gloves when drilling and mounting.
- Do not overload the rack with heavy plates.
- Test the rack’s strength before placing all plates.
- Wear safety glasses when drilling holes.
- Keep the work area clean and free of hazards.
- Ask for help if the rack is large or heavy.
Finishing Touches
Adding finishing touches makes your kitchen plate rack look great and last longer. These details protect the wood and add style.
Focus on painting or staining and adding decorative elements. These steps complete your project nicely.
Painting Or Staining Options
Choose paint or stain to protect the wood and change its look. Paint covers wood completely, while stain shows the grain.
Use a brush or cloth to apply paint or stain evenly. Let each coat dry well before adding another.
- Use water-based paint for easy cleanup and less smell
- Oil-based stain adds rich color and protects wood deeply
- Apply a clear sealant for extra protection from moisture
- Light sanding between coats helps smooth the surface
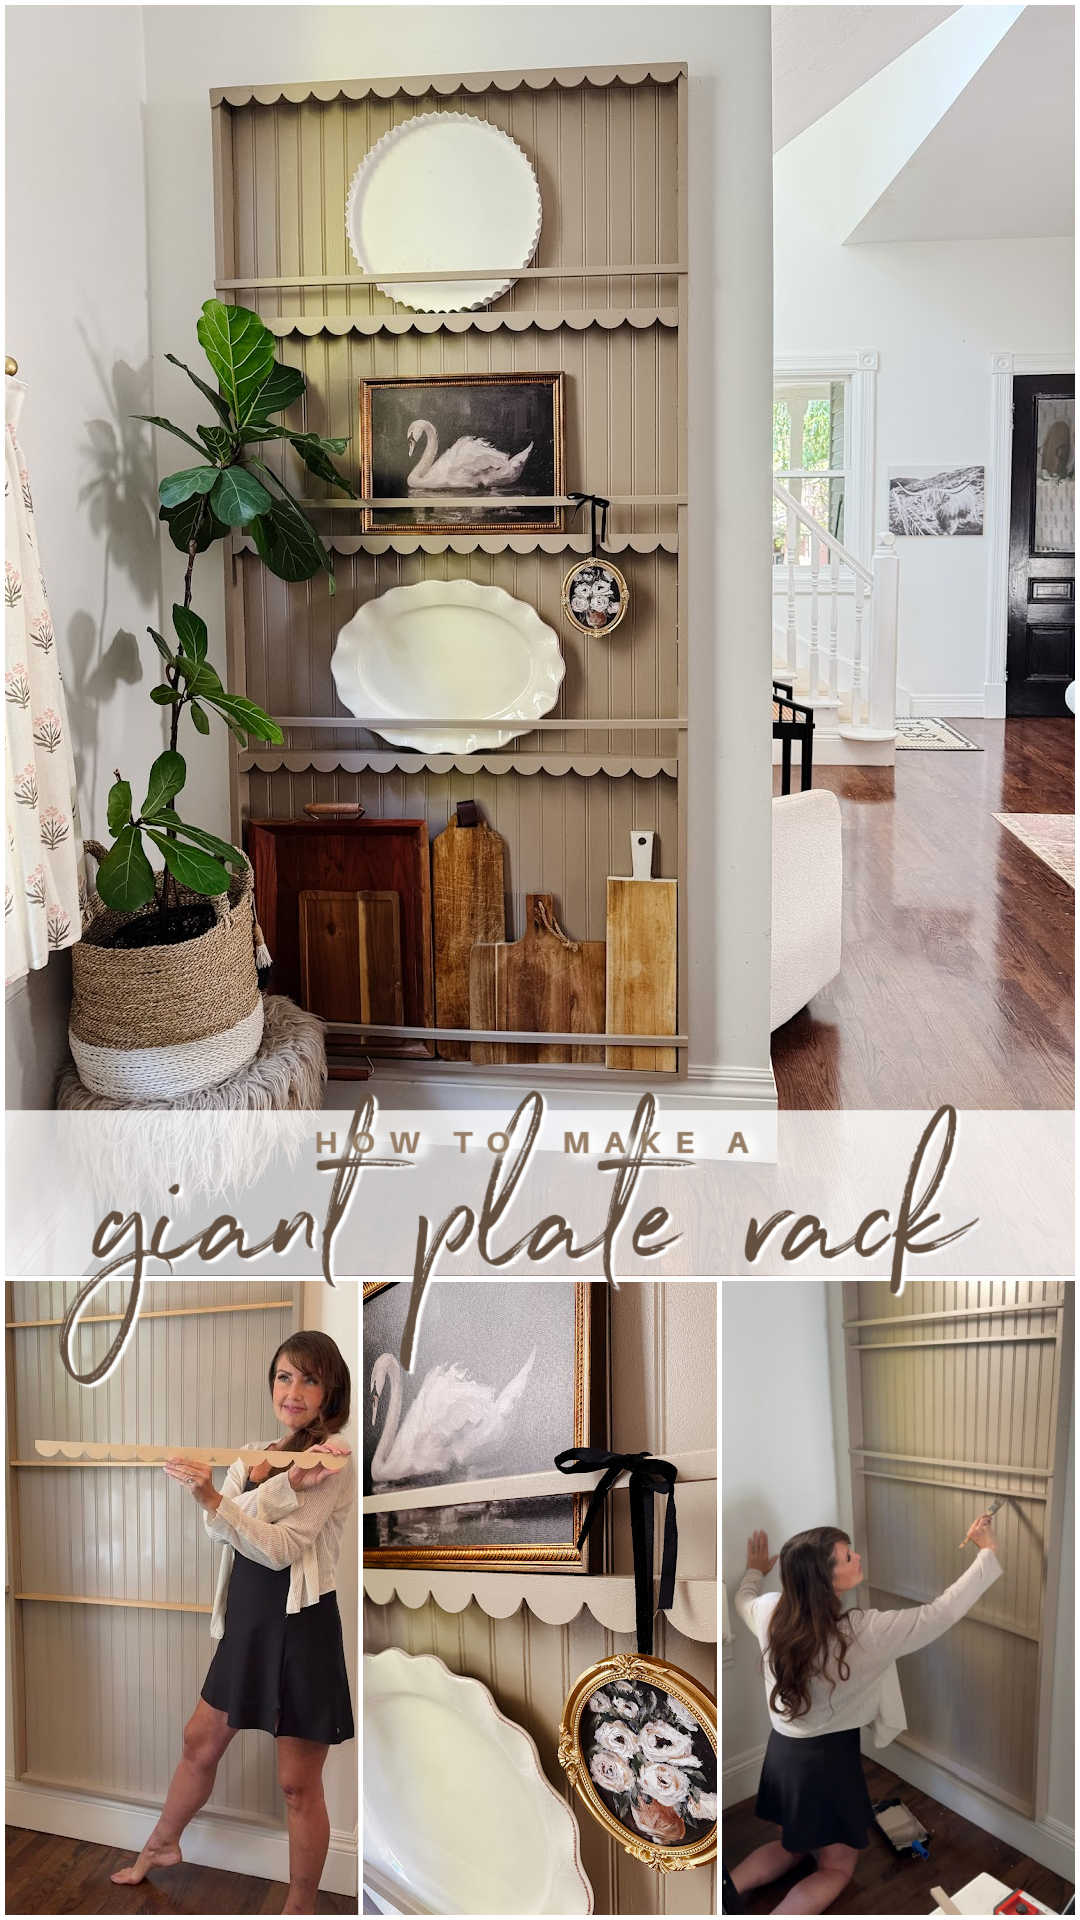
Decorative Elements
Decorative elements add charm and personality to your plate rack. Choose simple designs that match your kitchen style.
Try adding trims, hooks, or patterns for a unique look. Small details can make a big difference.
- Add wooden trim along the edges for a polished look
- Install small hooks for hanging cups or utensils
- Use stencils to paint simple patterns or shapes
- Attach decorative knobs or accents to show style
Credit: tatertotsandjello.com
Maintenance Tips
Keeping your kitchen plate rack in good shape helps it last longer. Regular care makes it look nice and work well.
Here are some simple tips to clean and handle wear on your plate rack.
Cleaning The Rack
Dust and dirt can build up on your plate rack over time. Cleaning it often stops damage and keeps it fresh.
Use a soft cloth or sponge with mild soap and water. Avoid harsh chemicals that can harm the finish.
- Remove all plates before cleaning
- Wipe gently to avoid scratches
- Dry the rack with a clean cloth to stop water spots
- Clean weekly for best results
Handling Wear And Tear
Daily use can cause small scratches or loose parts. Fixing these early keeps the rack safe and sturdy.
Check screws and joints often. Tighten any loose parts and sand rough edges if needed.
- Inspect the rack once a month
- Tighten screws with a screwdriver
- Use fine sandpaper for small scratches
- Apply wood polish or paint to protect the surface
Frequently Asked Questions
What Materials Are Needed To Build A Kitchen Plate Rack?
You need wood planks, screws, brackets, a drill, sandpaper, and paint or finish. Choose durable wood for strength and aesthetics. Proper tools ensure easy assembly and a sturdy rack that fits your kitchen style.
How Do I Measure Space For A Kitchen Plate Rack?
Measure the wall area where you want to install the rack. Consider plate sizes and clearance for easy access. Accurate measurements help create a rack that fits perfectly without overcrowding your kitchen space.
What Is The Best Wood For Kitchen Plate Racks?
Pine, oak, or maple are ideal woods. They are sturdy, easy to work with, and resist moisture well. Choosing quality wood ensures durability and a beautiful finish for your kitchen plate rack.
How Can I Secure Plates Safely On The Rack?
Install dividers or slots to hold plates upright. Use smooth edges to prevent chipping. Ensure the rack is firmly mounted on the wall to avoid accidents and keep plates secure.
Conclusion
Building a kitchen plate rack is simple and rewarding. It adds charm and functionality to your kitchen. You need basic tools and materials. Follow the steps carefully. Customize the design to fit your space. Choose colors that match your kitchen style.
Enjoy the satisfaction of creating something useful. A plate rack keeps dishes organized and accessible. It saves space and looks great too. Now, gather your tools and start building. Your kitchen will thank you.


