
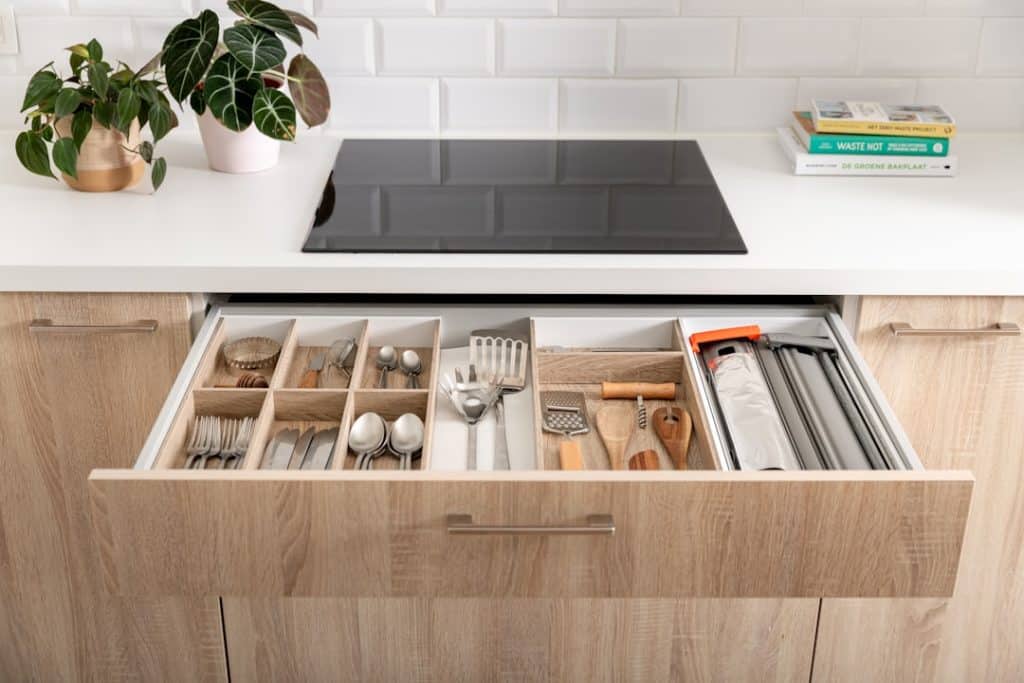
Are you tired of rummaging through cluttered kitchen drawers, struggling to find what you need? Imagine having a perfectly organized kitchen where everything has its place.
Building your own kitchen drawer might seem like a daunting task, but with a little guidance, it’s easier than you think. You can create a customized solution that fits your space and style, transforming your kitchen into a more functional and enjoyable place.
Stay with us as we guide you step-by-step through the process, ensuring you have all the tips and tricks to make your project a success. Get ready to enhance your kitchen’s functionality and add a touch of personal flair.
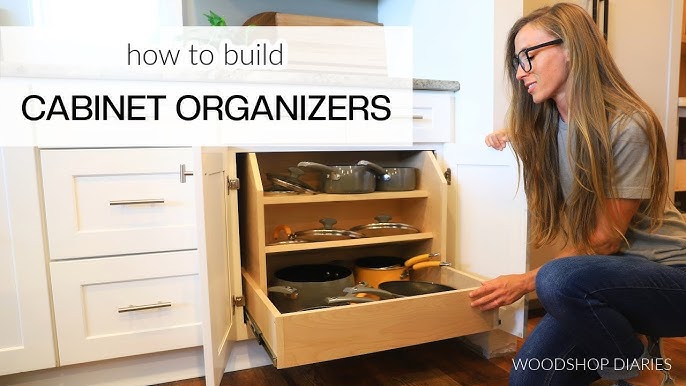
Credit: www.youtube.com
Choosing The Right Materials
Building a kitchen drawer requires picking materials that last long. The right materials make your drawer strong and look good.
This guide covers wood types and hardware to help you choose what fits your needs best.
Selecting Wood Types
Wood choice affects the drawer’s durability and style. Some woods resist moisture better, which is important in kitchens.
- Hardwoods like oak and maple are very strong and last long.
- Softwoods such as pine are easier to work with but less durable.
- Plywood offers stability and resists warping better than solid wood.
- MDF is smooth and good for painting but can swell if wet.
Picking Hardware And Accessories
Good hardware makes your drawer open and close smoothly. It also adds to the drawer’s look and function.
| Type | Material | Use | Benefits |
| Drawer Slides | Steel or Aluminum | Supports drawer movement | Smooth, strong, and long-lasting |
| Handles | Metal, Wood, or Plastic | Pulls the drawer open | Variety of styles and finishes |
| Screws and Nails | Steel | Fasten parts together | Strong hold and easy to install |
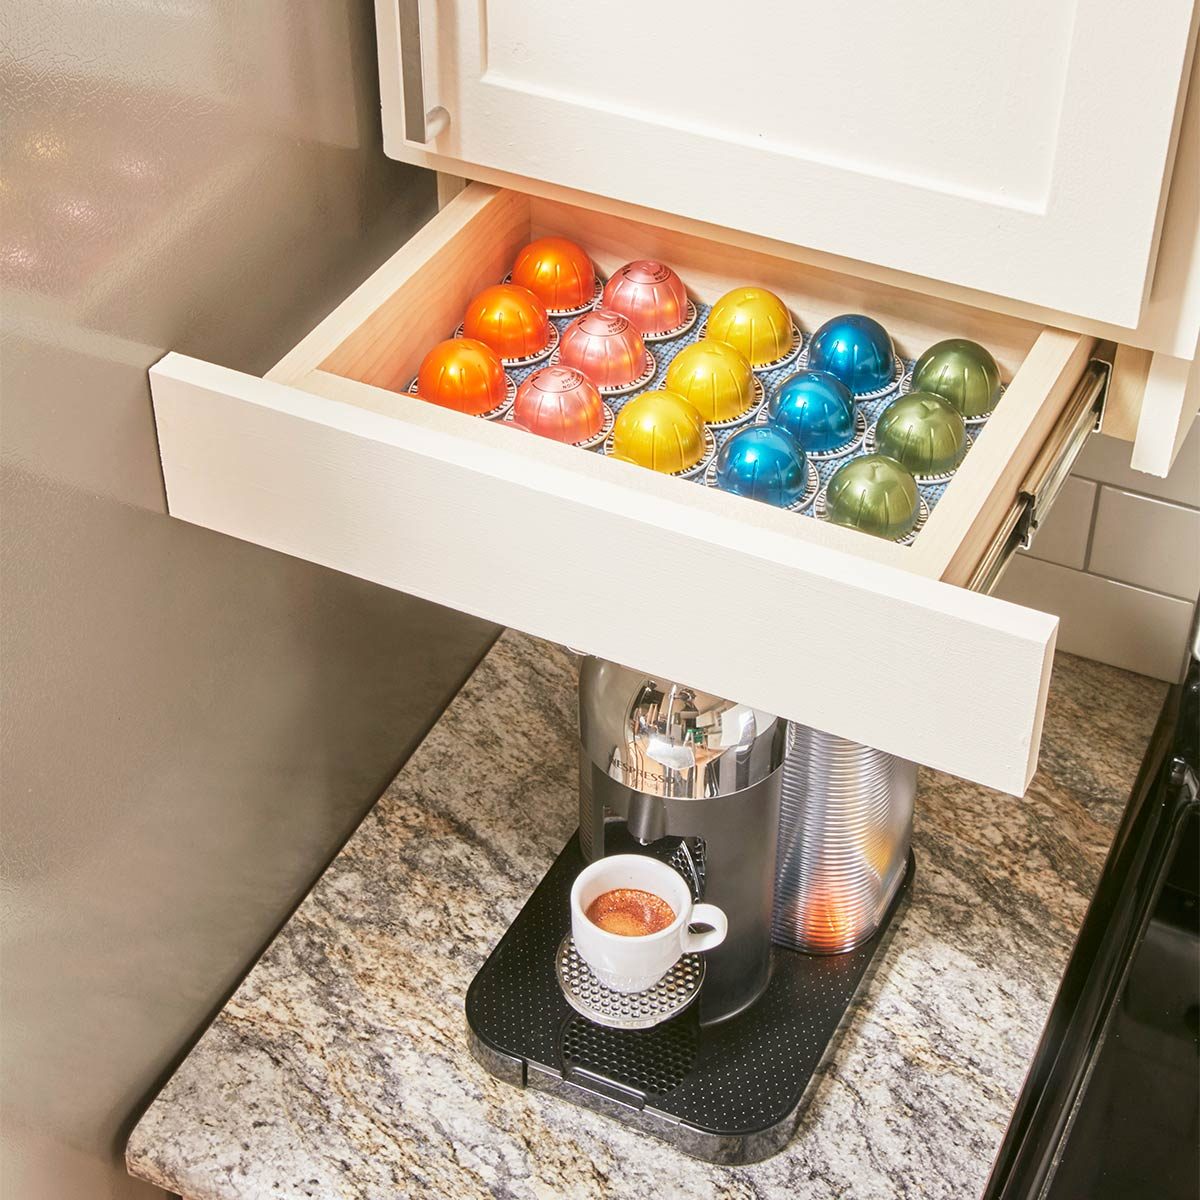
Credit: www.familyhandyman.com
Measuring And Planning
Building a kitchen drawer starts with careful measuring and planning. These steps help you create a drawer that fits perfectly and works well.
Accurate measurements and a clear design make the building process easier and avoid mistakes.
Taking Accurate Measurements
Measure the space where the drawer will go. Use a tape measure to get the width, height, and depth. Write down each number clearly.
- Measure the inside width of the cabinet
- Measure the inside height where the drawer fits
- Measure the depth from front to back inside the cabinet
- Check for any obstacles like pipes or wires
- Measure twice to avoid errors
Sketching Your Drawer Design
Create a simple sketch of your drawer. Draw the front, sides, bottom, and back parts. Note their sizes based on your measurements.
| Part | Material Size (inches) | Notes |
| Front panel | Width x Height | Fits cabinet opening |
| Sides | Depth x Height | Match cabinet depth |
| Bottom | Width x Depth | Supports drawer contents |
| Back panel | Width x Height | Same height as sides |
Cutting The Wood Pieces
Cutting the wood pieces is a key step in building a kitchen drawer. It requires care and accuracy to make sure all parts fit well.
Proper cutting helps the drawer slide smoothly and look neat in your kitchen. Use the right tools and follow good practices.
Tools You’ll Need
Gather these tools before cutting your wood pieces. They will help you make clean and precise cuts.
- Measuring tape to mark exact lengths
- Pencil to draw cut lines
- Table saw or circular saw for straight cuts
- Clamps to hold wood steady
- Square tool to check right angles
- Safety glasses and gloves for protection
Tips For Precise Cuts
Follow these tips to cut wood pieces with accuracy and avoid mistakes.
| Tip | Why It Matters |
| Measure twice, cut once | Prevents cutting wrong size pieces |
| Use a sharp blade | Gives smooth edges and clean cuts |
| Secure wood firmly | Keeps wood from moving during cutting |
| Cut slowly and steadily | Reduces splintering and rough edges |
| Check angles with a square | Ensures drawer parts fit perfectly |
Assembling The Drawer Box
Building a kitchen drawer starts with assembling the drawer box. This process gives the drawer its shape and strength. You will join the sides and add the bottom panel carefully.
Each part must fit well to make the drawer sturdy. Take your time to follow the steps for a good result.
Joining The Sides
First, prepare the side panels. Make sure the edges are smooth and square. Use wood glue on the edges before joining. Clamp the sides together tightly to hold the glue.
- Apply wood glue to the edges of the side panels.
- Fit the front and back pieces between the sides.
- Use clamps to hold the parts together firmly.
- Check that all corners are square with a carpenter’s square.
- Let the glue dry for at least one hour before removing clamps.
Adding The Bottom Panel
The bottom panel supports the drawer’s contents. It must fit snugly inside the assembled sides. Slide the panel into the grooves or attach it with nails.
| Material | Thickness | Attachment Method |
|---|---|---|
| Plywood | 1/4 inch | Slide into grooves or nail |
| Hardwood | 1/2 inch | Glue and screw from underneath |
| MDF | 3/8 inch | Glue only |
Installing Drawer Slides
Installing drawer slides helps your kitchen drawers open smoothly. It also keeps drawers aligned and sturdy. Choosing the right slides and mounting them correctly is key.
This guide covers common types of slides and how to mount them properly. Follow these steps to get good results.
Types Of Slides
There are several types of drawer slides. Each type fits different needs and drawer designs.
- Side-Mounted Slides:These attach to the sides of the drawer and cabinet. They are strong and easy to install.
- Under-Mounted Slides:These fit under the drawer. They hide the slide and offer a clean look.
- Center-Mounted Slides:These install under the drawer center. They support lighter drawers well.
- Ball-Bearing Slides:These use small balls for smooth motion. They work on side and under mounts.
- Roller Slides:These have plastic rollers for movement. They are simple and cost-effective.
Mounting Techniques
Mounting drawer slides needs care and accuracy. The right method depends on the slide type and drawer size.
| Slide Type | Mounting Position | Key Tips |
| Side-Mounted | Attach slides to drawer and cabinet sides | Use a level for even alignment |
| Under-Mounted | Fix slides under the drawer box | Measure clearance to avoid rubbing |
| Center-Mounted | Install under drawer center | Keep drawer balanced on both sides |
| Ball-Bearing | Side or under mount | Check ball movement before fixing |
| Roller | Side mount usually | Ensure rollers move freely |
Finishing Touches
After assembling your kitchen drawer, the final steps will make it look polished and ready to use. These steps help protect the wood and improve its appearance.
Focus on smoothing the surfaces first, then add color or protection with paint or stain. Taking your time here ensures a quality finish.
Sanding And Smoothing
Start by sanding the drawer with medium-grit sandpaper. This removes rough spots and imperfections. Then, use fine-grit sandpaper to smooth the surface. Always sand in the direction of the wood grain.
- Remove dust with a tack cloth or damp rag after sanding.
- Check all edges and corners for smoothness.
- Fix any dents or holes with wood filler before final sanding.
Painting And Staining
Choose paint or stain based on the look you want. Paint covers the wood completely, while stain highlights the wood grain. Both protect the drawer from moisture and wear.
| Finish Type | Pros | Cons |
| Paint | Bright colors, hides flaws | Can chip, needs primer |
| Stain | Shows wood grain, natural look | Less color variety, needs sealant |
Apply paint or stain evenly with a brush or cloth. Let each coat dry fully before adding another. Seal stained wood with a clear finish to protect it.
Installing The Drawer
Installing a kitchen drawer is an important step in building it. You need to fit the drawer into the cabinet carefully. Proper installation makes the drawer work well.
This guide explains how to fit the drawer and adjust it for smooth use. Follow each part to get good results.
Fitting Into The Cabinet
Start by sliding the drawer into the cabinet tracks. Make sure the tracks are clean and free of dust. Align the drawer so it fits evenly inside the space.
Push the drawer gently but firmly until it is fully inside the cabinet. Check that it moves along the tracks without catching or sticking.
Adjusting For Smooth Operation
After fitting, test the drawer by opening and closing it several times. Listen for noise and feel for resistance. If it sticks, adjustments are needed.
- Tighten or loosen screws on the drawer slides.
- Check if the slides are level and parallel.
- Use a screwdriver to move the slides slightly for better alignment.
- Apply a small amount of lubricant if the drawer feels stiff.
Keep adjusting until the drawer moves smoothly and quietly. Proper adjustment extends the drawer’s life and improves kitchen use.
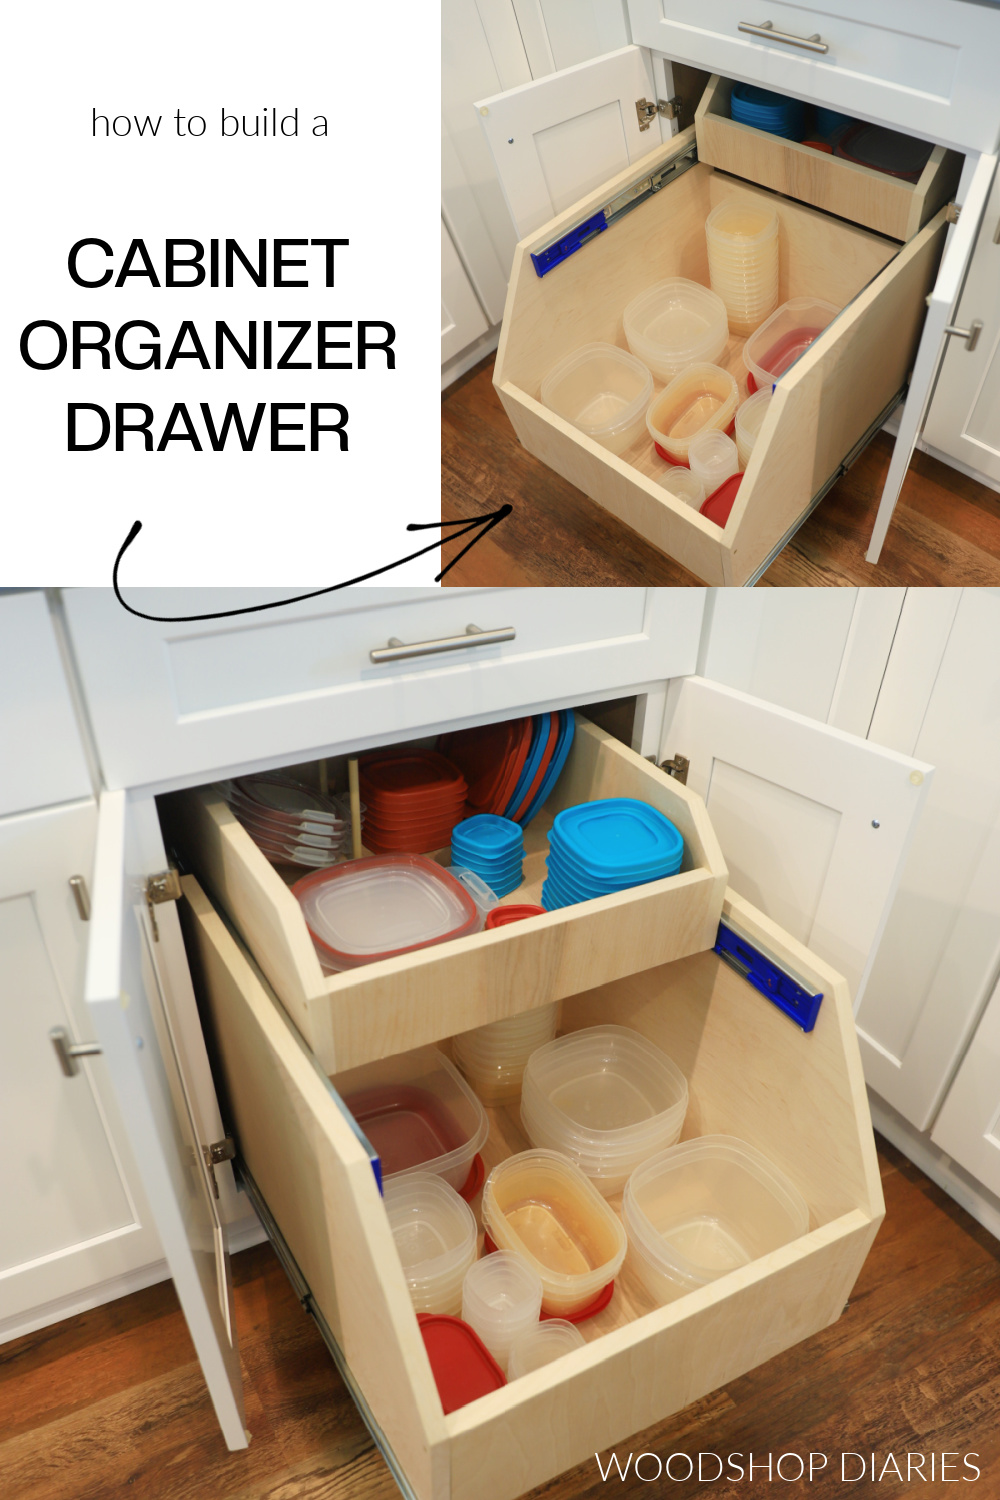
Credit: www.woodshopdiaries.com
Frequently Asked Questions
What Materials Are Best For Building A Kitchen Drawer?
High-quality plywood or solid wood is best for durability. Use smooth plywood for drawer boxes. Choose hardwood like oak or maple for fronts. These materials resist moisture and wear, ensuring long-lasting drawers.
How Do I Measure For A Kitchen Drawer Correctly?
Measure the drawer opening width, height, and depth accurately. Subtract about 1/2 inch in width and height for smooth fitting. Double-check measurements before cutting to avoid mistakes and ensure proper drawer fit.
What Tools Are Essential For Building Kitchen Drawers?
You need a saw, drill, screwdriver, measuring tape, and clamps. A router and sander improve finish quality. These tools help cut, assemble, and finish drawers efficiently and precisely.
How To Install Drawer Slides In Kitchen Drawers?
Attach slides to drawer sides and cabinet frame evenly. Use a level to ensure alignment. Secure screws tightly but avoid over-tightening. Proper slide installation ensures smooth drawer operation and durability.
Conclusion
Building a kitchen drawer is a simple and useful skill. It saves money and lets you customize your space. Follow each step carefully for best results. Use good tools and quality materials for durability. Take your time and measure twice to avoid mistakes.
Soon, you will enjoy a new drawer that fits perfectly. Try this project to make your kitchen more organized. Keep practicing to improve your woodworking skills. A well-made drawer adds value and comfort to your home.


