
Build A Custom Kitchen Drawer
Are your kitchen cabinets messy? Imagine a space where everything is neat. You can find what you need fast.
Building a drawer for your cabinet is a great fix. It turns chaos into order. You do not need to be an expert builder. This guide shows exactly how to build a drawer for a kitchen cabinet with simple, step-by-step instructions. Your new drawer will be functional, stylish, and perfectly organized. Ready for a more organized kitchen? Learn how to build a practical drawer now.
Materials And Tools
You need the right items to build a drawer. Choosing quality wood and parts creates a strong drawer. Knowing the right tools makes the job faster. This guide covers the best wood, hardware, and tools you need.
Essential Wood Types
The wood affects the drawer’s look and strength. Hardwood is strong but costs more. Softwood is easier to use but less tough.
-
Oak – strong and durable, classic look.
-
Maple – smooth grain, good for painting.
-
Pine – easy to cut and affordable.
-
Birch – fine grain, good for staining.
-
Plywood – stable, best for the drawer bottom.
Hardware And Accessories
Hardware makes the drawer work well. It also makes it look good. Choose quality slides and handles that match your kitchen.
Tools Checklist
The correct tools save time. They also make your work accurate. Use sharp blades and good measuring tools.
-
Measuring tape
-
Pencil
-
Square ruler
-
Circular saw or table saw
-
Drill with bits
-
Screwdriver
-
Clamps
-
Wood chisel
-
Sandpaper or electric sander
-
Wood glue

Credit: www.youtube.com
Measuring And Planning
You must plan and measure carefully first. This ensures the drawer fits right. It will also work smoothly. Take your time to measure the space. Plan the drawer design before you start.
Taking Accurate Measurements
Use a tape measure to find the exact space. Measure the cabinet’s width, height, and depth. Measure the inside of the cabinet, not the outside. Check for hinges or pipes inside the space. These could block the drawer.
-
Measure the cabinet width at three points.
-
Measure the height from bottom to top inside.
-
Measure depth from front to back inside.
-
Note any obstacles inside the cabinet.
Designing The Drawer Size
The drawer must be smaller than the cabinet space. This allows for smooth opening. Leave room for the drawer slides on each side. Decide the drawer front height now. It should match your other cabinets. The depth must fit inside the cabinet fully.
-
Subtract space for slides from the width and depth.
-
Choose a front height that matches your kitchen.
-
Allow extra space for smooth movement.
Choosing Drawer Style
Pick a style that fits your kitchen look. Styles include basic boxes or soft-close types. Deep drawers hold large pots. Think about the drawer front shape. Simple styles are easy to build. Custom styles add more detail.
-
Basic box drawers are simple to build.
-
Soft-close drawers close very quietly.
-
Deep drawers store large pots and pans.
-
Choose a handle style that matches your design.
Cutting The Wood
Cutting the wood is the first building step. You must measure each part carefully. Proper cutting ensures a good fit. It also makes the drawer work smoothly. Use sharp tools and follow safety rules.
Preparing The Panels
Select the best wood panels for your drawer. The panels must be flat. They should have no cracks. Measure the size and thickness first. Mark the cutting lines clearly with a pencil.
Cutting Side, Front, And Back Pieces
Cut the side pieces to the drawer’s depth and height. Cut the front and back pieces next. Use the drawer’s width and height for these. Use a circular saw for straight cuts. Sand the edges after cutting. This stops splinters.
-
Side pieces: drawer depth by height.
-
Front and back: drawer width by height.
-
Cut slightly outside the marked lines.
Cutting The Drawer Bottom
The bottom panel fits inside the frame. The sides, front, and back make the frame. Cut the bottom to the right size. Measure the inside width and depth of the frame. Cut the bottom panel to these sizes for a tight fit.
-
Use thinner wood or plywood for the bottom.
-
Cut to inside dimensions only.
-
Lightly sand all edges.
Assembling The Drawer Box
Building starts with joining the drawer box. This box must be strong and square. Follow these steps to join the sides. Then attach the front and back. Finally, secure the bottom panel.
Joining The Sides
Prepare the two side panels first. They must join tightly for stability. Apply wood glue along the edges. The edges will meet other parts. Clamp the pieces firmly together.
-
Apply glue evenly on all edges.
-
Line up all edges for a square box.
-
Use clamps to hold the sides tightly.
-
Let the glue dry fully.
Attaching The Front And Back
Now, attach the front and back panels. These give the drawer its final shape. Apply glue on the ends of the boards. Fit them between the two side panels. Clamp all corners tightly.
-
Use wood glue on all joining areas.
-
Fit the panels flush with the sides.
-
Clamp all four corners securely.
-
Use a square tool to check the angles.
Securing The Bottom Panel
The bottom panel holds the drawer’s contents. It must fit well and be secured firmly. Slide the bottom panel into the grooves. Then nail or screw it gently.
-
Cut the bottom panel to the exact size.
-
Fit the panel into the pre-cut grooves.
-
Use small screws or nails to hold it.
-
Avoid gaps or loose fitting.
Installing Drawer Slides
Correct slide installation helps drawers open smoothly. It also makes sure the drawer fits well. This guide explains selecting slides. It also shows how to mount them.
Selecting The Right Slides
Choose slides based on the drawer’s weight. Different types exist. Use side-mount, under-mount, or center-mount.
-
Side-mount slides are visible. They are easy to install.
-
Under-mount slides hide under the drawer. They look cleaner.
-
Center-mount slides support the drawer from the middle.
Check the weight capacity for your needs. Measure the drawer depth for the correct slide length.
Mounting Slides On Drawer
Attach the drawer part of the slide carefully. Keep it straight for smooth movement.
-
Mark the mounting spots on the drawer sides.
-
Use the screws that come with the slides.
-
Fasten the slide to the drawer side.
-
Check that the slide moves freely.
Mounting Slides In Cabinet
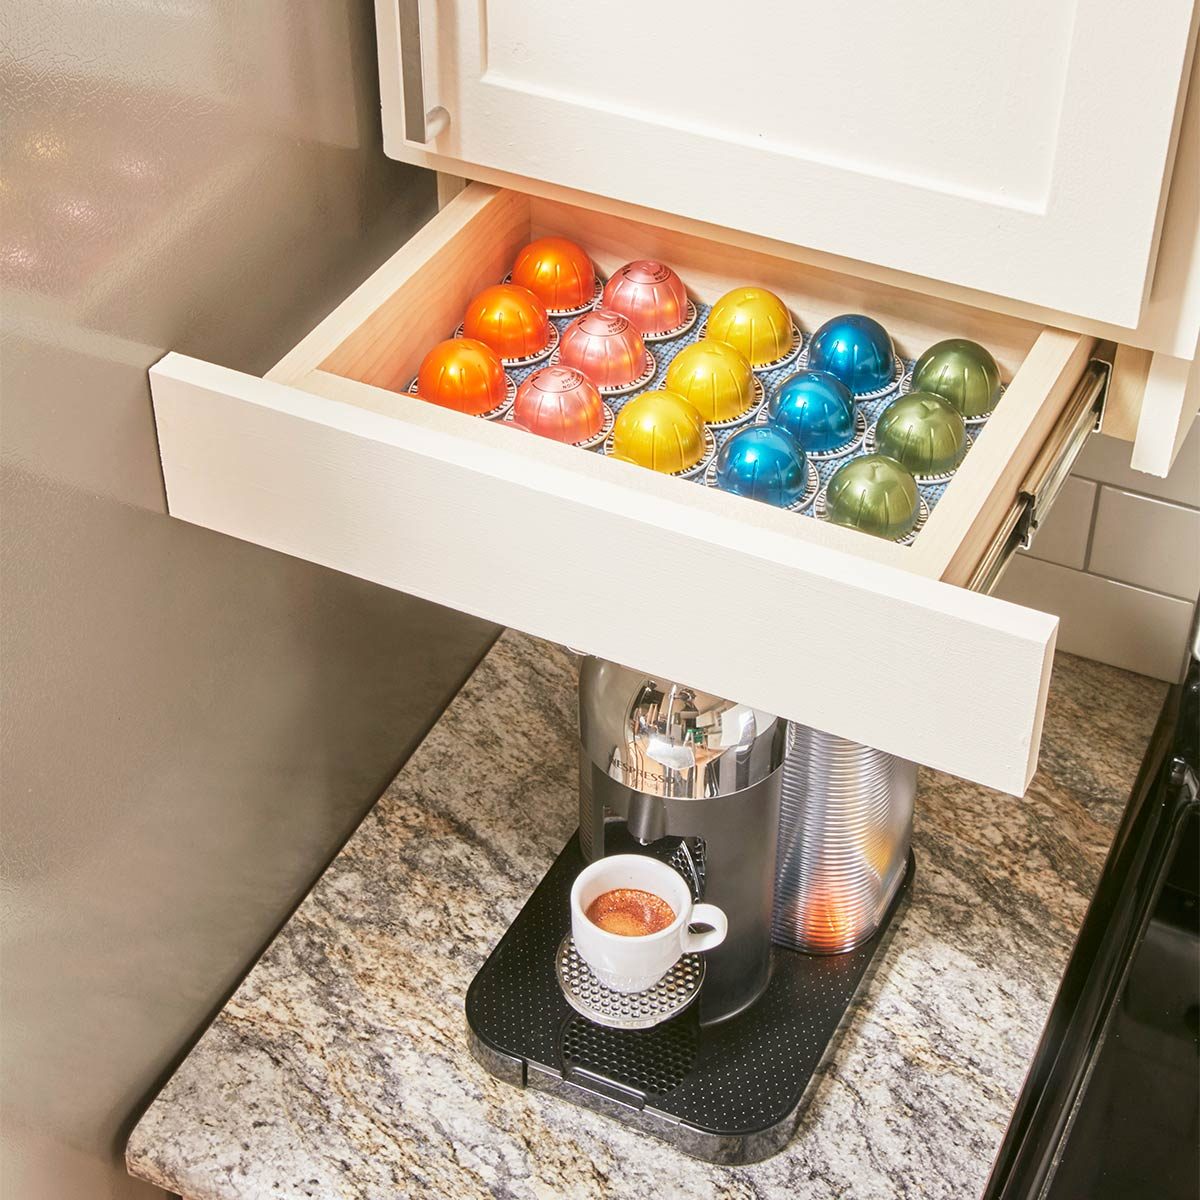
Install the cabinet slide part inside the walls. Both slides must be level and match height.
Credit: www.familyhandyman.com
Finishing Touches
The finishing touches make the drawer look great. They also help the drawer last longer. These steps improve the feel and style. Focus on sanding and staining. Then add knobs or handles.
Sanding And Smoothing
Sanding removes all rough spots. Use fine-grit sandpaper for a smooth surface. Sand all sides and edges well. Wipe off dust with a clean cloth afterward.
Applying Paint Or Stain
Painting protects the wood. It also adds color. Choose a finish that matches your kitchen. Apply thin, even coats with a cloth. Let each coat dry before adding the next.
-
Use primer before painting for better cover.
-
Apply stain following the wood grain.
-
Seal it with clear varnish for protection.
Attaching Handles Or Knobs
Handles make the drawer easy to open. Pick hardware that fits your design. Measure and mark where the handle goes. Drill the holes carefully. Screw the hardware in securely.
-
Center the handle horizontally.
-
Use a level to keep handles straight.
-
Tighten screws so the handles are firm.
Installing The Drawer
Installing the finished drawer is the last step. This helps you use the space well. It keeps things very organized. This guide shows how to slide the drawer in. It also covers fixing common problems.
Sliding The Drawer Into Cabinet
Line up the drawer slides with the cabinet rails. Make sure both sides match up. Push the drawer in slowly and evenly. You should hear a soft click when it locks.
Adjusting For Smooth Operation
Check the drawer movement now. It should open without sticking. If it feels too tight, adjust the screws. Small changes fix movement greatly.
-
Use a screwdriver to adjust the slide screws.
-
Make sure both sides are adjusted the same.
-
Test the movement after each adjustment.
Troubleshooting Common Issues
Check for dirt in the slides if it sticks. Clean them with a cloth if you see any. Look for bent or damaged parts. Replace any broken pieces right away. If it still sticks, adjust the slides again.
-
Clean the slides often to prevent dirt.
-
Replace damaged rollers or rails.
-
Adjust screws to fix uneven movement.

Credit: www.familyhandyman.com



