How to Bake Sourdough After Cold Proofing: The Ultimate Guide to Perfect Crust and Crumb
Are you ready to transform your sourdough baking skills? If you’ve ever wondered how to bake sourdough after cold proofing to get that perfect crust and airy crumb, you’re in the right place.
Baking sourdough can feel like a science experiment, but the delicious rewards are worth it. Imagine pulling a loaf out of the oven that looks professional and tastes incredible. Intrigued?
Keep reading to uncover the secrets of baking sourdough after cold proofing that will make your bread legendary.
Preparing For Baking
Baking sourdough after cold proofing needs care. Proper preparation helps get the best bread.
Follow simple steps to handle dough and shape it well before baking.
Removing Dough From Fridge
Take the dough out of the fridge carefully. Cold dough is firmer, so handle it gently.
Leave the dough in a bowl or on a floured surface to warm up a bit. This makes it easier to shape.
Shaping Techniques
Shaping gives the dough a smooth surface and tight form. This helps the bread rise well in the oven.
Use your hands to stretch and fold the dough. Create a round or oval shape, depending on your baking dish.
- Lightly flour your work surface to prevent sticking
- Use a bench scraper to lift and fold the dough
- Pinch the seams tightly to keep shape
- Turn the dough seam-side down after shaping
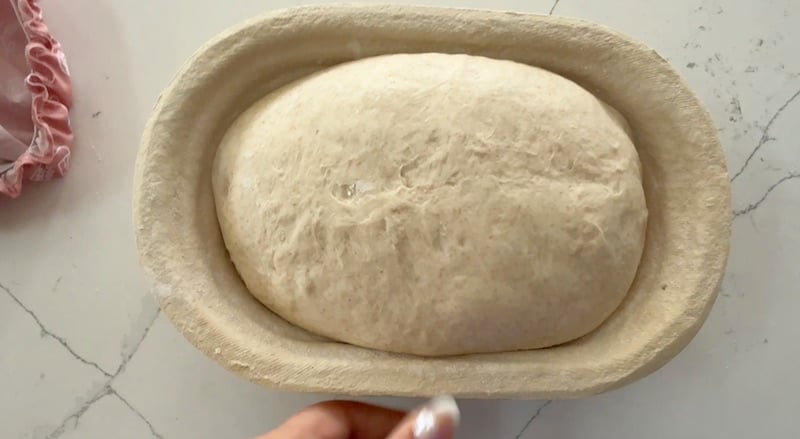
Resting And Blooming
Rest the shaped dough before baking. This step lets the dough relax and bloom.
Cover the dough with a cloth or plastic wrap. Let it sit at room temperature for 30 to 60 minutes.
- Resting helps the dough rise slightly
- It improves the bread’s texture and crust
- Check that the dough feels soft and springy before baking

Credit: www.reddit.com
Oven Setup
Setting up your oven correctly is key to baking sourdough after cold proofing. A good oven setup helps get a crispy crust and soft inside.
This guide covers preheating, using a Dutch oven, and creating steam for the best sourdough bake.
Preheating Temperature
Preheat your oven to a high temperature to create strong heat for baking sourdough. Most recipes suggest 450°F (230°C).
Preheating helps the dough rise quickly and forms a crunchy crust. It also ensures even cooking inside the bread.
Using A Dutch Oven
A Dutch oven traps heat and moisture around the dough. This mimics a professional steam oven at home.
Place the Dutch oven inside the oven while preheating. When ready, put the dough inside the hot Dutch oven to bake.
- Preheat Dutch oven with the oven at 450°F (230°C)
- Carefully transfer dough into the hot Dutch oven
- Cover with the lid to keep steam inside
- Remove lid halfway through baking for crust color
Steam Creation Methods
Steam in the oven helps create a shiny, crispy crust. It keeps the bread surface moist during the first baking minutes.
You can create steam using different methods if you don’t use a Dutch oven.
- Place a metal pan on the oven floor during preheat
- Pour hot water into the pan just after placing dough inside
- Spray water on oven walls with a spray bottle
- Use a baking stone and add ice cubes on a tray below it
Baking Process
Baking sourdough after cold proofing is a key step to get great bread. The dough rests in the fridge to develop flavor and texture.
After cold proofing, you prepare the dough for baking. This includes scoring, controlling baking time and temperature, and forming the crust.
Scoring The Dough
Scoring means cutting the dough surface before baking. It lets steam escape and helps the bread expand.
Use a sharp knife or a bread lame. Make quick, shallow cuts on the dough surface. Patterns can be simple or decorative.
- Cut about 1/4 inch deep
- Make cuts at an angle for better opening
- Do scoring just before placing dough in the oven
Timing And Temperature Control
Baking time and oven temperature affect the bread's texture and taste. Preheat the oven well before baking.
Start baking at a high temperature to create oven spring. Then lower the heat to finish baking inside.
- Preheat oven to 450°F (230°C)
- Bake with steam for the first 15 minutes
- Lower oven to 400°F (200°C) after 15 minutes
- Bake total 35 to 45 minutes until golden brown
Crust Development
The crust forms the outside layer of the bread. Steam in the oven helps create a crisp crust.
Use a pan of water or spray water inside the oven to add steam. This keeps the crust moist at first, then it hardens.
- Steam first 15 minutes for a thin, shiny crust
- Remove steam source to let crust harden
- Bake until crust is deep golden and firm
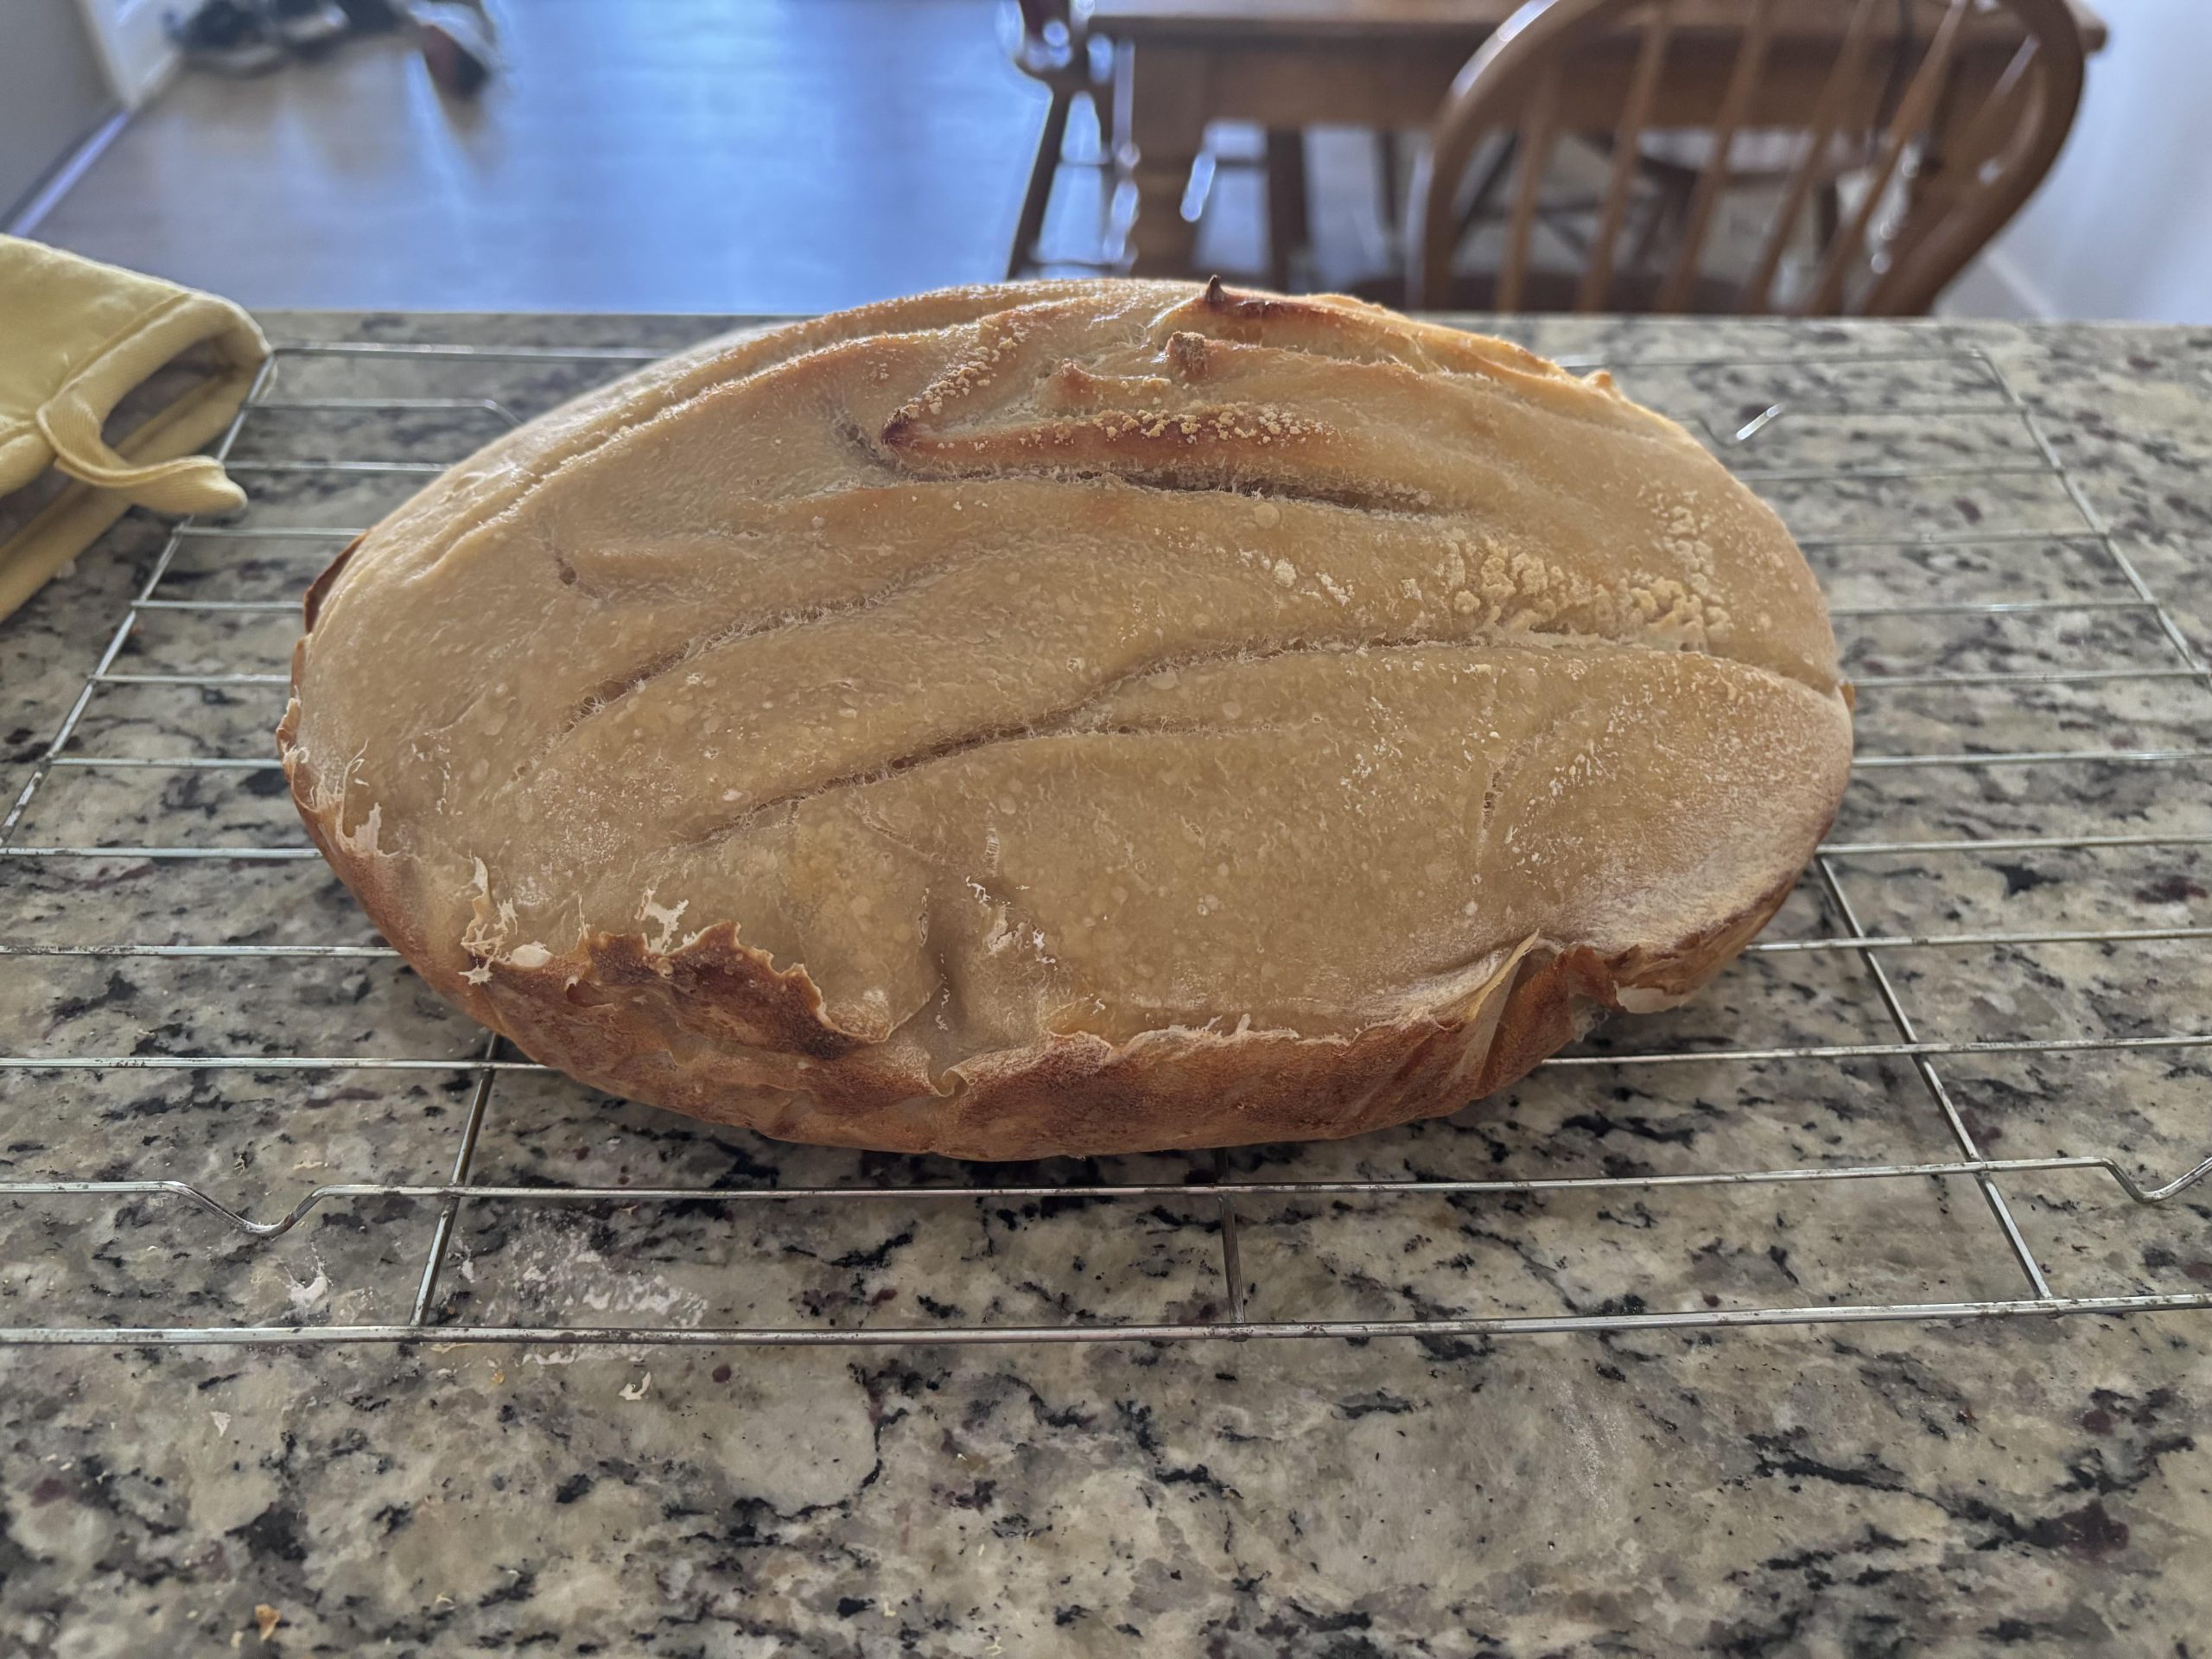
- Cool bread on a rack to keep crust crisp
Cooling And Storage
After baking sourdough bread, it is important to cool it properly. Cooling helps finish the baking process and sets the texture. Proper storage keeps the bread fresh longer.
This guide covers the best ways to cool and store sourdough bread. Follow these tips to enjoy your bread at its best.
Proper Cooling Techniques
Cool your sourdough on a wire rack. This lets air flow under and around the bread. It prevents sogginess and keeps the crust crisp.
- Remove the bread from the baking pan immediately after baking.
- Place the bread on a wire rack in a cool, dry place.
- Allow the bread to cool completely, about 1 to 2 hours.
- Do not cover the bread while cooling, to avoid moisture buildup.
Storing Sourdough Bread
Store sourdough bread at room temperature for best flavor and texture. Avoid refrigeration because it dries out the bread fast.
| Storage Method | Benefits | Drawbacks |
|---|---|---|
| Paper Bag | Allows bread to breathe, keeps crust crisp | Bread may dry out faster |
| Cloth Bag or Tea Towel | Protects bread and allows air flow | Does not keep bread moist long-term |
| Plastic Bag | Keeps bread soft longer | Crust becomes soft and chewy |
| Freezing | Preserves bread for weeks | Needs thawing before eating |
Maintaining Freshness
Keep your sourdough fresh by following simple steps. Store it right and refresh it before eating.
- If bread feels hard, reheat it in the oven for a few minutes.
- Slice only what you need to prevent drying.
- Use a bread box or cloth bag to keep the bread shielded from air.
- Freeze extra bread in airtight bags for long storage.
Troubleshooting Common Issues
Baking sourdough after cold proofing can sometimes bring challenges. Understanding how to fix common problems helps you get better results.
This guide covers solutions for dense crumbs, poor oven spring, and crust problems.
Dense Crumb Solutions
A dense crumb means your bread is tight and heavy. This happens when the dough does not rise enough or is overworked.
- Check your starter’s strength before mixing dough.
- Make sure to knead or fold gently but enough to develop gluten.
- Allow the dough to ferment properly during bulk fermentation.
- Do not skip or shorten the final proofing after cold proof.
- Use a warm oven to encourage good rise during baking.
Poor Oven Spring Fixes
Oven spring is the final rise of the bread in the oven. Poor oven spring means the bread stays flat.
| Cause | Fix |
| Dough too cold | Let dough warm up before baking |
| Oven temperature too low | Preheat oven fully to 450°F (232°C) |
| Not scoring the dough | Score dough to allow expansion |
| Underproofed dough | Proof longer before baking |
Crust Problems
Crust issues include being too hard, too soft, or uneven. Proper baking and steam help the crust form well.
Try these tips for better crust:
- Bake with steam for the first 10-15 minutes to create a crisp crust.
- Use a baking stone or steel for even heat.
- Cool bread on a wire rack to avoid sogginess.
- Adjust baking time to avoid burning or underbaking.
Credit: thatsourdoughgal.com

Credit: www.reddit.com
Frequently Asked Questions
How Long Should Sourdough Rest After Cold Proofing?
After cold proofing, let your sourdough rest at room temperature for 1-2 hours. This helps the dough warm up and rise slightly before baking, ensuring a better oven spring and crust.
Should Sourdough Be Scored Before Baking After Cold Proofing?
Yes, scoring sourdough after cold proofing is essential. It controls the bread’s expansion during baking and creates an attractive crust pattern.
What Oven Temperature Is Best For Baking Cold-proofed Sourdough?
Bake cold-proofed sourdough at 450°F (232°C) for optimal crust and crumb. Preheat your oven with a Dutch oven or baking stone for best results.
Can I Bake Sourdough Straight From The Fridge?
Yes, you can bake sourdough directly from the fridge, but scoring and slight warming improve texture and rise. Cold dough may bake slower.
Conclusion
Baking sourdough after cold proofing takes patience and care. The dough will be easier to handle and have better flavor. Preheat your oven well and use steam for a crispy crust. Score the dough to help it rise in the oven.
Watch the bread as it bakes to get the perfect color. Let it cool before slicing to keep the texture soft. Enjoy your fresh, homemade sourdough with loved ones. Practice makes perfect, so keep baking and learning. Your efforts will bring tasty, beautiful bread every time.