Your KitchenAid refrigerator's water dispenser is more than just a convenient feature; it's an essential part of your daily routine. But what happens when it doesn't work quite right?
Whether you're dealing with a slow flow, inconsistent temperature, or even strange tastes, these issues can be frustrating. You might be tempted to call a professional, but what if you could fix it yourself? Imagine the satisfaction of solving the problem without spending extra money.
In this guide, you'll discover simple, step-by-step instructions to adjust your KitchenAid refrigerator water dispenser. By the end, you'll be equipped with the knowledge to ensure your water dispenser works perfectly, providing refreshing water whenever you need it. Curious to learn more? Let's dive in and get your water dispenser back to optimal performance!
Common Water Dispenser Issues
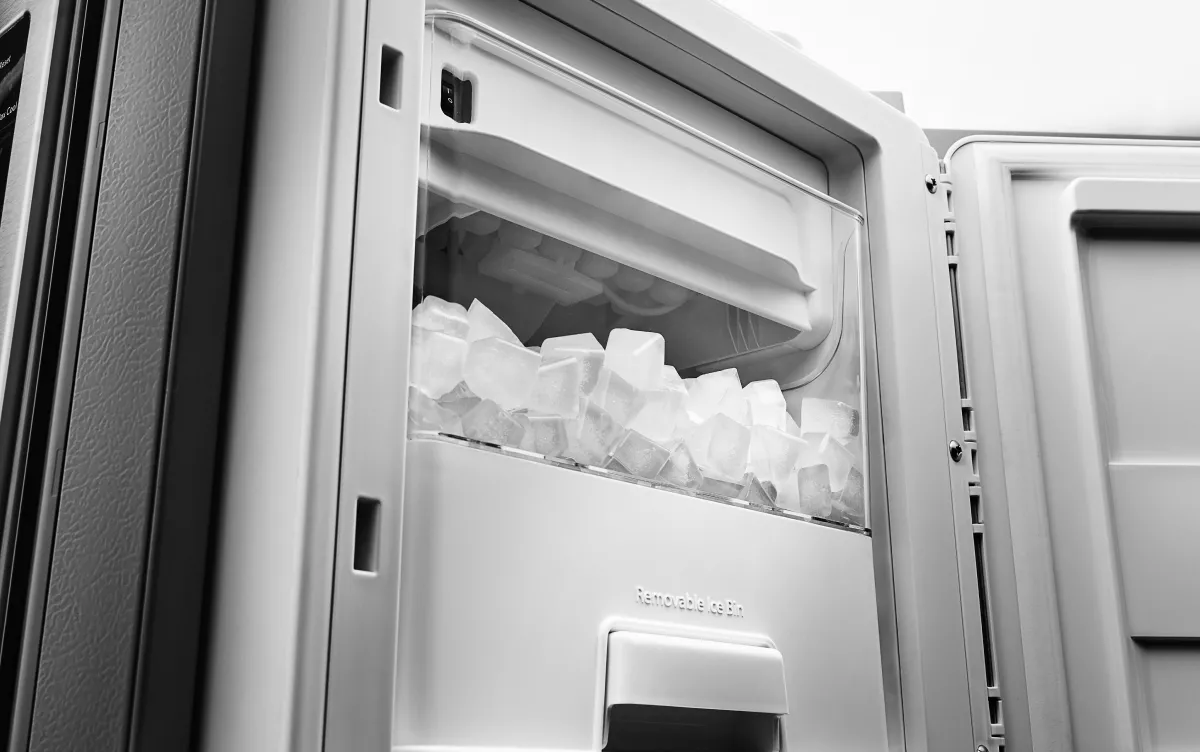
KitchenAid refrigerator water dispensers can face some common problems. These issues affect how water flows from the dispenser. Understanding these problems helps in fixing them quickly.
Below are the most frequent issues users face with their water dispensers. Each problem has simple ways to check and adjust the dispenser.
Weak Water Flow
Weak water flow happens when water comes out slowly or in small amounts. This can make filling glasses or containers take longer.
Common causes include clogged water filters, low water pressure, or frozen water lines. Cleaning or replacing the filter often helps. Check water supply and lines for any blockages.
- Replace clogged water filters
- Check water supply valve is fully open
- Inspect and thaw frozen water lines
- Clean dispenser nozzle from dirt buildup
Leaking Dispenser
A leaking dispenser causes water to drip or pool under the dispenser area. This can waste water and create a mess.
Leaks may occur due to a loose or damaged water line, worn-out seals, or a broken dispenser valve. Tighten connections and inspect seals. Replace parts if needed.
- Check for loose water line connections
- Inspect seals and gaskets for wear
- Replace damaged dispenser valve parts
- Clean dispenser drip tray regularly
No Water Dispensing
No water dispensing means the dispenser does not release any water. This problem stops you from using the dispenser at all.
Causes include a frozen water line, a faulty water inlet valve, or an electrical issue. Check if the water supply is on. Defrost frozen parts and test the valve.
- Ensure water supply valve is open
- Defrost frozen water lines and dispenser parts
- Test and replace faulty water inlet valve
- Inspect electrical connections and switches
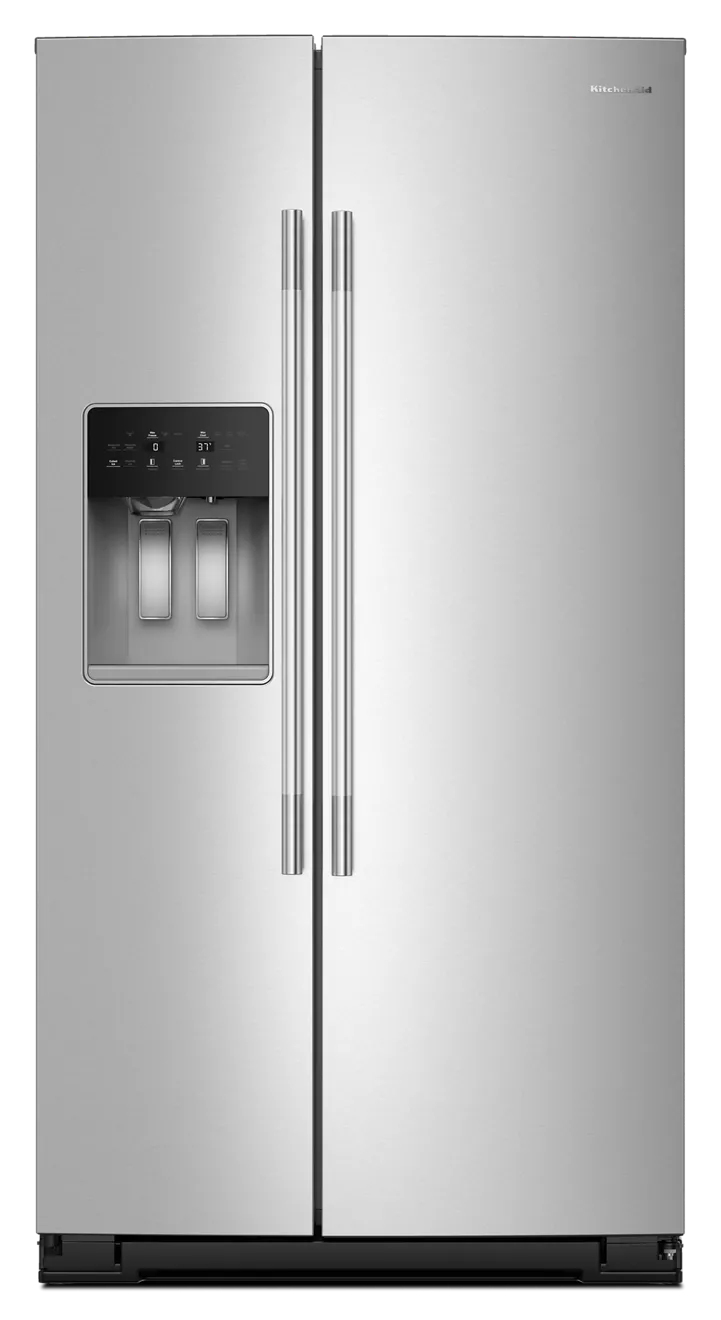
Credit: www.kitchenaid.com
Tools Needed For Adjustment
Adjusting the water dispenser on a KitchenAid refrigerator needs specific tools. Having the right tools makes the job easier and faster.
This guide covers the basic household tools and replacement parts you may need for the adjustment process.
Basic Household Tools
You can use common tools found in most homes to adjust your refrigerator’s water dispenser. These tools help you remove panels and make small changes.
- Screwdriver (Phillips and flathead) to remove screws
- Adjustable wrench for loosening or tightening bolts
- Pliers to grip and hold small parts
- Flashlight to see inside dark areas
- Measuring tape to check water flow or tube length
Replacement Parts
Sometimes, you need to replace worn or broken parts to fix the water dispenser. Having these parts ready saves time.
- Water inlet valve to control water flow
- Dispenser actuator or lever if it is broken
- Water filter compatible with your refrigerator model
- O-rings and seals to prevent leaks
- Water tube or hose if it is cracked or damaged
Step-by-step Adjustment Process
Adjusting the water dispenser on your KitchenAid refrigerator can help fix water flow issues. Follow the steps below to adjust it safely and correctly.
This guide walks you through turning off the water, checking parts, adjusting settings, and testing the dispenser.
Shut Off Water Supply
First, find the water shut-off valve near your refrigerator. This valve controls water flow to the dispenser.
Turn the valve clockwise to stop the water. This step prevents leaks during your work.
Remove Dispenser Cover
Locate the screws or clips holding the dispenser cover in place. Use a screwdriver if needed.
Carefully remove the cover to see the internal parts of the dispenser.
Inspect And Clean Components
Check the dispenser for dirt, debris, or mineral buildup. These can block water flow.
Use a soft cloth and mild cleaner to wipe all parts. Clean the water inlet and nozzle carefully.
- Inspect the water tube for cracks or clogs
- Clean the nozzle with a small brush
- Remove any visible buildup or debris
Adjust Water Pressure Valve
Find the water pressure valve inside the dispenser assembly. It controls how much water flows out.
Turn the valve slowly to increase or decrease water flow. Make small adjustments and test each time.
- Turn clockwise to reduce water pressure
- Turn counterclockwise to increase water pressure
- Adjust in small steps to avoid damage
Reassemble And Test
After adjusting, put the dispenser cover back in place. Secure all screws or clips tightly.
Turn the water supply back on and test the dispenser. Check for steady water flow and leaks.
Credit: www.kitchenaid.com
Tips To Maintain Water Dispenser
Keeping your Kitchenaid refrigerator water dispenser clean and well-maintained is important. It helps ensure fresh tasting water and smooth operation.
Simple care steps can prevent issues and extend the dispenser's life. Follow these tips to keep it working well every day.
Regular Cleaning Schedule
Clean the water dispenser regularly to avoid build-up and bacteria growth. Wipe the nozzle and tray weekly with a soft cloth and mild soap.
- Remove and rinse drip tray weekly
- Clean nozzle with a soft brush every two weeks
- Use a mixture of water and vinegar monthly for deep cleaning
- Dry all parts completely before reassembling
Filter Replacement
Replace the water filter on time to keep water fresh and clean. A clogged filter lowers water flow and can cause bad taste.
| Filter Type | Replacement Time | Signs to Replace |
| Carbon Filter | Every 6 months | Slow water flow, bad taste |
| Water Purifier | Every 12 months | Cloudy water, odd smell |
Avoiding Common Mistakes
Some mistakes can damage the dispenser or reduce its life. Avoid these to keep your water dispenser working well.
- Do not use harsh chemicals for cleaning
- Avoid forcing the water lever hard
- Do not skip filter changes
- Keep the dispenser dry when not in use
When To Call A Professional
Adjusting the water dispenser on your Kitchenaid refrigerator can be simple. Some problems need expert help. Knowing when to call a professional saves time and effort.
Small fixes like adjusting water flow are easy to do yourself. But some issues require special tools or skills. A professional can fix these safely and correctly.
Persistent Issues
If your water dispenser keeps having the same problem, it may need expert care. Problems like constant leaks or no water flow can be signs of deeper issues.
Trying to fix persistent problems without enough knowledge can cause more damage. A professional can diagnose and fix the root cause.
- Water flow is very weak or stops
- Water leaks from the dispenser
- Dispenser makes unusual noises
- Water tastes or smells bad after adjustments
Complex Repairs
Some repairs need special parts or tools. For example, fixing internal water lines or electronic controls is not simple. These tasks require technical skills.
Attempting complex repairs yourself can void your warranty. It can also cause injury or more damage to the refrigerator.
- Replacing water inlet valves
- Fixing electrical or sensor problems
- Repairing damaged water lines inside the fridge
- Replacing broken dispenser buttons or panels
Credit: www.kitchenaid.com
Frequently Asked Questions
How Do I Adjust Kitchenaid Refrigerator Water Dispenser?
To adjust the dispenser, locate the water pressure control inside the fridge. Turn the dial to increase or decrease flow. Make small adjustments and test the water flow until desired pressure is achieved.
Why Is My Kitchenaid Water Dispenser Slow?
A slow dispenser often means low water pressure or a clogged filter. Check and replace the water filter regularly. Also, inspect the water line for kinks or blockages.
How Can I Fix Water Dispenser Leaks?
Leaks may come from a loose water line or damaged seals. Inspect the dispenser area and tighten connections. Replace any worn or cracked parts to stop leaks effectively.
What Maintenance Is Needed For Kitchenaid Water Dispensers?
Regularly clean the dispenser nozzle and replace the water filter every six months. This keeps water fresh and prevents clogs. Check for leaks during routine maintenance.
Conclusion
Adjusting your Kitchenaid refrigerator water dispenser is simple and quick. Follow the steps carefully to get the right water flow. Small changes can improve your dispenser’s performance greatly. Regular checks help keep it working well. Enjoy fresh, clean water with ease every day.
Keep your fridge running smoothly by staying on top of adjustments. This quick fix saves time and avoids bigger problems later. Your kitchen routine becomes easier and more convenient. Try these tips and notice the difference yourself.