
Imagine this: You’re whipping up your favorite meal, and you reach for the kitchen sponge. It’s a trusty sidekick in your daily cleaning routine.
But here’s a question that might have crossed your mind—how often should you change it? This simple kitchen tool is often overlooked, yet it plays a crucial role in maintaining a clean and healthy environment in your home. If you’ve ever wondered about the lifespan of your kitchen sponge, you’re not alone.
Many people are unsure about when to toss it and grab a new one. The answer isn’t just about cleanliness; it’s also about your health and well-being. A fresh sponge means fewer germs and a safer kitchen. Stick around, and you’ll discover the surprising facts about your kitchen sponge and how it can impact your health. We’ll guide you through the signs that it’s time for a change and reveal how often you should really be swapping it out. By the end of this article, you’ll be armed with the knowledge to keep your kitchen sparkling clean and safe for your family. Ready to dive in? Let’s get started!

Credit: www.absolutesolutions.com.sg
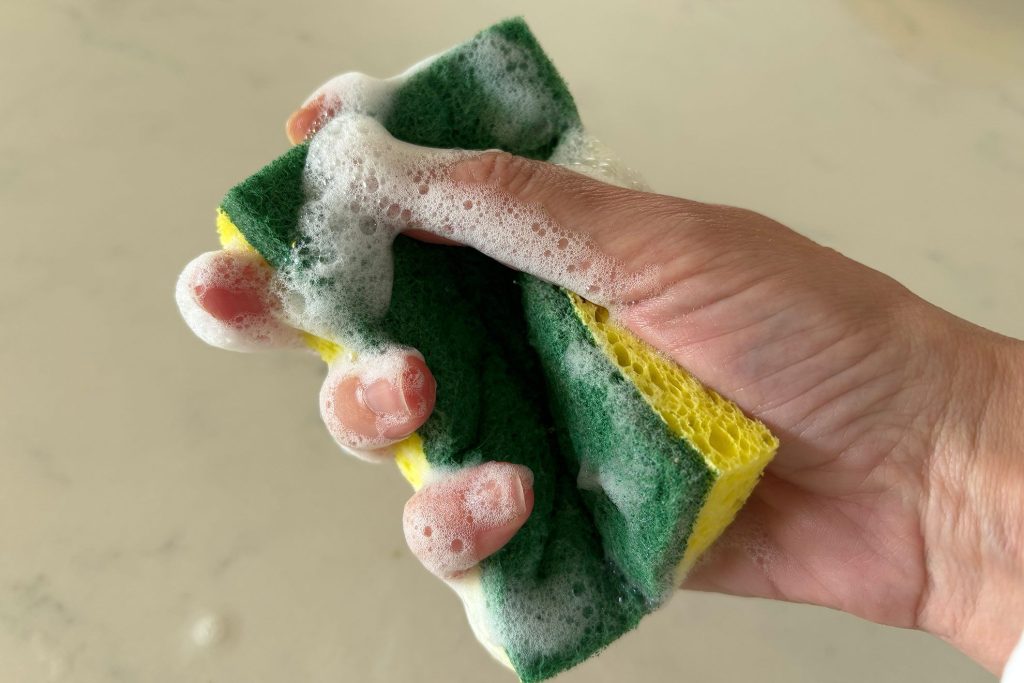
Signs Of A Worn-out Sponge
Kitchen sponges clean dishes and surfaces every day. They wear out over time and need to be replaced.
Knowing the signs of a worn-out sponge helps keep your kitchen clean and safe.
Visible Damage And Odor
A sponge shows wear with visible damage like tears or holes. These make cleaning less effective.
An old sponge often smells bad. This odor comes from trapped food and bacteria.
- Tears or holes in the sponge
- Frayed or crumbling edges
- Stains that don’t wash out
- Strong, unpleasant smell
Bacterial Growth Risks
Sponges can hold many bacteria. This growth can spread germs in your kitchen.
Using a worn-out sponge increases the risk of contamination and foodborne illness.
- Sponges stay wet and warm, ideal for bacteria
- Bacteria build up in cracks and holes
- Old sponges can transfer germs to dishes
- Regularly changing sponges limits bacterial growth
Recommended Replacement Frequency
Kitchen sponges collect food particles and bacteria over time. Changing them often keeps your kitchen clean.
How often you replace a sponge depends on how often you use it. We divide sponges into daily use and occasional use.
Daily Use Sponges
Sponges used every day get dirty fast. They can hold bacteria that cause bad smells and illness.
- Replace sponges used daily every one to two weeks.
- If the sponge smells bad or falls apart, change it immediately.
- Clean sponges daily by rinsing well and drying.
Occasional Use Sponges
Sponges used less often last longer but still need regular changes to stay safe.
| Use Frequency | Replacement Time | Care Tips |
|---|---|---|
| Once or twice a week | Every 3 to 4 weeks | Rinse after use and dry fully |
| Less than once a week | Every 4 to 6 weeks | Store dry and check for damage |
Factors Affecting Sponge Lifespan
Kitchen sponges help clean dishes and surfaces daily. Their lifespan depends on several key factors. Knowing these helps keep your kitchen clean and safe.
Below are the main factors that affect how long a kitchen sponge lasts before you should replace it.
Material Type
Sponges come in different materials. Each type wears out at a different rate. Common materials include cellulose, synthetic fibers, and natural sea sponges.
- Cellulose spongesabsorb water well but can break down faster.
- Synthetic spongeslast longer but may hold bacteria.
- Natural sea spongesare durable but cost more.
Cleaning Habits
How often and how you clean your sponge affects its life. Regular cleaning reduces germs and slows decay. Using hot water, bleach, or microwaving can kill bacteria.
| Cleaning Method | Effect on Lifespan | Frequency Recommended |
| Rinse and squeeze dry | Removes debris, moderate effect | After each use |
| Soak in bleach solution | Kills germs, extends life | Once a week |
| Microwave wet sponge | Disinfects quickly | Twice a week |
| Dishwasher cleaning | Sanitizes well | Weekly |
Usage Intensity
The more you use a sponge, the faster it wears out. Heavy use means replacing it more often. Light or occasional use lets it last longer.
- Daily heavy scrubbing shortens lifespan.
- Using sponges for only light wiping extends life.
- Using separate sponges for different tasks can reduce wear.

Credit: www.taste.com.au
Safe Sponge Cleaning Methods
Kitchen sponges get dirty fast. They hold germs and bacteria from food and dishes. Cleaning them often helps keep your kitchen safe.
Using safe cleaning methods can kill germs and make sponges last longer. Here are three easy ways to clean your kitchen sponge.
Microwave Sanitizing
Microwaving a wet sponge can kill many germs. Wet the sponge fully before heating. Dry sponges can catch fire.
Place the wet sponge in the microwave for about one to two minutes on high power. Let it cool before taking it out to avoid burns.
- Wet the sponge completely
- Microwave on high for 1-2 minutes
- Let the sponge cool before handling
Dishwasher Cleaning
Cleaning your sponge in the dishwasher is simple and effective. Place the sponge on the top rack. Use a hot water cycle with the drying option.
This method removes food particles and kills most bacteria. It also keeps the sponge dry to prevent mold growth after cleaning.
- Put sponge on dishwasher top rack
- Run a hot water cycle with drying
- Remove and let sponge dry completely
Bleach Soak
Soaking the sponge in bleach water kills germs quickly. Mix one part bleach with nine parts water in a bowl. Soak the sponge for five minutes.
After soaking, rinse the sponge well with clean water. Let it air dry fully before use. Use gloves to protect your hands from bleach.
- Mix 1 part bleach with 9 parts water
- Soak sponge for 5 minutes
- Rinse sponge well after soaking
- Air dry completely before use
Alternatives To Traditional Sponges
Traditional kitchen sponges can hold bacteria and wear out quickly. Many people look for safer and longer-lasting cleaning tools. Here are some alternatives to consider for your kitchen cleaning needs.
These options can help keep your kitchen cleaner and reduce waste. Each type has different benefits and care instructions.
Silicone Sponges
Silicone sponges do not absorb water or food particles. They dry fast and resist bacteria growth. Silicone sponges can last for months without smelling bad.
- Easy to clean with soap and water
- Can be boiled or put in the dishwasher
- Gentle on non-stick pans
- Does not break down like traditional sponges
Reusable Cloths
Reusable cloths come in many materials, such as microfiber or cotton. They can be washed and used many times. These cloths are good for wiping counters and washing dishes.
| Material | Best Use | Care Tips |
| Microfiber | Scrubbing and wiping | Wash regularly in hot water |
| Cotton | General cleaning | Machine wash and dry |
| Bamboo fiber | Gentle cleaning | Hand wash and air dry |
Natural Fiber Options
Natural fiber sponges come from plants like cellulose or loofah. They break down faster than synthetic sponges. These options are compostable and eco-friendly.
- Loofah sponges are rough and good for tough scrubbing
- Cellulose sponges absorb water well and feel soft
- Natural fibers dry quickly to avoid bacteria
- Can be composted after use
Preventing Bacteria Build-up
Kitchen sponges can hold many germs if not cared for properly. Changing them often helps keep your kitchen clean.
Using good drying and cleaning habits slows down bacteria growth on your sponge.
Proper Drying Techniques
Drying your sponge after use stops bacteria from growing fast. Wet sponges stay dirty longer.
- Rinse the sponge well with clean water.
- Squeeze out all extra water after each use.
- Place the sponge somewhere it can air dry fully.
- Avoid leaving the sponge in the sink or wet areas.
- Use a sponge holder that lets air flow around it.
Regular Cleaning Routines
Cleaning your sponge regularly reduces germs and keeps it fresh longer.
| Cleaning Method | Instructions | Frequency |
|---|---|---|
| Microwave | Wet the sponge and heat on high for 1-2 minutes. | Daily or every 2 days |
| Dishwasher | Place sponge in the dishwasher’s top rack and run a hot cycle. | Every 2 days |
| Bleach Solution | Soak sponge in a mixture of 1 part bleach to 9 parts water for 5 minutes. | Weekly |
Signs You Need To Replace Other Kitchen Items
Kitchen items like sponges, dishcloths, and scrub brushes get dirty fast. They can hold germs and cause smells.
It is important to know when to replace these items to keep your kitchen clean and safe.
Dishcloths
Dishcloths dry dishes and wipe surfaces. They get wet and dirty often, making germs grow.
Change dishcloths if they smell bad or have stains that won’t wash out. Also replace them if the fabric is torn or very worn.
- Smelly or sour odor
- Visible stains or discoloration
- Frayed edges or holes
- Hard or stiff texture after washing
Scrub Brushes
Scrub brushes clean pots, pans, and surfaces. Their bristles can trap food and germs over time.
Replace scrub brushes when bristles are bent, missing, or very dirty. If the handle cracks or breaks, it is time to get a new one.
- Bristles bent or falling out
- Handle cracked or loose
- Persistent bad smell
- Brush looks worn or damaged

Credit: www.taste.com.au
Frequently Asked Questions
How Often Should I Replace My Kitchen Sponge?
Replace your kitchen sponge every 1 to 2 weeks. Frequent replacement prevents bacteria buildup and keeps your kitchen hygienic. Sponges absorb food particles and moisture, creating a breeding ground for germs. Regularly changing sponges reduces odors and maintains cleanliness.
Can I Sanitize My Kitchen Sponge Instead Of Replacing It?
Yes, you can sanitize your sponge using microwave or dishwasher methods. However, sanitizing only delays bacteria growth. It’s best to replace your sponge regularly for optimal hygiene. Sanitizing is a temporary solution, not a permanent substitute for replacement.
What Are Signs My Kitchen Sponge Needs Changing?
If your sponge smells bad, feels slimy, or falls apart, replace it immediately. These signs indicate harmful bacteria growth and sponge deterioration. Using a damaged sponge can spread germs and contaminate surfaces, risking your health.
How Can I Extend The Life Of My Kitchen Sponge?
Rinse your sponge thoroughly after use and squeeze out excess water. Store it in a dry, well-ventilated area to prevent bacterial growth. Regularly sanitize it, but still replace it every 1-2 weeks for safety.
Conclusion
Changing your kitchen sponge often keeps your kitchen clean. Sponges can hold many germs and bacteria. Replace them every one to two weeks for safety. A fresh sponge helps stop bad smells and germs. Clean hands and surfaces work better with a new sponge.
Small steps like this protect your health daily. Remember, a simple sponge change keeps your kitchen fresh. Don’t wait until it looks dirty. Regular sponge changes keep your home safe and clean.