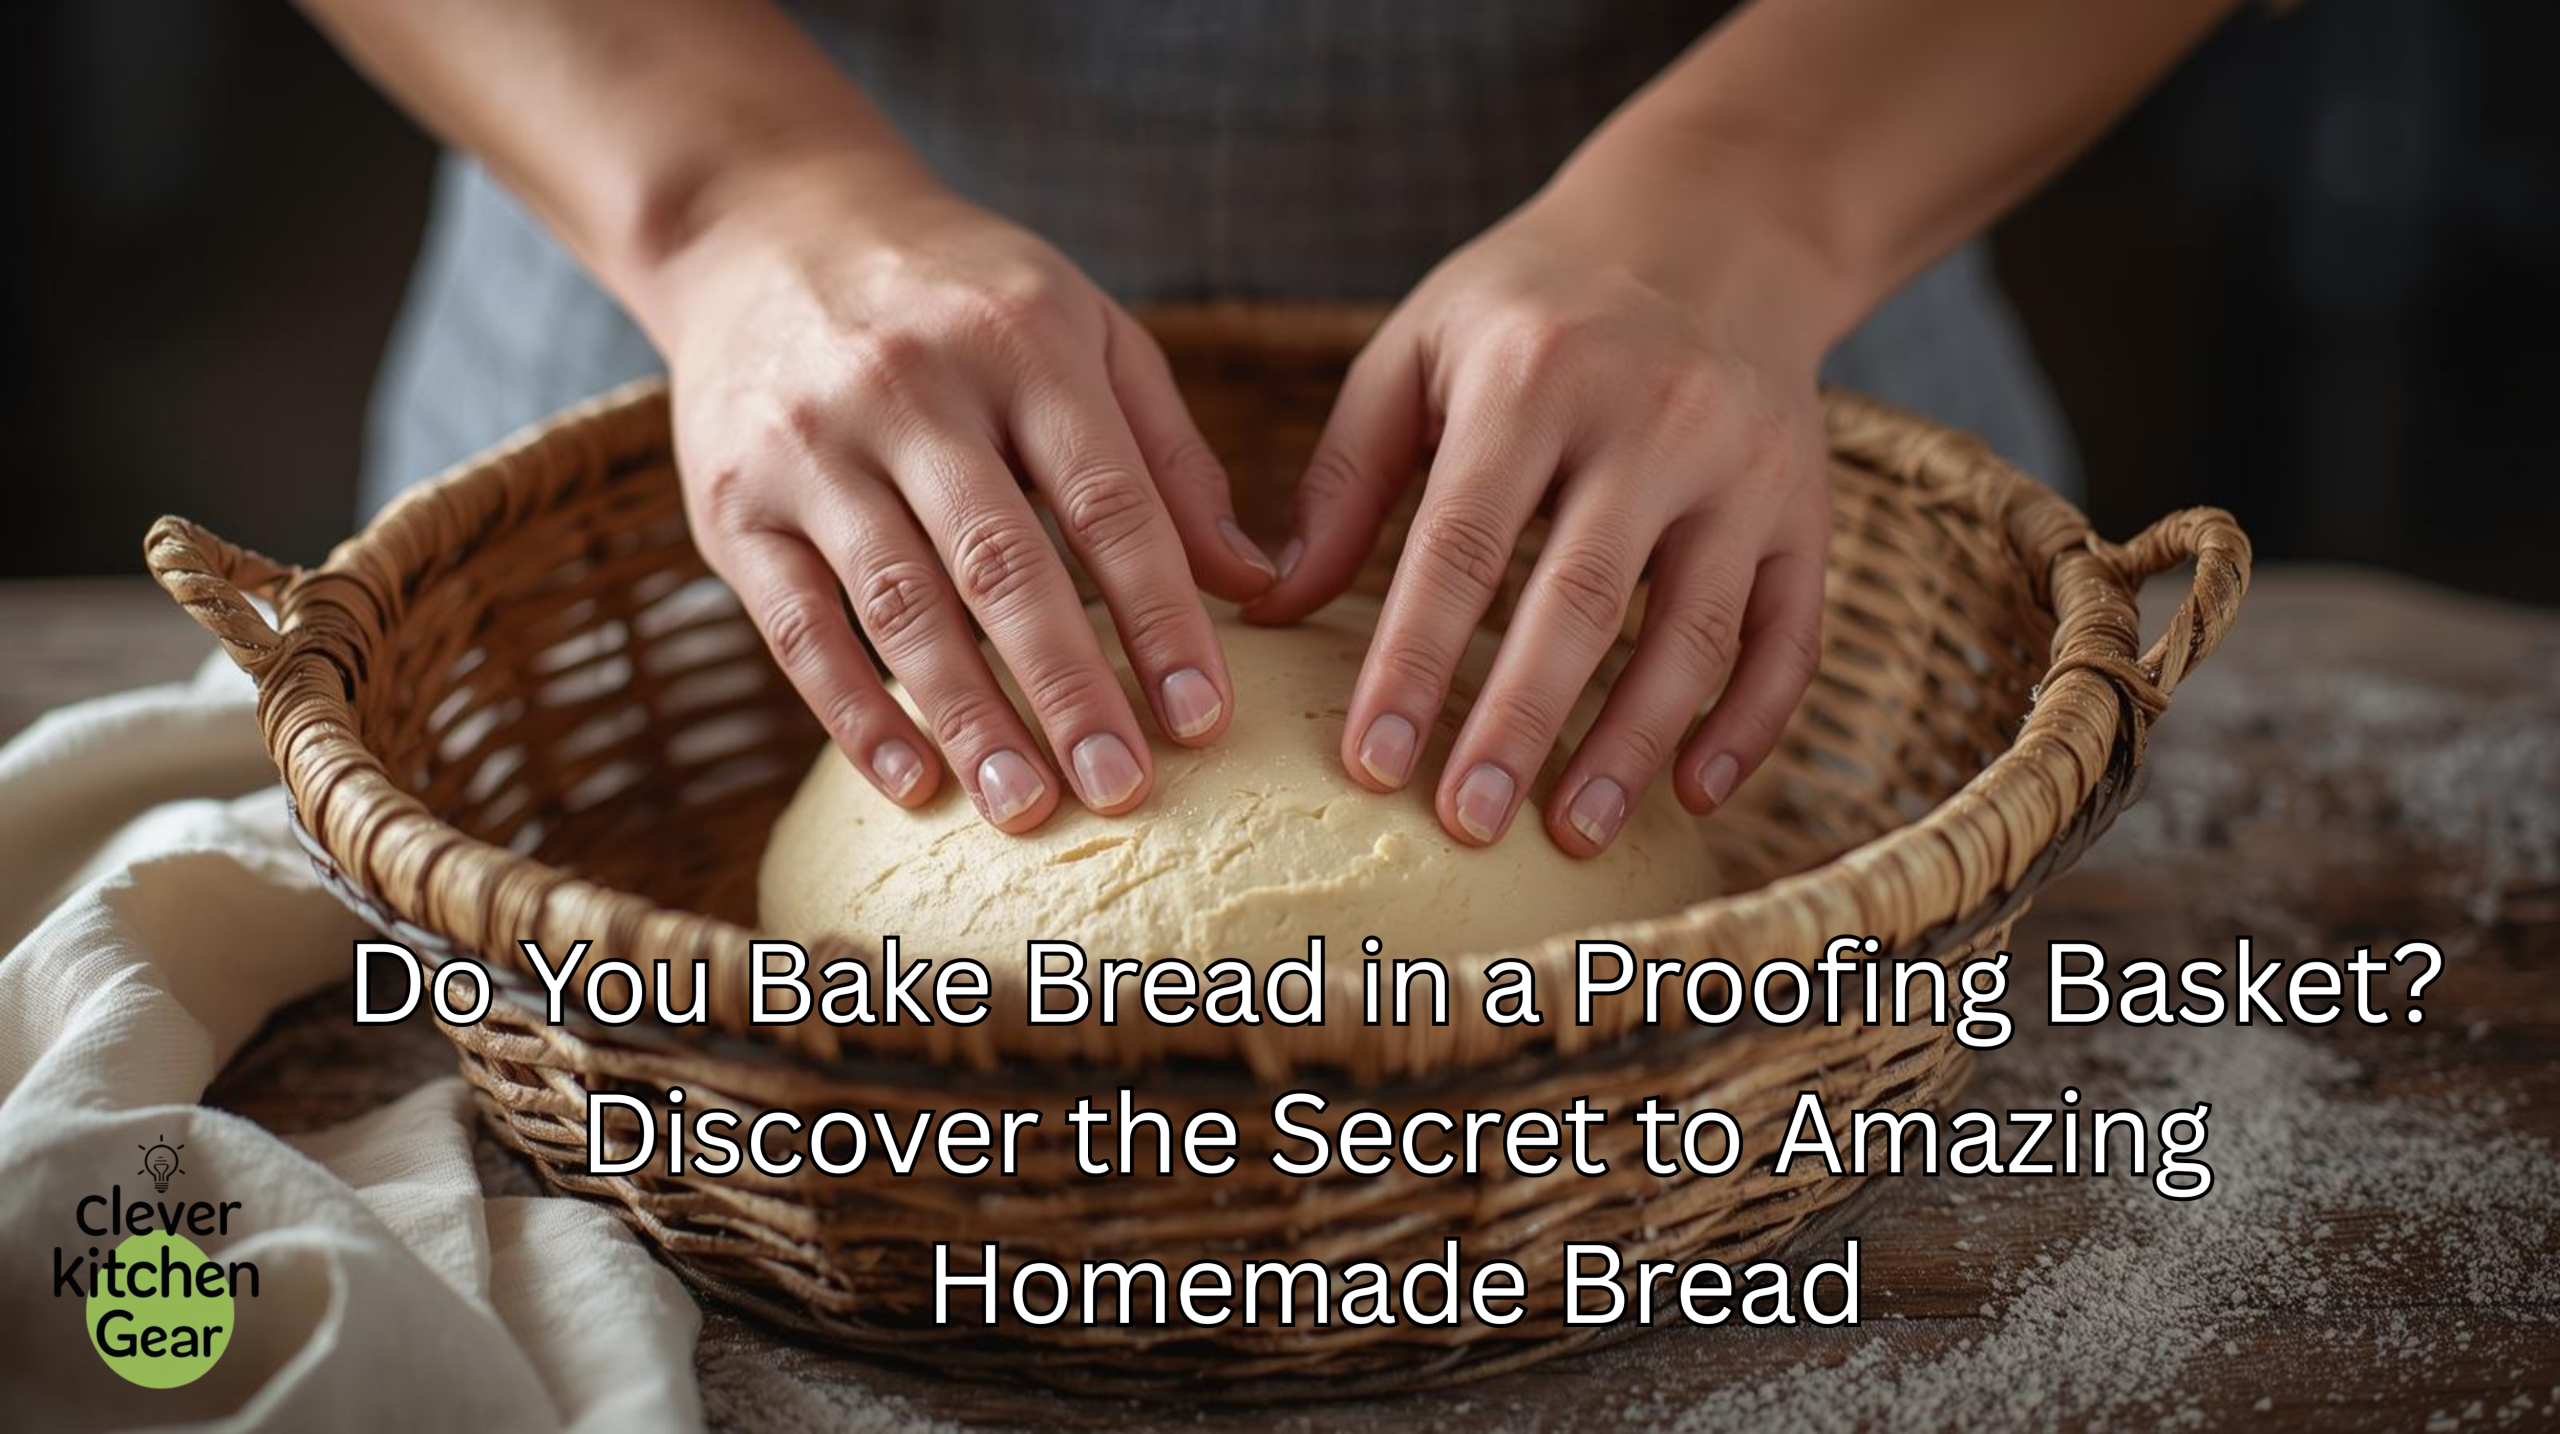
Do you bake bread in a proofing basket? Many home bakers ask this. You are not alone if you wonder about this tool.
Many people are curious about these baskets. They can change your baking experience. Imagine the smell of fresh bread at home. The crust could be perfect. It can rival any bakery bread.
Are you intrigued? Keep reading to learn about this basket. It can improve your bread-making. You may bake often or just be learning. This article gives great insights. It makes your bread unforgettable.

Credit: www.bakerybits.co.uk
Purpose Of A Proofing Basket
A proofing basket is a bread baking tool. It helps shape the dough as it rises. It supports the dough's form.
The basket controls the dough's shape. It improves the bread's texture. It also enhances the final appearance.
Shaping Dough Effectively
The basket keeps the dough in place. It stops the dough from spreading out. This happens during the rise.
It helps the dough stay round or oval. This makes the bread easier to handle. It helps it bake evenly too.
Enhancing Dough Texture
The basket allows good air flow. This happens while the dough rises. This makes the bread light and airy.
The basket's ridges draw moisture away. This makes the crust crispier. It happens after the bread bakes.
Creating Artisan Patterns
The baskets leave marks on the dough's surface. These patterns add a rustic look.
Bakers dust the basket with flour first. This makes the pattern stand out. It shows up after baking the bread.
Choosing The Right Basket
A basket helps dough rise and keep shape. Picking the right one makes baking better. It also makes it easier.
Baskets come in different sizes and materials. Choose lined or unlined baskets. Match them to your baking needs.
Materials And Sizes
Baskets use cane, rattan, or plastic. Each material affects the dough. It changes how the dough breathes and rises.
Choose a size that fits your oven. Match it to your bread amount. Small baskets make small loaves.
-
Rattan: Traditional, lets dough breathe well.
-
Cane: Lightweight, good for round loaves.
-
Plastic: Easy to clean, often non-stick.
-
Sizes: Range from 7 to 12 inches across.
Lined Vs. Unlined Options
Baskets can have a cloth liner. They can also be unlined. The lining stops dough from sticking. It keeps the basket cleaner.
Unlined baskets give a stronger pattern. They need more flour to stop sticking. Lined baskets are easier to use. They may leave a softer pattern.
-
Lined baskets: Use a liner, less sticking, easy cleanup.
-
Unlined baskets: No liner, clear dough pattern, needs more flour.
Preparing The Basket
A proofing basket helps dough keep its shape. Good prep stops the dough from sticking. It keeps your bread looking nice.
Two steps prepare your basket well. Dust it properly first. Then stop the dough from sticking. This helps the bread release easily.
Proper Dusting Techniques
Dusting creates a layer on the basket. This stops dough from sticking. It is a barrier between them.
-
Use rice flour for dusting. A rice and wheat flour mix is good.
-
Apply a light, even layer inside.
-
Tap out any extra flour to avoid clumps.
-
Re-dust the basket before each use.
Preventing Dough Sticking
You can take more steps to prevent sticking. Do this besides the dusting.
| Method | What to Do | Tips |
| Flour Mixture | Use rice flour blended with wheat flour. | Rice flour stops sticking better. |
| Use a Liner | Place a clean linen cloth inside the basket. | Dust the cloth with flour to stop sticking. |
| Oil the Basket | Lightly oil the basket surface. | Use oil sparingly to keep dough texture. |
Proofing Process Tips
Proofing in a basket shapes the dough. It keeps the dough from spreading. It also lets the dough rise evenly.
Good proofing needs the right conditions. Check humidity, temperature, and timing. This gets the best result.
Optimal Temperature And Humidity
Keep the dough warm, not too hot. The best temperature is 75°F and 85°F. This helps the yeast grow well.
Humidity must be high. This stops the dough from drying. About 75% humidity works well. Cover the basket with a damp cloth. This keeps moisture in the dough.
-
Temperature: 75°F and 85°F.
-
Humidity: About 75%.
-
Cover dough with a damp cloth.
-
Avoid drafts or direct sunlight.
Timing For Best Results
Proofing time changes based on conditions. It also changes with the dough type. Check the dough after 30 minutes. Then check every 15 minutes.
The dough is ready when it springs back slowly. Press it gently with one finger. Too much proofing makes the dough fall. Watch the time very closely.
-
Check dough after 30 minutes.
-
Press dough gently to test readiness.
-
Do not proof too long to avoid collapse.
-
Use room conditions to adjust the time.
Transferring Dough To Oven
Moving dough from the basket needs care. This keeps the dough's shape and texture.
The right technique makes transfer smooth. It avoids deflating the dough too much.
- The name says it all: it's a proofing basket, not a baking basket. The cane or rattan material cannot withstand high oven temperatures and is not food-safe for baking. Baking the dough in it will ruin the basket, and at typical bread-baking temperatures (over 450°F), the material can easily scorch or burn. Always transfer your dough to a preheated baking surface (like a Dutch oven or baking stone) before it goes into the oven.
Handling Techniques
Handle the basket gently always. This keeps the dough in place. Flip the basket quickly onto a baking surface. This releases the dough.
Try not to stretch or press the dough. Flour your hands and tools lightly. This stops sticking during the move.
-
Hold the basket near the baking surface.
-
Flip the basket with a quick, smooth move.
-
Use a light touch to avoid deflating.
-
Flour surfaces to reduce sticking.
Using Parchment Paper Or Peel
Parchment paper helps move dough safely. Place dough on paper before flipping. Do this out of the basket.
A peel is a flat tool. It slides dough into the oven. It helps avoid touching the dough too much.
-
Place dough on parchment paper after proofing.
-
Use the paper to slide dough onto the stone.
-
Dust a peel with flour to prevent sticking.
-
Slide the dough gently into the oven.

Credit: greatlakessourdough.com
Cleaning And Maintenance
Using a proofing basket means proper cleaning. Cleaning stops mold and bad smells.
Regular care makes the basket last longer. It keeps your bread tasting fresh.
Washing Guidelines
Do not soak the proofing basket in water. Follow these steps to clean it safely.
-
Remove leftover dough with a dry brush.
-
Wipe the basket gently with a damp cloth. Do not use soap.
-
Let the basket air dry completely.
-
Use a soft brush for stubborn dough. Remove it carefully.
Storage Tips
Store your basket in a dry place. It needs to be well-aired. Avoid damp containers to stop mold.
| Storage Condition | Effect |
| Dry and aired space | Prevents mold, keeps basket fresh. |
| Closed plastic bag | May cause mold and moisture buildup. |
| Direct sunlight | Can weaken the basket fibers. |
Common Mistakes To Avoid
Baking with a proofing basket helps the crust. Still, mistakes can ruin your bread.
Knowing what to avoid helps you bake better. It improves results every time.
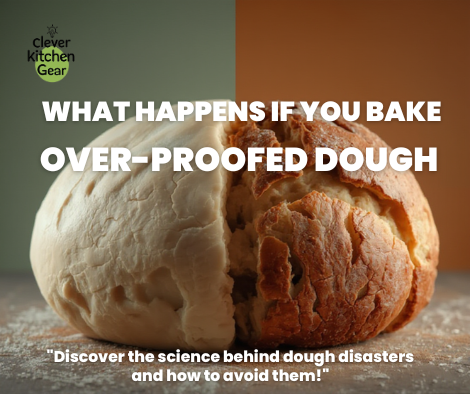
Overproofing Issues
Overproofing is when dough rises too long. This can make bread collapse. It makes it lose shape.
It causes large holes inside the bread. It also makes a dense texture. Watch the rising time carefully.
-
Dough may stick if overproofed.
-
Crust might crack or be too thin.
-
Final bread shape can be flat.
-
Flavor may become too bland or too sour.
Improper Basket Care
Not cleaning the basket can harm it. Baskets can smell bad or grow mold.
Poor care makes dough stick easily. It can also affect the bread's taste. Always clean and dry baskets well.
-
Remove flour dust after each use.
-
Do not soak baskets in water.
-
Dry baskets fully before storing.
-
Brush baskets gently to avoid damage.

Credit: learn.surlatable.com
Frequently Asked Questions
What Is A Proofing Basket Used For In Bread Baking?
It shapes and supports dough during the final rise. It improves the bread's texture. It also creates nice crust patterns. It gives better oven spring.
Can You Bake Bread Directly In A Proofing Basket?
No, do not bake bread in the basket. It is for proofing only. Transfer the dough to a baking pan first. This prevents damage to the basket.
How Do Proofing Baskets Improve Bread Texture?
They control the rise evenly. They help with gas retention. The ridges form an open crumb. This gives the bread better volume.
Should Proofing Baskets Be Floured Before Use?
Yes, lightly flouring stops sticking. Use rice or wheat flour evenly. This makes dough removal easy. Proper flouring ensures a smooth transfer.
Conclusion
Baking bread in a basket helps shape dough. It creates a good crust and nice texture. It stops the dough from spreading out. This tool is great for all bakers. Trying it improves your bread's look.
Give it a try in your next bake. You will enjoy the results more. Bread baking becomes more fun this way. Simple tools make a big difference.